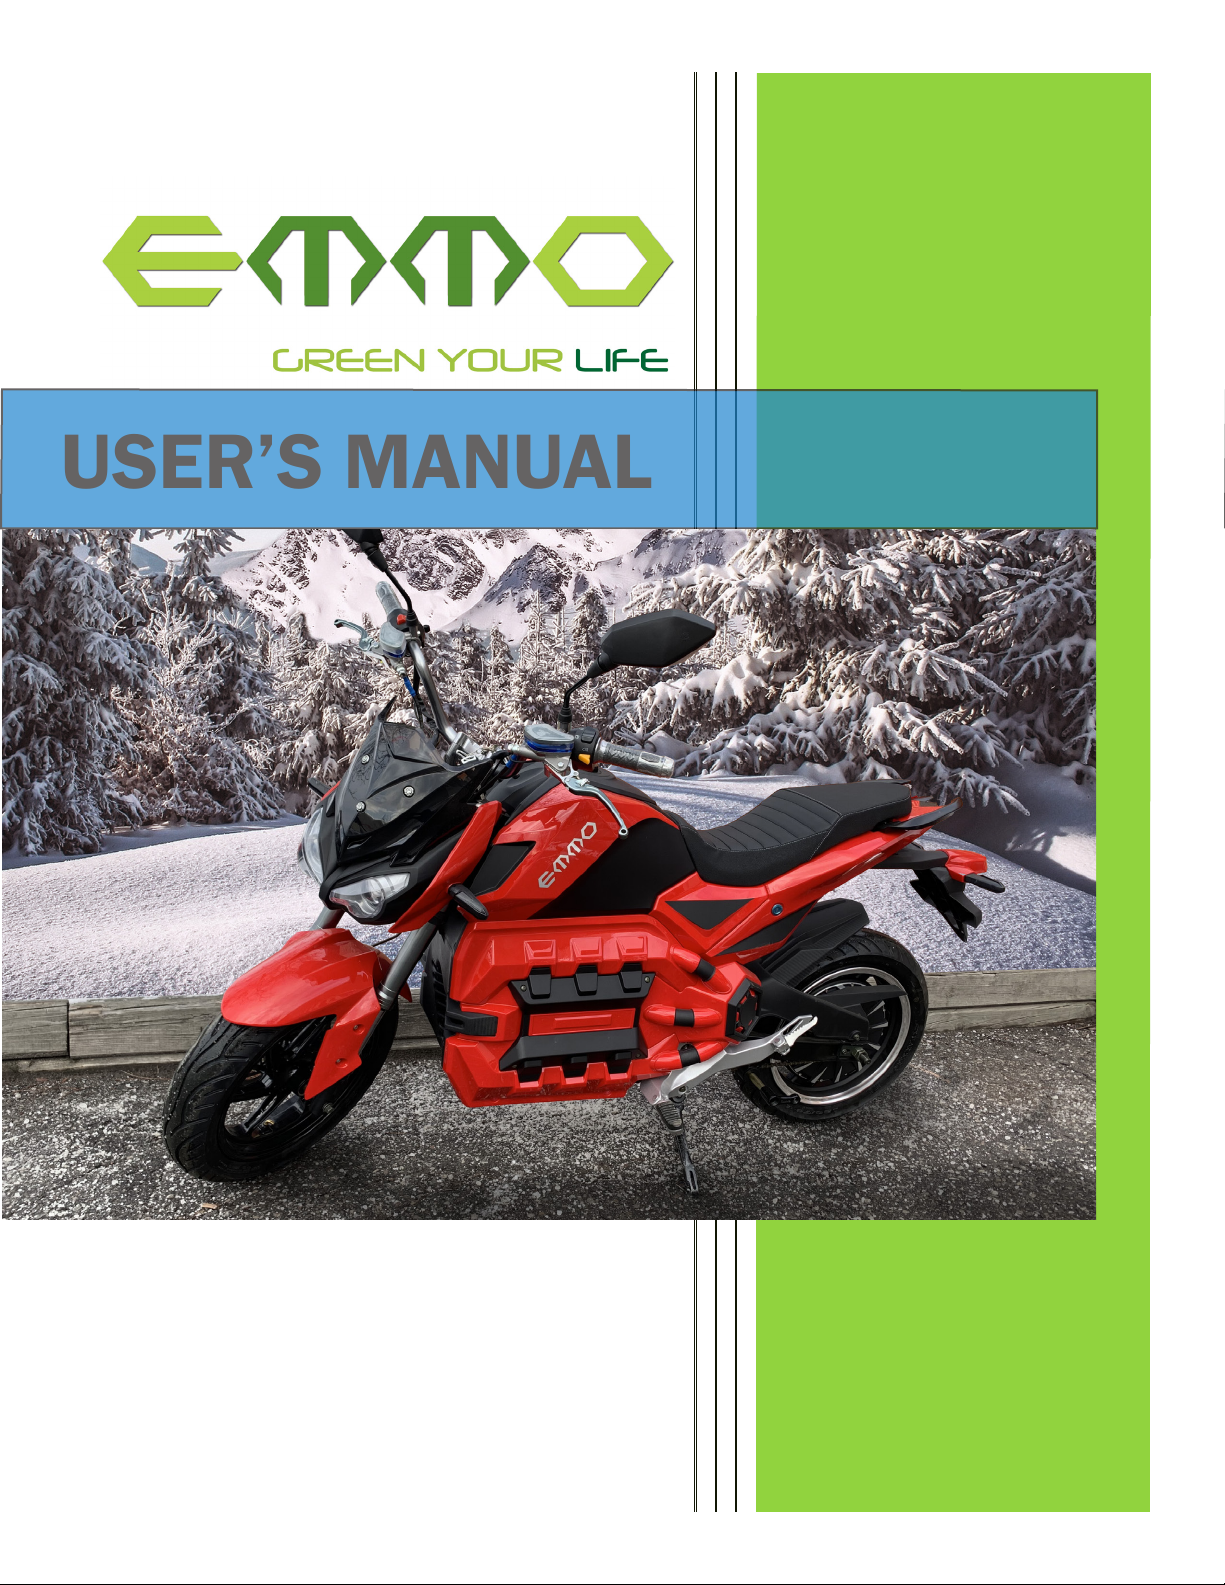
EMMO Kamen 2020 User manual
1 1
EMMOM
Monta 2019
EMMO
Kamen
USER’S MANUAL
2
This manual contains important safety, performance and service infor-
mation. Read and understand it along with the information provided
during the on-delivery instructions before using the product, and keep it
for reference.
© 2020 Emmo Inc. All rights reserved. No texts, details, or illustrations from this manual may be reproduced or
distributed, or become the subject of unauthorized use for commercial purposes. Should you discover any errors,
we would be grateful if you would bring them to our attention.
CAUTIONS MENU

2 3
About EMMO --------------------------------------------------- 4
Rules and Regulations of Riding an E-Bike --------- 5
Parts Overview ------------------------------------------------ 6
Switches ---------------------------------------------------------- 8
Throttle ----------------------------------------------------------- 10
Lights & Signals ----------------------------------------------- 11
Speedometer --------------------------------------------------- 13
Audio System ------------------------------------------------- 14
Side Kickstand ----------------------------------------------- 15
Rear View Mirrors --------------------------------------------- 16
How to turn on the bike with the key ----------------- 18
How to turn on the bike with the remote ------------- 19
How to lock the steering ----------------------------------- 20
How to turn on/o the circuit breaker ----------------- 22
How to charge ----------------------------------------------- 25
How to ride ------------------------------------------------------ 27
Safety Instructions -------------------------------------------- 28
Maintenance ----------------------------------------------------- 29
E-Bike Registration Form ----------------------------------- 30
Appendix 1(How to charge a lithium battery) -------------------- 31
Appendix 2(Charger indicators) -------------------------------- 34
CAUTIONS MENU

4
Established in 2009, Emmo Inc. is a proud Canadian venture that is
focused on creating a more sustainable future by providing high quality
electric bicycles. We oer a wide variety of e-bikes that are suitable for
leading a greener, and more stylish, way of living. Emmo e-bikes are
priced competitively with other green solutions. At Emmo, you will get
the best e-bikes and the most professional service.
ABOUT EMMO

4 5
According to Canada’s Motor Vehicle Safety Regulations ( MVSR ). A
qualied e-bike (dened as Power Assist Bicycle) must meet the following
requirements:
• The e-bike must have operable pedals
• Upper wattage limit for the motor is 500W.
• Maximum speed of an e-bike is 32km/h.
Other requirements include a permanently axed compliance label from
the manufacturer stating that the vehicle is a power-assisted bicycle
under statutory requirements in force at the time of manufacture. Currently,
there is no license, no insurance, and no vehicle registration required to
operate a qualied e-bike according to federal legislation. E-Bike riders
share the same rights and responsibilities as other road users.
However, provinces and local municipalities have the power to restrict the
use of e-bikes. Most provinces require the rider to wear a helmet. Some
provinces have special requirements with regard to the age limit to operate
an e-bike, the type of helmet required, even the number of wheels and
wheel size. In Ontario, typically, e-bikes are generally treated the same as
regular bicycles. According to the Ministry of Transportation of Ontario
(MTO), the age limit to operate an e-bike is 16 years old and above; the
maximum weight of the bike is 120 kilograms (265 pounds); the bike must
have a brake distance of less than 9 meters; Any modications made to
the bike’s motor to create speeds greater than 32km/h are prohibited.
As the rules and regulations are subject to changes in dierent provinces
and municipalities. Please check your municipal bylaw and see where you
stand.
ABOUT EMMO RULES and REGULATIONS
of riding an e-bike
Table of contents
Other EMMO Motorcycle manuals


Popular Motorcycle manuals by other brands

MV Agusta
MV Agusta Brutale 675 Workshop manual

APRILIA
APRILIA RSV MILLE - PART 1 1999 User manual content

Royal Enfield
Royal Enfield Himalayan 2018 owner's manual

SSR Motorsports
SSR Motorsports Lazer5 owner's manual

MOTO GUZZI
MOTO GUZZI 2005 Griso 1100 Use and maintenance book

KTM
KTM 85 SX 19/16 owner's manual


