EMPHASER EM-VWF1 Installation instructions

UPGRADE SYSTEM
FOR VOLKSWAGEN T5
INSTALLATION & OPERATING MANUAL
EINBAU- & BEDIENUNGSANLEITUNG
EM-VWF1

2 3
Congratulations!
And thank you for purchasing this high quality component system dedicated to the
Volkswagen T5.
If you plan on installing the system by yourself, please read the following instructions
carefully before you attempt the installation. For any further information about this product,
please contact your authorized EMPHASER dealer.
ABOUT THIS LOUDSPEAKER SYSTEM
All components of this component system have been carefully selected and precisely
matched. The Aluminum cone of the woofers is due to its hardness and the high natural
resonance frequency ideally suited for a detailed and extremely low-distortion reproduction
quality in the intended area of application. The 28 mm silk dome tweeter convinces with its
brilliant sound and the ability to produce even the finest musical details. At the heart of the
systems are the elaborately designed crossovers: the parts have been defined in intensive
test series in the laboratory as well as in the vehicle, to achieve the best possible phasing of
the tweeters and woofers in the crossover frequency band. The result is immersive musical
enjoyment with vivid natural voices and instruments and their positioning on the imaginary
soundstage as well as an impressive depth of soundstage. EMPHASER wishes you a lots
of fun with this outstanding speaker system.
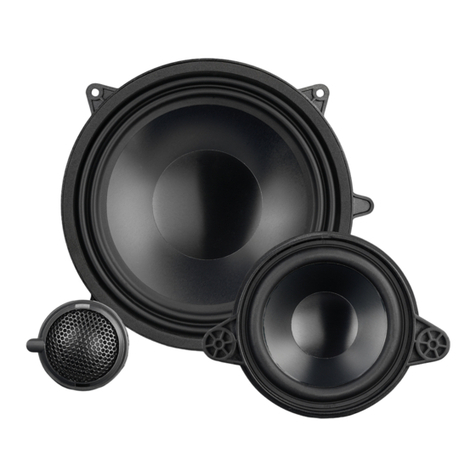
SET CONTENT
Carefully remove the loudspeakers, crossovers and the accessories from the gift box and
check whether all parts are in good condition, and match with the set content listed below:
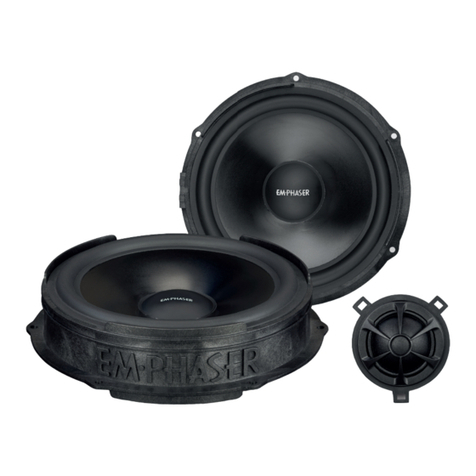
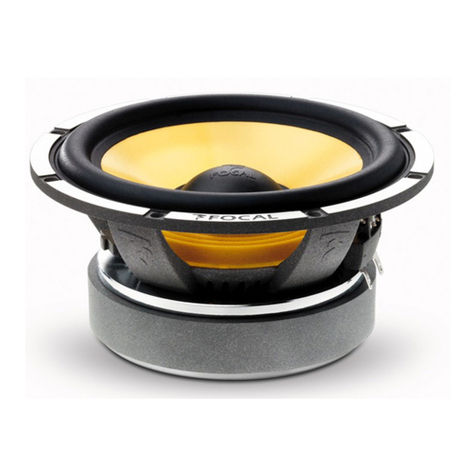
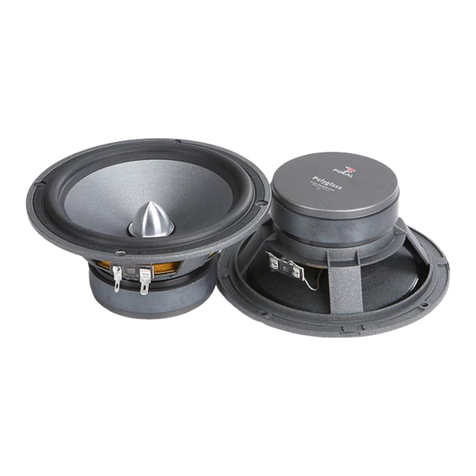
■ 2 Midwoofer
■ 2 Tweeter
■ 2 tweeter crossover
■ 12 rivets
■ 1 manual
ASSEMBLY
This set is compatible with the Volkswagen T5. For step-by-step instructions on how to cor-
rectly disassemble the original loudspeakers of your vehicle, please contact the respective
service workshop. A T5 California serves as an example for these instructions.
(Fig. 1) Use a wide plastic wedge to carefully loosen the cover of the grip shell. Start at the
end of the cover and work your way forward piece by piece towards the mirror triangle.
Loosen the connection cable on the grip shell and loosen the following six screws.
(Fig. 2) Now pry the door trim off the door panel. Use a plastic lever tool with a wide contact
surface to prevent damage to the paneling and the paint. Start at the bottom of the door and
work your way up bit by bit. When all clips are released, pull the panel carefully upwards.
Then unhook the Bowden cable from the door lever.
To remove the rivets, use a metal drill with a diameter of 7.5 mm or larger and carefully drill
the rivet head. Take out the speaker and remove the remains of the rivets.
Insert the EMPHASER woofer and fix it with the provided rivets. Plug the connection cable
into the speaker.
Fig. 1 Fig. 2
For tweeter mounting, carefully remove the cover on the dashboard with a suitable plastic
wedge. Be careful not to break off the cover brackets. Loosen the three screws of the
tweeter bridge and unplug the cable. Find a suitable place for the EMPHASER crossover.
The connection cables are long enough to place the crossover behind the dashboard, for
example. Route the input cable to the original connector of the tweeter bridge; connect the
output cable to the plug of the EMPHASER tweeter. Fix the tweeter with the three original
screws and mount the cover. The installation of the Emphaser sound system is complete.
• Pro tip: We recommend covering the area behind the speaker with an insulation mat
to reduce resonance. Ask your specialist dealer about Zealum ZN-FINISH - this damping
mat is a combination of alubutyl and open-pore foam and perfectly suitable for the intended
use.

4 5
Herzlichen Glückwunsch!
Zum Kauf dieses EMPHASER Nachrüstsystems für den Volkswagen T5.
Falls Sie beabsichtigen, das System selbst einzubauen, bitten wir Sie, sich eingehend mit
den nachfolgend im Detail beschriebenen Montage- und Einstellmöglichkeiten dieses Laut-
sprechersets vertraut zu machen.
Falls Sie weitere Fragen zu diesem Lautsprechersystem haben, lassen Sie sich von Ihrem
EMPHASER Händler beraten.
ÜBER DIESES LAUTSPRECHERSYSTEM
Die verwendeten Materialien dieses EMPHASER Systems wurden sorgfältig ausgewählt
und präzise aufeinander abgestimmt: Die Aluminium-Membran der Tieftöner ist aufgrund
ihrer Härte und der hohen Eigenresonanzfrequenz bestens geeignet für die detailreiche
und äusserst verzerrungsarme Wiedergabequalität im vorgesehenen Einsatzbereich. Der
28 mm Hochtöner mit Seidenkalotte überzeugt mit seinem brillanten Klangbild und der
Fähigkeit, auch kleinste Musikdetails hervorzubringen. Herzstück der Systeme sind die
umfangreich gestalteten Frequenzweichen: die Bauteile sind unter intensiven Testreihen
im Labor sowie auch im Fahrzeug definiert worden, mit dem Ziel einer bestmöglichen
Phasenlage von Hoch- und Tieftöner im Übernahmebereich. Das Ergebnis ist ein
immersiver Musikgenuss mit authentisch wirkenden Stimmen und Instrumenten sowie
deren präziser Positionierung auf der imaginären Bühne mit einer beeindruckenden
Raumtiefe. EMPHASER wünscht Ihnen viel Freude mit diesem herausragenden
Lautsprechersystem.
LIEFERUMFANG
Kontrollieren Sie, ob sich alle unten gelisteten Teile in der Verpackung befinden. Das System
besteht aus folgenden Einzel-Komponenten:
■ 2 Tiefmitteltöner
■ 2 Hochtöner
■ 2 Hochtöner-Frequenzweichen
■ 12 Nieten
■ 1 Bedienungsanleitung
MONTAGE
Dieses Set ist kompatibel mit dem Volkswagen T5. Für eine schrittgenaue Anleitung zur
korrekten Demontage der originalen Lautsprecher Ihres Fahrzeuges wenden Sie sich bitte
an die jeweilige Servicewerkstatt. Exemplarisch für diese Anleitung dient ein T5 California.
(Abb.1) Lösen Sie mit einem breiten Kunststoffkeil vorsichtig die Abdeckung der Griffscha-
le. Beginnen Sie am Ende der Abdeckung und arbeiten Sie sich Stück für Stück nach vorn
Richtung Spiegeldreieck. Lösen Sie das Anschlusskabel an der Griffschale und lösen Sie
die folgenden sechs Schrauben.
(Abb.2) Hebeln Sie nun die Türverkleidung vom Türblech. Benutzen Sie dafür ein Kunst-
stoffhebelwerkzeug mit breiter Auflagefläche, um Schäden an der Verkleidung und am
Lack zu vermeiden. Beginnen Sie am unteren Ende der Tür und arbeiten Sie sich Stück für
Stück nach oben. Wenn alle Clipse gelöst sind, ziehen Sie die Verkleidung vorsichtig nach
oben weg. Anschließend haken Sie den Bowdenzug am Türhebel aus.
Zum Entfernen der Nieten benutzen Sie einen Metallbohrer mit 7.5 mm Durchmesser oder
grösser und bohren vorsichtig den Nietenkopf ab. Nehmen Sie den Lautsprecher heraus
und entfernen Sie die Reste der Nieten.
Setzen Sie den EMPHASER Tieftöner ein und befestigen ihn mit den beiliegenden Nieten.
Stecken Sie das Anschlusskabel in den Lautsprecher.
Für die Hochtönermontage entfernen Sie vorsichtig die Abdeckung auf dem Armaturen-
brett mit einem geeigneten Kunststoffkeil. Gehen Sie vorsichtig vor, um die Halterungen
der Abdeckung nicht abzubrechen. Lösen Sie die drei Schrauben der Hochton-Brücke und
stecken Sie das Kabel aus. Finden Sie eine geeignete Stelle für die EMPHASER Frequenz-
weiche. Die Anschlusskabel sind lang genug, um die Weiche zum Beispiel hinter dem
Armaturenbrett zu platzieren. Führen Sie das Input-Kabel zum originalen Anschlussstecker
der Hochton-Brücke; das Output-Kabel verbinden Sie mit dem Stecker des EMPHASER
Hochtöners. Fixieren Sie den Hochtöner mit den drei originalen Schrauben und montieren
Sie die Abdeckung. Die Montage des Emphaser Soundsystems ist abgeschlossen.
• Profi Tipp: Wir empfehlen, den Bereich hinter dem Lautsprecher mit einer Dämmmatte
zu bekleben, um Resonanzen zu verringern. Fragen Sie Ihren Fachhändler nach Zealum
ZN-FINISH – diese Matte ist eine Kombination aus Alubutyl und offenporigem Schaum und
perfekt geeignet.
Abb.1 Abb.2
6 7
EMPHASER LIMITED WARRANTY
Dear customer
Keep the original packing for later use and read the warranty specifications below carefully.
Should your EMPHASER product require warranty service, please return it to the retailer from whom
it was purchased or the distributor in your country. Should you have difficulty in finding an authorized
EMPHASER service center, details are available from your local distributor.
This EMPHASER product is warranted against defective materials and defects caused during ma-
nufacturing for a period of two years from date of purchase, to the original purchaser. Warranty work
will not be carried out unless the warranty certificate is presented together with the original sales slip.
WARRANTY LIMITATIONS
This warranty does not cover damages due to:
1. Incorrect audio or power connection(s).
2. Exposure to excessive humidity, fluids, sun rays or dirt and dust.
3. Damage by accidents or mechanical shock.
4.Abuse, unauthorized repair attempts and modifications not explicitly authorized by the manufacturer.
This warranty is limited to the repair or the replacement of the defective product at the manufacturer’s
option and does not include any other form of damage, whether incidental, consequential or other-
wise. The warranty does not cover any transport costs or damages caused by transport or shipment
of the product.
EMPHASER GARANTIE-BESTIMMUNGEN
Sehr geehrter Kunde, sehr geehrte Kundin
Wir bitten Sie, die Originalverpackung für einen allfälligen Transport aufzuheben und die Garantie-
Bestimmungen durchzulesen.
Sollten Sie für Ihr EMPHASER Produkt Garantie-Leistungen beanspruchen, wenden Sie sich bitte
direkt an den Händler, bei dem Sie das Gerät gekauft haben.
Bei Schwierigkeiten, ein geeignetes EMPHASER Service-Center zu finden, erhalten Sie bei Ihrem
jeweiligen Landes-Vertrieb weitere Informationen.
Der Hersteller gewährleistet auf dieses EMPHASER Produkt bei Material- oder Herstellungsfehlern
zwei Jahre Garantie an den Erstkäufer, geltend ab Kaufdatum der ausgestellten Rechnung. Garantie-
Ansprüche können nur mit einer korrekt und vollständig ausgefüllten Garantie-Karte zusammen mit
dem Original-Kaufbeleg geltend gemacht werden.
GARANTIE-EINSCHRÄNKUNGEN
Nicht unter Garantie fallen Schäden infolge von:
1. inkorrekten Audio- oder Stromanschlüssen.
2. schädlichen Einwirkungen von übermäßiger Feuchtigkeit, Flüssigkeiten, Hitze, Sonnen-
einstrahlung oder starker Verschmutzung.
3. mechanischer Beschädigung durch Unfall oder Stössen.
4. Schäden durch nicht autorisierte Reparaturversuche oder nicht durch den Hersteller ausdrücklich
autorisierte Modifikationen.
Die Garantie dieses Produkts bleibt in jedem Fall auf die Reparatur bzw. den Ersatz (Entscheidung
durch Hersteller) des jeweiligen EMPHASER Produkts beschränkt. Schäden durch unsachgemäße
Verpackung und daraus resultierende Transportschäden werden nicht durch diese Garantie abge-
deckt. Jeder über diese Garantie-Erklärung hinausgehende Anspruch und jede Haftung für direkte
oder indirekte Folgeschäden werden ausdrücklich abgelehnt.
WARRANTY CARD / GARANTIEKARTE
MODEL: ❏ EM-VWF1
Date of purchase:
Your name:
Your address:
City:
State: ZIP or Postal Code:
Country:
Your phone number:
Dealer’s address & stamp
❏ Installed by
authorized dealer
Installation date:
Inspected and
approved by:
Installation Approval
❏ Self-installed
by customer
EMPHASER
Manufacturer:
ACR, Brändli + Vögeli AG, Bohrturmweg 1, CH-5330 Bad Zurzach, Switzerland
Phone: (+41) (0)56 269 64 64, Fax: (+41) (0)56 269 64 65, mail@acr.eu, www.acr.eu
EU Legal Representative:
ACR S & V GmbH, Industriestraße 35, D-79787 Lauchringen, Germany

Rev. A
Table of contents
Languages:
Other EMPHASER Car Speakers manuals

EMPHASER
EMPHASER EM-BMWF1 Installation instructions

EMPHASER
EMPHASER EM-MBS1 Installation instructions

EMPHASER
EMPHASER EM-MBF3 Installation instructions

EMPHASER
EMPHASER EM-MBC2 User manual

EMPHASER
EMPHASER EM-VWF2 Installation instructions

EMPHASER
EMPHASER EM-MBR1 Installation instructions

EMPHASER
EMPHASER EM-FDF1 Installation instructions

EMPHASER
EMPHASER EM-MBF2 User manual

EMPHASER
EMPHASER UNIVERSE EM-MBSUBR2 User manual