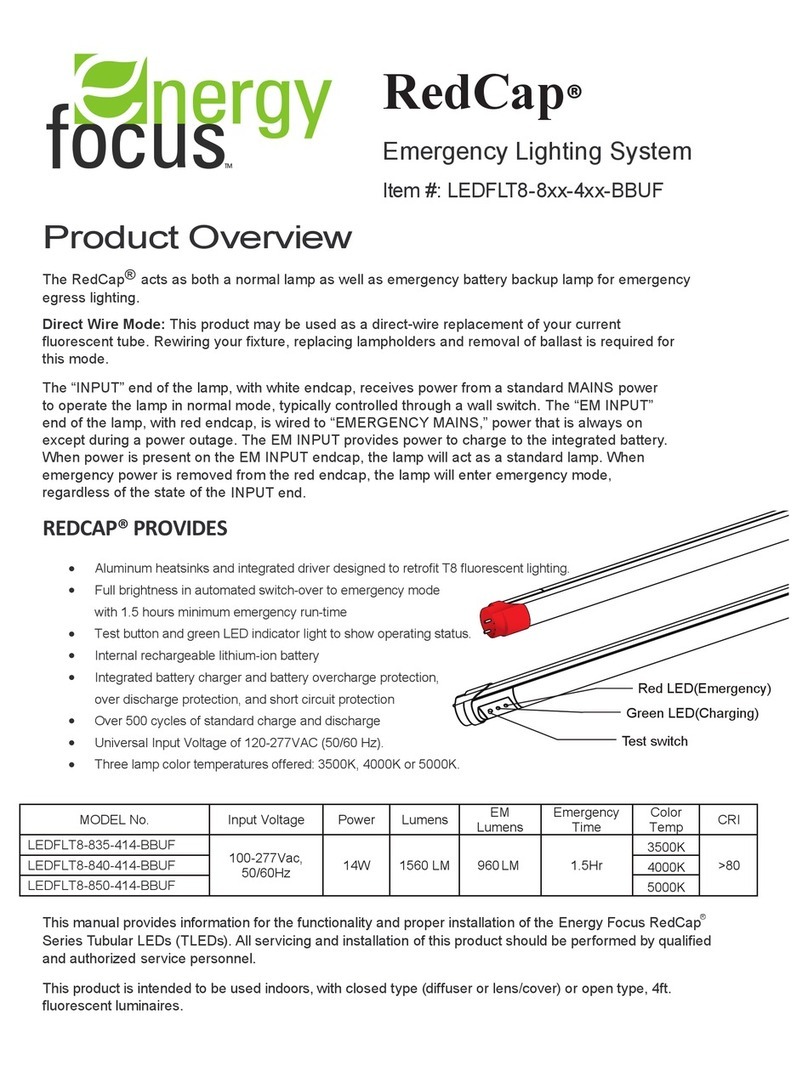
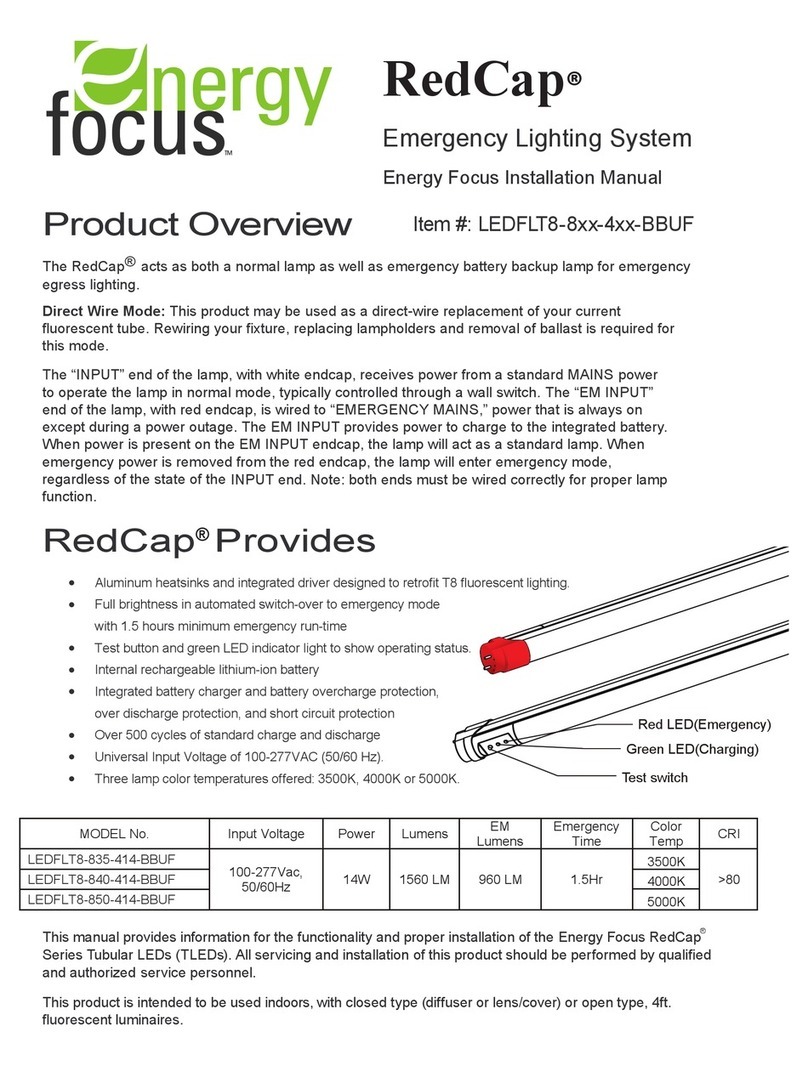
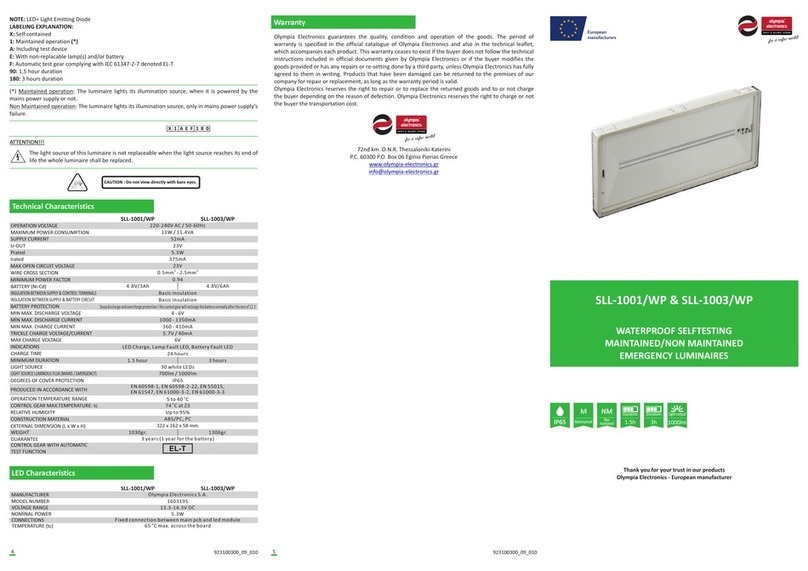
ENERGY FOCUS LEDFLT8-82765 5EDCTF Series Instruction sheet

ENERGY FOCUS PRODUCT INSTRUCTIONS
42862-REV-C
Energy Focus LED Control Platform
Item #: LEDFLT8-82765-XXX-5EDCTF (DCT)
LEDFLT8-8XX-XXX-5EDMF (DM)
Linear Fluorescent Replacement
WARNING:
Turn off power during installation. Detailed instructions are provided in this manual to prevent any risk
of electrical shock or damage to product.

ENERGY FOCUS PRODUCT INSTRUCTIONS
2
42862-REV-C
This manual provides information for the functionality and proper installation of the
Energy Focus Lighting Control Platform Tubular LEDs (TLEDs). This consists of
the dimmable only and dimmable + color tuning TLEDs.
Direct Wire is powered single-ended with line voltage.
Direct Wire Mode: This product may be used as a ‘direct-wire’ replacement of
your current uorescent tube, though rewiring your xture, replacing lampholders,
and removal of ballast connection is required for this mode. A licensed electrician
should do the electrical wiring for your safety.
FOR DIRECT WIRE MODE, CONSULT AN ELECTRICIAN AND FOLLOW
MANUAL INSTRUCTIONS.
WARNING:
RISK OF FIRE OR ELECTRIC SHOCK.
Please read all instructions and warnings thoroughly
before beginning install.
This product shall be installed in accordance with the latest NEC and/or local
authority having jurisdiction. Installation shall be performed by a qualied
electrician understanding the construction and operation of this product and
the electrical requirements involved.
This Package Includes:
• LED Tube
• Fixture Label:
• Installation Instructions
This Device is not intended for use with Emergency Exit
Fixtures or Emergency Exit Lights.
Notice: This luminaire has been modied and no longer
operates Fluorescent Lamps. Use only Energy Focus,
Inc. LEDFLT8 self-ballasted lamps for lamp replacement.
Tel: 800-327-7877 Web: www.energyfocus.com

ENERGY FOCUS PRODUCT INSTRUCTIONS
3
42862-REV-C
Structure of the TLED
1. Designated INPUT End (Line and Neutral End)
2. Non-Powered End
3. End-cap
4. Lens (clear or frosted)
Safety
• ALWAYS DISCONNECT OR TERMINATE POWER TO FIXTURE PRIOR TO ANY INSTALLATION
OR REPLACEMENT OF PRODUCT. Failure to do so may result in shock and/or serious injury
or damage to product, which may render it unusable.
• We recommend a qualied electrician install this product. Equipment should be mounted in
locations and at heights where it will not be subjected to tampering by unauthorized personnel.
• The operating voltage of these products is 120–277 VAC. Installer shall verify operating voltage
at the luminaires prior to installation.
• To prevent wiring damage or abrasion, protect wiring from exposed edges of sheet metal or other
sharp objects that may be present in xture.
• Do not make modications to, or alter, xture housing, ballast enclosure, or electrical components
other than those required for proper installation.
• Suitable for dry locations only when used with open, surface, recessed and totally enclosed xtures.
May be used in wet locations when installed in a suitable UL-listed wet location enclosed xture.
• If the lamp or luminaire exhibits undesirable operation (buzzing, ickering, etc.) immediately turn off
power, remove lamp from luminaire, and contact manufacturer.

ENERGY FOCUS PRODUCT INSTRUCTIONS
4
42862-REV-C
• Safe operating ambient temperature: -20ºC to 30ºC (-4ºF to 86ºF). Do not install near gas or
electric heaters.
• Do not use this product other than for its intended use. The use of accessory equipment is not
recommended by the manufacturer. May cause an unsafe condition.
• This Retrot Assembly is an approved component of a linear uorescent luminaire kit where the
suitability of the combination shall be determined by CSA or local authorities having jurisdiction.
• For use only with UL and C-UL listed surface mounted or recess mounted linear uorescent
luminaires (with or without diffuser).
• INCLUDED FIXTURE WARNING LABEL MUST BE AFFIXED TO LUMINAIRE IN A VISIBLE
LOCATION AFTER INSTALLATION (preferably over any existing labels). One label per xture will sufce.
• For use of the DCT series lamps without the EnFocus™ Switch, the lamps willl default to full
brightness at 4000K
• For use of the DM series lamps without the EnFocus™ Switch, the lamps will default to full
brightness.
For Direct Wire installation only:
• The luminaire shall be grounded. Single ended power only. New lamp holders must be used in
compliance with UL Standards.
• Fluorescent lamp holders within xtures shall be rewired to line voltage and will no longer operate
the original uorescent lamp. For holders, contact 1(800)327-7877 or orders@energyfocus.com.
Safe environmental requirements:
• Operating Temperature: -20ºC to 30ºC (-4ºF to 86ºF)
• Storage Temperature: -30ºC to +60ºC (-22ºF to 140ºF)
• Working Humidity: 30% to 90%
• Storage Humidity: 10% to 90%
• Normal indoor ventilation and non-corrosive environments
Warranty
• Visit energyfocus.com for full standard warranty terms and conditions.
• Please note that the warranty may not be valid in case of improper installation (for example, not
turning off main power before installation), damage due to normal wear and tear, exceptional
operational conditions or unauthorized modications.
For questions:
Email: orders@energyfocus.com
Phone: 800.327.7877
Thank you for choosing Energy Focus!
Safety, continued

ENERGY FOCUS PRODUCT INSTRUCTIONS
5
42862-REV-C
Direct Wire Installation
Additional tools needed:
• Ladder (if your xture is not easily reached)
• Voltage tester
• Screwdrivers
• 2 un-shunted lamp holders per tube (one wired + one non-wired)
• Insulated wire cutters
Wire connectors (twist-on)
To order un-shunted lamp holders, call 800.327.7877 or email CustomerService@energyfocus.com
(you may purchase pre-wired lamp holders, or purchase bare lamp holders and add wire to half of them yourself).
Instructions:
1. Turn off the power to light xture at the breaker panel.
2. Ensure circuit is de-energized before proceeding. Test with a voltage tester.
3. If retrotting an enclosed xture, open the diffuser from the light xture.
4. Remove existing uorescent lamps. Please dispose of or recycle these items properly in
accordance with local requirements—they contain mercury, a hazardous material.
5. Open the wiring cover to expose the uorescent ballast.
6. Cut the wires connecting the uorescent ballast on both sides. You may leave the ballast in the
xture, or remove it. If you leave the ballast in the xture, trim all wire so there are no loose wires
hanging. If you remove the ballast, dispose or recycle in accordance with local requirements.
7. Remove old lamp holders. Replace with un-shunted lamp holders. Only one will be connected to
the line voltage, and the other will not be connected (shown as follows).
8. Make the new wire connection from line voltage to one un-shunted wired lamp holder. Use wired
socket at one end and connect live wire and neutral wire accordingly. Use non-wired socket at
the other end. This product uses only single-ended power for safety. Strip wires ¼ inch, make
contact between the desired wire connections, and enclose each wire connection with twist-on
wire connectors.

ENERGY FOCUS PRODUCT INSTRUCTIONS
6
42862-REV-C
32000 Aurora Road, Solon, OH 44139 •energyfocus.com •800.327.7877
©2021 Energy Focus, Inc. All Rights Reserved.
• Reinstall the wiring cover.
• Install the LED tube in the lamp holders. The tube end labeled “input” should go into the lamp holder
that is wired. The lights should ‘click’ into place.
• Afx warning label inside the xture in an easily visible location to anyone changing the lamps.
Cover any existing labels, or remove old uorescent labels, especially those over the wiring channel.
• (If retrotting an enclosed xture), close the diffuser.
• After all LED tube lamps are installed, restore power at the circuit breaker, and turn the lights on.
If the lights turn on, your retrot is complete!
If your lights do not turn on, turn the power off and check that your tube is fully installed in the lamp holders and
that both pins are inside their holders. If your lights still do not turn on, check that you installed the tube in the
correct conguration; the input labeled end of the tube should be in the lamp holder that is wired.
Multiple tube direct wire (example)

42858-Rev C
EnFocus™ 3A -2 Wire
Dimmable Switch
Installation Instructions
120/277 VAC
Important Safety Instructions: Please read before installation
WARNING:
“THIS PRODUCT SHALL BE INSTALLED IN ACCORDANCE WITH THE LATEST NEC AND/OR LOCAL AUTHORITY HAVING JURISDICTION AND OPERATION OF THIS PRODUCT AND THE ELECTRICAL REQUIREMENTS
INVOLVED.”
-Risk of fire or electric shock: ALWAYS disconnect or terminate power to fixture prior to installation, or replacement, of EnFocus™ Lighting Control Switches. Failure to do so may result in shock and/or
serious injury.
-Risk of fire or electric shock: The operating voltage of these products is 120/277 VAC; Installer shall verify operating voltage at the luminaries prior to installation.
-Risk of fire or electric shock: To prevent wiring damage or abrasion, protect wiring from exposed edges of sheet metal or other sharp objects that may be present to the switch.
-Suitable for dry locations only when used with open, surface, recessed and totally enclosed fixtures. May be used in wet location when installed in a suitable UL-listed wet location enclosed fixture.
Do not make modification to or alter switch electrical components other than those required for proper installation.
THIS RETROFIT ASSEMBLY IS AN APPROVED COMPONENT OF A LINEAR FLUORESCENT LUMINAIRE KIT WHERE THE SUITABILITY OF THE COMBINATION SHALL BE DETERMINED BY CSA OR LOCAL AUTHORITIES HAVING
JURISDICTION.
THIS DEVICE IS NOT INTEDED FOR USE WITH EMERGENCY LIGHTING BATTERY TYPE SYSTEMS FOR FLUORESCENT LIGHTING PRODUCTS.
CAUTION – To Reduce The Risk of Overheating and Possible Damage to Other Equipment, Do Not Install to Control a Receptacle, a Motor-Operated Appliance or a Fluorescent Lighting Fixture or a Transformer
Supplied Appliance.
For use where the grounded (neutral) conductor is not provided in the outlet box.
Switch’s ground wire required for 2 wire switch installation.
EnFocus™ 2 Wire Dimmable Switch Installation
1) Turn OFF power at circuit breaker.
2) Remove switch cover.
3) Use voltage tester to verify power is off.
4) Disconnect wires from old switch.
5) Connect EnFocus™ switch shown in wiring illustration.
6) Mount EnFocus™ switch to wall.
7) Install new cover to switch.
8) Turn ON power at circuit breaker.
[STEP 1]
[STEP 2]
[STEP 3]
[STEP 4]
[STEP 5]
[STEP 6]
[STEP 7]
[STEP 8]
Package contents
What you will need
-4 Wire Nuts
-1 EnFocus™ Switch
-1 Switch Cover
-2 Phillips Mounting
Screws
-Installation
Instructions
-Phillips Screwdriver
-Voltage tester
Switch Wiring Connections
Line
Load
Ground
Neutral
Switch Wiring Connections
Line
Load
Ground
Neutral
Wire Nut
TM

42858-Rev C
RATINGS:
Cat. No.
Voltage/
Frequency
Type
Incandescent
(Tungsten-Filament)
CFL/LED/Electronic
self-ballasted
LEDSW-DM-2-WH
UL#: 4DD50031A
120/270 VAC,
50/60 Hz
Single
Pole
300 W
3 A
MULTI-GANGED INSTALLATION DE-RATINGS :
Cat. No.
Device Rating
Single-Gang
Rating
Double-Gang
Rating
Triple-Gang
Rating
LEDSW-DM-2-WH
UL#: 4DD50031A
120/277 VAC,
50/60 Hz,
300W Tungsten
3 A CFL/LED/
Electronic self-
ballasted
120/277 VAC,
50/60 Hz, 300W
Tungsten
3 A CFL/LED/
Electronic self-
ballasted
120/277 VAC,
50/60 Hz, 300W
Tungsten
3 A CFL/LED/
Electronic self-
ballasted
120/277 VAC,
50/60 Hz, 300W
Tungsten
3 A CFL/LED/
Electronic self-
ballasted
Please address all inquiries to:
Energy Focus, Inc.
32000 Aurora Road, Suite B
Solon, OH 44139
(800) 327-7877
orders @energyfocus.com
OPERATION:
EnFocus™ Dimmable Switch
1) Press button to turn ON or OFF light(s) connected to switch.
2) Press and HOLD button for 5 seconds to save the current light setting. The
Brightness Level Indicator will flash when set. A brief press of the button will
automatically change lights to saved setting.
3) Press button once to increase brightness of light(s).
4) Press button once to decrease brightness of light(s).
TROUBLESHOOTING:
Observed Problem:
Possible Cause:
Possible Solution:
Switch will not power on after
installation
Flap underneath dimmer button
protruding from switch
Press flap into switch
Lamps flash once and then
remain turned off
The red load wire of the switch
is connected to line wire from
the panel
Review installation procedure
and assure red and black wires
are connected correctly
Lamps pulsate but remain on
and are unresponsive to inputs
on switch
The green ground wire of the
switch is disconnected OR the
line and load wires of the switch
are connected to neutral wires
Review installation procedure
and assure wires are connected
correctly
Lamps are unresponsive to
inputs on switch
Non EnFocus lamps are installed
on the same circuit
Replace non EnFocus lamps with
EnFocus lamps
EnFocus™ lamps turn off when
adjusting dimming settings
Excessive force was used, and
flap underneath dimmer button
engaged
Turn ON lights via switch
EnFocus™ lamps do not go to
favorite setting.
Favorite setting erased or not
recorded
Review switch operation
procedure to set favorite
setting.
Switch is unresponsive to user
inputs
Fluorescent ballast remained
connected to EnFocus™ lamps.
Turn off power and remove
ballast.
*The circuit the switch is connected to must be properly grounded for full functionality.
For problems not listed in troubleshooting, please contact the Energy Focus support team at
techsupport@energyfocus.com.
1
2
3
4
LIMITED WARRANTY:
Visit energyfocus.com for full standard warranty terms and conditions
Please note that the warranty may not be valid in case of improper installation (for example, not
turning off main power before installation), damage due to normal wear and tear, exceptional
operational conditions, or unauthorized modifications.
IMPORTANT:
For optimal performance,
connect your EnFocus™ 2
wire switch to a minimum of
4 lamps.
Power Indicator
Brightness Level Indicator

42859-Rev C
EnFocus™ 3A -3 Wire
Dimmable Switch
Installation Instructions
120/277 VAC
Important Safety Instructions: Please read before installation
WARNING:
“THIS PRODUCT SHALL BE INSTALLED IN ACCORDANCE WITH THE LATEST NEC AND/OR LOCAL AUTHORITY HAVING JURISDICTION AND OPERATION OF THIS PRODUCT AND THE ELECTRICAL REQUIREMENTS
INVOLVED.”
-Risk of fire or electric shock: ALWAYS disconnect or terminate power to fixture prior to installation, or replacement, of EnFocus™ Lighting Control Switches. Failure to do so may result in shock and/or
serious injury.
-Risk of fire or electric shock: The operating voltage of these products is 120/277 VAC; Installer shall verify operating voltage at the luminaries prior to installation.
-Risk of fire or electric shock: To prevent wiring damage or abrasion, protect wiring from exposed edges of sheet metal or other sharp objects that may be present to the switch.
-Suitable for dry locations only when used with open, surface, recessed and totally enclosed fixtures. May be used in wet location when installed in a suitable UL-listed wet location enclosed fixture.
Do not make modification to or alter switch electrical components other than those required for proper installation.
THIS RETROFIT ASSEMBLY IS AN APPROVED COMPONENT OF A LINEAR FLUORESCENT LUMINAIRE KIT WHERE THE SUITABILITY OF THE COMBINATION SHALL BE DETERMINED BY CSA OR LOCAL AUTHORITIES HAVING
JURISDICTION.
THIS DEVICE IS NOT INTEDED FOR USE WITH EMERGENCY LIGHTING BATTERY TYPE SYSTEMS FOR FLUORESCENT LIGHTING PRODUCTS.
CAUTION – To Reduce The Risk of Overheating and Possible Damage to Other Equipment, Do Not Install to Control a Receptacle, a Motor-Operated Appliance or a Fluorescent Lighting Fixture or a Transformer
Supplied Appliance.
EnFocus™ 3 Wire Dimmable Switch Installation
1) Turn OFF power at circuit breaker.
2) Remove switch cover.
3) Use voltage tester to verify power is off.
4) Disconnect wires from old switch.
5) Connect EnFocus™ switch shown in wiring illustration.
6) Mount EnFocus™ switch to wall.
7) Install new cover to switch.
8) Turn ON power at circuit breaker.
[STEP 1]
[STEP 2]
[STEP 3]
[STEP 4]
[STEP 5]
[STEP 6]
[STEP 7]
[STEP 8]
Package contents
What you will need
-4 Wire Nuts
-1 EnFocus™ Switch
-1 Switch Cover
-2 Phillips Mounting
Screws
-Installation
Instructions
-Phillips Screwdriver
-Voltage tester
Switch Wiring Connections
Line
Load
Ground
Neutral
Switch Wiring Connections
Line
Load
Ground
Neutral
Wire Nut
TM

42859-Rev C
RATINGS:
Cat. No.
Voltage/
Frequency
Type
Incandescent
(Tungsten-Filament)
CFL/LED/Electronic
self-ballasted
LEDSW-DM-3-WH
UL#: 4DD50031B
120/270 VAC,
50/60 Hz
Single
Pole
300 W
3 A
MULTI-GANGED INSTALLATION DE-RATINGS :
Cat. No.
Device Rating
Single-Gang
Rating
Double-Gang
Rating
Triple-Gang Rating
LEDSW-DM-3-WH
UL#: 4DD50031B
120/277 VAC,
50/60 Hz,
300W Tungsten
3 A CFL/LED/
Electronic self-
ballasted
120/277 VAC,
50/60 Hz, 300W
Tungsten
3 A CFL/LED/
Electronic self-
ballasted
120/277 VAC,
50/60 Hz, 300W
Tungsten
3 A CFL/LED/
Electronic self-
ballasted
120/277 VAC,
50/60 Hz, 300W
Tungsten
3 A CFL/LED/
Electronic self-
ballasted
Please address all inquiries to:
Energy Focus, Inc.
32000 Aurora Road, Suite B
Solon, OH 44139
(800) 327-7877
orders@energyfocus.com
OPERATION:
EnFocus™ Dimmable Switch
1) Press button to turn ON or OFF light(s) connected to switch.
2) Press and HOLD button for 5 seconds to save the current light setting. The
Brightness Level Indicator will flash when set. A brief press of the button will
automatically change lights to saved setting.
3) Press button once to increase brightness of light(s).
4) Press button once to decrease brightness of light(s).
TROUBLESHOOTING:
Observed Problem:
Possible Cause:
Possible Solution:
Switch will not power on after
installation
Flap underneath dimmer button
protruding from switch
Press flap into switch
Lamps flash once and then
remain turned off
The red load wire of the switch
is connected to line wire from
the panel
Review installation procedure
and assure red and black wires
are connected correctly
Lamps pulsate but remain on
and are unresponsive to inputs
on switch
The green ground wire of the
switch is disconnected OR the
line and load wires of the switch
are connected to neutral wires
Review installation procedure
and assure wires are connected
correctly
Lamps are unresponsive to
inputs on switch
Non EnFocus lamps are installed
on the same circuit
Replace non EnFocus lamps with
EnFocus lamps
EnFocus™ lamps turn off when
adjusting dimming settings
Excessive force was used, and
flap underneath dimmer button
engaged
Turn ON lights via switch
EnFocus™ lamps do not go to
favorite setting.
Favorite setting erased or not
recorded
Review switch operation
procedure to set favorite
setting.
Switch is unresponsive to user
inputs
Fluorescent ballast remained
connected to EnFocus™ lamps.
Turn off power and remove
ballast.
*The circuit the switch is connected to must be properly grounded for full functionality.
For problems not listed in troubleshooting, please contact the Energy Focus support team at
techsupport@energyfocus.com.
1
2
3
4
LIMITED WARRANTY:
Visit energyfocus.com for full standard warranty terms and conditions
Please note that the warranty may not be valid in case of improper installation (for example, not
turning off main power before installation), damage due to normal wear and tear, exceptional
operational conditions, or unauthorized modifications.
Power Indicator
Brightness Level Indicator

42860-Rev C
EnFocus™ 3A -2 Wire Dimmable
+ Color Tuning Switch
Installation Instructions
120/277 VAC
Important Safety Instructions: Please read before installation
WARNING:
“THIS PRODUCT SHALL BE INSTALLED IN ACCORDANCE WITH THE LATEST NEC AND/OR LOCAL AUTHORITY HAVING JURISDICTION AND OPERATION OF THIS PRODUCT AND THE ELECTRICAL REQUIREMENTS
INVOLVED.”
-Risk of fire or electric shock: ALWAYS disconnect or terminate power to fixture prior to installation, or replacement, of EnFocus™ Lighting Control Switches. Failure to do so may result in shock and/or
serious injury.
-Risk of fire or electric shock: The operating voltage of these products is 120/277 VAC; Installer shall verify operating voltage at the luminaries prior to installation.
-Risk of fire or electric shock: To prevent wiring damage or abrasion, protect wiring from exposed edges of sheet metal or other sharp objects that may be present to the switch.
-Suitable for dry locations only when used with open, surface, recessed and totally enclosed fixtures. May be used in wet location when installed in a suitable UL-listed wet location enclosed fixture.
Do not make modification to or alter switch electrical components other than those required for proper installation.
THIS RETROFIT ASSEMBLY IS AN APPROVED COMPONENT OF A LINEAR FLUORESCENT LUMINAIRE KIT WHERE THE SUITABILITY OF THE COMBINATION SHALL BE DETERMINED BY CSA OR LOCAL AUTHORITIES HAVING
JURISDICTION.
THIS DEVICE IS NOT INTEDED FOR USE WITH EMERGENCY LIGHTING BATTERY TYPE SYSTEMS FOR FLUORESCENT LIGHTING PRODUCTS.
CAUTION – To Reduce The Risk of Overheating and Possible Damage to Other Equipment, Do Not Install to Control a Receptacle, a Motor-Operated Appliance or a Fluorescent Lighting Fixture or a Transformer
Supplied Appliance.
For use where the grounded (neutral) conductor is not provided in the outlet box.
Switch’s ground wire required for 2 wire switch installation.
EnFocus™ 2 Wire Dimmable + Color Tuning
Switch Installation
1) Turn OFF power at circuit breaker.
2) Remove switch cover.
3) Use voltage tester to verify power is off.
4) Disconnect wires from old switch.
5) Connect EnFocus™ switch shown in wiring illustration.
6) Mount EnFocus™ switch to wall.
7) Install new cover to switch.
8) Turn ON power at circuit breaker.
[STEP 1]
[STEP 2]
[STEP 3]
[STEP 4]
[STEP 5]
[STEP 6]
[STEP 7]
[STEP 8]
Package contents
What you will need
-4 Wire Nuts
-1 EnFocus™ Switch
-1 Switch Cover
-2 Phillips Mounting
Screws
-Installation
Instructions
-Phillips Screwdriver
-Voltage tester
Switch Wiring Connections
Line
Load
Ground
Neutral
Switch Wiring Connections
Line
Load
Ground
Neutral
Wire Nut
TM

42860-Rev C
RATINGS:
Cat. No.
Voltage/
Frequency
Type
Incandescent
(Tungsten-Filament)
CFL/LED/Electronic
self-ballasted
LEDSW-DCT-2-WH
UL#: 4DC50031A
120/270 VAC,
50/60 Hz
Single
Pole
300 W
3 A
MULTI-GANGED INSTALLATION DE-RATINGS :
Cat. No.
Device Rating
Single-Gang
Rating
Double-Gang
Rating
Triple-Gang
Rating
LEDSW-DCT-2-WH
UL#: 4DC50031A
120/277 VAC,
50/60 Hz, 300W
Tungsten
3 A CFL/LED/
Electronic self-
ballasted
120/277 VAC,
50/60 Hz, 300W
Tungsten
3 A CFL/LED/
Electronic self-
ballasted
120/277 VAC,
50/60 Hz, 300W
Tungsten
3 A CFL/LED/
Electronic self-
ballasted
120/277 VAC,
50/60 Hz,
300W Tungsten
3 A CFL/LED/
Electronic self-
ballasted
Please address all inquiries to:
Energy Focus, Inc.
32000 Aurora Road, Suite B
Solon, OH 44139
(800) 327-7877
orders@energyfocus.com
TROUBLESHOOTING:
Observed Problem:
Possible Cause:
Possible Solution:
Switch will not power on after
installation
Flap underneath dimmer button
protruding from switch
Press flap into switch
Lamps flash once and then
remain turned off
The red load wire of the switch
is connected to line wire from
the panel
Review installation procedure
and assure red and black wires
are connected correctly
Lamps pulsate but remain on
and are unresponsive to inputs
on switch
The green ground wire of the
switch is disconnected OR the
line and load wires of the switch
are connected to neutral wires
Review installation procedure
and assure wires are connected
correctly
Lamps are unresponsive to
inputs on switch
Non EnFocus lamps are installed
on the same circuit
Replace non EnFocus lamps with
EnFocus lamps
EnFocus™ lamps turn off when
adjusting dimming settings
Excessive force was used, and
flap underneath dimmer button
engaged
Turn ON lights via switch
EnFocus™ lamps do not go to
favorite setting.
Favorite setting erased or not
recorded
Review switch operation
procedure to set favorite
setting.
Switch is unresponsive to user
inputs
Fluorescent ballast remained
connected to EnFocus™ lamps.
Turn off power and remove
ballast.
*The circuit the switch is connected to must be properly grounded for full functionality.
For problems not listed in troubleshooting, please contact the Energy Focus support team at
techsupport@energyfocus.com.
LIMITED WARRANTY:
Visit energyfocus.com for full standard warranty terms and conditions
Please note that the warranty may not be valid in case of improper installation (for example, not
turning off main power before installation), damage due to normal wear and tear, exceptional
operational conditions, or unauthorized modifications.
IMPORTANT:
For optimal performance,
connect your EnFocus™ 2
wire switch to a minimum of
4 lamps.
OPERATION:
EnFocus™ Dimmable + Color Tuning Switch
1) Press button to turn ON or OFF light(s) connected to switch.
2) Press and HOLD button for 5 seconds to save the current light setting. The
Brightness Level Indicator will flash when set. A brief press of the button will
automatically change lights to saved setting.
3) Press button once to increase brightness of light(s).
4) Press button once to increase color temperature of light(s).
5) Press button once to decrease color temperature of light(s).
6) Press button once to decrease brightness of light(s).
1
3
5
6
4
2
Brightness Level Indicator
Power Indicator

42861-Rev C
EnFocus™ 3A - 3 Wire Dimmable
+ Color Tuning Switch
Installation Instructions
120/277 VAC
Important Safety Instructions: Please read before installation
WARNING:
“THIS PRODUCT SHALL BE INSTALLED IN ACCORDANCE WITH THE LATEST NEC AND/OR LOCAL AUTHORITY HAVING JURISDICTION AND OPERATION OF THIS PRODUCT AND THE ELECTRICAL REQUIREMENTS
INVOLVED.”
-Risk of fire or electric shock: ALWAYS disconnect or terminate power to fixture prior to installation, or replacement, of EnFocus™ Lighting Control Switches. Failure to do so may result in shock and/or
serious injury.
-Risk of fire or electric shock: The operating voltage of these products is 120/277 VAC; Installer shall verify operating voltage at the luminaries prior to installation.
-Risk of fire or electric shock: To prevent wiring damage or abrasion, protect wiring from exposed edges of sheet metal or other sharp objects that may be present to the switch.
-Suitable for dry locations only when used with open, surface, recessed and totally enclosed fixtures. May be used in wet location when installed in a suitable UL-listed wet location enclosed fixture.
Do not make modification to or alter switch electrical components other than those required for proper installation.
THIS RETROFIT ASSEMBLY IS AN APPROVED COMPONENT OF A LINEAR FLUORESCENT LUMINAIRE KIT WHERE THE SUITABILITY OF THE COMBINATION SHALL BE DETERMINED BY CSA OR LOCAL AUTHORITIES HAVING
JURISDICTION.
THIS DEVICE IS NOT INTEDED FOR USE WITH EMERGENCY LIGHTING BATTERY TYPE SYSTEMS FOR FLUORESCENT LIGHTING PRODUCTS.
CAUTION – To Reduce The Risk of Overheating and Possible Damage to Other Equipment, Do Not Install to Control a Receptacle, a Motor-Operated Appliance or a Fluorescent Lighting Fixture or a Transformer
Supplied Appliance.
EnFocus™ 3 Wire Dimmable Switch + Color
Tuning Installation
1) Turn OFF power at circuit breaker.
2) Remove switch cover.
3) Use voltage tester to verify power is off.
4) Disconnect wires from old switch.
5) Connect EnFocus™ switch shown in wiring illustration.
6) Mount EnFocus™ switch to wall.
7) Install new cover to switch.
8) Turn ON power at circuit breaker.
[STEP 1]
[STEP 2]
[STEP 3]
[STEP 4]
[STEP 5]
[STEP 6]
[STEP 7]
[STEP 8]
Package contents
What you will need
-4 Wire Nuts
-1 EnFocus™ Switch
-1 Switch Cover
- 2 Phillips Mounting
Screws
-Installation
Instructions
-Phillips Screwdriver
-Voltage tester
Line
Load
Ground
Neutral
Switch Wiring Connections
Line
Load
Ground
Neutral
Wire Nut
TM

42861-Rev C
RATINGS:
Cat. No.
Voltage/
Frequency
Type
Incandescent
(Tungsten-Filament)
CFL/LED/Electronic
self-ballasted
LEDSW-DCT-3-WH
UL#: 4DC50031B
120/270 VAC,
50/60 Hz
Single
Pole
300 W
3 A
MULTI-GANGED INSTALLATION DE-RATINGS :
Cat. No.
Device Rating
Single-Gang
Rating
Double-Gang
Rating
Triple-Gang
Rating
LEDSW-DCT-3-WH
UL#: 4DC50031B
120/277 VAC,
50/60 Hz, 300W
Tungsten
3 A CFL/LED/
Electronic self-
ballasted
120/277 VAC,
50/60 Hz, 300W
Tungsten
3 A CFL/LED/
Electronic self-
ballasted
120/277 VAC,
50/60 Hz, 300W
Tungsten
3 A CFL/LED/
Electronic self-
ballasted
120/277 VAC,
50/60 Hz, 300W
Tungsten
3 A CFL/LED/
Electronic self-
ballasted
Please address all inquiries to:
Energy Focus, Inc.
32000 Aurora Road, Suite B
Solon, OH 44139
(800) 327-7877
orders@energyfocus.com
OPERATION:
EnFocus™ Dimmable + Color Tuning Switch
1) Press button to turn ON or OFF light(s) connected to switch.
2) Press and HOLD button for 5 seconds to save the current light setting. The
Brightness Level Indicator will flash when set. A brief press of the button will
automatically change lights to saved setting.
3) Press button once to increase brightness of light(s).
4) Press button once to increase color temperature of light(s).
5) Press button once to decrease color temperature of light(s).
6) Press button once to decrease brightness of light(s).
TROUBLESHOOTING:
Observed Problem:
Possible Cause:
Possible Solution:
Switch will not power on after
installation
Flap underneath dimmer button
protruding from switch
Press flap into switch
Lamps flash once and then
remain turned off
The red load wire of the switch
is connected to line wire from
the panel
Review installation procedure
and assure red and black wires
are connected correctly
Lamps pulsate but remain on
and are unresponsive to inputs
on switch
The green ground wire of the
switch is disconnected OR the
line and load wires of the switch
are connected to neutral wires
Review installation procedure
and assure wires are connected
correctly
Lamps are unresponsive to
inputs on switch
Non EnFocus lamps are installed
on the same circuit
Replace non EnFocus lamps with
EnFocus lamps
EnFocus™ lamps turn off when
adjusting dimming settings
Excessive force was used, and
flap underneath dimmer button
engaged
Turn ON lights via switch
EnFocus™ lamps do not go to
favorite setting.
Favorite setting erased or not
recorded
Review switch operation
procedure to set favorite
setting.
Switch is unresponsive to user
inputs
Fluorescent ballast remained
connected to EnFocus™ lamps.
Turn off power and remove
ballast.
*The circuit the switch is connected to must be properly grounded for full functionality.
For problems not listed in troubleshooting, please contact the Energy Focus support team at
techsupport@energyfocus.com.
1
2
3
5
LIMITED WARRANTY:
Visit energyfocus.com for full standard warranty terms and conditions
Please note that the warranty may not be valid in case of improper installation (for example, not
turning off main power before installation), damage due to normal wear and tear, exceptional
operational conditions, or unauthorized modifications.
4
6
Power Indicator
Brightness Level Indicator
This manual suits for next models
1
Table of contents
Other ENERGY FOCUS Lighting Equipment manuals
Popular Lighting Equipment manuals by other brands
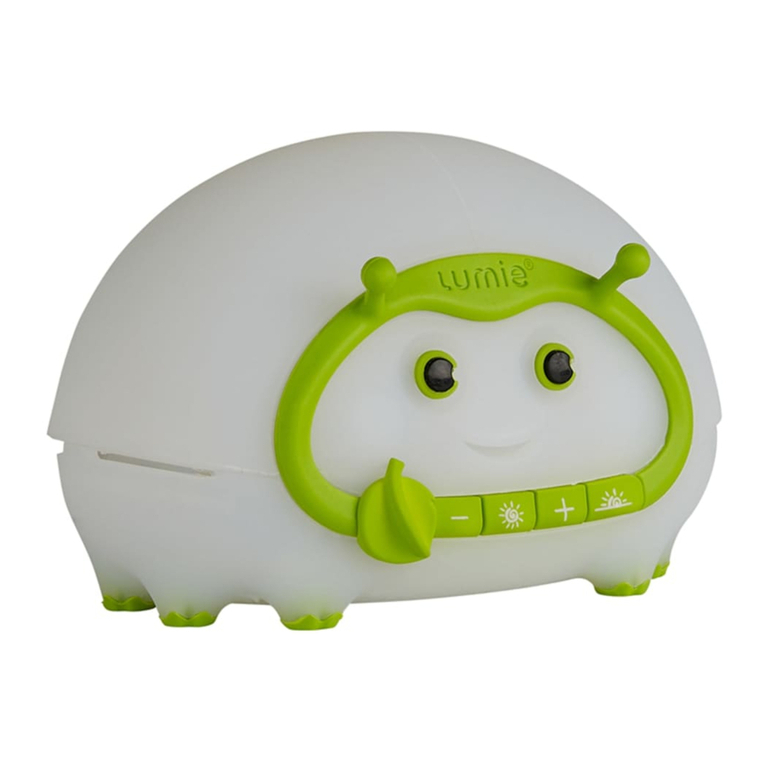
Lumie
Lumie Bedbug user manual
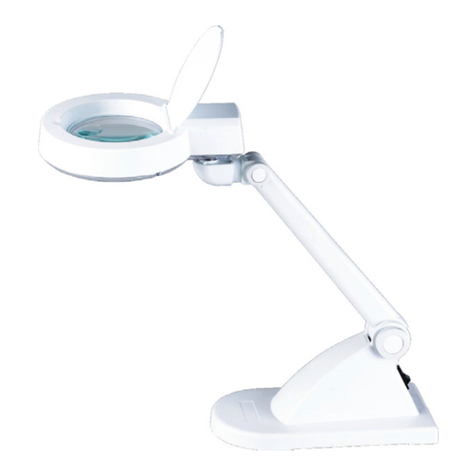
VWR
VWR Avantor 8611L instruction manual
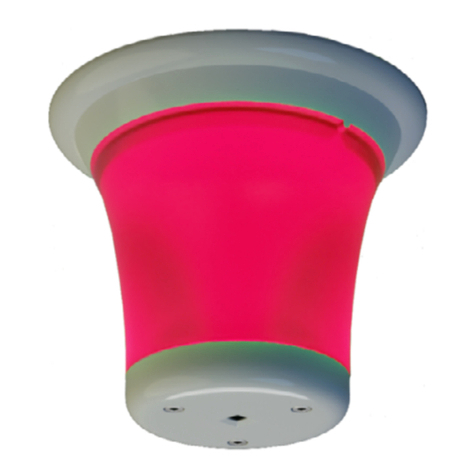
ZURN
ZURN plumbSMART Z-LIGHT-W1 Installation, operation, maintenance and parts manual
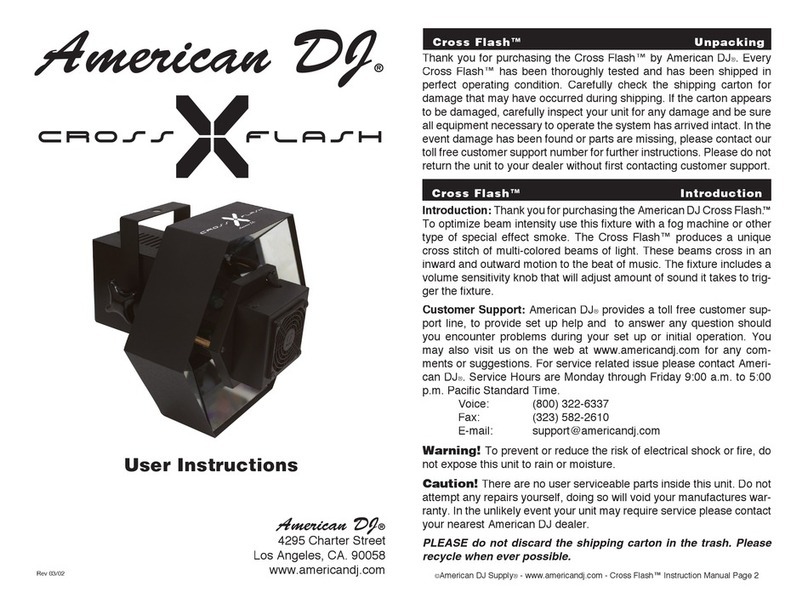
American DJ
American DJ Cross Flash User instructions

Elation
Elation KL PANEL PO user manual
Acuity Brands
Acuity Brands Lithonia Lighting AFFINITY AFB manual

KOSMOS MALABARES
KOSMOS MALABARES Lunar user manual
Safavieh
Safavieh LIT4297A quick start guide
dymax
dymax PC-3 Operation manual
Aladdin
Aladdin MOSAIC Series user manual
Amerec
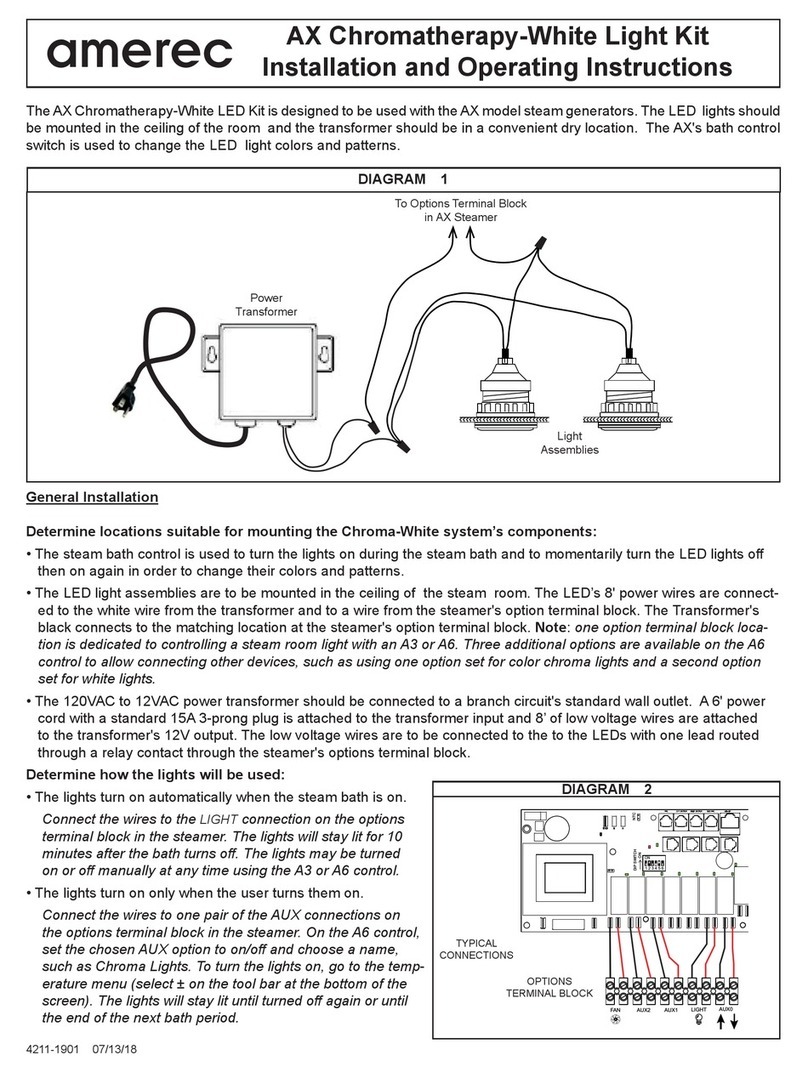
Amerec AX Chromatherapy-White LED Kit Installation and operating instructions
LDR
LDR Canto 1200msr FF 120V mk2 operating instructions
