Epic Gardening OVB211108 User manual

Congratulations on your new
Birdies bed, the original raised
metal garden bed! Not only will
you be able to garden more
eciently in the harshest of
conditions, you’re now working
with Aluzinc steel, an even
stronger and more durable
version of galvanized steel.
Pat yourself on the back! This
material is three times more
durable than the competition.
Aluzinc performs 2-7x better at
rust and corrosion resistance,
too. And it’s sealed with a non-
toxic, food-safe powder coat
that keeps your garden just the
way you like it: natural.
Now that you have your bed,
we’re here to answer any
questions. Please see the
reverse side for a list of the
most common inquiries we
receive on a regular basis. If
you don’t see the answer you
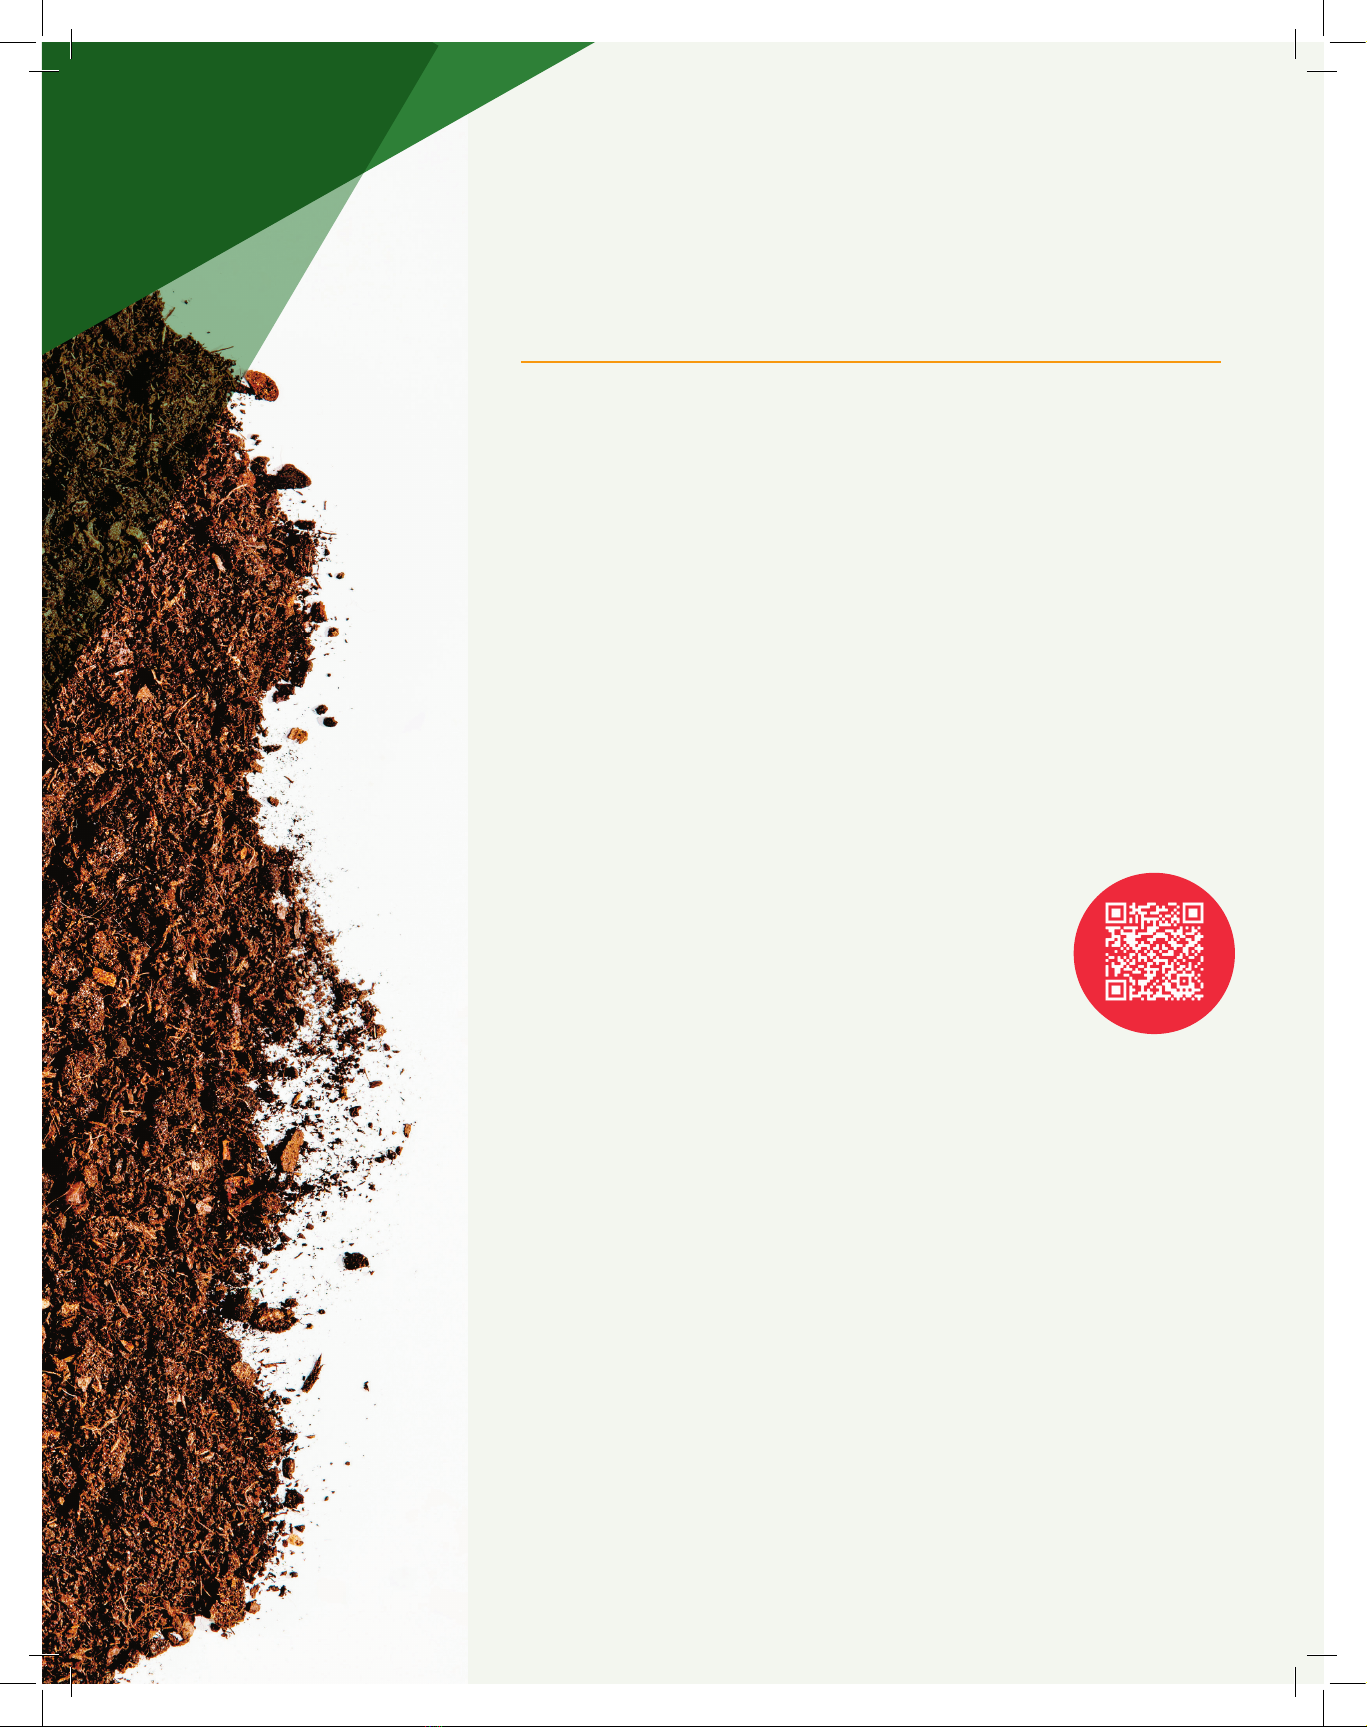
are looking for, scan the QR
code for set up instructions
for each size and style of
bed. Please feel free to reach
out to customer service
(customerservice@epicgardening.com)
if you need anything else.
While unpacking and assembling your
bed, please be aware of sharp corners
that could cause injury. It is advisable to
wear protective gloves when handling
these items. Sensible shoes are also
recommended. Until the UV and heat-
stable vinyl safety edge is fitted, take all
necessary precautions to avoid injury.
We recommend placing the bed on
level ground with the bottom edge on a
layer of 0.25” - 0.5” of gravel. This allows
for excellent drainage and protects the
bottom edge of the bed.
If you are filling the bed with a bobcat
or backhoe, fill the initial 1/3 of the bed
slowly. When you are filling the bed do
not climb into it. This puts unnecessary
pressure onto the bed and may lead to
damage.
This 30” tall garden bed is designed to
handle weight of organic based soils from
landscape yards only. If using fill especially
a clay based one it is recommended that 3
braces vertically across the middle are used
for the wider beds and 6 braces for the
narrow sizes. Braces are available on the
Epic Gardening Store.
Birdies Original Range Tall 8-in-1
IMPORTANT NOTES:
Always bend knees
while lifting and wear
protective gardening
gear.
shop.epicgardening.com
INSIDE OUTSIDE
rolled steel edge faces up
IMPORTANT ASSEMBLY
• While unpacking and during assem-
bly, please be aware of sharp cor-
ners that could cause injury. It is ad-
visable to wear protective gloves
when handling these items, sensible
shoes are also recommended. Until
such time as the UV and heat-sta-
ble vinyl safety edge is tted all
necessary precautions need to be
undertaken to avoid injury.
• We recommend placing the bed
on level ground with the bottom
edge of the bed on a layer of 0.25”
- 0.5” gravel. This allows excellent
drainage and protects the bottom
edge of the bed.
• If lling with a bobcat or backhoe
ll initial 1/3 of bed slowly. When
lling do not climb in as this puts
unnecessary pressure onto the bed
and may lead to damage.
• This 30” tall garden bed is designed
to handle weight of organic based
soils from landscape yards only. If
using ll especially a clay based
one it is recommended that 3
braces vertically across the mid-
dle are used for the wider beds
and 6 braces for the narrow sizes.
Braces are available on the Epic
Gardening Store.
1. Remove protective plastic covering
(on all colored beds). Choose your de-
sired shape from available congurations
(as shown below) and lay panels out on
the ground accordingly.
3. Attach all nuts loosely & then tight-
en using a screwdriver or cordless drill.
Failure to tighten each nut and bolt to its
maximum may cause failure.
Brace the 3rd and 6th hole from the
bottom!
2. Assemble all side panels rst then at-
tach corner panels.
Be sure to attach the corners on the
OUTSIDE of the straight sheets.
4. When panel assembly is complete
push the vinyl edging onto the rolled
steel edge and trim away any excess. A
butter knife can be used to pry open the
edging.
The safety edging is designed to lock
onto the rolled steel edge making it
more permanent.
CONFIGURATIONS
washer 22.5”
22.5” 22.5”
22.5” 22.5” 7”
Screw each piece of threaded rod equally into the joiner until tight
11
22
33
23”
23”
23”
23”
23”
31”
31”
31”
31”
31”
31”
31”
31” 31”
31”
31”
23”
31” 23”
31”
23”
31”
23”
31”
31”
31”
23”
31” 31” 31”
31”
31”
31”
31” 31”
31”
51” x 51” 51” x 43”
83” x 51”
83” x 43”
83”
x
24”
102”
x
24”
65”
x
24”
73”
x
24”
46.2 ft3/1.7 yrd362.1 ft3/2.3 yrd334.5 ft3/1.3 yrd338.7 ft3/1.4 yrd342.5 ft3/1.6 yrd330.5 ft3/1.1 yrd365.6 ft3/2.4 yrd327 ft3/1 yrd3
22
33
11
11
11
DUE TO THE MANUFACTURING PROCESS BED SIZING MAY VARY +/- 2”
Note:Note: Place the brace in the 3rd and 6th hole from the bottom
211104/08
Birdies Original Range
Tall 8-in-1
Remove protective plastic coverings (on
all colored beds). Choose your desired
shape from the available configurations
(as shown above) and lay the panels out
on the ground accordingly.
1
Attach all nuts loosely & then tighten
them using a screwdriver or cordless
drill. Failure to ax each nut and bolt
to its maximum tightness may cause
structural failure.
INSIDE OUTSIDE
rolled steel edge faces up
IMPORTANT ASSEMBLY
• While unpacking and during assem-
bly, please be aware of sharp cor-
ners that could cause injury. It is ad-
visable to wear protective gloves
when handling these items, sensible
shoes are also recommended. Until
such time as the UV and heat-sta-
ble vinyl safety edge is tted all
necessary precautions need to be
undertaken to avoid injury.
• We recommend placing the bed
on level ground with the bottom
edge of the bed on a layer of 0.25”
- 0.5” gravel. This allows excellent
drainage and protects the bottom
edge of the bed.
• If lling with a bobcat or backhoe
ll initial 1/3 of bed slowly. When
lling do not climb in as this puts
unnecessary pressure onto the bed
and may lead to damage.
• This 30” tall garden bed is designed
to handle weight of organic based
soils from landscape yards only. If
using ll especially a clay based
one it is recommended that 3
braces vertically across the mid-
dle are used for the wider beds
and 6 braces for the narrow sizes.
Braces are available on the Epic
Gardening Store.
1. Remove protective plastic covering
(on all colored beds). Choose your de-
sired shape from available congurations
(as shown below) and lay panels out on
the ground accordingly.
3. Attach all nuts loosely & then tight-
en using a screwdriver or cordless drill.
Failure to tighten each nut and bolt to its
maximum may cause failure.
Brace the 3rd and 6th hole from the
bottom!
2. Assemble all side panels rst then at-
tach corner panels.
Be sure to attach the corners on the
OUTSIDE of the straight sheets.
4. When panel assembly is complete
push the vinyl edging onto the rolled
steel edge and trim away any excess. A
butter knife can be used to pry open the
edging.
The safety edging is designed to lock
onto the rolled steel edge making it
more permanent.
CONFIGURATIONS
washer 22.5”
22.5” 22.5”
22.5” 22.5” 7”
Screw each piece of threaded rod equally into the joiner until tight
11
22
33
23”
23”
23”
23”
23”
31”
31”
31”
31”
31”
31”
31”
31” 31”
31”
31”
23”
31” 23”
31”
23”
31”
23”
31”
31”
31”
23”
31” 31” 31”
31”
31”
31”
31” 31”
31”
51” x 51” 51” x 43”
83” x 51”
83” x 43”
83”
x
24”
102”
x
24”
65”
x
24”
73”
x
24”
46.2 ft3/1.7 yrd362.1 ft3/2.3 yrd334.5 ft3/1.3 yrd338.7 ft3/1.4 yrd342.5 ft3/1.6 yrd330.5 ft3/1.1 yrd365.6 ft3/2.4 yrd327 ft3/1 yrd3
22
33
11
11
11
DUE TO THE MANUFACTURING PROCESS BED SIZING MAY VARY +/- 2”
Note:Note: Place the brace in the 3rd and 6th hole from the bottom
211104/08
Birdies Original Range
Tall 8-in-1
rolled steel edge
faces up
3
INSIDE OUTSIDE
rolled steel edge faces up
IMPORTANT ASSEMBLY
• While unpacking and during assem-
bly, please be aware of sharp cor-
ners that could cause injury. It is ad-
visable to wear protective gloves
when handling these items, sensible
shoes are also recommended. Until
such time as the UV and heat-sta-
ble vinyl safety edge is tted all
necessary precautions need to be
undertaken to avoid injury.
• We recommend placing the bed
on level ground with the bottom
edge of the bed on a layer of 0.25”
- 0.5” gravel. This allows excellent
drainage and protects the bottom
edge of the bed.
• If lling with a bobcat or backhoe
ll initial 1/3 of bed slowly. When
lling do not climb in as this puts
unnecessary pressure onto the bed
and may lead to damage.
• This 30” tall garden bed is designed
to handle weight of organic based
soils from landscape yards only. If
using ll especially a clay based
one it is recommended that 3
braces vertically across the mid-
dle are used for the wider beds
and 6 braces for the narrow sizes.
Braces are available on the Epic
Gardening Store.
1. Remove protective plastic covering
(on all colored beds). Choose your de-
sired shape from available congurations
(as shown below) and lay panels out on
the ground accordingly.
3. Attach all nuts loosely & then tight-
en using a screwdriver or cordless drill.
Failure to tighten each nut and bolt to its
maximum may cause failure.
Brace the 3rd and 6th hole from the
bottom!
2. Assemble all side panels rst then at-
tach corner panels.
Be sure to attach the corners on the
OUTSIDE of the straight sheets.
4. When panel assembly is complete
push the vinyl edging onto the rolled
steel edge and trim away any excess. A
butter knife can be used to pry open the
edging.
The safety edging is designed to lock
onto the rolled steel edge making it
more permanent.
CONFIGURATIONS
washer 22.5”
22.5” 22.5”
22.5” 22.5” 7”
Screw each piece of threaded rod equally into the joiner until tight
11
22
33
23”
23”
23”
23”
23”
31”
31”
31”
31”
31”
31”
31”
31” 31”
31”
31”
23”
31” 23”
31”
23”
31”
23”
31”
31”
31”
23”
31” 31” 31”
31”
31”
31”
31” 31”
31”
51” x 51” 51” x 43”
83” x 51”
83” x 43”
83”
x
24”
102”
x
24”
65”
x
24”
73”
x
24”
46.2 ft3/1.7 yrd362.1 ft3/2.3 yrd334.5 ft3/1.3 yrd338.7 ft3/1.4 yrd342.5 ft3/1.6 yrd330.5 ft3/1.1 yrd365.6 ft3/2.4 yrd327 ft3/1 yrd3
22
33
11
11
11
DUE TO THE MANUFACTURING PROCESS BED SIZING MAY VARY +/- 2”
Note:Note: Place the brace in the 3rd and 6th hole from the bottom
211104/08
Birdies Original Range
Tall 8-in-1
When the panel
assembly is complete
push the rubber edging
onto the rolled steel
edge and trim away
any excess. A butter
knife can be used to
pry open the edging.
The safety edging
is designed to lock
onto the rolled steel
edge making it more
permanent.
4
ASSEMBLY:
2
Assemble all the side panels first then
attach the corner panels.
Be sure to attach the corners on the
OUTSIDE of the straight sheets.
CONFIGURATIONS: Due to the manufacturing process, bed sizing may vary +/- 2”
INSIDE OUTSIDE
rolled steel edge faces up
IMPORTANT ASSEMBLY
• While unpacking and during assem-
bly, please be aware of sharp cor-
ners that could cause injury. It is ad-
visable to wear protective gloves
when handling these items, sensible
shoes are also recommended. Until
such time as the UV and heat-sta-
ble vinyl safety edge is tted all
necessary precautions need to be
undertaken to avoid injury.
• We recommend placing the bed
on level ground with the bottom
edge of the bed on a layer of 0.25”
- 0.5” gravel. This allows excellent
drainage and protects the bottom
edge of the bed.
• If lling with a bobcat or backhoe
ll initial 1/3 of bed slowly. When
lling do not climb in as this puts
unnecessary pressure onto the bed
and may lead to damage.
• This 30” tall garden bed is designed
to handle weight of organic based
soils from landscape yards only. If
using ll especially a clay based
one it is recommended that 3
braces vertically across the mid-
dle are used for the wider beds
and 6 braces for the narrow sizes.
Braces are available on the Epic
Gardening Store.
1. Remove protective plastic covering
(on all colored beds). Choose your de-
sired shape from available congurations
(as shown below) and lay panels out on
the ground accordingly.
3. Attach all nuts loosely & then tight-
en using a screwdriver or cordless drill.
Failure to tighten each nut and bolt to its
maximum may cause failure.
Brace the 3rd and 6th hole from the
bottom!
2. Assemble all side panels rst then at-
tach corner panels.
Be sure to attach the corners on the
OUTSIDE of the straight sheets.
4. When panel assembly is complete
push the vinyl edging onto the rolled
steel edge and trim away any excess. A
butter knife can be used to pry open the
edging.
The safety edging is designed to lock
onto the rolled steel edge making it
more permanent.
CONFIGURATIONS
washer 22.5”
22.5” 22.5”
22.5” 22.5” 7”
Screw each piece of threaded rod equally into the joiner until tight
11
22
33
23”
23”
23”
23”
23”
31”
31”
31”
31”
31”
31”
31”
31” 31”
31”
31”
23”
31” 23”
31”
23”
31”
23”
31”
31”
31”
23”
31” 31” 31”
31”
31”
31”
31” 31”
31”
51” x 51” 51” x 43”
83” x 51”
83” x 43”
83”
x
24”
102”
x
24”
65”
x
24”
73”
x
24”
46.2 ft3/1.7 yrd362.1 ft3/2.3 yrd334.5 ft3/1.3 yrd338.7 ft3/1.4 yrd342.5 ft3/1.6 yrd330.5 ft3/1.1 yrd365.6 ft3/2.4 yrd327 ft3/1 yrd3
22
33
11
11
11
DUE TO THE MANUFACTURING PROCESS BED SIZING MAY VARY +/- 2”
Note:Note: Place the brace in the 3rd and 6th hole from the bottom
211104/08
Birdies Original Range
Tall 8-in-1
Place the brace in the 3rd hole from the bottom.
INSIDE OUTSIDE
rolled steel edge faces up
IMPORTANT ASSEMBLY
• While unpacking and during assem-
bly, please be aware of sharp cor-
ners that could cause injury. It is ad-
visable to wear protective gloves
when handling these items, sensible
shoes are also recommended. Until
such time as the UV and heat-sta-
ble vinyl safety edge is tted all
necessary precautions need to be
undertaken to avoid injury.
• We recommend placing the bed
on level ground with the bottom
edge of the bed on a layer of 0.25”
- 0.5” gravel. This allows excellent
drainage and protects the bottom
edge of the bed.
• If lling with a bobcat or backhoe
ll initial 1/3 of bed slowly. When
lling do not climb in as this puts
unnecessary pressure onto the bed
and may lead to damage.
• This 30” tall garden bed is designed
to handle weight of organic based
soils from landscape yards only. If
using ll especially a clay based
one it is recommended that 3
braces vertically across the mid-
dle are used for the wider beds
and 6 braces for the narrow sizes.
Braces are available on the Epic
Gardening Store.
1. Remove protective plastic covering
(on all colored beds). Choose your de-
sired shape from available congurations
(as shown below) and lay panels out on
the ground accordingly.
3. Attach all nuts loosely & then tight-
en using a screwdriver or cordless drill.
Failure to tighten each nut and bolt to its
maximum may cause failure.
Brace the 3rd and 6th hole from the
bottom!
2. Assemble all side panels rst then at-
tach corner panels.
Be sure to attach the corners on the
OUTSIDE of the straight sheets.
4. When panel assembly is complete
push the vinyl edging onto the rolled
steel edge and trim away any excess. A
butter knife can be used to pry open the
edging.
The safety edging is designed to lock
onto the rolled steel edge making it
more permanent.
CONFIGURATIONS
washer 22.5”
22.5” 22.5”
22.5” 22.5” 7”
Screw each piece of threaded rod equally into the joiner until tight
11
22
33
23”
23”
23”
23”
23”
31”
31”
31”
31”
31”
31”
31”
31” 31”
31”
31”
23”
31” 23”
31”
23”
31”
23”
31”
31”
31”
23”
31” 31” 31”
31”
31”
31”
31” 31”
31”
51” x 51” 51” x 43”
83” x 51”
83” x 43”
83”
x
24”
102”
x
24”
65”
x
24”
73”
x
24”
46.2 ft3/1.7 yrd362.1 ft3/2.3 yrd334.5 ft3/1.3 yrd338.7 ft3/1.4 yrd342.5 ft3/1.6 yrd330.5 ft3/1.1 yrd365.6 ft3/2.4 yrd327 ft3/1 yrd3
22
33
11
11
11
DUE TO THE MANUFACTURING PROCESS BED SIZING MAY VARY +/- 2”
Note:Note: Place the brace in the 3rd and 6th hole from the bottom
211104/08
Birdies Original Range
Tall 8-in-1
Screw each piece
of threaded rod
equally into the
joiner until tight.
1
2
3
1
2
3
2
2
3
3
2
3
1
2
3
1
2
3
1
2
3
3
2
3
2
2
3
Bracing - applies to certain configurations
SKU OVB211108
Does your Birdies bed have some
scratches from shipping?
Note that the powder coat of paint
isn’t actually the protective part of
the bed. The bed itself is made of
Aluzinc, one of the most durable
galvanized steels out there. You
won’t deal with any rust at all, even
with the scrapes. Please contact
customer service (customerservice@
epicgardening.com) to have a magical
can of powder spray paint sent to
you. It is an exact match for the coat
that is already on the bed.
Were your Birdies bed corners slightly
bent during shipping?
The panels can be easily bent back
into place. Use a cloth to protect
the metal when you re-adjust the
bed and return it to its original state.
After you’re done, it will be like-
new, especially when two beds are
screwed together. Make sure to put
the bent panel under the non-bent
side. Ideally, placing bent panels on
the bottom ensures any remaining
imperfections aren’t visible. Check
out this helpful YouTube video
(https://bit.ly/bentpanels).
Are you missing any hardware?
No problem at all! Just contact
customer service (customerservice@
epicgardening.com) and they will
send the hardware to you right away.
Do I need a Bracing Kit?
Our Tall 8-in-1 is the only model that
requires and comes with a bracing
kit. If you need one (or more) for
peace of mind or because you’re
combining beds, you can purchase
more from our store. Check out this
video for more information
(https://bit.ly/bracinginfo).
Can I combine beds?
Yes! You can combine two beds
together. We always recommend
installing bracing bars when
combining beds to prevent bowing
due to soil pressure. For detailed
instructions, visit (https://bit.ly/
bracinginfo).
Can I place my Birdies Beds on a
slope?
Indeed! Build a terraced slope
with retaining walls, which looks
quite nice but takes some eort.
If you have a shallow slope and
want to nestle your bed into it,
refer to our YouTube video
(https://bit.ly/slopeplacement) for
bracing instructions.
How do I ll my Birdies bed?
Most models of Birdies beds can
be configured to many dierent
dimensions due to their panel
construction. This
causes the soil
requirements to
change based on
the dimensions
you choose.
But not to worry!
To make this simpler
for you, we’ve created
a chart for each model showcasing
the dimensions and the required soil
in both cubic feet and cubic yards.
For taller models we recommend
watching our YouTube video
(https://bit.ly/filltallbeds) to save
60%+ on your soil costs.
Scan the QR Code for a full list of
common bed configurations and
quantities needed
What surface can I place my Birdies
bed on?
Place your Birdies raised beds on any
surface, from bare dirt to concrete.
Here are our recommendations for
each type of surface. Scan the QR
code for instructions on various
surfaces. This video also has details
(https://bit.ly/bedsurfaces).
faq
Other Epic Gardening Lawn And Garden Equipment manuals


Popular Lawn And Garden Equipment manuals by other brands

Sunforce
Sunforce SOLAR user manual

GARDEN OF EDEN
GARDEN OF EDEN 55627 user manual

Goizper Group
Goizper Group MATABI POLMINOR instruction manual

Rain Bird
Rain Bird 11000 Series Operation & maintenance manual

Cub Cadet
Cub Cadet BB 230 brochure

EXTOL PREMIUM
EXTOL PREMIUM 8891590 Translation of the original user manual


Vertex
Vertex 1/3 HP Maintenance instructions

GHE
GHE AeroFlo 80 manual

Land Pride
Land Pride Post Hole Diggers HD25 Operator's manual

Yazoo/Kees
Yazoo/Kees Z9 Commercial Collection System Z9A Operator's & parts manual

Premier designs
Premier designs WindGarden 26829 Assembly instructions

Snapper
Snapper 1691351 installation instructions