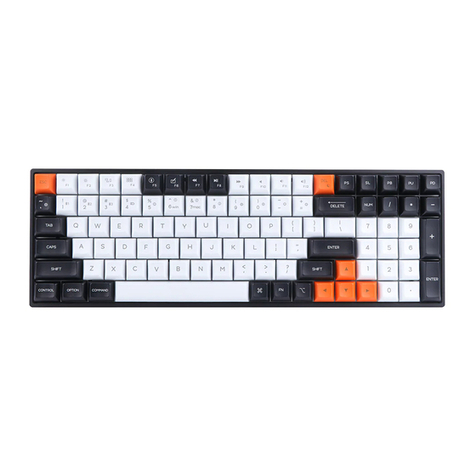
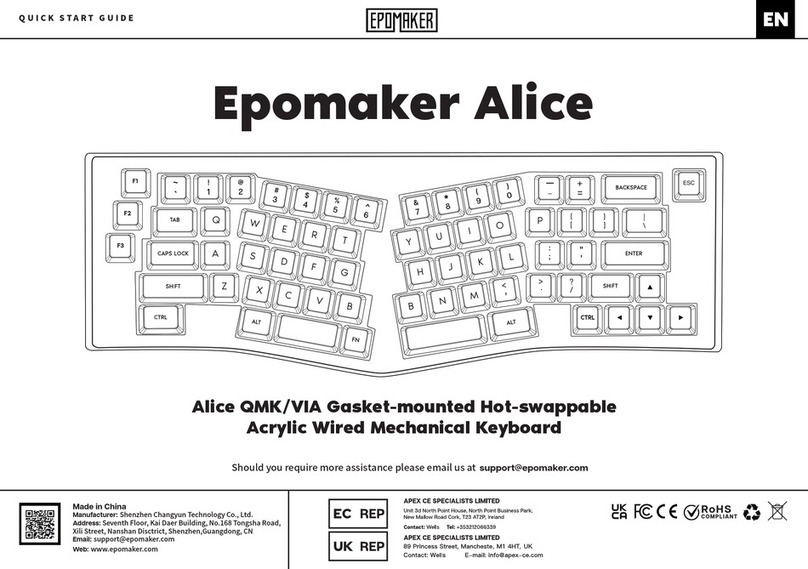
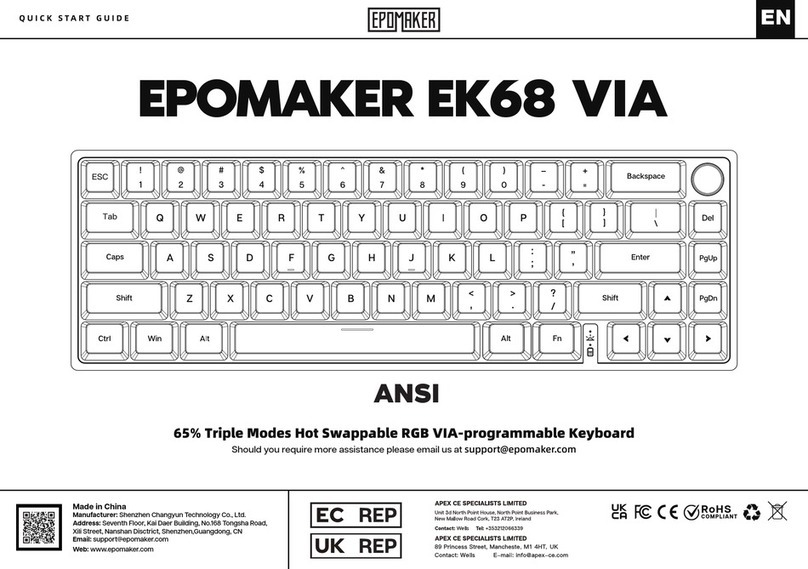
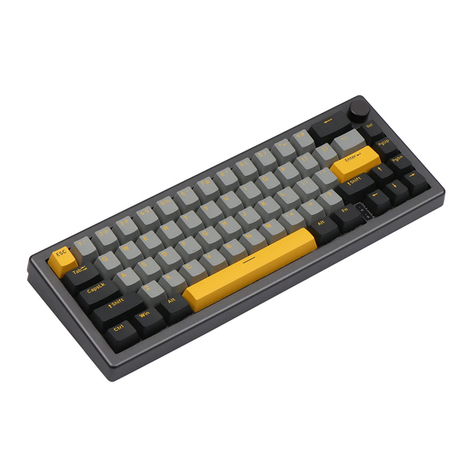
Epomaker GS66 Extended Manual Version 1.0
Quick Start Guide
Powering the GK66/SK66
Your device will come uncharged, or with low battery. In this case, it is required that you charge
it before use. Your device requires a USB-A to USB-C connection with the cable that came in
the box. If you are a Mac user, you can use your device by using a dongle that will convert the
cable to a USB-C connection, or charging it on another device before using it. DO NOT
CHARGE THE DEVICE DIRECTLY FROM A POWER SOCKET.
If you are having issues charging the device, make sure that the USB you’re plugging it into is
outputting enough power, and if you’re using a different cable, that it is also a cable that sends
power, not just signal.
Turning Off/On the GK66/SK66
The device will power on automatically with an animation of the keys powering white individually
when it detects it is connected and charging. You shouldn’t need to do anything to get the
device to power on in this case, unless you are having power issues. In the case of turning it off,
there are two things you can do. Firstly, to turn off the Bluetooth, press FN + Space. To lock the
device, and prevent it being pressed while it is in a bag, press FN + Tab for three seconds to get
the board to lock. Then do the same to get it to unlock.
Changing Modes/Layers
The following modes are available on your GK66/SK66
Standard Layer
In this layer, you have preset configurations for the buttons to be pressed which you can see in
the manual above. You can put onboard lighting on here by using the software and accessing it
using FN + ]
The default on this layer is the following:
Macice Blue, RGB, Spectral Cycle, Windmill and
Rainbow Waves
Driver Layer (FN + Q): Q light will light up when this mode is selected. Driver mode layer
only works when the keyboard is connected wired, and allows you to modify the backlight
colours in real-time. You can assign larger macros while connected through a cable vs storing it
on-board.
Layer 1: Onboard memory layer, The “W” key will light up when this mode is selected.
This layer will work without having to be connected wired, but you’re limited to what lighting you
saved onboard (similar to the “standard layer”).
12


