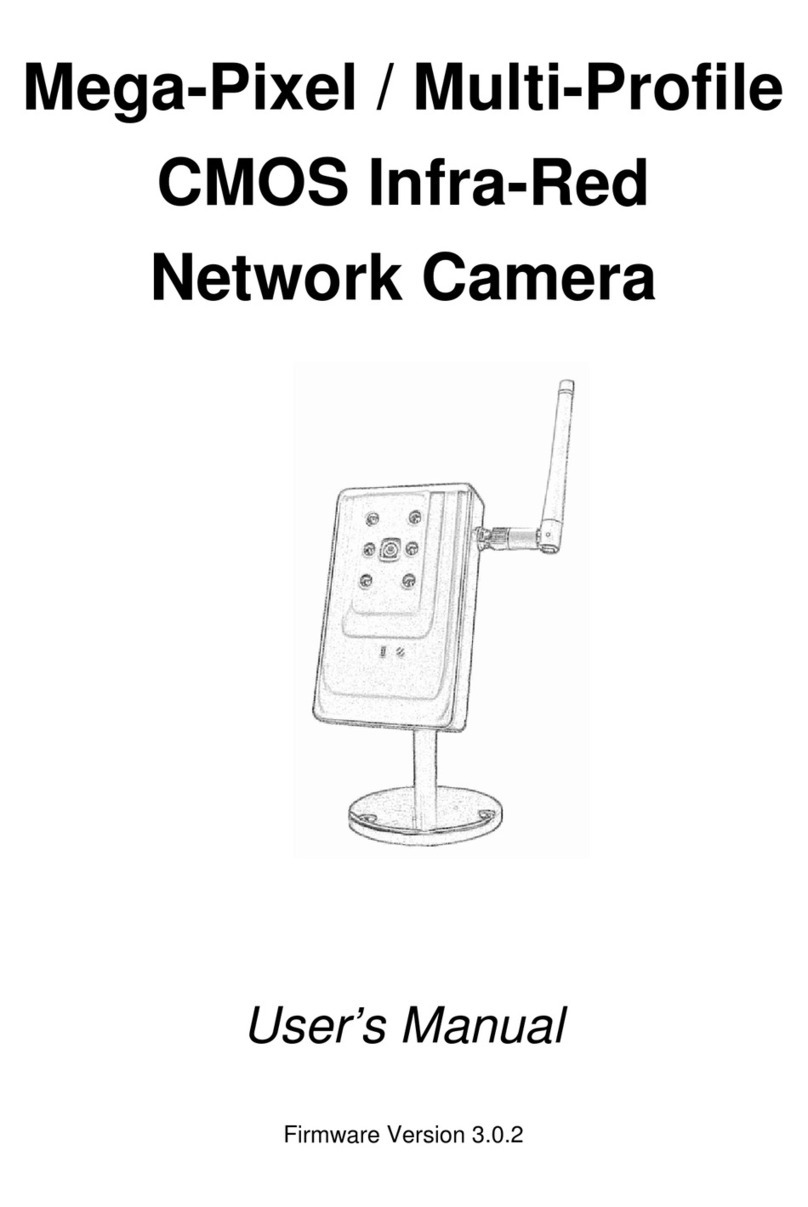
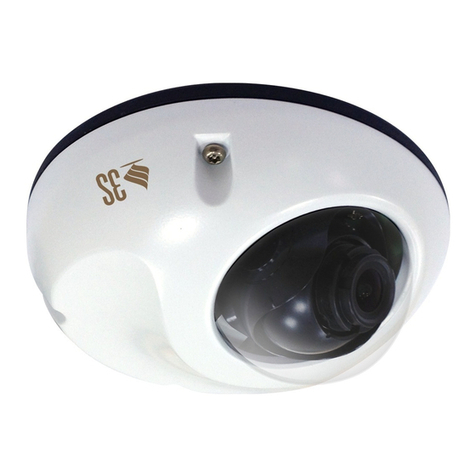
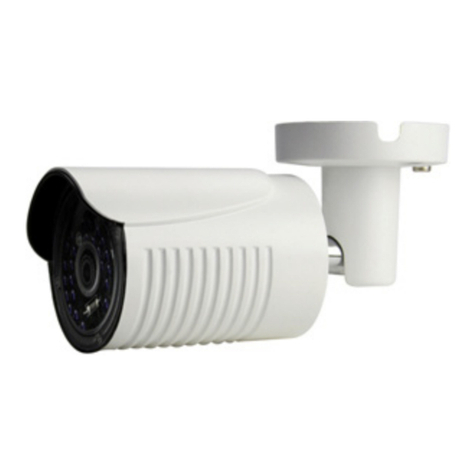
eRize MIRU365 User manual

Scan the QR code with the MIRU365 App
to add the device to your account.


COPYRIGHT © eRize. ALL RIGHTS RESERVED.
Any and all information, including, among others, wordings, pictures, graphs are the
properties of eRize. This user manual (hereinafter referred to as “the Manual”) cannot
be reproduced, changed, translated, or distributed, partially or wholly, by any means,
without the prior written permission of eRize. Unless otherwise stipulated, eRize
does not make any warranties, guarantees or representations, express or implied,
regarding to the Manual.
About this Manual
The Manual includes instructions for using and managing the product. Pictures,
charts, images and all other information hereinafter are for description and
explanation only. The information contained in the Manual is subject to change,
without notice, due to firmware updates or other reasons.
Revision Record
New release – January, 2019
Legal Disclaimer
TO THE MAXIMUM EXTENT PERMITTED BY APPLICABLE LAW, THE PRODUCT
DESCRIBED, WITH ITS HARDWARE, SOFTWARE AND FIRMWARE, IS PROVIDED “AS
IS”, WITH ALL FAULTS AND ERRORS, AND eRize MAKES NO WARRANTIES, EXPRESS
OR IMPLIED, INCLUDING WITHOUT LIMITATION, MERCHANTABILITY, SATISFACTORY
QUALITY, FITNESS FOR A PARTICULAR PURPOSE, AND NON-INFRINGEMENT OF
THIRD PARTY. IN NO EVENT WILL eRize, ITS DIRECTORS, OFFICERS, EMPLOYEES,
OR AGENTS BE LIABLE TO YOU FOR ANY SPECIAL, CONSEQUENTIAL, INCIDENTAL,
OR INDIRECT DAMAGES, INCLUDING, AMONG OTHERS, DAMAGES FOR LOSS
OF BUSINESS PROFITS, BUSINESS INTERRUPTION, OR LOSS OF DATA OR
DOCUMENTATION, IN CONNECTION WITH THE USE OF THIS PRODUCT, EVEN IF
eRize HAS BEEN ADVISED OF THE POSSIBILITY OF SUCH DAMAGES.
TO THE MAXIMUM EXTENT PERMITTED BY APPLICABLE LAW, IN NO EVENT SHALL
eRize’S TOTAL LIABILITY FOR ALL DAMAGES EXCEED THE ORIGINAL PURCHASE
PRICE OF THE PRODUCT.
eRize DOES NOT UNDERTAKE ANY LIABILITY FOR PERSONAL INJURY OR PROPERTY
DAMAGE AS THE RESULT OF PRODUCT INTERRUPTION OR SERVICE TERMINATION
CAUSED BY: A) IMPROPER INSTALLATION OR USAGE OTHER THAN AS REQUESTED;
B) THE PROTECTION OF NATIONAL OR PUBLIC INTERESTS; C) FORCE MAJEURE;
D) YOURSELF OR THE THIRD PARTY, INCLUDING WITHOUT LIMITATION, USING
ANY THIRD PARTY’S PRODUCTS, SOFTWARE, APPLICATIONS, AND AMONG
OTHERS. REGARDING TO THE PRODUCT WITH INTERNET ACCESS, THE USE OF
PRODUCT SHALL BE WHOLLY AT YOUR OWN RISKS. eRize SHALL NOT TAKE ANY
RESPONSIBILITES FOR ABNORMAL OPERATION, PRIVACY LEAKAGE OR OTHER
DAMAGES RESULTING FROM CYBER ATTACK, HACKER ATTACK, VIRUS INSPECTION,
OR OTHER INTERNET SECURITY RISKS; HOWEVER, eRize WILL PROVIDE TIMELY
TECHNICAL SUPPORT IF REQUIRED.SURVEILLANCE LAWS AND DATA PROTECTION
LAWS VARY BY JURISDICTION. PLEASE CHECK ALL RELEVANT LAWS IN YOUR
JURISDICTION BEFORE USING THIS PRODUCT IN ORDER TO ENSURE THAT YOUR
USE CONFORMS TO THE APPLICABLE LAW. eRize SHALL NOT BE LIABLE IN THE
EVENT THAT THIS PRODUCT IS USED WITH ILLEGITIMATE PURPOSES.

IN THE EVENT OF ANY CONFLICTS BETWEEN THE ABOVE AND THE APPLICABLE
LAW, THE LATTER PREVAILS.
Regulatory Information
EU Conformity Statement
This product and - if applicable - the supplied accessories too are
marked with "CE" and comply therefore with the applicable harmonized
European standards listed under the Radio Equipment Directive
2014/53/EU, the EMC Directive 2014/30/EU, the RoHS Directive
2011/65/EU.
2012/19/EU (WEEE directive): Products marked with this symbol
cannot be disposed of as unsorted municipal waste in the European
Union. For proper recycling, return this product to your local supplier
upon the purchase of equivalent new equipment, or dispose of it
at designated collection points. For more information see: www.
recyclethis.info.
2006/66/EC (battery directive): This product contains a battery that
cannot be disposed of as unsorted municipal waste in the European
Union. See the product documentation for specific battery information.
The battery is marked with this symbol, which may include lettering to
indicate cadmium (Cd), lead (Pb), or mercury (Hg). For proper recycling,
return the battery to your supplier or to a designated collection point.
For more information see: www.recyclethis.info.
EC DECLARATION OF CONFORMITY
Hereby, eRize declares that the radio equipment type [CS-C3NP] is in compliance with
Directive 2014/53/EU.
Safety Instruction
*90: THE EQUIPMENT FOR RESTRICTED ACCESS LOCATIONS, AND OUTER SURFACE
OF PRODUCT HAVE OR
WARNING
HOT SURFACE
DO NOT TOUCH
MARKING.
Due to the product shape and dimension, the name and address of the importer/
manufacturer are printed on the package.
SAVE THIS MANUAL FOR FUTURE REFERENCE

1
Package Contents
Wi-Fi Camera Screw Kit Waterproof Kit
Power Adapter Drill Template Quick Start Guide
The camera appearance is subject to the actual model you have
purchased.

2
Basics
Wi-Fi Camera
Micro SD Card Slot
(Behind the cover)
Reset Button
MIC
Ethernet Port
Power Port
Antenna
LED Indicator
Lens
Spotlight
IR Light
Name Description
LED Indicator • Solid Red: Camera starting up.
• Slow-ashingRed:Wi-Ficonnectionfailed.
• Fast-ashingRed:Cameraexception(e.g.MicroSD
card error).
• Solid Blue: Video being viewed in the MIRU365 app.
• Slow-ashingBlue:Camerarunningproperly.
• Fast-ashingBlue:CamerareadyforWi-Ficonnection.

3
Get the MIRU365 app
1. Connect your mobile phone to Wi-Fi using your 2.4GHz network.
2. Search for “MIRU365” in App Store or Google PlayTM.
3. Download and install the MIRU365 app.
4. Launch the app, and register an user account.
Setup
Follow the steps to set your camera:
1. Power on your camera.
2. Log in to your MIRU365 app user account.
3. Connect your camera to the Internet.
4. Add your camera to your account.
How to Set Your Wi-Fi Camera?
1 Power-on
Steps:
1. Connect the power adapter cable to the camera's power port.
2. Plug the power adapter into an electrical outlet.
Power Outlet
Power Adapter
TheLEDturningfast-ashingblueindicatesthatthecameraispowered
onandreadyfornetworkconguration.

4
2 Connect to the Internet
•Wireless Connection: Connect the camera to Wi-Fi. Refer to Option 1.
•Wired Connection: Connect the camera to a router. Refer to Option 2.
Option 1: UsetheMIRU365apptocongureWi-Fi.
Steps:
1. Log in to your account using the MIRU365 app.
2. On the Home screen, tap “+” on the upper-right corner to go to the
Scan QR Code interface.
3. Scan the QR code on the Quick Start Guide cover or on the body of
the camera.
4. FollowtheMIRU365appwizardtonishWi-Ficonguration.
Please choose to connect your camera to the Wi-Fi to which your
mobile phone has connected.
Hold the reset button for 5s to restart and set all parameters to
default.
Hold the reset button for 5s in any of the following cases:
• The camera fails to connect to your Wi-Fi network.
• You want to change to another Wi-Fi network.

5
Option 2: Connect your Wi-Fi camera to a router.
Steps:
1. Connect the camera to the LAN port of your router with the
Ethernet cable.
Ethernet Cable
TheLEDturningslow-ashingblueindicatesthatthecamerais
connected to the Internet.
2. Log in to your account using the MIRU365 app.
3. On the Home screen, tap “+” on the upper-right corner to go to the
Scan QR Code interface.
4. Scan the QR code on the Quick Start Guide cover or on the body of
the camera.
5. Follow the wizard to add the camera to the MIRU365 app.

6
Installation (Optional)
1 Install the Micro SD Card (Optional)
1. Remove the cover on the camera.
2. Insert the micro SD card (sold separately) into the card slot as
showninthegurebelow.
3. Place the cover back on.
After installing the micro SD card, you should initialize the card in
the MIRU365 app before using it.
This Side Up
4. In the MIRU365 app, tap the Storage Status in the Device Settings
interface to check the SD card status.
5. If the memory card status displays as Uninitialized, tap to initialize it.
The status will then change to Normal and it can store videos.

7
2 Install the Camera
The camera can be mounted on the wall or ceiling. Here we take wall
mounting as an example.
• Recommended installation height: 3m (10ft).
• Make sure the wall/ceiling is strong enough to withstand three
times the weight of the camera.
• Avoid positioning the camera in an area that gets a lot of light
shining directly into the camera lens.
- Place the drill template onto the surface you have chosen to mount
the camera.
- (For cement wall/ceiling only) Drill screw holes according to the
template, and insert three anchors.
- Usethreemetalscrewstoxthecameraaccordingtothetemplate.
Drill Template
Anchor Metal Screw
1
2 3
Please tear up the drill template after installing the base if needed.

8
3 Adjust the Surveillance Angle
- Loosen the adjusting knob.
- Adjust the surveillance angle for a best view of your camera.
- Tighten the adjusting knob.
Adjusting Knob
0-90°
0-360°
Make sure the micro SD card slot is facing downward.

9
Contenido del paquete
Cámarawi Juego de tornillos Equipo de
resistencia al agua
Adaptador de corriente Plantilla de
perforación
Guía de inicio rápido
La apariencia de la cámara depende del modelo que haya adquirido.

10
Información básica
Cámara wi
Ranura para tarjeta
microSD (detrás de
la tapa)
Botón de reinicio
Micrófono
Puerto Ethernet
Puerto de
alimentación
Antena
Indicador led
Lente
Haz de enfoque
Luz IR
Nombre Descripción
Indicador led • Rojojo:lacámaraseestáiniciando.
• Rojoparpadeandolentamente:erroralconectarsealaredwi.
• Rojo parpadeando rápidamente: excepción de la cámara
(p. ej., error de la tarjeta microSD).
• Azuljo:elvídeoseestávisionandoenlaaplicaciónMIRU365.
• Azul parpadeando lentamente: la cámara está funcionando
correctamente.
• Azul parpadeando rápidamente: la cámara está preparada
paraconectarsealaredwi.

11
Obtener la aplicación MIRU365
1. Conectesuteléfonomóvilalwiatravésdesured2,4 GHz.
2. Busque “MIRU365” en App Store o Google PlayTM.
3. Descargue e instale la aplicación MIRU365.
4. Inicie la aplicación y registre una cuenta de usuario MIRU365.
Conguración
Siga estos pasos para congurar la cámara:
1. Encienda la cámara.
2. Inicie sesión en su cuenta de usuario de la aplicación MIRU365.
3. Conecte la cámara a internet.
4. Añada la cámara a su cuenta de MIRU365.
¿Cómo congurar la cámara wi?
1 Encendido
Pasos:
1. Conecte el cable del adaptador de corriente al puerto de
alimentación de la cámara.
2. Enchufe el adaptador de corriente a una toma de corriente.
Toma de
corriente
Adaptador de
corriente
El led parpadeando rápidamente en azul indica que la cámara está
encendidaypreparadaparalaconguracióndelared.

12
2 Conexión a internet
•Conexióninalámbrica:Conectarlacámaraalaredwi.Consultela
opción 1.
•Conexión con cable: Conectar la cámara a un enrutador. Consulte la
opción 2.
Opción 1: UtilizarlaaplicaciónMIRU365paracongurarlared
wi.
Pasos:
1. Inicie sesión en su cuenta con la aplicación MIRU365.
2. En la pantalla de inicio, pulse «+» en la esquina superior derecha
para acceder a la interfaz de escaneo de códigos QR.
3. Escanee el código QR que aparece en la portada de la Guía de inicio
rápido o en la carcasa de la cámara.
4. Siga las indicaciones del asistente de la aplicación MIRU365 para
nalizarlaconguracióndelaconexiónwi.
Seleccioneconectarlacámaraalaredwialaqueseha
conectado su teléfono móvil.
Mantenga pulsado el botón de reinicio durante 5 s para reiniciar y
restaurar todos los parámetros a los valores predeterminados.
Mantenga pulsado el botón de reinicio durante 5 s en cualquiera de
los casos siguientes:
• Lacámaranopuedeconectarseasuredwi.
• Deseacambiaraotraredwi.

13
Opción 2: Conectarlacámarawiaunenrutador.
Pasos:
1. Conecte la cámara al puerto LAN de su enrutador utilizando un
cable Ethernet.
Cable Ethernet
El led parpadeando lentamente en azul indica que la cámara está
conectada a internet.
2. Inicie sesión en su cuenta con la aplicación MIRU365.
3. En la pantalla de inicio, pulse «+» en la esquina superior derecha
para acceder a la interfaz de escaneo de códigos QR.
4. Escanee el código QR que aparece en la portada de la Guía de inicio
rápido o en la carcasa de la cámara.
5. Siga las indicaciones del asistente para añadir la cámara a la
aplicación MIRU365.

14
Instalación (opcional)
1 Inserción de la tarjeta microSD (opcional)
1. Retire la tapa de la cámara.
2. Inserte la tarjeta microSD (vendida por separado) en la ranura
paralatarjetacomosemuestraenlagurasiguiente.
3. Vuelva a colocar la tapa.
Una vez insertada la tarjeta microSD, inicialícela en la aplicación
MIRU365 antes de usarla.
Este lado
hacia arriba
4. En la aplicación MIRU365, pulse Storage Status (Estado del
almacenamiento)enlainterfazdeconguracióndeldispositivopara
comprobar el estado de la tarjeta SD.
5. Si el estado de la tarjeta de memoria es Uninitialized
(No inicializada), pulse para inicializarla.
El estado cambiará a Normal y ya puede almacenar vídeos.

15
2 Instalación de la cámara
La cámara puede montarse en la pared o en el techo. Aquí, nos
referimos al montaje mural como ejemplo.
• Altura de instalación recomendada: 3 m (10 pies).
• Asegúresedequelapared/techosealosucientemente
resistente para soportar un peso tres veces superior al de la
cámara.
• Evite colocar la cámara en un área en la que la lente reciba
directamente demasiada luz.
- Coloquelaplantilladeperforaciónsobrelasupercieescogidaparael
montaje de la cámara.
- (Solo para el montaje en paredes/techos de cemento). Taladre los
oriciosparalostornillossegúnlaplantillaeinsertelostrestacos.
- Utilicetrestornillosdemetalparajarlacámaraconformeala
plantilla.
Plantilla de perforación
Taco Tornillo metálico
1
2 3
Una vez instalada la base, despegue la plantilla de perforación si
fuera necesario.

16
3 Ajuste del ángulo de vigilancia
- Aojeelbotóndeajuste.
- Ajuste el ángulo de vigilancia para una mejor vista de su cámara.
- Apriete el botón de ajuste.
Regulador de ajuste
0-90°
0-360°
Asegúrese de que la ranura para la tarjeta microSD esté orientada
hacia abajo.
Table of contents
Languages:
Other eRize Security Camera manuals
