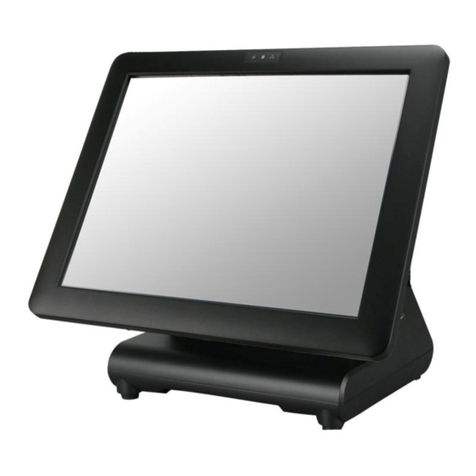
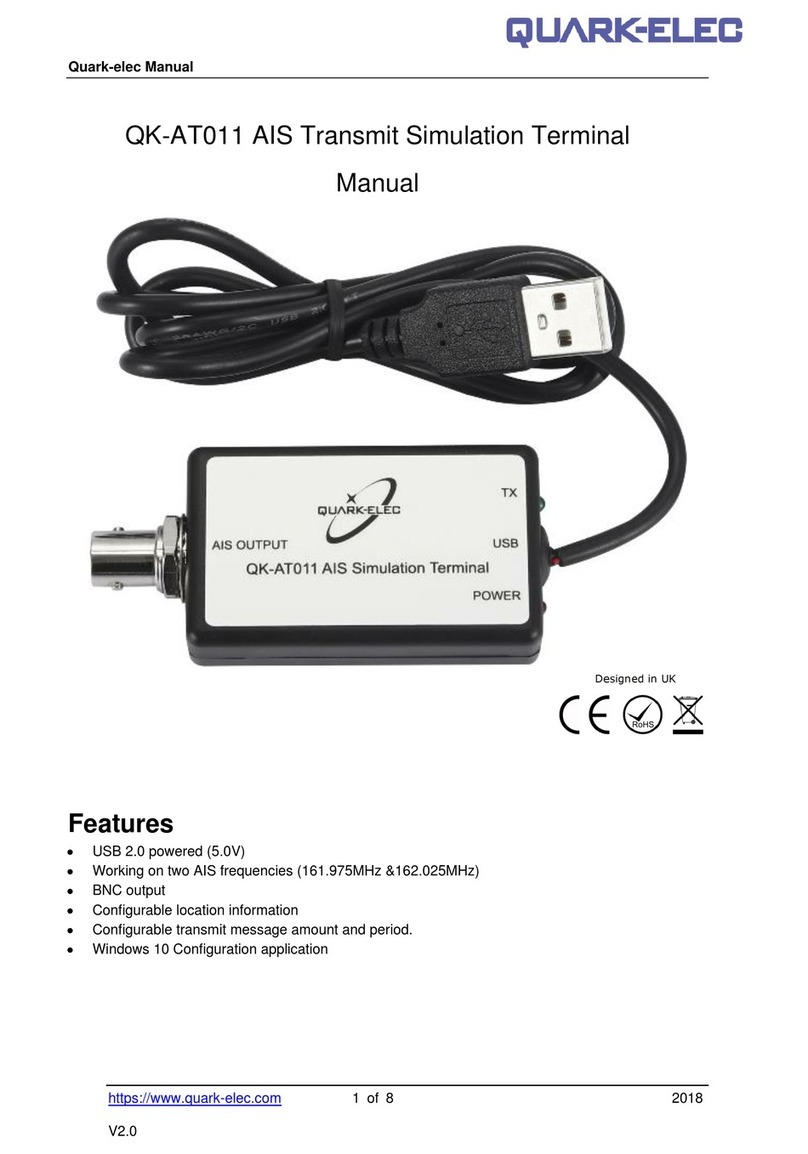
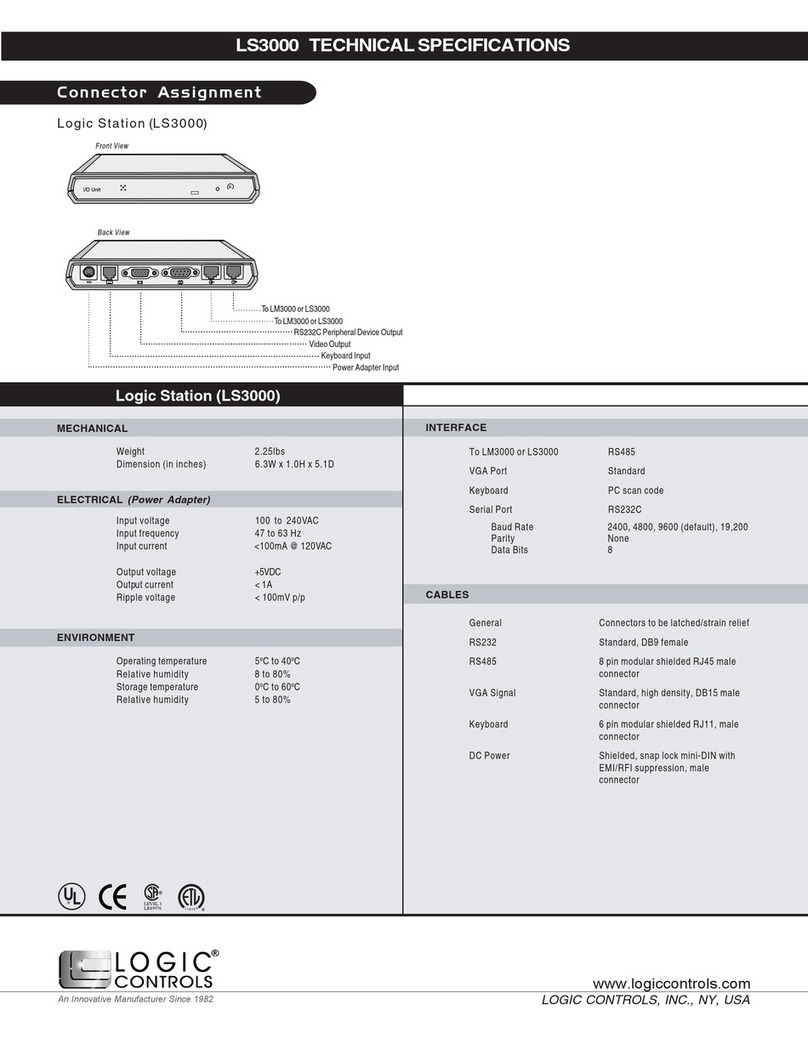
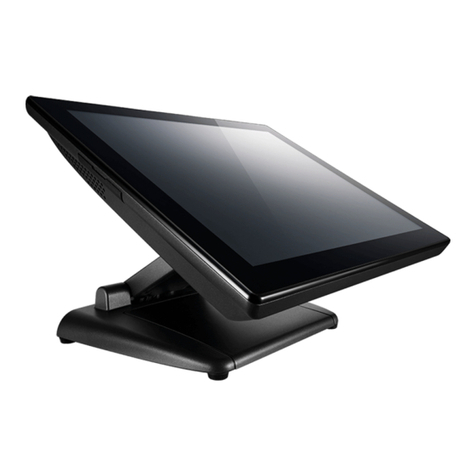
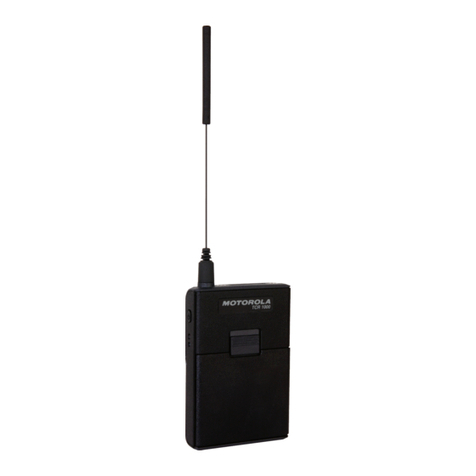
ES EYE Intelligent Cloud Connect User manual

The Intelligent Cloud Connect smart terminal enables you to simply,
easily and securely connect your thing to Amazon Web Services
(AWS) from anywhere in the world over cellular networks. This
enables you to remotely extract data from your thing for a variety of
industrial and commercial applications, such as metering, monitoring,
transportation, security, and so on.
Getting Started
Before you can use the Intelligent Cloud Connect smart terminal,
refer to the AnyNet IRIS Quick Start Guide (PDF) to complete the
following steps:
1. Create an Amazon Web Services (AWS) account.
2. Subscribe to AnyNet Cellular Connectivity for AWS IoT in the
AWS Marketplace.
3. Create a mandatory, dedicated AWS IAM user with specific
permissions.
4. Install and configure AnyNet IRIS.
Creating a thing in AWS IoT Core
Do not create things until you have verified the
advisory and alert email addresses that you supplied
during AnyNet IRIS configuration. Receiving a
verification link may take up to 30 minutes. If you
have not received an email, contact Eseye Support:
support@eseye.com.
Before you begin
•Ensure that the AnyNet Secure Cellular Connectivity
configuration process is complete on your AWS account.
•Eseye connects your thing to AWS over a cellular network.
To purchase the requisite SIM cards, search for AnyNet SIM
on Amazon.com.
•You need a AnyNet Secure SIM number, which is the unique
serial number printed on the back of the SIM card.
To create a thing in AWS IoT Core:
1. Sign in to the AWS Management Console:
aws.amazon.com/console
2. In the
AWS Services
section, find the IoT Core service.
3. In the left-hand
AWS IoT
menu, select Manage >Things.
4. In the top right corner, select the correct AWS Region you want
to use.
5. In the
Things
section, select Create things.
The Create things page appears.
6. Select Create single thing, then select Next.
The Specify thing properties page appears.
7. Type a Thing name.
8. In the Thing Type drop-down box, select AnyNetThingType.
9. In the
Searchable attribute
section, leave the ActionRequest
Value field blank.
10. In the SimId Value field, type the SIM number (described
above).
11. If required, add the thing to a group.
12. In the
Device Shadow
section, select Unnamed shadow
(classic).
13. Select Next.
The Configure device certificate – optional page appears. Eseye
manages the certificate process so you don't have to.
14. Select Skip creating a certificate at this time.
15. Select Create thing.
When you use AWS IoT in your AWS account for the
first time, an AWS error may appear because Device
Gateway endpoint provisioning is not complete on
your account. If this occurs, allow AWS services 5-10
minutes to complete, and try again.
The new thing appears on the Things page.
8582 Intelligent Cloud Connect Quick Start Guide v1.10
©2021 Eseye Ltd. All rights reserved. 1
Intelligent Cloud Connect QSG

Establishing a cellular connection
Ensure you have connected the terminal antenna to the Antenna
connection.
To power on and establish your cellular connection:
1. Fully insert the SIM card into the Intelligent Cloud Connect.
You can see how to insert the SIM on the underside of
the terminal. The socket is a push-to-insert, push-to-
release type socket. When the SIM is properly
inserted, it clicks into place and sits flush with the
edge of the SIM slot.
2. Turn on the Intelligent Cloud Connect.
The Intelligent Cloud Connect connects to a cellular network
using the Cinterion® PLS62-W Wireless Module, and is now
ready to receive security and identity information from AWS.
Provisioning the Cinterion® PLS62-W Wireless
Module
Eseye automatically provisions the AnyNet Secure SIM. During this
process, the security and identity information is downloaded and
programmed into the SIM card. You can observe the provisioning
progress in the device shadow. You can access the shadow using
Lambda functions, programatically, or through the
AWS IoT Console
.
1. Using the
AWS IoT Console
, select the thing you created with the
matching SIM number.
2. On the Device Shadows tab, select Classic Shadow to view the
Device Shadow document
.
Use the Device Shadow state pane to view the certificate
delivery progress. The certificate is delivered after the status
changes from Pending to Provisioned. You can also view smart
terminal message consumption and location information.
Provisioning normally takes 5-10 minutes to complete,
although the process may take up to an hour. If your
Cinterion® PLS62-W Wireless Module has not connected
in 24 hours, contact Support: support@eseye.com.
During provisioning, the Cinterion® PLS62-W Wireless Module will
reset four times. Use a terminal emulator to observe this process.
For information about setting up a terminal emulator, see
Attaching to the Intelligent Cloud Connect.
When the device is ready, it sends the following URC:
+EMT:EMQRDY
You must wait until you receive the +EMT:EMQRDY
URC before you can use the device to send and
receive commands.
If you are using the Intelligent Cloud Connect, and the
device is not connecting, check the LEDs:
•A green LED indicates power on.
•A flashing orange LED indicates network registration
status. Regular half second blinking indicates that the
Cinterion® PLS62-W Wireless Module is searching
for a network. A brief flash every four seconds
indicates that the device has registered to a network
and there is no data transfer.
For more information about the LEDs, refer to the Thales
AT Command documentation.
Sending data from your thing to the cloud
Before you begin
•Using a terminal emulator, send an AT<return> command to
ensure that the smart terminal can receive ATcommands.
For information about connecting a terminal
emulator to the modem, see Attaching to the
Intelligent Cloud Connect.
•Send an AT+ETMINFO=version<return> command to
verify that the version number is 2.0.20 or higher.
•Ensure you know the thing name that you set up in AWS.
To test that your thing can publish information to AWS:
1. Create two publish topics in the Cinterion® PLS62-W Wireless
Module.
a. Using a terminal emulator, type:
at+emqpubopen=0,"PublishToCloud0"<return>
at+emqpubopen=1,"PublishToCloud1"<return>
b. Check that the first two index numbers are assigned a topic
each. Type:
at+emqpubopen?<return>
8582 Intelligent Cloud Connect Quick Start Guide
8582 Intelligent Cloud Connect Quick Start Guide v1.10
©2021 Eseye Ltd. All rights reserved. 2

A list of index numbers and their assigned topics appears.
2. Subscribe to the newly created publish topics in AWS.
a. Using
AWS IoT
, in the left hand menu, select Test to open
the
MQTT test client
, then ensure you are on the Subscribe
to a topic tab.
b. In the Topic filter box, type:
+/<ThingName>
This subscribes AWS to all topics related to your thing.
c. Select Subscribe.
A subscription appears, listed in the Subscriptions panel.
3. Publish information to the topics you created in the Cinterion®
PLS62-W Wireless Module.
You can send a maximum payload of 1000 characters
to AWS.
a. Using the terminal emulator, type:
at+emqpublish=0,1,"{\"Temperature\":
24}"<return>
at+emqpublish=1,1,"{\"BatteryPower\":
\"Low\"}"<return>
The emqpublish command uses the following syntax:
at+emqpublish=IndexNumber,QoS,
"{PublishDataInJSON}"
These messages instantly appear in AWS.
4. View the published information in AWS.
a. In the
Subscriptions
panel, select +/<ThingName>to view
all published messages.
If you can see the messages in AWS, then your thing can
successfully publish data into the cloud through the
Cinterion® PLS62-W Wireless Module.
Next, test that the cloud can publish messages to your thing.
Sending data from the cloud to your thing
Before you begin
Ensure your thing can send information to the cloud.
For more information, see Sending data from your thing to the
cloud on the previous page.
To test that AWS can publish information to your thing:
1. Create two subscribe topics in the Cinterion® PLS62-W Wireless
Module.
a. Using a terminal emulator, type:
at+emqsubopen=0,"SubscribeFromCloud0"<return>
at+emqsubopen=1,"SubscribeFromCloud1"<return>
b. Check that the first two index numbers are assigned a topic
each. Type:
at+emqsubopen?<return>
A list of index numbers and their assigned topics appears.
2. Use AWS to publish a message to each topic.
8582 Intelligent Cloud Connect Quick Start Guide
8582 Intelligent Cloud Connect Quick Start Guide v1.10
©2021 Eseye Ltd. All rights reserved. 3

a. Using the AWS IoT
MQTT test client
, select the Publish to a
topic tab.
b. In the Topic name box, type:
SubscribeFromCloud0/ThingName
c. In the coding window, replace
Hello from AWS IoT console with
Turn heating on
d. Select Publish.
e. In the Publish box, type:
SubscribeFromCloud1/ThingName
f. In the coding window, replace
Turn heating on with
Heat for 1 hour
g. Select Publish.
View the AWS messages in the terminal emulator, in the
following format:
+EMQ: <indexnumber>,<messagelength>
{
"message": "<messagetext>"
}
If you can see the messages in the terminal emulator, then
AWS can successfully publish data to your thing through
the Cinterion® PLS62-W Wireless Module.
Technical Support: Sales:
UK: +44 1483 802503
France: +33 9 87 67 53 37
Australia: +61 8 9551 5200
USA: +1 484-935-3130
Brazil: +55 11 4950-7015
Email: support@eseye.com
UK: +44 1483 802501
France: +33 9 87 67 53 36
Norway: +47 454 62 017
USA: +1 512-813-0599
Brazil: +55 11 5059-1574
Africa: +27 87 551 8200
Email: sales@eseye.com
8582 Intelligent Cloud Connect Quick Start Guide
8582 Intelligent Cloud Connect Quick Start Guide v1.10
©2021 Eseye Ltd. All rights reserved. 4

