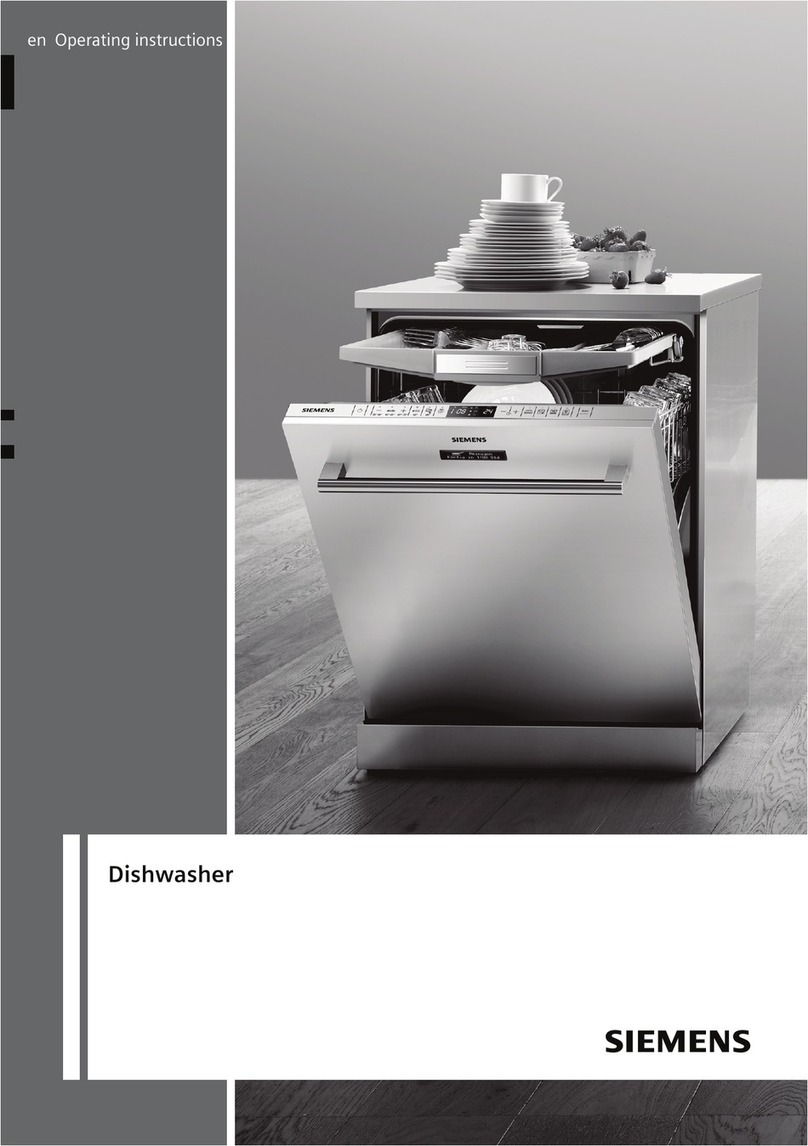
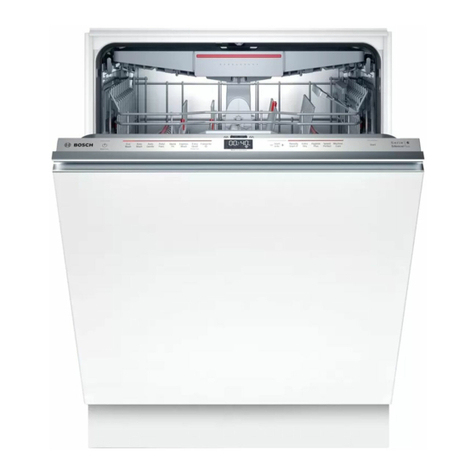
Eswood ES-220 Technical Document

EQUIPMENT MANUAL
FOR
ES-220
RACK CONVEYOR DISHWASHER
JUNE
2011

ES-220 RACK CONVEYOR DISHWASHER – JUNE 2011 2
T
ABLE OF CONTENTS
1. Installation
1.1. Important: Prior to Installation 3
1.2. Service & Spare parts 4
1.3. Installation 5
1.4. Initial Start-up Procedure 6
2. Washin Operation 7
3. Shutdown and Maintenance 8
4. Trouble Shootin 9,10,11
5. Dia rams 12-13

ES-220 RACK CONVEYOR DISHWASHER – JUNE 2011 3
I
MPORTANT
:
PRIOR TO INSTALLATION
1.1
Installation must be carried out accordin to local re ulations by
qualified trade persons. Isolatin switch(es), shut-off valves etc must
be within easy reach of the machine for future service and
maintenance requirements. If in doubt call ESWOOD AUSTRALIA or
their representative for further information. No responsibility will be
accepted for defects or dama es by improper installation, for
chan es to the product not authorised by ESWOOD AUSTRALIA, or
for operation outside the technical specifications.
ESWOOD AUSTRALIA warrants their products to be free from
defects in material and workmanship under "normal use and
service". This does not include normal wear and tear of parts.
ESWOOD AUSTRALIA will repair or replace any parts, which in
ESWOOD AUSTRALIA's sole jud ement are defective in material or
workmanship, in accordance with the warranty offered.
This undertakin covers the provision of labour and parts for 12
months from the date of delivery to the purchaser. This undertakin
applies only to state capitals. Remote areas are not covered by this
commitment and special enquires should be made. (No e: Travel
ime no covered by warran y)
In no event will ESWOOD AUSTRALIA be liable for loss of facilities
or other property and such thin s as, but not limited to, additional
labour costs, loss of revenue or anticipated profits, and other
dama es of any kind whether direct, indirect, incidental or
consequential.
Labour under warranty is supplied free of char e durin normal
workin hours, Monday to Friday. Should warranty work be
requested outside or our normal workin hours a labour char e will
be applied equivalent to a normal hour rate without out of hours
penalty rates. (Refer to next pa e (1.2) of this manual for your
closest branch for Warranty repair services)
No e: It is the responsibility of the owner to ensure the water feed to
Eswood Dish and Glass washers is of a quality that will not form
excessive build up of calcium and other dissolved minerals on the
heatin elements. Premature failure of heatin elements that exhibit
this cause of failure will not be covered under warranty.

ES-220 RACK CONVEYOR DISHWASHER – JUNE 2011 4
E
SWOOD AUSTRALIA BRANCHES
1.2
For inquiries and access o 24/7 service backup, please call our Toll-Free
Number: (Applicable to landline only char es apply for calls made from a
Mobile Phone)
1800 013 123
This number will automatically access your nearest State office, or the
technician on duty if after hours. After hours char es apply.

ES-220 RACK CONVEYOR DISHWASHER – JUNE 2011 5
I
NSTALLATION
1.3
1. Remove the packin materials from the machine, includin inside
the chambers.
2. Remove the lower panels, position the machine and level by
screwin the adjustable feet.
3. Connect the 2” B.S.P. ravity drains via 2” traps to the drain outlets.
4. Connect the hot water to the
1
/
2
” B.S.P. inlet valve, located under the
main wash tank, via an isolatin valve (supplied by others). The hot
water supply must be at least 60
O
C and between 200 to 400kPa. A
pressure reducin valve must be fitted for pressure above 400kPa.
The pressure reducin valve is to be supplied by others.
Note that all plumbin work is to be done in accordance with local
plumbin codes.
5. Ensure that the rotary switch is “OFF”, open the top of the control
panel and connect the 3-phase power to L1, L2 and L3. Then
connect neutral to “N” on the terminal block and connect the earth
wire to the earth terminal. An isolatin switch is also required beside
the machine.
Note that all electrical work is to be done accordin to the ratin
plate on the ri ht hand side of the Control Box.
6. Connect the benchin to either end of the machine so that there is a
fall back towards the machine to allow the water to drain back

ES-220 RACK CONVEYOR DISHWASHER – JUNE 2011 6
I
NITIAL START
-
UP PROCEDURE
1.4
1. Check that all the curtains are in position
2. Check that the drains are closed. To open, lift the T-bar (found
inside the inspection doors) and twist it 90
°
DEG. To close the drain,
twist the T-bar until it drops into place.
3. Close the inspection doors and turn the rotary switch to “FILL”. The
pilot li ht will illuminate until the cycle is complete.
4. Check the direction of rotation of all pumps accordin to the
arrows on the motor housin s. If the pumps are runnin in the
wron direction, reverse two of the phases at the power supply
in the control box.
5. Select “L. Speed” with the rotary switch to enter the washin mode,
and press the reen start button to be in. The pilot li ht will
illuminate.
6. Pass a number of empty racks throu h the machine until water
comes out of the rinse jets at the exit end of the machine.
All thermostats have been factory set. Durin the operation check
that the wash thermometer is readin between 65°and 70°C and
that the rinse thermometer is readin between 80° and 90°C.
The rinse will function automatically as the racks pass the trip
lever.
7. When washin is complete, turn the rotary switch “OFF”, open
the doors and check for leaks.
8. Replace the lower panels.
9. The machine is now ready for use. To interrupt the washin
operation press the red button. This will stop the conveyer and
pumps. To completely stop the machine turn the rotary switch
“OFF”.

ES-220 RACK CONVEYOR DISHWASHER – JUNE 2011 7
W
ASHING OPERATION
2
1. Check that the strainers are clean and in position. They are
located in the pre-wash, wash and rinse tanks. Close the drains
by twistin the T-bars until they drop into place.
2. Check the levels of the deter ent and rinse aid containers
(supplied and fitted by others)
3. Place the dirty items in an appropriate rack and push the rack
into the entry of the machine. The rack will then automatically
proceed to the exit.
4. Durin washin check that the water temperature in the tanks are:
Wash 65°-70°C
Pre-Rinse 75°-80°C
Rinse 80°-90°C
5. Periodically remove the pre-wash strainers and empty the contents
into a rubbish bin. Rinse the strainers under a tap and refit them.

ES-220 RACK CONVEYOR DISHWASHER – JUNE 2011 8
S
HUTDOWN AND MAINTENANCE
3
1. When washin is complete turn the rotary switch "OFF".
2. Open the inspection doors and drain the tanks, by liftin and twistin
the T-bar lever.
3. Remove the curtains and wash them in warm water
4. Remove the strainer pans and clean them under a tap. Hose the
inside of the machine and make sure that all of the water drains out
of the tanks. Then remove the strainers from the pump intakes,(in
bottom of wash tanks-one per tank-) clean them under a tap, replace
them immediately then replace the strainer pans.
5. Check that the jets and arms are free of forei n matter
and, if necessary, remove the end caps to clean them.
6. Clean the exterior of the machine with a damp spon e. Do
not pass water over the electrical controls and do not use
abrasive or stron deter ents.
7. Leave the inspection doors open to allow the machine to air.

ES-220 RACK CONVEYOR DISHWASHER – JUNE 2011 9
T
ROUBLE SHOOTING
4
PROBLEM POSSIBLE CAUSE AND REMEDY
When machine is (a) Check that main isolatin switch is
turned on, white pilot turned on and fuses are okay.
li ht does not
illuminate (b) Pilot li ht may be burnt out. If so,
replace it (this will not stop machine
from operatin thou h).
(c) Check control circuit fuse in control
box. If blown, check for cause and
then replace fuse.
Machine will not start (a) Check if main motor
contactor has been tripped out. Reset
if necessary and check draw current of
motor.
(b) Check water level in wash tank.
(c) Check pressure switch, and check
that tube from pressure switch to air
chamber is not leakin .
Machine not fillin (a) Check if pressure switch of the
correctly and/or fillin relevant wash tank is functionin .
continuously Replace or adjust if necessary. Also
check air tube to the pressure switch
for air leaks.
(b) Check if water isolatin valve is
fully open, and check for obstructions
in the water supply line.
(c) Check if overflow pipes are seated
correctly in wash tanks, and check for
forei n matter under the O-rin s of the
pipes.

ES-220 RACK CONVEYOR DISHWASHER – JUNE 2011 10
PROBLEM POSSIBLE CAUSE AND REMEDY
As above (d) Check for obstruction in the
water supply solenoid valve and
clean if necessary. Check
diaphra m and replace if
punctured.
Racks not advancin (a) Check for obstruction within
properly throu h machine machine that could cause
conveyor to stop.
(b) Check clutch adjustment on
motor reduction unit. If necessary,
ti hten sli htly, but do not over-
ti hten.
(c) Check that the overload relay of
the conveyor motor has not tripped
out. If it needs to be reset check
draw current of motor.
(d) Check bench switch is workin
correctly-if fitted to your machine-.
Insufficient wash (a) Check that deter ent feeder to
machine is operatin correctly.
(b) Check for forei n matter in pre-
wash and wash arm jets. Clean if
necessary.
(c) Check that items to be washed
are correctly placed in racks.
(d) Check temperature of tanks. If
incorrect check thermostat settin s,
heatin elements and contactors.
(e) Check that all pumps are
functionin . If not, check overload
relays. Reset if necessary and check
current.
(f) Check pump rotation direction
(usin the arrows). If incorrect,

ES-220 RACK CONVEYOR DISHWASHER – JUNE 2011 11
reverse wirin of 2 phases at the
power supply.
PROBLEM POSSIBLE CAUSE AND REMEDY
Incorrect temperature of (a) Check thermostat settin .
wash tanks
(b) Check heatin elements.
(c) Check contactors.
Insufficient rinse (a) Check that water pressure to
machine is not less than 200 kPa. If
so, ensure that the water isolatin
valve is fully open.
(b) Check rinse jets for forei n
matter and clean if necessary.
(c) Check that the water supply
solenoid valve is functionin
correctly.
(d) Check that the line strainer is
not partially blocked. If so, remove
and clean filter.
Insufficient rinse (a) Check that thermometer readin
Temperature is correct and thermometer is not
faulty.
(b) Ensure that temperature of
incomin water supply is between
60° and 65°C.
(c) Check that boiler thermostat is
set correctly and functionin .
(d) Check element controls as
appropriate.

ES-220 RACK CONVEYOR DISHWASHER – JUNE 2011 12
D
IAGRAMS
5
DRAWING No.
A. CURTAIN LOCATION
ES-220/ES-220 BD I-220DBC

ES-220 RACK CONVEYOR DISHWASHER – JUNE 2011 13
Table of contents
Other Eswood Dishwasher manuals

