Eswood ES50 User manual

EQUIPMENT MANUAL
FOR
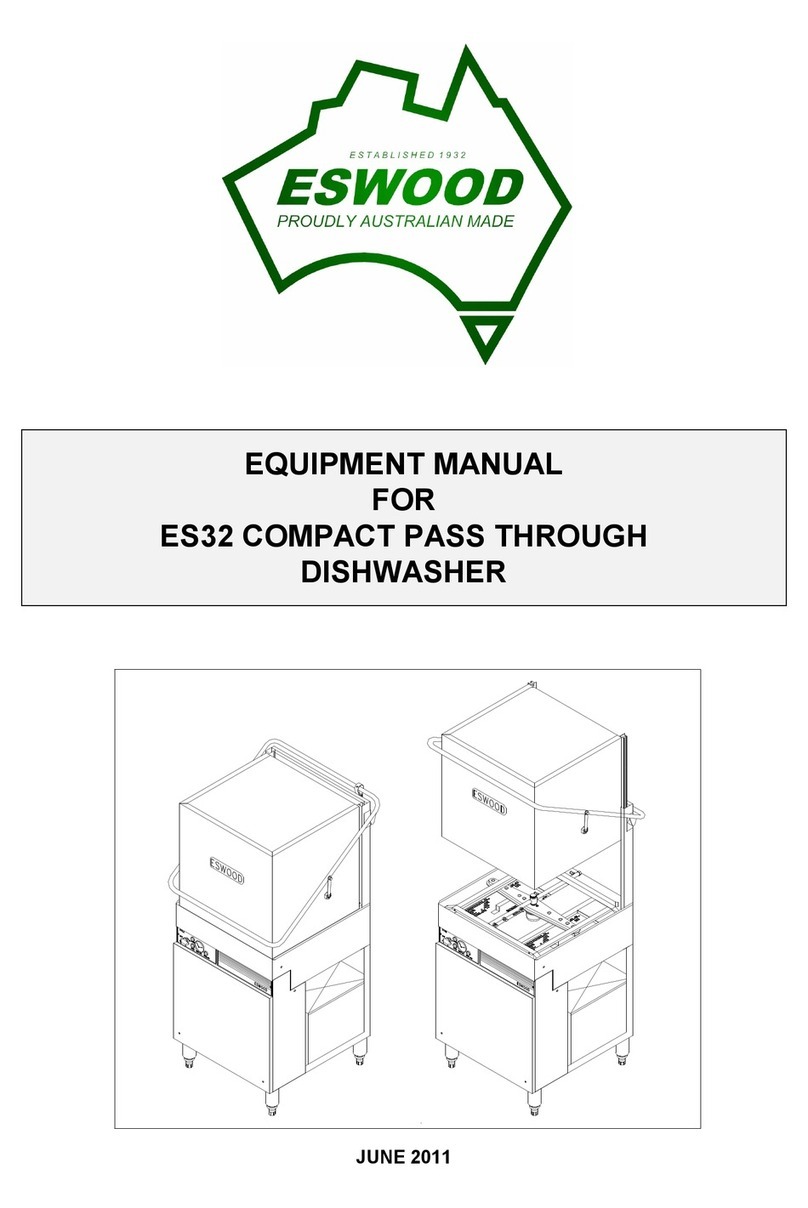
ES50 HIGH PERFORMANCE
PASS THROUGH DISHWASHER
JUNE 2011

ESWOOD OPERATING MANUAL ES-50 June 2011
2
T
ABLE OF CONTENTS
1. Important: Prior to Installation 3
2. General Description 4-5
3. Technical Specifications 6
4. Installation 7
5. Initial Start- p Proced re 8
6. Washing Operation 9
7. Sh tdown and Maintenance 10
8. Tro ble Shooting 11-12-13
9. Drawings 14-15-16-17-18
10. Wiring Diagram 19
11. Spare Parts 20-21-22
12. Spare Parts & Service 23

ESWOOD OPERATING MANUAL ES-50 June 2011
3
I
MPORTANT
:
PRIOR TO INSTALLATION
1
Installation m st be carried o t according to local reg lations by
q alified trade persons. Isolating switch(es), sh t-off valves etc m st
be within easy reach of the machine for f t re service and
maintenance req irements. If in do bt call ESWOOD AUSTRALIA or
their representative for f rther information. No responsibility will be
accepted for defects or damages by improper installation, for
changes to the prod ct not a thorised by ESWOOD AUSTRALIA, or
for operation o tside the technical specifications.
ESWOOD AUSTRALIA warrants their prod cts to be free from
defects in material and workmanship nder "normal se and
service". This does not incl de normal wear and tear of parts.
ESWOOD AUSTRALIA will repair or replace any parts, which in
ESWOOD AUSTRALIA's sole j dgement are defective in material or
workmanship, in accordance with the warranty offered.
This ndertaking covers the provision of labo r and parts for 12
months from the date of delivery to the p rchaser. This ndertaking
applies only to state capitals. Remote areas are not covered by this
commitment and special enq ires sho ld be made. (Note: Tr vel
time not covered by w rr nty)
In no event will ESWOOD AUSTRALIA be liable for loss of facilities
or other property and s ch things as, b t not limited to, additional
labo r costs, loss of reven e or anticipated profits, and other
damages of any kind whether direct, indirect, incidental or
conseq ential.
Labo r nder warranty is s pplied free of charge d ring normal
working ho rs, Monday to Friday. Sho ld warranty work be
req ested o tside or o r normal working ho rs a labo r charge will
be applied eq ivalent to a normal ho r rate witho t o t of ho rs
penalty rates. (Refer to last page of this man al for yo r closest
branch for Warranty repair services)
Note: It is the responsibility of the owner to ens re the water feed to
Eswood Dish and Glass washers is of a q ality that will not form
excessive b ild p of calci m and other dissolved minerals on the
heating elements. Premat re fail re of heating elements that exhibit
this ca se of fail re will not be covered nder warranty.

ESWOOD OPERATING MANUAL ES-50 June 2011
4
G
ENERAL DESCRIPTION
2
Awesome Perform nce: The ES50 is a high performance pass-
thro gh dishwasher b ilt to meet the needs of b sy commercial
kitchens, catering for aro nd 250 seats. It has two powerf l p mps
for washing and rinsing, and high flow wash and rinse jets that
provide fast and efficient cleaning performance.
User Friendly Autom tic Oper tion: Simply open the hood, slide
the rack in and close the hood to begin the a tomatic operation. A
safety switch ens res that the machine does not operate nless the
hood is properly closed, and a reliable and acc rate solid state
timer provides a choice of three cycle times. The ES50 feat res a
f ll wraparo nd handle with s per smooth, wear resistant
copolymer g ides and pivot b shes, and two adj stable co nter-
balance springs. It also has digital thermometers for the rinse and
wash water, cycle stat s lights and cycle selection controls, all
conveniently located for easy se.
Convenient Design: The bench height pass-thro gh operation is
efficient and safe, with operators simply sliding racks in and o t of
the wash chamber from an adjoining bench. The ES50 easily
adapts to in-line or corner feed layo ts, and the compact size will
easily fit any kitchen.
The ES50 has an attractive and easy to clean satin finish stainless
steel cabinet. Wide strainer pans prevent p mp, drain and wash
arm blockages, and the wash and rinse arms, strainer pans and
overflow t be are easily accessible from the front of the machine
and are all removable by hand.
F st Low Cost Inst ll tion: Simply connect the hot water s pply,
connect the trap to the drain o tlet, and connect the wiring.
Powerful W sh nd Rinse Systems: Independent wash and rinse
arms, both above and below the rack, provide fast and thoro gh
washing, while the a to-spin drain system gives a sparkling finish
by preventing s ds from dripping from the wash arm d ring the
rinse cycle.

ESWOOD OPERATING MANUAL ES-50 June 2011
5
The wash and rinse water s pply tanks are fitted with a tomatic
level and temperat re controls to ens re hygienic operation, even
d ring high-demand sit ations.
Qu lity, Reli bility nd Perform nce: Eswood has a rep tation
for prod ct reliability that is second to none. The finest of stainless
steel and d rable synthetic materials are sed, and all Eswood
prod cts are f lly g aranteed and backed by a national s pport
network. The ES50 satisfies the National Standards for Pl mbing
Safety and complies with Health A thority reg lations.

ESWOOD OPERATING MANUAL ES-50 June 2011
6
T
ECHNICAL SPECIFICATIONS
3
M chine Specific tions
Net Weight 130kgs
Ho rly Capacity 1080 pieces of tableware/ho r
Wash Cycle Times Selectable: 60, 80 or 100 seconds
Dwell/Rinse Cycles 5 seconds/13 seconds
Standard Eq ipment C p Rack 500x500mm (1)
Plate Rack 500x500mm (2)
C tlery Containers (2)
W sh Pump, T nk nd Element
Wash P mp 700 L/min, 1.0 kW
Wash Tank Capacity 45 Litres
Wash Tank Heater 2.8 kW
Wash temperat re 60
O
C to 70
O
C
Rinse T nk nd Element
Rinse P mp 375 Watts
Rinse Tank Capacity 12 Litres
Rinse Tank Heater 5.6 kW
Rinse Temperat re 82
O
C minim m
Water Cons mption 4 Litres per cycle
Electric l nd W ter Connections:
Electrical Inp t 415/50/3N, 10 kW
Water Inp t 65
O
C minim m @ 100-400 kPa
Hot Water Inlet
1
/
2
” B.S.P. fitting
Drain O tlet 2” B.S.P. gravity fed

ESWOOD OPERATING MANUAL ES-50 June 2011
7
I
NSTALLATION
4
1. Remove the packing materials from the machine, incl ding
inside the chamber.
2. Remove the lower panel, position the machine and level by
t rning the adj stable feet.
3. Fit a line strainer to the water s pply.
4. Connect the 2” B.S.P. gravity drain via a 2” trap to the drain
o tlet.
Note that all pl mbing work is to be done in accordance with
local pl mbing codes.
5. Connect the hot water inlet to a
1
/
2
” B.S.P. isolating valve
adjacent to the machine. The hot water inp t s pply sho ld be
at a minim m of 65
O
C and between 100 to 400kPa. A press re
red cing valve sho ld be fitted for press re above 400kPa.
6. Ens re that the rotary switch is “OFF”, then open the control
panel and connect the 3-phase power to L1, L2 and L3. Next,
connect ne tral to “N” on the terminal block and connect the
earth wire to the earth terminal. An isolator is also req ired
adjacent to the machine. When finished, check that the
direction of rotation of the rinse and wash motors are in
accordance with the arrows on the motor ho sings.
Note that all electrical work is to be done in accordance with
the rating plate on the lower panel.
7. Connect the benching so that there is a fall back towards the
machine to allow water to drain back into the machine.

ESWOOD OPERATING MANUAL ES-50 June 2011
8
I
NITIAL START
-
UP PROCEDURE
5
1. With the rotary switch and isolator “OFF”, open the hot water
s pply to the machine. This allows the break tank to fill. When
f ll, the water level sho ld be approximately 20mm below the
overflow slot in the rear of the tank. The level can be inspected
by removing the lid from the break tank.
2. With the rotary switch still off, t rn the power on at the isolator.
3. Check that the drain overflow pipe and strainers are in position.
4. If the machine is fitted with an a tomatic detergent injector,
place the free end of the 10mm clear plastic t be, located
nder the machine, into a 4 Litre or other s itable container of
liq id detergent. The nit will prime itself after a few cycles.
Do not se wrong prod cts as they will void the warranty, and
se prod ct in accordance with the man fact rers’
recommendations.
5. With the hood open, t rn the rotary switch to “FILL” and close
the hood. The machine will begin filling and the pilot light will
ill minate ntil the cycle is complete. Open the hood and check
that the water is p to the overflow level. If not (see 8. Tro ble
Shooting), repeat the “FILL” cycle ntil the overflow level has
been reached.
6. With the hood open select the Short, Medi m or Long wash
cycle sing the rotary switch.
7. Close hood to start the wash cycle. The pilot light Ill minates
ntil the cycle is complete. When finished, check for leaks.
8. T rn the rotary switch “OFF”, open the door and remove the
overflow t be to drain the machine.
9. Replace the lower panel.

ESWOOD OPERATING MANUAL ES-50 June 2011
9
W
ASHING OPERATION
6
1. Check that the strainers are clean and that the strainers and
overflow t be are in position.
2. With the hood raised, t rn the switch to “FILL” and then close
the hood. The cycle light ill minates while the machine is filling.
3. When the machine has finished filling, open the door and
check that the water is p to the overflow level. Repeat step 2 if
the overflow level has not been reached (and see 8. Tro ble
Shooting).
4. Select the Short, Medi m or Long washing cycle, depending on
the degree of soiling. This also activates the wash heater
element.
5. Scrape off any loose food matter from the dishware and place
the items in an appropriate rack. If no a tomatic detergent
dispensing eq ipment is fitted (see detergent companies) add
1
/
3
of a c p of non-foaming commercial dishwashing detergent
into the washtank. Slide the rack into the machine and close
the door. The cycle light ill minates d ring the cycle.
When loading racks, face the plates in the direction of feed into
the machine. Load the small items at the front and the large
items at the back.
Note that the cycle will not begin ntil the water in the booster
has reached 82
O
C.
6. When the washing is finished, lift the hood and remove the
clean rack. To wash another rack repeat from step 5. If no
a tomatic detergent dispenser is fitted, add one teaspoon of
detergent after every fo r to five washes.
Note that the hood sho ld not be opened ntil the wash and
rinse cycle is complete, otherwise the cycle will reset and
contin e longer than necessary.

ESWOOD OPERATING MANUAL ES-50 June 2011
10
S
HUTDOWN AND MAINTENANCE
7
1. T rn the rotary switch "OFF".
2. Remove the strainers and overflow t be and drain the wash
tank.
3. To fl sh o t food scraps from the inside of the machine, close
the hood and t rn the rotary switch to “FILL”. At the end of the
cycle t rn the switch to “OFF” and lift the hood.
4. Clean the strainers nder a tap, then replace the overflow t be
and strainers.
5. Check that the rinse and wash arms and jets are free of foreign
matter. If necessary, remove the arms and jets and clean
them.
A) Remove the kn rled screw above the rinse arm and slide
the rinse arm off. Remove the end caps and prick the jets with
a paper clip or similar item and fl sh the jets nder a tap. Refit
the end caps.
B) Place a small screwdriver thro gh the holes of the rinse
arm bearing shaft and nscrew. Slide the wash arm off, then
prick the jets and fl sh them nder a tap.
C) To reassemble reverse the proced re, being caref l not
to overtighten the shaft or screw.
6. Clean the exterior of the machine with a damp sponge. Do not
pass water over the electrical controls and avoid abrasive or
strong detergents.
7. Check for leaks and ens re that the lower and pper arms
rotate freely.
8. Leave the hood open to allow the machine to air.

ESWOOD OPERATING MANUAL ES-50 June 2011
11
T
ROUBLE SHOOTING
8
Problem Possible c use nd remedy
When machine is (a) Check that main isolating switch is
t rned on, red power t rned on and f ses are okay.
light does not
ill minate (b) Power light may be b rnt o t. If so,
replace it (this will not stop machine
from operating tho gh).
Machine will not start (a) Ens re that the rinse temperat re
has reached 82
O
C.
(b) Check operation of the door switch.
Machine not filling (a) Check if water isolating valve is
correctly f lly open, and check for obstr ctions
in the water s pply line.
(b) Check if overflow pipe is seated
correctly in wash tank, and check for
foreign matter nder the O-ring of the
pipe.
(c) Check power s pply to the rinse
p mp contactor and coil of contactor.
Also check that the contactor is
activated.
(d) Check that rinse p mp is not
damaged internally and that motor is
f nctioning correctly.
(e) Check timers, timer settings and
resistors.
(f) Check operation of the ball float
valve.

ESWOOD OPERATING MANUAL ES-50 June 2011
12
Problem Possible c use nd remedy
Poor wash (a) Check that detergent feeder to
machine is operating correctly, if fitted.
If operational, adj st the injector to
increase dosage.
(b) If hand-feeding with detergent,
increase dosage.
(c) Check for foreign matter in wash
arm jets. Clean if necessary.
(d) Check that items to be washed are
correctly placed in racks.
(e) Check temperat re of tanks. If
incorrect check thermostat settings and
heating elements.
(f) Check that the wash p mp is
f nctioning.
Incorrect temperat re of (a) Check thermostat setting.
wash tank
(b) Check heating element.
Poor rinse (a) Check that water press re to
machine is not less than 100 kPa and
ens re that the water isolating valve is
f lly open.
(b) Check rinse arm jets for foreign
matter and clean if necessary.
(c) Check that the rinse p mp is
f nctioning correctly.
(d) Check that the line strainer is not
partially blocked. If so, remove and
clean filter.
(e) Check operation of the ball float
Valve.

ESWOOD OPERATING MANUAL ES-50 June 2011
13
Problem Possible c use nd remedy
Ins fficient rinse (a) Ens re that temperat re of
temperat re incoming water s pply is at least 65
O
C.
(b) Check that rinse booster element
and thermostat are f nctioning
correctly

ESWOOD OPERATING MANUAL ES-50 June 2011
14
DRAWINGS
9

ESWOOD OPERATING MANUAL ES-50 June 2011
15
DRAWINGS
9

ESWOOD OPERATING MANUAL ES-50 June 2011
16
DRAWINGS
9

ESWOOD OPERATING MANUAL ES-50 June 2011
17
DRAWINGS
9

ESWOOD OPERATING MANUAL ES-50 June 2011
18
DRAWINGS
9

ESWOOD OPERATING MANUAL ES-50 June 2011
19
WIRING DIAGRAM
10

ESWOOD OPERATING MANUAL ES-50 June 2011
20
SPARE PARTS
11
PART NO DESCRIPTION
A-1112-1 DOOR LINK SPACER
A-1519 DRAIN ASSEMBLY
A-1757 WASH BUTTON HANDLE
A-1763 SLING-DOOR LIFT
A-1789 PIVOT HUB, HOOD LIFT
A-1795 DOOR STOP
A-1801 TIE ROD BRACKET
A-1814 BEARING FLANGE, WASH
A-1829 RINSE HOSE
A-1915 BEARING PIN, RINSE ARM
A-1917-1 RINSE AM BUSH
A-1917-2 WASH ARM BUSH
A-1920-2 SPACER SLEEVE
A-2097 BEARING PIN, WASH ARM
A-2442-2 DOOR LINK
A-2443 BRAACKET DOOR SWITCH
A-3018 AIR BELL
B-1108 THRUST SCREW
B-1203 PIVOT ASSEMBLY-DOOR HANDLE
B-1572 ESCUTCHEON
B-1779 GUIDE BAR-RACK TRACK
B-1791 RINSE ARM
B-1809 DOOR SPRING
B-1922 TIE ROD
B-1930 TUBE UPPER RINSE
B-1935 BAFFLE ASSEMBLY-STRAINER
B-1943 WASH ARM LOWER
B-1943-3 WASH ARM UPPER
B-1944 HOOK ROD SPRING
B-1961-1 OVERFLOW TUBE
B-1967 WASH ARM SUPPORT
B-2026-1 PANEL RH
B-2027 WASH TUBE ASSEMBLY
B-2663 HOSE
BB-101 NYLON BUSH
C-0453 RINSE PUMP
C-1262 CONTROL PANEL
C-1737 TRAINER ASSEMBLY
C-1892 CONTROL BOX
C-1905 CHAMBER ASSEMBLY
C-1906 REAR CHAMBER ASSEMBLY
C-1909 WASH MANIFOLD
Table of contents
Other Eswood Dishwasher manuals
