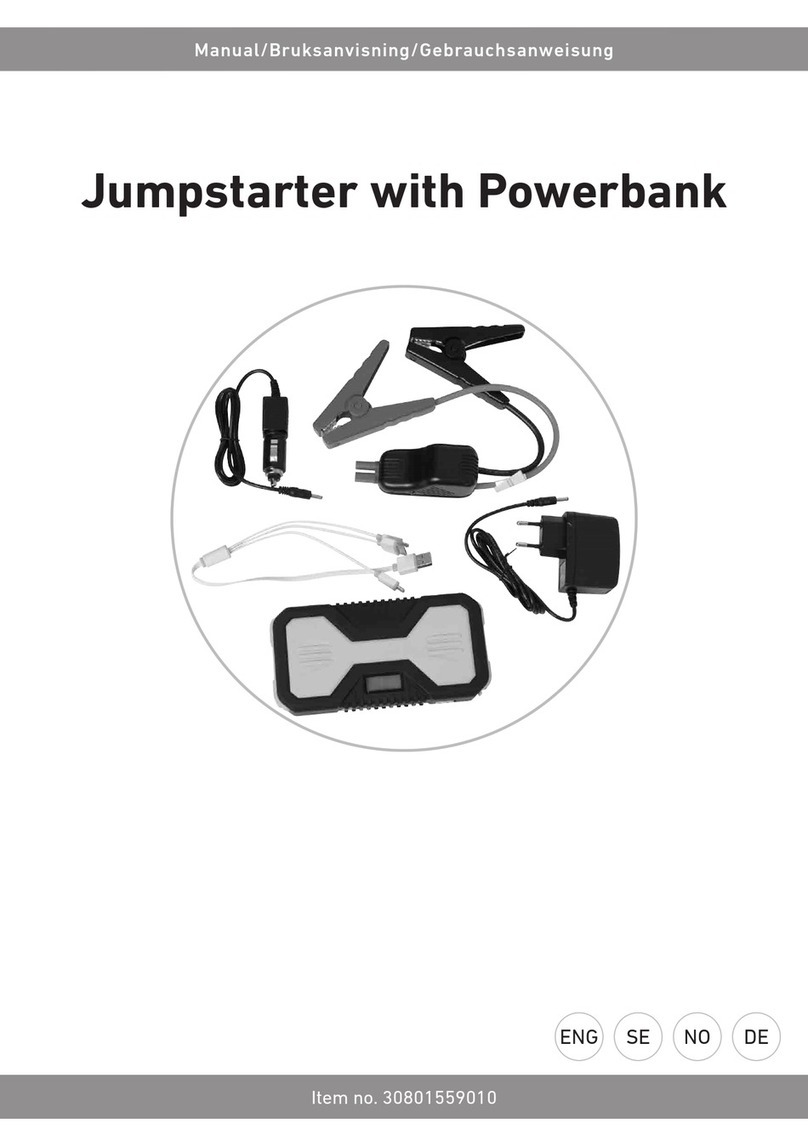
Etable ETABLE E1227 Guide

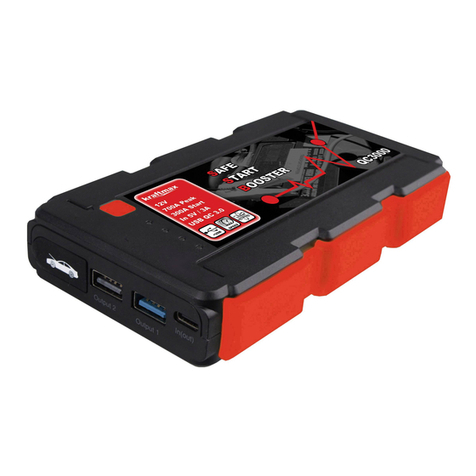
Jump Starter Power Bank
SAFETY & OPERATION
Please retain this leaflet for future reference
Instructions must be fully read before operation, paying close to attention to the
warning and troubleshooting sections. All areas of instruction booklet must be fully
understood before operation of unit

Features
Technical Specification
Size L204x W102 x H46.5mm Input 15V - 1A;Micro USB 5V-2A
Weight 680g Starting current 300A
Cycle life 1000+ Peak current 600A
Full charge time 5.6hours Battery Capacity 18000mAh
Output USB 2.0 5V –2.4A/1A; Operating temperature 0°C-60°C
19V–3.5A;12V–10A ;
12V for car jump starter
Suitable for 6.0L petrol and 4.0L diesel engines

Operation
LED torch
• Hold down the power switch (5) for 3 seconds to turn on the torch.
• Four modes of LED light (3) can be navigated through by lightly pressing on
the power button (Normal, SOS, Strobe and Off).
Charging mobile devices
• Plug the mobile phone/tablets charging cable into one of the two USB ports (2)
• Once the charging device has been connected to the correct USB port, press the
power switch (5) and your device will start charging.
•Plug the switch cable to 12V/10A;19V/3.5A output ports(7), connect to your laptop
and other 12V automotive electrical appliances with appropriate connectors, press
the power switch (5) and your device will start charging.(Turn off laptop when use
the product charge it)
Charging the jump starter
1. Plug the mains power adapter into a suitable power supply.
2. Connect the adapter to the power bank input port (4).
OR
1. Plug the car adapter into a 12V power supply.
2. Connect the car adapter to the power bank input port (4).
OR
1. Plug the USB cable into a 5V Power supply
2. Connect the USB cable to the power bank input port (4)
• The charging time for this product is approximately 5.6 hours to reach full charge
from flat.
Battery indicator
• Press the power switch (5)
• The battery indicator (1) will show the battery status of the product. (1 solid for 25%;
2 solids for 50%;3 solids for 75%; 4 solids for 100%)
•The jump starter indicator(8) turns red when the unit has enough power to start
vehicles, turns off when low power
Jump starting vehicle
Make sure the power bank has greater power to ensure correct function.
1.Plug the cord of the jump lead into the 12V output port (6)
2. Connect the red jump lead battery clamp to the vehicles positive battery terminal
(+,red in color) and the black battery clamp to the vehicles negative (-, black in color)
battery terminal.
3. Start the vehicle.
4. Once the vehicle has been started, disconnect the red & black jump lead clamps

from the battery terminals. This must be done within 30 seconds of the vehicle being
started.
5. Turn unit off to preserve battery and store within provided carry case to ensure safe
storage.

Smart cable user guide

Warnings
1. WARNING: When unit is turned on and jump leads are connected, never touch
metal part of clamps through smart cable has short circuit protection.
2. Make sure the correct battery clamps are connected to the correct battery terminal.
3. Ensure the power bank is remove within 30 seconds of the vehicle being started.
4. The power bank shouldn’t be dissembled or modified in any capacity.
5. Ensure the jump lead is securely attached to the jump start output port (6). If not
done correctly then this may result in the unit failing.
6. Don’t rev the vehicle engine continuously for more than 7 seconds and do not
attempt to jump start after 3 failed attempts within 5 minutes, this can result in the
unit being damaged.
7. Do not leave the power bank unattended when connected to a car battery.
8. Never use the jump starter device in ,on and near explosive chemicals such
as solid, gas or liquid.
9. Do not permit the jump starter device to become wet.
10. Never expose the jump starter device nor any of its components to extreme heat.
11.Never store the jump starter device nor any of its components in a place
in which the temperature exceeds 70°Celsius or 158°Fahrenheit.
12.Only charge the jump starter device using the wall charger and lighter charger
provided for the device. No other chargers should be used.
13.Under very extreme conditions, the battery leakage may occur Using cautiously,
wipe off the liquid on the battery using a dry cloth. Be very careful to avoid
contact with the skin or contact with the eyes. Should you make contact with the
liquid, rinse immediately with clean water and seek proper medical treatment.
14. Only responsible adults should use the power bank and be kept well away from
children.
15. The power bank must be charged in a well ventilated room.
16. After use, always remove jump lead cable from unit immediately after use &
replace protective cover over output port
17.When the jump starter device has ended its usefulness. Please dispose of it
in a way that safeguards and protects the environment.

Troubleshooting
Q. How does one turn the jump starter device off ?
A. The device will turn off automatically when there is no load or when the
charging is complete.
Q. How many times can the device be used to jump start the automobile
with a full charge ?
A. The device can jump start an automobile approximately 20 times before
needing to be re-charged
Q. How many times can this device be used as a power bank for my mobile
phone before needing to be re-charged?
A. The iPhone 6S for example can be fully charged about six times before the
device needs to be re-charged Other types of mobile phones have similar
results.
Q. How long will it take to fully charge my mobile phone using this device
as a power bank?
A. It takes approximately 90 minutes to fully charge the iPhone 6S for example.
Other types of mobile phones have similar results.
Q. How to store the jump starter ?
A. We recommend, if you do not use the battery for more than 15 days,
please discharge its capacity to 40%-65%, and place it in 22 ℃-28 ℃
(71.6°Fahrenheit ~ 82.4°Fahrenheit) environment, which can extend
battery cycle life. If you want to store the product for a long time, do not
fully charge it or fully discharge it to avoid battery in an over-discharge
status, resulting damage to the cell.
This manual suits for next models
1
Table of contents
