READ THIS FIRST:
Check the pack and make sure you have all of the
parts listed on the front of this booklet. If not,
contact the outlet where you bought this product.
This product contains glass, care must be taken when
assembling, tting or handling to prevent personal
injury or damage to the product.
This product must be installed by a competent
person in accordance with the current building
and IEE wiring regulations.
As the buyer, installer and/or user of this product it
is your own responsibility to ensure that this tting
is t for the purpose for which you have intended
it. Eterna Lighting cannot accept any liability for
loss, damage or premature failure resulting from
inappropriate use.
This product is designed and constructed according
to the principles of the appropriate British Standard
and is intended for normal domestic service only
not suitable for commercial use and is not classed as
vandal proof.
The lifetime of compact uorescent lamps and
ballasts are negatively aected by increased
switching i.e. where a PIR is being used to control the
tting.
Switch o the mains before commencing installation
and remove the appropriate circuit fuse or lock o
MCB.
The lamp supplied with this tting is a consumable
part and therefore may be outside of any warranty
oered.
This unit is suitable for outdoor use and requires
to be protected by a 30mA RCD.
This product is designed for permanent connection
to xed wiring: this must be a suitable circuit
(protected with the appropriate MCB or fuse).
Before making xing hole(s), check that there are no
obstructions hidden beneath the mounting surface
such as pipes or cables.
Make sure that the xings are strong enough to
support the weight of the tting and hold it rigidly.
The chosen location of your tting should allow for
the product to be securely mounted and anchored to
a solid surface e.g. concrete, brick.
This product must be connected to earth
termination.
Make connections to the electrical supply in
accordance with the following code:
Live – Brown or Red
Neutral – Blue or Black
Earth – Green and Yellow
When making connections ensure that the terminals
are tightened securely and that no strands of wire
protrude. Check that the terminals are tightened
onto the bared conductors and not onto any
insulation.
This product is not intended to be used by children
and persons with sensory, physical and/or mental
impairments that would prevent them from using it
safely.
IMPORTANT: Always switch o the mains supply
before changing the lamp,.
You are advised at every stage of your installation to
double-check any electrical connections you have
made. After you have completed your installation
there are electrical tests that should be carried out,
these tests are specied in the current IEE wiring and
building regulations.
INSTALLATION:
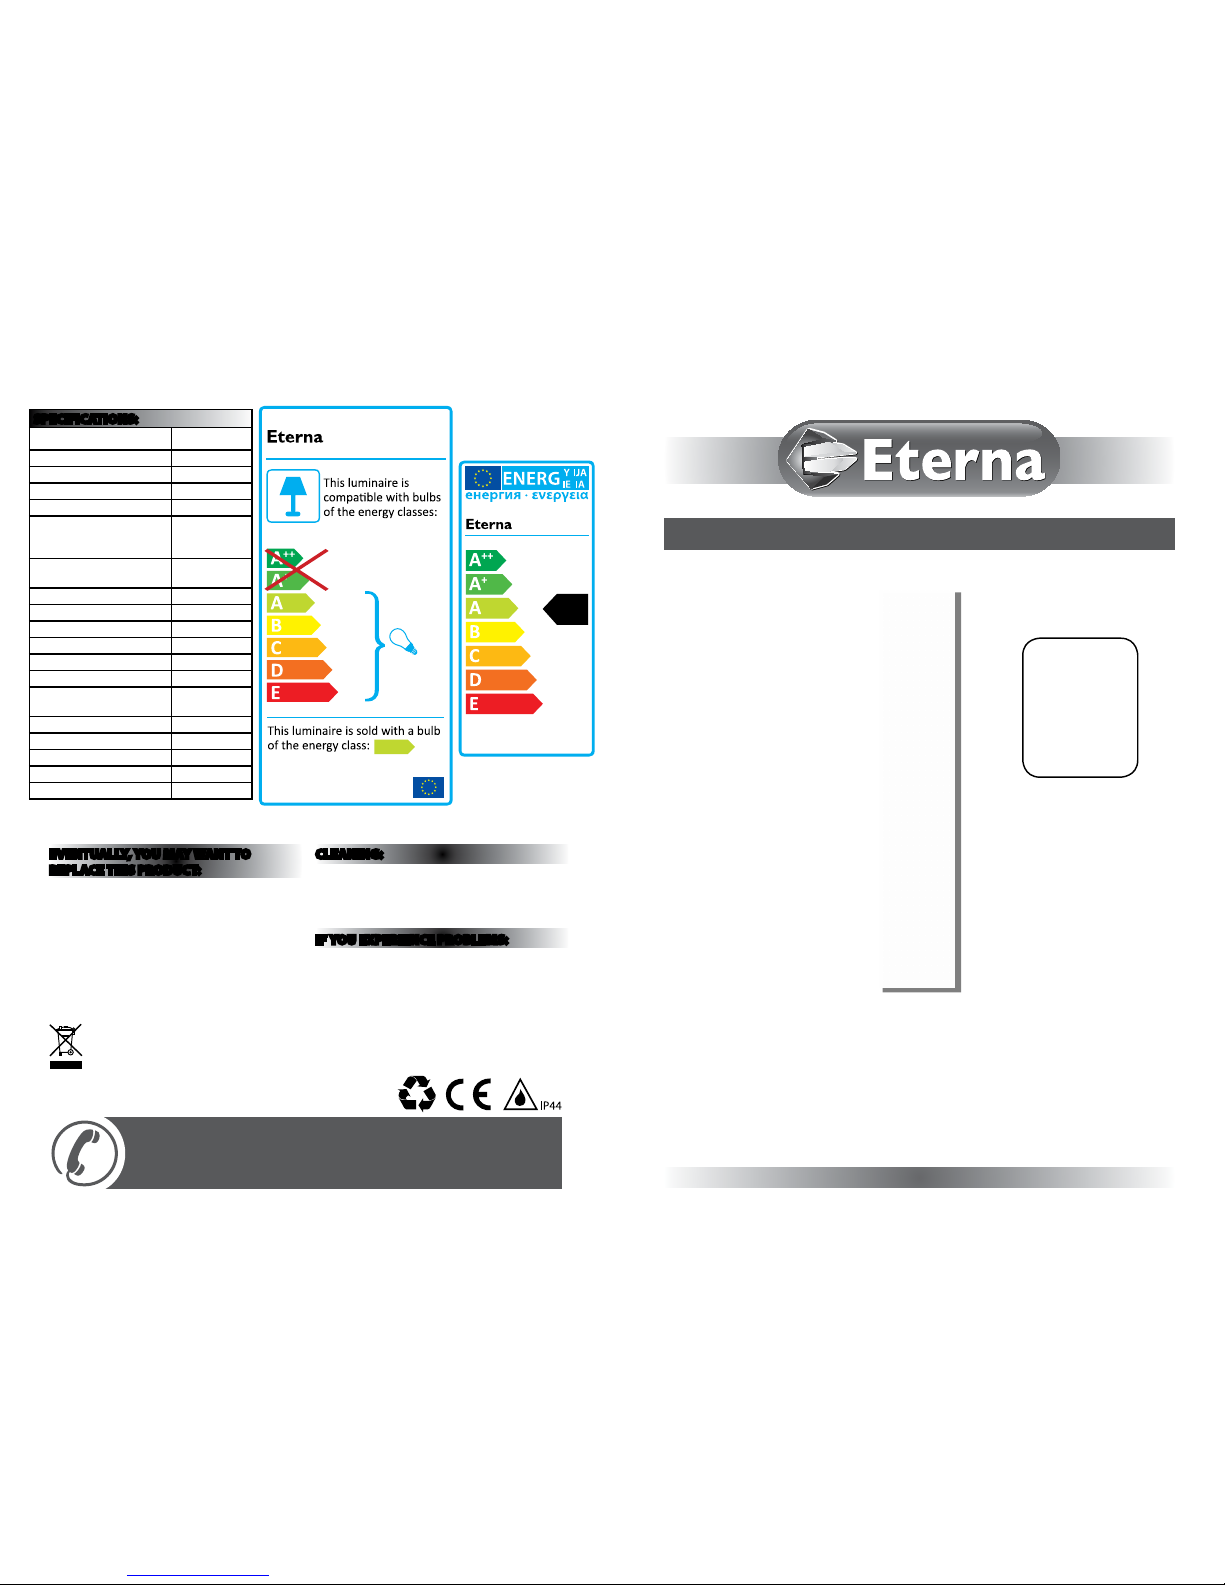
Suitable for outdoors (IP44).
Switch o the mains before commencing installation
and remove the appropriate circuit fuse or lock o
MCB.
IMPORTANT: This product is class 1 It must be
connected to earth.
01) Remove the louvered head with the cap intact.
02) Prepare xing surface.
03) Fixing holes must clear any obstructions within
the mounting surface (eg cables of gas and water
pipes).
04) Feed the incoming mains cable (1M rubber 3
core-not supplied) through the anged bottom
of the tting.
05) Connect the incoming mains supply as follows:
Incoming EARTH (green /yellow) to earth
terminal with green and yellow wire attached.
Incoming LIVE (brown/red to live terminal with
brown wire attached.
Incoming NEUTRAL (blue/black) to Neutral
terminal with blue wire attached.
06) Remove the cap and t a suitable ES 27 energy
saving lamp (included).
07) Replace the cap onto the louvered head.
08) Secure the head to the tting.
09) Restore power and switch on.
Fig 1
Fig 3
L
E
N
Unscrew here rst
before attaching
head to tting
LAMP REPLACEMENT:
Switch o the electricity at the mains.
Remove the diuser etc.
Remove and replace lamp.
REPLACEMENT LAMP TYPE:
Fitting requires 1 x 20W ES triple turn CFLi 3500K
(included) or energy saving alternative.
Fitting is rated at 100W max.
Fig 2