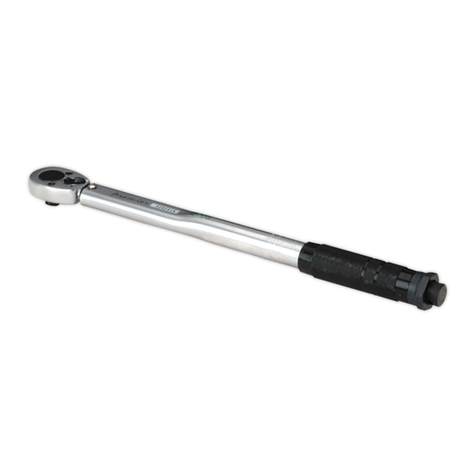
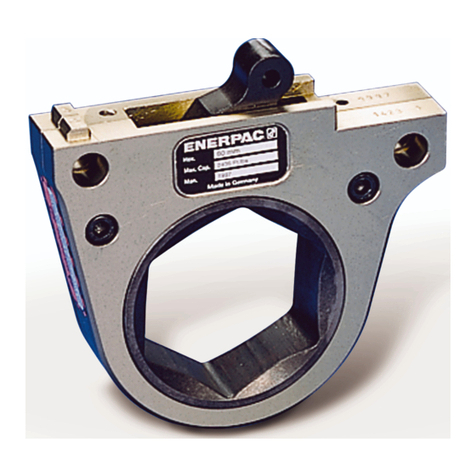
eTORK QuadTork Torque User manual

INSTRUCTIONS
QuadTork Torque Wrenches
with Electronic Digital Display
www.etork.com
TM
R
eTORK

READ BEFORE YOU USE
1. This torque wrench is a precision instrument
intended to be used only to tighten screws, bolts and
nuts to a desired torque. Do not use it as a "nut
breaker", pry bar, or in lieu of a regular ratchet.
2. Do not apply torque in excess of the maximum
capacity of the wrench .
3. Apply load to the grip only , and do not use any
handle extension bars. Any such misuse will result in
inaccurate readings, and it may damage the wrench.
4. Make sure that you adjust the wrench to the exact
torque units your specifications call for, or you will
severely under-torque or over-torque, causing severe
damage to the equipment you are working on.
5. Do not disassemble the wrench for any reason.
Highly stressed internal components may cause
severe injury when released in an unintended manner.
6. The wrench should be re-calibrated periodically . The
calibration of the wrench should be checked at least
once a year, after any abnormal handling or
overloading, or after 10,000 uses.
-2-
7. This torque wrench indicates when the preset torque
has been reached by releasing for a few degrees of free
travel, which is usually accompanied by an audible
"click" signal.

-3-
Hardened alloy steel housing
45-tooth reversible ratchet: wrench
torques in both clockwise and
counterclockwise direction
EASY TO READ SCALES:
Ergonomic grip
Torque adjusting knob: Pull out to
unlock, turn clockwise to increase
torque, counterclockwise to decrease
torque. Push back in to lock.
TARGET
ft.lb
TARGET
in.lb
TARGET
N.m
TARGET
kg.cm
Battery compartment (2 X LR44)
Foot Pounds
Inch Pounds
Newton Meters
Kilogram Centimeters
Red Key: Press once to turn ON, press and
hold to turn OFF. Auto Off in 10 minutes.
Green Key. Press to change torque
units, press and hold to turn backlight
ON
Battery isolation plastic tab: Pull out and
discard to engage the battery (New
wrenches only!)
PULL
UNITS
LIGHT

SETTING TORQUE
1. Pull the adjusting knob out.
2. Turn the knob in the clockwise direction to increase
the torque, and in the counterclockwise to decrease it.
WARNING: Be sure that the torque units you have
selected are exactly the same as the torque units
specified by the manufacturer of the equipment you
are working on.
4. Push the adjusting knob in to lock the selected
reading.
-4-
New battery, about 30 hours remaining.
About 10 hours remaining.
Wrench can not operate.Insert two new LR44 or
equivalent (AG13,357,SR44,A76,LR1154)
batteries. Make sure the "-" ends are toward the
spring. To optimize battery life, do not use
backlight, and remove batteries when the wrench
is not used for prolonged periods.
BATTERY STRENGTH INDICATOR

-5-
L
E
T(E) - Torque applied by
attachment (desired torque)
T(W) - Torque set on the
wrench
T(W) = T(E) L
L+E
USE OF ATTACHMENTS
1. Attachments that put the center of the fastener being
tightened away from the centerline of the ratchet drive, result in
the effective torque being different from the one shown on the
wrench. Consequently, the torque set on the wrench must be
corrected using the formula shown.
2. An attachment as shown below, is a drive extension
which does not affect the torque and no correction is
required. However, be careful when using a long
extension to assure that the extension stays in line with
the drive. You may support a long extension with your
free hand with no measurable affects on the accuracy.
Avoid using universal joints when torqueing unless the
angle of mis-alignment is less than 5 degrees.

APPLYING TORQUE
1. Insert an appropriate socket or drive attachment
onto the square drive of the ratchet and onto the
fastener you want to tighten.
2. Apply hand pressure to the grip, and ONLY TO THE
GRIP. You may support the wrench at the ratchet head
with the other hand to steady it, especially when using
long socket extensions, without appreciably affecting
the accuracy of the wrench.
3. If, due to the required effort, you need to use both
hands, put the other hand on the top of the first hand,
never on any other part of the wrench.
4. Apply slow and steady pull or push until the wrench
momentarily releases, with or without a distinct "click"
sound. Release the pressure right at this point. DO
NOT OVERTORQUE!
SAFETY WARNING
Overtorqued or defective fasteners, sockets, as well as
the wrench itself, may suddenly break causing you to
lose balance, fall, or to suffer other trauma. Be sure
that you have firm footing, are properly balanced, and
if necessary are using appropriate harness, back
support, or other safety device.
-6-

MAINTANANCE
1. When not in use, adjust the wrench to its lowest
reading and store it in the provided case.
2. With the exception of the ratchet mechanism, do not
lubricate the wrench. The ratchet mechanism may be
lubricated as needed with a few drops of light machine
oil.
4. Do not use acetone or other solvents to clean the
wrench, use window cleaners or denatured alcohol
applied with a clean cloth instead.
5. With the exception of the ratchet mechanism, there
are no user-serviceable parts. For repair and/or
re-calibration information, call 1-678-439-8782
LIFETIME WARRANTY
The manufacturer warrants this product against
defects in material and workmanship except for
re-calibration and for damage resulting from
over-torquing and other abuse. Calibration is
guaranteed for a period of one year from the date of
purchase. This warranty excludes incidental and
consequential damages, except as might be
specifically required by law in some states. For
warranty work, contact us at www.etork.com
-7-

-8-
OWNER'S INFORMATION
Date Purchased: ___________________________
Place Purchased: ___________________________
Serial Number: ___________________________
NOTES and SERVICE RECORD:
CERTIFICATION
This torque wrench is certified to have been calibrated
prior to shipment to the accuracy of +/- 3% in the
clockwise direction, and +/- 6% in the counterclockwise
direction
Copyright 2019-05-07
Table of contents
