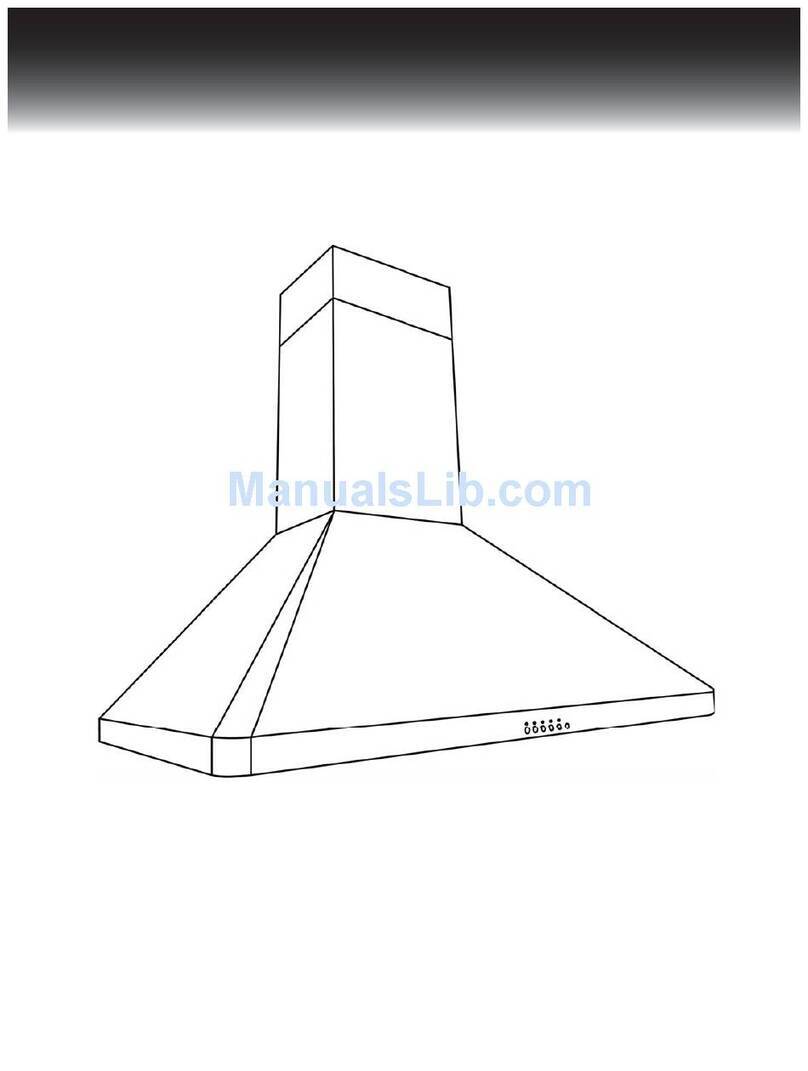
Euro Kitchen Appliances 198 series User manual

MODEL: EURO KITCHEN 198 Series Island -Mounted
USE, CARE, AND INSTALLATION GUIDE
Read all Instructions before Installing and oper
ating this appliance
IMPORTANT SAFETY NOTICE
WARNING
Installation
The installation in this manual is intended for qualified installers, service technicians or persons
with similar qualified background. DO NOT attempt to install this appliance yoursel
f. Injury could
result from installing the unit due to lack of appropriate electrical and technical background.
All electrical wiring must be properly installed, insulated and grounded. Overly accumulated
grease in old duct work should be cleaned out or d
uct work should be replaced if necessary to
avoid the possibility of a grease fire. Check all joints on duct work to insure proper connection
and all joints should be properly taped.
Operations
Read all instructions in this manual before operating the app
liance. Save these instructions for
future reference.
Always leave safety grills and filters in place. Without these components, operating blowers
could catch on to hair, fingers and loose clothing.
NEVER dispose cigarette ashes, ignitable substances, or
any foreign objects into blowers.
NEVER leave cooking unattended. When frying, oil in the pan can easily overheat and catch
fire. The risk of self combustion is higher when the oil has been used several times.
Cleaning
The saturation of greasy residue
in the blower and filters may cause increased inflammability.
Keep unit clean and free of grease and residue build
-
up at all times to prevent possible fires.
Filters must be cleaned periodically and free from accumulation of cooking residue (see
cleaning
instructions inside). Old and worn filters must be replaced immediately. Do not operate
blowers when filters are removed. Never disassemble parts to clean without proper instructions.
Disassembly is recommended to be performed by qualified personnel only.
Call our service
center for removal instructions.
Euro
-
Kitchen, Inc. declines all responsibility in the event of failure to observe the
instructions given here for installation, maintenance and suitable use of the product.
Euro
-Kitchen, Inc. further decl
ines all responsibility for injury due to negligence and the
warranty of the unit automatically expires due to improper maintenance.

CONTENTS
INSTALLATION
Mount heights & clearance
------------------------------------
1
Ducting
------------------------------------------------------------
1,2
Mounting the hood
----------------------------------------------
3,4
Duct cover
--------------------------------------------------------
4
MAINTENANCE
Cleaning
-----------------------------------------------------------
5
Lights replacement
---------------------------------------------
5
WARRANTY
Coverage & exceptions
---------------------------------------
6

MOUNT HEIGHTS & CLEARANCE
INSTALLATION
1
Minimum mount height between range top to hood
bottom should be no less than 24.5".
Maximum mount height should be no higher than
27.5"
It is important
to install the hood at the proper
mounting height. Hoods mounted too low could
result in heat damage and fire hazard; while hoods
mounted too high will be hard to reach and will loose
its performance and efficiency.
If available, also refer range manufac
turer's height
clearance requirements and recommended hood
mounting height above range.
Duct Run Calculation:
Maximum run
6" or 3
-
1/4 x 10" duct
100 FT
Deduct:
each 90 Elbow used
15 FT
each 45 elbow used
9 FT
each 6" to 3/14 x 10"
transition used
1 FT
each 3/14 x 10" to 6"
transition used
5 FT
Side Wall Cap w/ damper
30 FT
Roof Cap
30 FT
e.g.
-
1 roof cap, 2x90 elbows, 1 45 elbow used:
=30' + 30' + 9' =69' used, 31' available for straight duct
runs.
* Maximum ceiling clearance 106.5" at 27.5" hood
mounting height (different model may various).
**Higher ceiling require chimney extension available
at http://www.carlsonsappliance.com
-
***
Product ID: ACS
-
CC1015
DUCTING
A minimum of 6" round or 3
-
1/4 x 10" rectangular
duct must be used to maintain maximum airflow
effici
ency.
Flexible ducts are provided for convenience, always
use rigid type metal ducts if available to maximizing
airflow.
Also use calculation (on right) to compute total
available duct run when using elbows, transitions
and caps.
ALWAYS, when possible, reduce the number or
transitions and turns. If long duct run is required,
increase duct size from 6" to 7 or 8". If a reducer is
used, install a long reducer instead of a pancake
reducer. Reduce duct size as far away from opening
as possible.
If turns or
transitions are required:
Install as far away from opening and as far apart,
between 2, as possible.
Minimum Duct Size:
Round
-
6" minimum
Rectangular
-
3
-
1/4 x 10" minimum (requires a 6" to 3
-
1/4x10" adaptor not supplied

DUCTING
NEVER exhaust air or terminate du
ct work into spaces between walls, crawl spaces, ceiling, attics or garages. All
exhaust must be ducted to the outside.
Use Metal ductwork only.
Fasten all connections with sheet metal screws and tape all joints w/ certified Silver Tape or Duct Tape.
So
me Ducting Options:
INSTA
LLATION
2
WARNING: FIRE

INSTALLATION
INSTALLATION
3
Mounting the Range Hood
1.
Add and secure blockings (minimum 2x4
studs) onto ceiling joist.
2.
Fasten mounting telescopic support frame
directly onto ceiling joist or stud blockings.
3.
Adjust height requireme
nt and fasten
support frame.
4.
Slip upper and lower telescopic duct
covers onto support. Fasten upper duct
cover piece.
5.
Install duct work & electrical.
6.
Install hood onto support frame & lower
duct cover onto hood (next page).
Fasten Upper Chimney Cover.
Add Blockings
Fasten Support Frame
Adjust Height &
Fasten Support Frame
Install Chimney Cover

INSTALLATION
INSTALLATION
4
Mounting Hood onto Support Frame

CLEANING
Surface Maint
enance:
Clean periodically with hot soapy water and clean cotton cloth. Do not use corrosive or abrasive detergent (e.g.
comet powder scrub, EZ
-
Off oven cleaner), or steel wool/scoring pads which will scratch and damage surface.
For heavier soil use liqui
d degreaser such as 'Formula 409' or 'Fantastic' brand cleaner.
After cleaning, you may use non abrasive stainless steel polish/ cleaners such as 3M or
ZEP, to polish and buff out the stainless luster and grain. Always scrub lightly, with clean cotton clot
h, and with
the grain.
LIGHTS
Replacing Light Bulbs:
MAINTENANCE
Aluminum Grease / Stainless Steel
Filters:
The Metal Filters fitted by the factory are intended
to filter out residue and grease from cooking. It
need not be replaced on a regular basis but are
required to be kept clean.
Filters should be cleaned after
every 30 hours of
use.
Remove and clean by hand or in dishwasher.
Spray 'Formula 409' or equivalent degreasing
detergent and leave to soak if heavily soiled.
Dry filters and re
-
install before using hood.
Replacing Filters:
Should filters wear out due to age and prolonged
use, replace with following part number:
Product ID: ACS
-
AF
Description:
Aluminum Grease / Stainless Steel Filter
Available at http://www.carlsonsappliance.com
-
Note:
Also replace damaged filter that has punctured or
broken mesh, bent or bro
ken frame.
5
Bulb “C” replacement is accomplished by removing the glass
-
blocking ring
“A” with a sharp instrument such as a tooth
-
pick
–
steel instruments will
scratch the surfaces. Take caution that the glass “B” does not fall out and
break. Wipe b
oth sides of the glass while it is out.
CAUTION: Light bulb becomes extremely hot when turned on.
DO NOT touch bulb until switched off and cooled. Touching hot
bulbs could cause serious burns.

WARRANTY
6
TO OBTAIN SERVICE UNDER WARRANTY:
You must pre
sent proof of original purchase date.
Please keep a copy of your dated proof of purchase (sales slip) in order to
obtain service under warranty.
One Year Service Repair Warranty:
For one year from date of original purchase, we will provide free of charge, service labor to repair any
failed parts or components due to manufacturing defects. (customer responsible for freight
-
in cost if
applied)
One Years Parts Warranty:
For one year from date of original purchase, we will provide free of charge, non
-
consu
mable
replacement parts or components that failed due to manufacturing defects.
Consumable parts not covered by this warranty include: Light Bulbs, Metal and Carbon Filters.
Who is Covered:
This warranty is extended to the original purchaser for product
s purchased for ordinary home
use in the Continental US. (
Customer in Canada, Hawaii and Alaska, this warranty is
Limited
)
This Warranty will be Voided when:
Product damaged through negligence, misuse, abuse, accident, improper installation and
failure t
o follow installation instructions. When product is used commercially or other than its
intended purpose.
Damaged because of improper connection with equipment of other manufacturers.
Repaired or modified by anyone other than Euro
-
Kitchen's Authorized Age
nts.
What is Not Covered:
Consumable parts such as light bulbs, metal and carbon filters.
The natural wear of finish, and wear due to improper maintenance, use of corrosive and
abrasive cleaning products, pads, and oven cleaner products.
Chips, dents o
r cracks due to abuse, misuse, freight damage, or improper installation.
Damage of product caused by accident, fire, floods or act of God.
This warranty is valid in the United States and Canada. It is non
-
transferable and applies only to
the original pu
rchaser and does not extend to subsequent owners of this product. Any applicable
implied warranties, including the warranty of merchantability, are limited in duration to a period of
express warranty as provided herein beginning with the date of original p
urchase at retail and, no
warranties, whether express or implied, shall apply to this product thereafter.
ALL WARRANTY
REPAIR WILL BE PERFORM AT EURO
-
KITCHEN’S AUTHORIZED AGENTS ONLY!!

Should you have any questions regarding warranty issue,
please feel
free to contact us at:
EURO
-
KITCHEN
AUTHORIZED DEALER
Carlson's Appliance
700 Colorado Ave
Santa Monica, CA 90401
Toll Free: 800
-
601
-
8799
http://www.carlsonsappliance.com
Table of contents
Other Euro Kitchen Appliances Ventilation Hood manuals

Euro Kitchen Appliances
Euro Kitchen Appliances PS29 Assembly instructions

Euro Kitchen Appliances
Euro Kitchen Appliances Spagna Vetro 3388C-IM Assembly instructions

Euro Kitchen Appliances
Euro Kitchen Appliances spagna vetro 168 series Assembly instructions

Euro Kitchen Appliances
Euro Kitchen Appliances B02 Series User manual

Euro Kitchen Appliances
Euro Kitchen Appliances PS101-30 User manual

Euro Kitchen Appliances
Euro Kitchen Appliances DECORATIVE COOKER HOOD User manual

Euro Kitchen Appliances
Euro Kitchen Appliances 3503B2-30 User manual