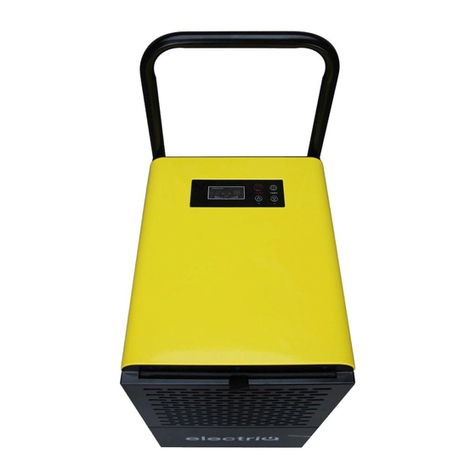
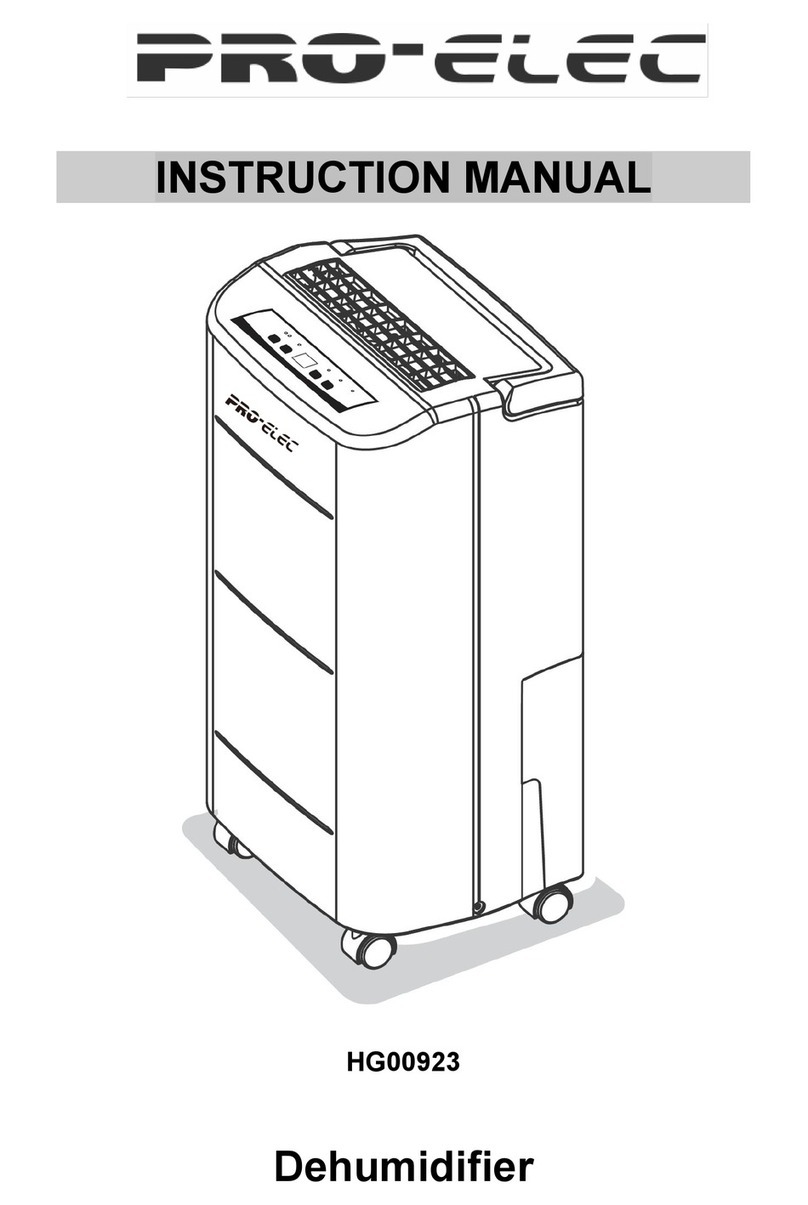
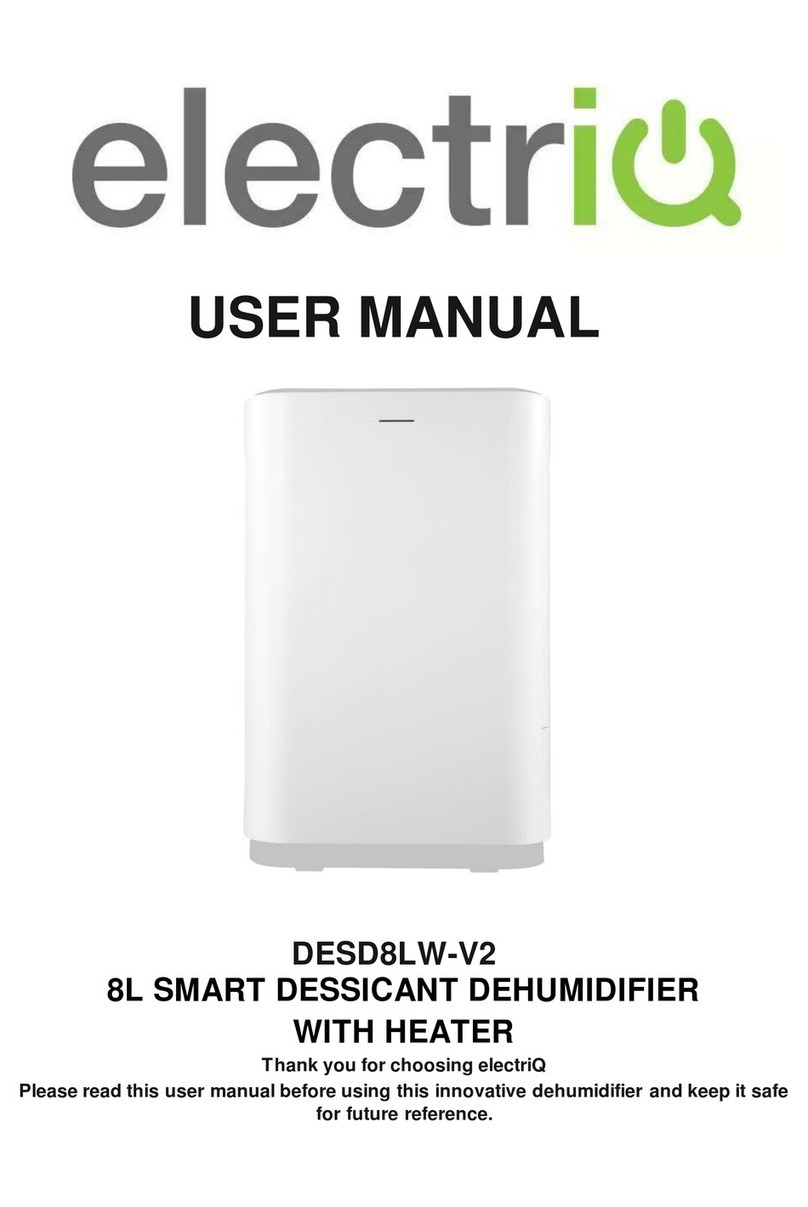
Evantair TWDH200 User manual

Model: TWDH200
20L DEHUMIDIFIER
OPERATING INSTRUCTIONS
Attention: This Dehumidifier is rated to extract 20L per day in an environment of 80% humidity and
temperature of 30°C. This is the world-wide standard for rating dehumidifiers. In NZ we do not have climatic
conditions with this humidity and high temperature. Accordingly this product will not extract 20L per day,
extraction levels will be lower.

Thank you for choosing an Evantair Dehumidifier. This Evantair appliance has
been designed and manufactured to high standards of engineering and with
proper use and care, as described in this booklet, will give you years of useful
service. Please read these instructions carefully and keep for future reference.
YOUR SAFETY IS IMPORTANT TO US. PLEASE ENSURE YOU TAKE NOTE OF
THE INSTRUCTIONS AND WARNINGS OUTLINED IN THIS MANUAL.
1. WARNING you must not cover this appliance. Covering
this appliance presents fire risk.
2. Use only the voltage specified on the rating label of the
appliance.
3. Keep all objects at least 1 metre from the front, sides
and rear of the appliance.
4. This appliance is intended for household use only and
not for commercial or industrial use.
5. Indoor use only.
6. Do not use abrasive cleaning products on this
appliance. Clean with a damp cloth (not wet) rinsed in
hot soapy water only. Always remove plug from the
mains supply before cleaning.
7. The common cause of overheating is deposits of dust
or fluff in the appliance. Ensure these deposits are
removed regularly by unplugging the appliance and
vacuum cleaning the air vents and grills.
8. Always unplug appliance when not in use.
9. When the appliance has been unpacked, check it for
transport damage and ensure all parts have been
delivered. If parts are missing or the appliance has
been damaged, contact the Evantair Customer
Services Team.
10. If your appliance does not work, or is not working
properly, contact the place of purchase or the Evantair
Customer Services Team.
11. Do not connect the appliance to mains supply until
completely assembled and adjusted.
12. Ensure hands are dry before handling the plug or main
unit.
13. Do not locate the appliance directly below any power
socket outlet.
14. Ensure appliance is on a flat, stable, heat-resistant
surface.
15. Do not operate with cord set coiled up as a heat build
up is likely, which could be sufficient to become a
hazard.
16. Carry out regular checks of the supply cord to ensure
no damage is evident.
17. Do not operate this appliance with a damaged cord,
plug or after the appliance malfunctions or has been
dropped or damaged in any manner. Return to a
qualified electrical person for examination, electrical
service or repair.
18. Do not remove plug from power socket by pulling cord;
always grip plug.
19. Do not twist, kink or wrap the cord around the
appliance, as this may cause the insulation to weaken
and split. Always ensure that all cord has been
removed from any cord storage area and is unrolled
before use.
20. It is recommended that this appliance is plugged
directly into the wall socket. The use of power boards
is not recommended as many power boards are not
designed to supply power to high wattage appliances.
21. A correctly specified, undamaged extension cord may
be used with this appliance provided it is used in a safe
manner.
22. Use this appliance only as described in this manual.
Any other use is not recommended by the
manufacturer and may cause fire, electric shock or
injury.
23. Do not remove plug from power socket until the
appliance has been switched off.
24. Do not place cord under carpet or cover with rugs or
furniture. Arrange the cord so it cannot be tripped over.
25. Do not place appliance on bedding.
26. Switch off and use handle provided when moving.
27. Do not place appliance close to radiant heat source.
28. Never use the appliance to dry clothes.
29. Do not insert or allow foreign objects to enter any
ventilation or exhaust opening, as this may cause an
electric shock, fire or damage to the appliance.
30. Do not sit on the appliance.
31. Do not operate in areas where petrol, paint or other
flammable liquids are used or stored.
32. This appliance is not intended for use by persons
(including children) with reduced physical, sensory or
mental capabilities or lack of experience and
knowledge, unless they are supervised or have been
given instruction concerning the use of the appliance
by a person responsible for their safety.
33. Children should be supervised to ensure that they do
not play with the appliance.
34. Do not use this appliance in the immediate surrounds
of a bath, a shower, or a swimming pool or other
liquids. The appliance must not be immersed in any
liquids.
35. There are no user serviceable parts installed in the
unit.
36. Do not place the unit in wardrobes or other enclosed
spaces as this may cause fire hazards.
37. This unit is not supposed to be used in or around
locations where foodstuffs, works of art or delicate
articles of science, etc are stored.
General Care and Safety Guide

1. Front Cover
2. Outlet
3. Handle
4. Control Panel
5. Filter
6. Back Cover
7. Tank
8. Wheel
9. Supply Cord
COMPONENT DIAGRAM
Components

CONTROL PANEL
WARNING: Keep all objects at least 1 metre from the front, sides and rear of the appliance.
WARNING: In order to avoid overheating or risk of fire, do not cover the appliance.
WARNING: Never leave this dehumidifier unattended when in use.
WARNING: Do not use this appliance with a programmer, remote-control system, separate timer or
any other device that switches the appliance on automatically.
Note: When the appliance is turned on for the first time, it may release a slight odour. This odour
is a normal occurrence caused by the initial starting of the unit and should not occur again.
Leave the applianceto stand for one hour after transport or after the unit has been on its side before
connecting it to the mains supply to let the refrigerant settle.
OPERATION
Ensure that the water container is positioned correctly.
Plug into power supply. The Power indicator will illuminate to show there is power to the unit.
Press the POWER button to turn on the unit.
Press the SPEED button to select the fan speed desired (High or Low).
Press the TIMER button to select the desired amount of time you would like the Dehumidifier to run before
turning off automatically (1 –24 hours).
LED INDICATORS
1. POWER
2. TIMER
3. FULL
4. LOW SPEED
5. HIGH SPEED
6. LAUNDRY
BUTTONS
A. POWER
B. TIMER
C. SPEED
D. LAUNDRY
E. UP ADJUSTMENT
F. DOWNADJUSTMENT
Operating your Appliance
Always choose a safe location for the appliance, keeping in mind the safety precautions
outlined. Ensure all packaging has been removed from the unit before use. This appliance
requires no installation, it should be used solely as a portable appliance.

This dehumidifier is designed to provide optimum performance at 35°C -15°C but it is still effecting down to
5°C. Ultimately the performance of this dehumidifier is dependant on the amount of moisture or water
vapour in the air.
Ensure all external windows and doors are closed before turning on the unit.
AUTOMATIC DEFROST CYCLE
The Dehumidifierwill go into a defrost cycle when the temperature drops below 16°C. Every 25 minutes
the compressorwill stop and the fan will continue to run for 7 minutes. After this, the compressor will turn
back on.
THE EXTERIOR
Clean the exterior with a soft, dry cloth. If the device is extremely dirty, use a mild cleaning agent. Wipethe
device with a slightly damp cloth. Never spray the device with water.
THE AIR FILTER
When used regularly, the filter may become clogged with dust and particles. Therefore the filter should be
cleaned every two weeks. Follow these steps:
Remove the filter.
Clean the filter with a vacuum cleaner or with water.
Ensure that the filter is completely dry and put back in place in the Dehumidifier.
Never use the Dehumidifier without the air filter.
Note: Ensure that the filter is completely dry before placing it back into the Dehumidifier. Never use the
Dehumidifier without the Air Filter.
To store the unit, remove the plug from the socket and empty the water container. Allow the container and
the Dehumidifier to dry completely. Clean the air filter. Store the device in a dust-free location, preferably
covered with a sheet of plastic.
Operating your Appliance
Press the UP and DOWN arrow buttons to select the desired ambient relative humidity level; you can set
from 30 –90% at 5% increments. If you wish to use the Dehumidifier continuously press the arrow
buttons until “CO” is shown and the Dehumidifier will run until turned off manually or until the water tank is
full.
NOTE: The unit will stop dehumidifyingwhen the actual ambient relative humidity is 2% lower than the
set %. The unit will start to dehumidify again when the ambient relative humidity is 2% higher than the set
%.
Press the LAUNDRY button to activate laundry mode to help dry clothes faster by adding some heat to
the air being blown out. Never place clothes directly on the appliance.Place on a rack at least 1 metre
away from the air outlet.

WHEN THE WATER CONTAINER IS FULL
Abeep signal will sound 15 times. The WATER FULL indicator light will illuminate on the control panel.
The compressor will stop automatically, and the unit will stop dehumidifying.
Empty the water container and replace it in the correct position. If the drainage tank is dirty, wash it with
cold or lukewarm water. Do not use detergent, scouring pads, chemically treated dust cloths, gasoline,
benzene, thinner, or other solvents, as these can scratch and damage the tank and cause water leakage
When replacing the drainage tank, press the tank firmly into place with both hands. If the tank is not
positioned properly, the “TANK FULL” sensor will be activated, and the dehumidifier will not operate.
Do not remove the float from the water tank. The water full sensor will no longer be able to detect the water
level correctly without the float and water may leak from the water tank.
The Dehumidifier will continue dehumidifying when the compressor automatically restarts after
approximately three minutes.
CARE AND CLEANING
The appliance requires regular cleaning to ensure trouble free operation:
Unplug the appliance from the mains supply before cleaning.
Ensure that the appliance has been allowed to cool down completely before cleaning.
Use a damp cloth (not wet) to wipe the exterior of the appliance to remove dust and dirt.
Use a vacuum cleaner to remove dust and fluff from around the grills.
Never use solutions such as benzene, thinners or polishing agents.
Ensure the appliance is dry before plugging back into the mains supply.
Do not attempt to dismantle the Dehumidifier. There are no user serviceable parts. For service or repair,
contact an authorised electrical service technician.
IMPORTANT! NEVER COVER THIS DEHUMIDIFIER!
1. Remove
the water
tank
2. Connect
the plastic
tube onto the
water outlet
port
Replace the
water tank
Operating your Appliance
PERMANENT WATER DRAINAGE
It is possible to connect a drainage tube (not supplied) to the device for permanent water drainage.
If this option is desired, you will need to purchase a suitable tube from your local hardware retailer.
(Evantair does not hold tubes as spare parts).
Connect the drainage hose to the drain spout. Ensure that the end of the hose is lower than the drain
opening, otherwise the water will not drain and flooding may occur.
Also ensure the water container is in position (in the unit) otherwise the continuous drainage will not
operate.
Place the end of the drainage hose in a drainage outlet.
When you no longer wish to use the permanent water drainage, disconnect the drainage tube from the
device.

Problem Possible Cause Solution
The unit doesn't operate
Has the power cord been
disconnected? Plug the power cord into the
outlet.
Is the tank full indication
lamp blinking? (The tank is
full or in a wrong position.)
Empty the water in the
drainage tank and then
reposition the tank.
Is the temperature of the
room above 35℃or below
5℃?
The protection device is
activated and the unit
cannot be started.
The dehumidifying
function doesn't work
Is the air filter clogged? Clean the air filter as
instructed under
"Cleaning the dehumidifier".
Is the intake duct or
discharge duct obstructed?
Remove the obstruction
from the discharge duct or
intake duct.
No air is discharged Is the air filter clogged? Clean the air filter as
instructed under
"Cleaning the dehumidifier".
Operation is noisy
Is the unit tilted or
unsteady? Move the unit to a stable,
sturdy location.
Is the air filter clogged? Clean the air filter as
instructed under
"Cleaning the dehumidifier".
SUPPORT AND TECHNICAL ADVICE
North Shore City, Auckland, New Zealand
Monday –Friday 8am-5pm
Phone: 0800 232 633
TECHNICAL SPECIFICATION
Model No: TWDH200
Supply: 220-240VAC 50Hz
Wattage: 390W
Trouble Shooting
PROOF OF PURCHASE
To receive warranty retain receipt as proof of purchase.

Your Evantair product has been inspected and tested and is guaranteed subject to
the following for a period to two years from the date of purchase against defects in
workmanship and materials. During this period, such defects will be rectified by
repair or replacement of the product purchased. Your product contains no user
serviceable components and this warranty becomes invalid if in our opinion the
product has been misused, abused, incorrectly installed, tampered with, connected
to an electrical supply not corresponding with the name plate specification, or
subjected to power surges. The warranty does not include any labour or other
associated expense that may be involved in removal or installation of the product.
Normal wear and tear is expressly excluded.
If your Evantair product fails to operate satisfactorily, please return it to the retailer
from whom it was purchased. To obtain a repair or replacement product under this
warranty, you will need to produce satisfactory evidence of date of purchase. The
completed warranty and purchase receipt must be presented with the product. The
warranty should be filled out at the time of purchase. It is in your interest to make
sure this is done.
If the product is to be replaced (cannot be repaired) then that replacement will be
of the same or similar product or accessory excluding packaging, instruction card
etc. Where a replacement product is supplied, this shall be guaranteed for the
balance of the original warranty period.
Any model that is no longer available will be replaced by a model of a value and
with such features as we consider appropriate in the circumstances. Evantair Ltd is
not responsible for freight forwarding charges, losses or damage in transit.
If service is required after the warranty period has expired, the product should be
returned to a qualified electrical technician. Service outside of the warranty period
will be at your cost.
Consumers Guarantee Act (1993).
In accordance with the above act consumers are advised that: The manufacturer
does not undertake that repair facilities and parts are necessarily available for this
product.
If any of the provisions of the foregoing are contrary to any relevant legislation,
then that provision shall be deemed to be excluded from the warranty and the rest
of the provisions will continue to apply.
TWO YEAR WARRANTY
IMPORTANT: PLEASE RETAIN THIS WARRANTY CARD
NAME:
ADDRESS:
PURCHASED FROM:
SUBURB:
DATE OF PURCHASE:
NAME OF PRODUCT:
MODEL No:
Table of contents
Other Evantair Dehumidifier manuals


