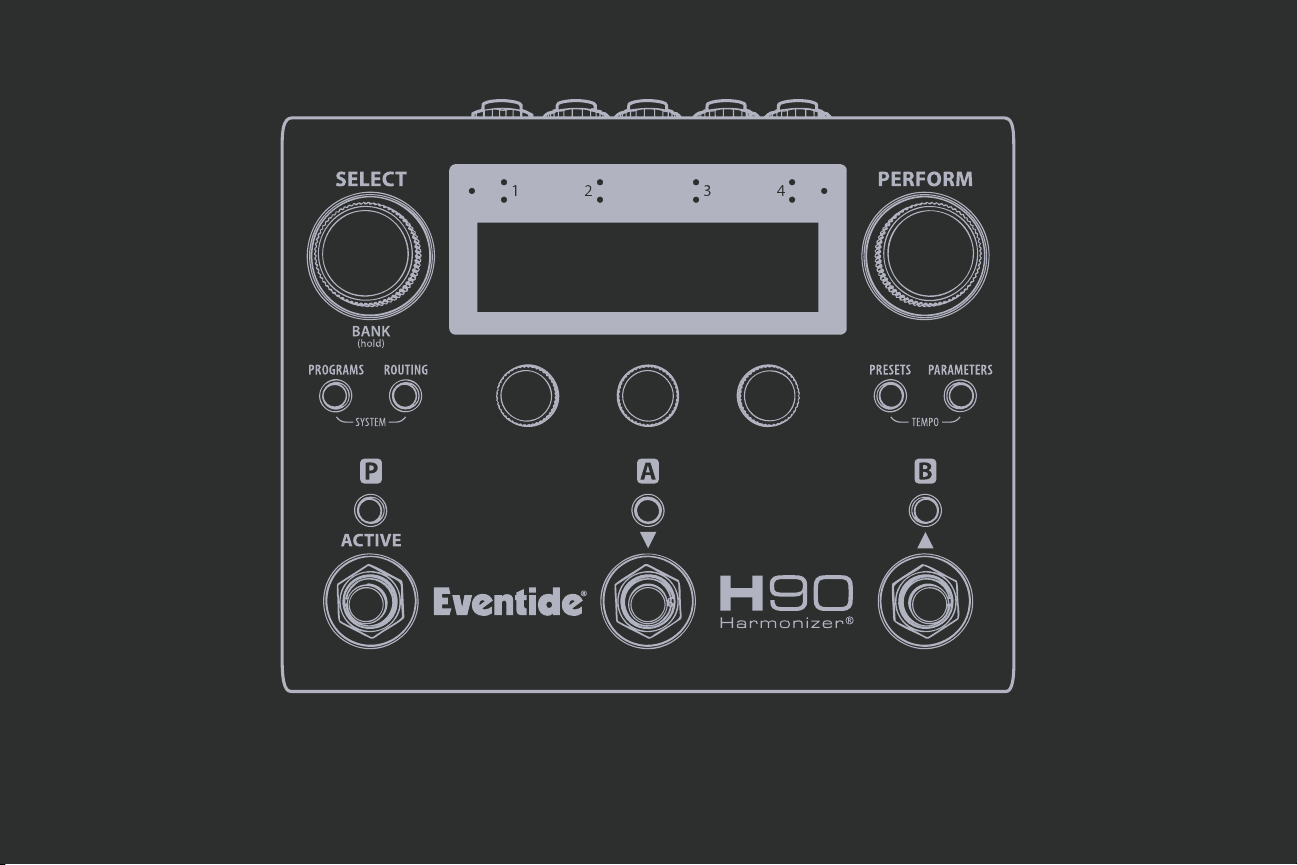
Eventide H90 Harmonizer User manual


Other manuals for H90 Harmonizer
1
Other Eventide Music Pedal manuals

Eventide
Eventide Harmonizer H910 User manual

Eventide
Eventide MicroPitch Delay User manual

Eventide
Eventide TimeFactor User manual

Eventide
Eventide UltraTap Pedal User manual

Eventide
Eventide H9 User manual

Eventide
Eventide ModFactor User manual

Eventide
Eventide H3000 Ultra-Harmonizer User manual

Eventide
Eventide Space User manual

Eventide
Eventide MicroPitch Delay User manual

Eventide
Eventide UltraTap User manual


Popular Music Pedal manuals by other brands


pigtronix
pigtronix TIDE RIDER user guide

Cusack-Music
Cusack-Music Tap-A-Phase manual

TC-Helicon
TC-Helicon MIC MECHANIC 2 quick start guide

Behringer
Behringer COMPRESSOR/LIMITER CL9 quick guide

Aion Electronics
Aion Electronics Isotope manual

TC Electronic
TC Electronic SUB 'N' UP MINI OCTAVER quick start guide