Everhard Industries EXCELLENCE 35L Installation guide
**PRODUCT SHOULD BE INSTALLED BY A LICENSED PLUMBER**
INSTALLING YOUR LAUNDRY UNIT
1. Carefully lift product out of the carton.
2. The laundry unit must be installed at the location of the drain (refer to Connecting the Laundry Sink to the Drain
section). Check the dimensions of the area where the laundry unit will be installed to ensure it will fit within the
allocated space.
3. Ensure the back wall of the area where the laundry unit will be installed is straight and level.
4. Carefully remove the laundry sink from the unit using protective gloves and set aside.
5. Install the basket waste onto the sink. The basket waste is a two part waste, therefore the screw within the middle of
the waste needs to be removed before installing the waste onto the sink. Insert the top part of the waste including
the thin black rubber seal into the waste hole of the sink. From underneath install the bottom part of the basket
waste including the thick black rubber onto the waste hole. Screw the stainless steel threaded screw through the
top part of the basket waste into the bottom part of the basket waste and tighten using a screwdriver.
EXCELLENCE 35L & 45L DRAWER SYSTEM LAUNDRY UNIT
INSTALLATION & CARE INSTRUCTIONS
1
Drainage
Solutions
Interior
Products
everhard.com.au | 131 926
Environmental Civil &
Commercial
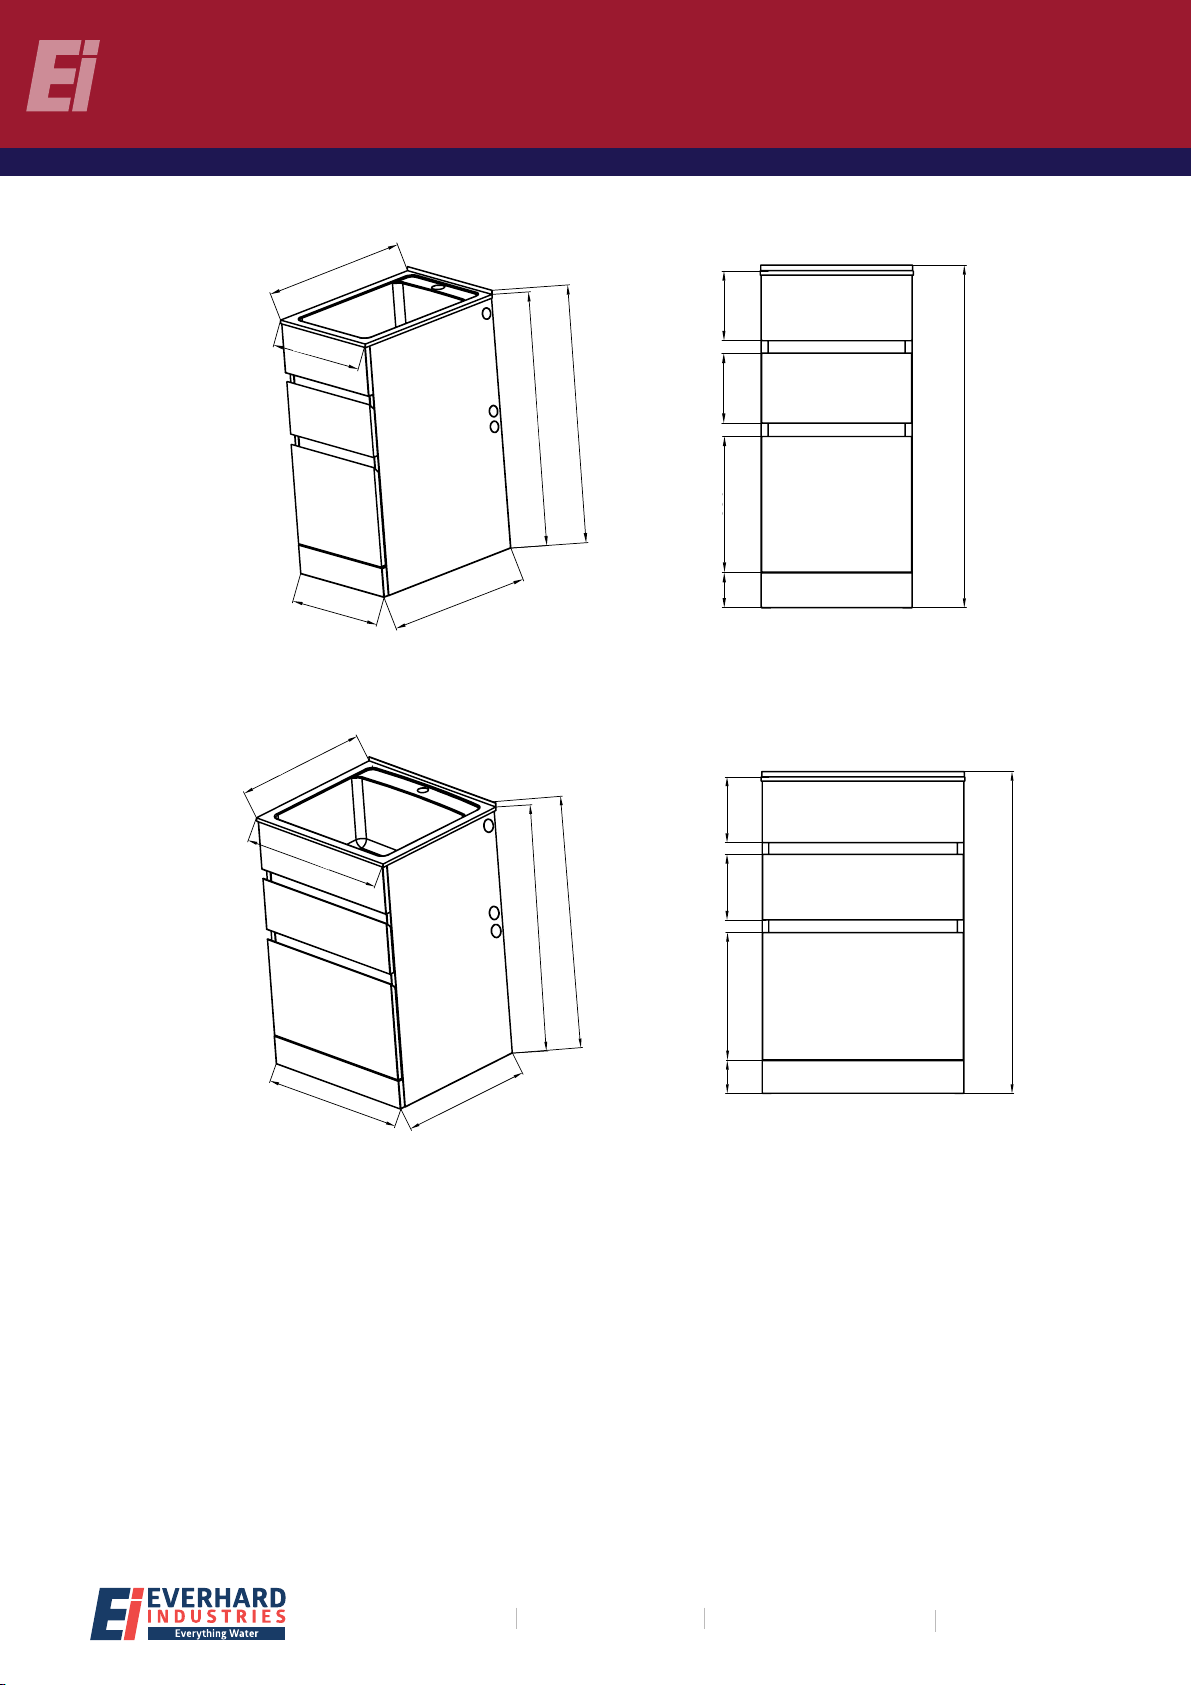
35L | EI code: 71E3510
45L | EI code: 71E4510
90 350 180
555
510
871
513
560
886
886
180 90 350 180
390
568
871
395
570
886
886
180
180
362
90 175
886
886
180
361
90 175
886
886
871
871
568
570
390
395
510
513
560
555
6. Ensure the laundry unit is installed level by using a spirit level across the top of the unit.
7. Using two screws or wall anchors, fasten the laundry unit to the wall by drilling two holes into the top bracket
approx 300mm centres and insert fastening screws (M6) or wall anchors to secure the unit to the finished wall.
WASHING MACHINE DRAINAGE HOSE CONNECTION
CONCEALED CONNECTION
1. Remove the waste junction from the packaging and drill the inside component from the 25mm side connection
on the junction using a 15mm drill bit.
2. Install the waste junction onto the bottom of the basket waste and tighten by hand.
3. Feed the washing machine hose through the top hole located on the side of the unit adjacent to the washing
machine and connect to the 25mm drilled out connection on the waste junction. Using a stainless steel clamp,
tighten the clamp onto the washing machine drainage hose connection on the waste junction using a screwdriver.
CONNECTING THE LAUNDRY SINK TO THE DRAIN
1. Locate the current waste installed in your home, this could be coming through the floor or through the wall.
2. If through the floor, you may require to offset the 50mm waste pipe towards the back of the unit. Underneath the
bottom drawer there is a 100mm space. The drainage pipe can be installed underneath the bottom of the drawer
using 50mm Spigot to Socket 88 Degree PVC elbow.
3. Remove the drawers from the unit by pressing down the black lever on the front of the drawer runner to disengage
the drawer (refer to Removing Drawer instructions below).
4. Using 50mm DWV pipe, connect the existing drainage pipe using approved plumbing fittings to an approved
50mm PVC Trap. The 50mm PVC Trap is installed onto the bottom of the waste junction. Tighten by hand.
5. Ensure the 50mm Trap has clearance around the bottom drawer so the drawer can slide outwards.
6. Reinstall the drawers onto the drawer runners (refer to Inserting Drawers instructions).
7. Test and ensure there are no leaks.
INSTALLING THE TAPWARE
1. Carefully remove the laundry sink from the laundry unit using protective gloves.
2. Install your chosen tapware onto the sink using the supplied tap bracket and seals. Follow the manufacturer’s
instructions on how to install the tapware.
3. Once the tapware is installed, place the laundry sink onto the laundry unit. Seal the top edge of the unit using a
suitable sealant prior to placing the laundry sink onto the unit.
EVERHARD INDUSTRIES
ABN: 41 009 690 859
everhard.com.au | 131 926
Head Oce: 454 Newman Rd, Geebung, QLD, 4034
2
version: 002
Drainage
Solutions
Interior
Products
everhard.com.au | 131 926
Environmental Civil &
Commercial
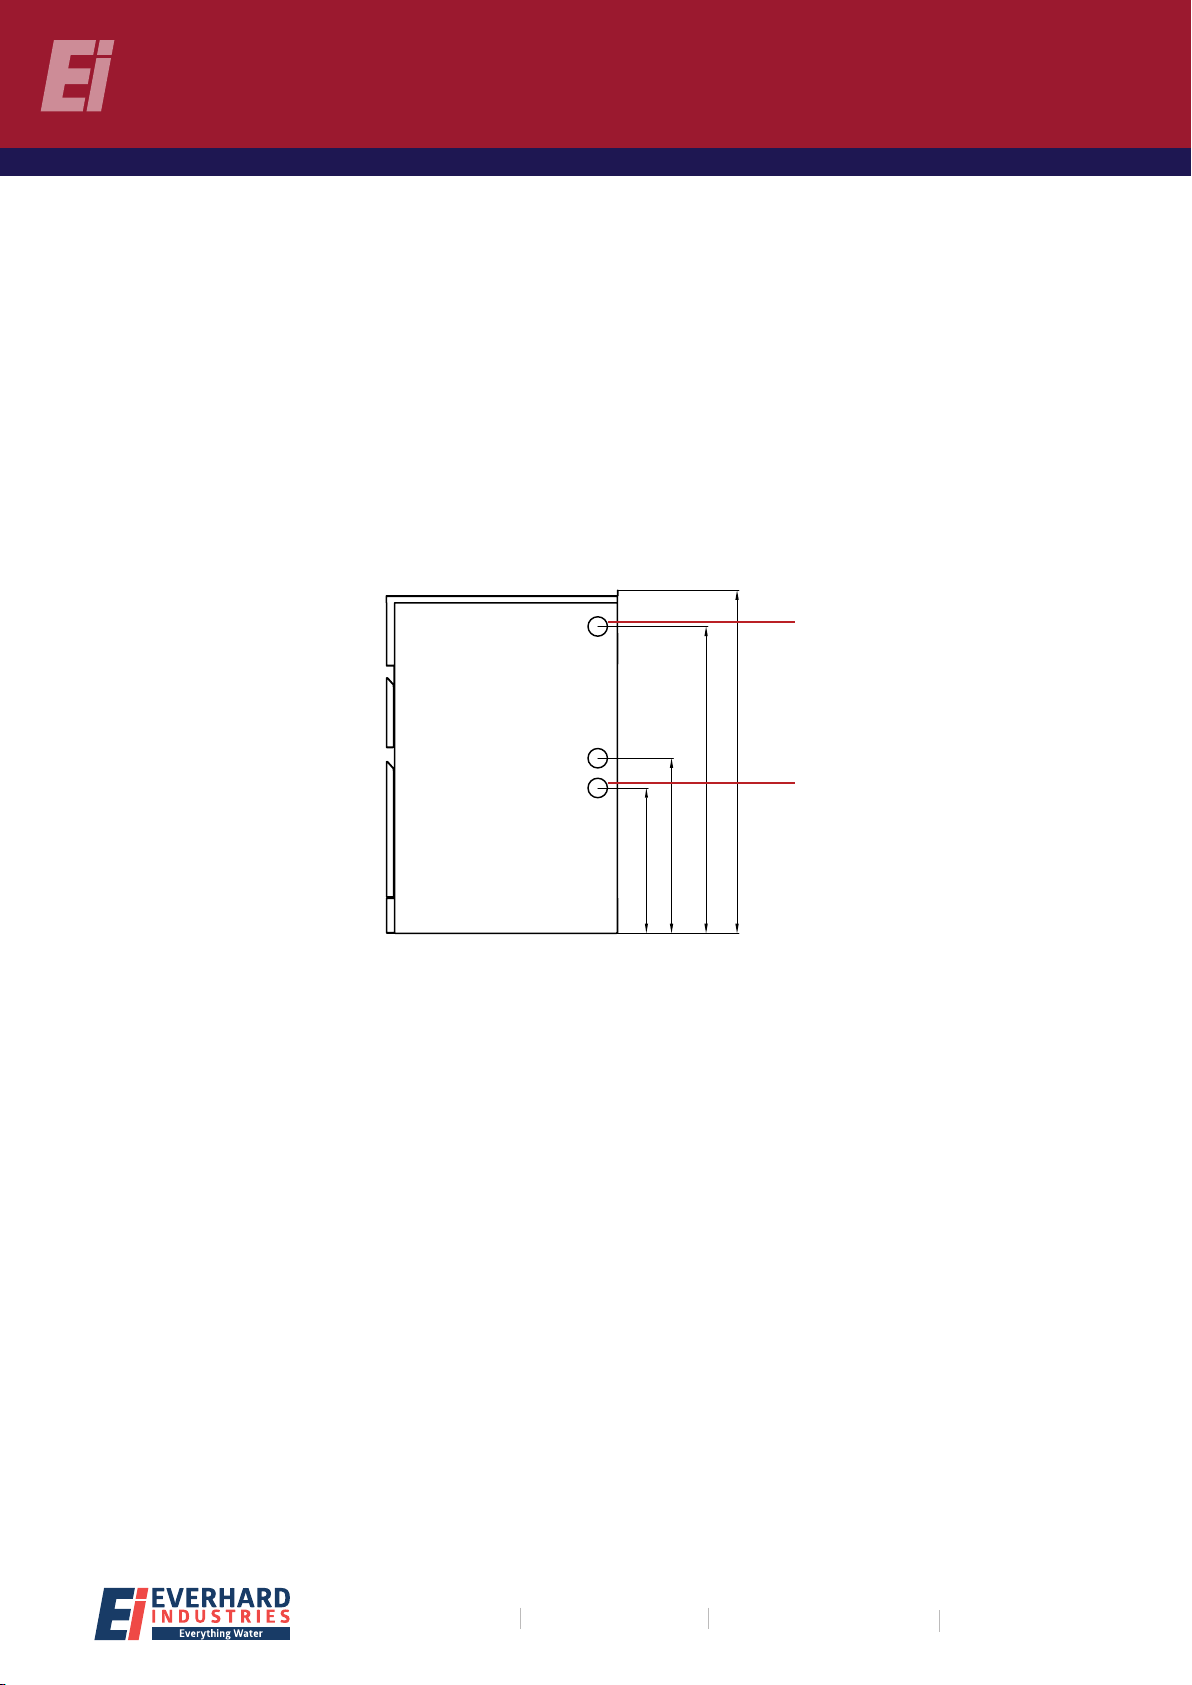
886
375
452
792
35L
EI code: 71E3510
Washing machine
drainage hose hole
Holes for concealing
washing machine taps
45L
EI code: 71E4510
866
816
455
379
EVERHARD INDUSTRIES
ABN: 41 009 690 859
everhard.com.au | 131 926
Head Oce: 454 Newman Rd, Geebung, QLD, 4034
3
version: 002
Drainage
Solutions
Interior
Products
everhard.com.au | 131 926
Environmental Civil &
Commercial
ADJUSTABLE FEET INSTALLATION (OPTIONAL)
Adjustable Feet can be installed onto the Nugleam Drawer System Laundry Unit by using the Everhard Adjustable
Feet (97943). Remove the nut and washer from the thread of the adjustable feet and insert the threaded component
through the four holes located on the base of the laundry unit.
Place the washer and nut onto the threaded rod of the adjustable feet on the inside of the base of the unit and tighten.
Adjust the feet to the desired height of the installation.
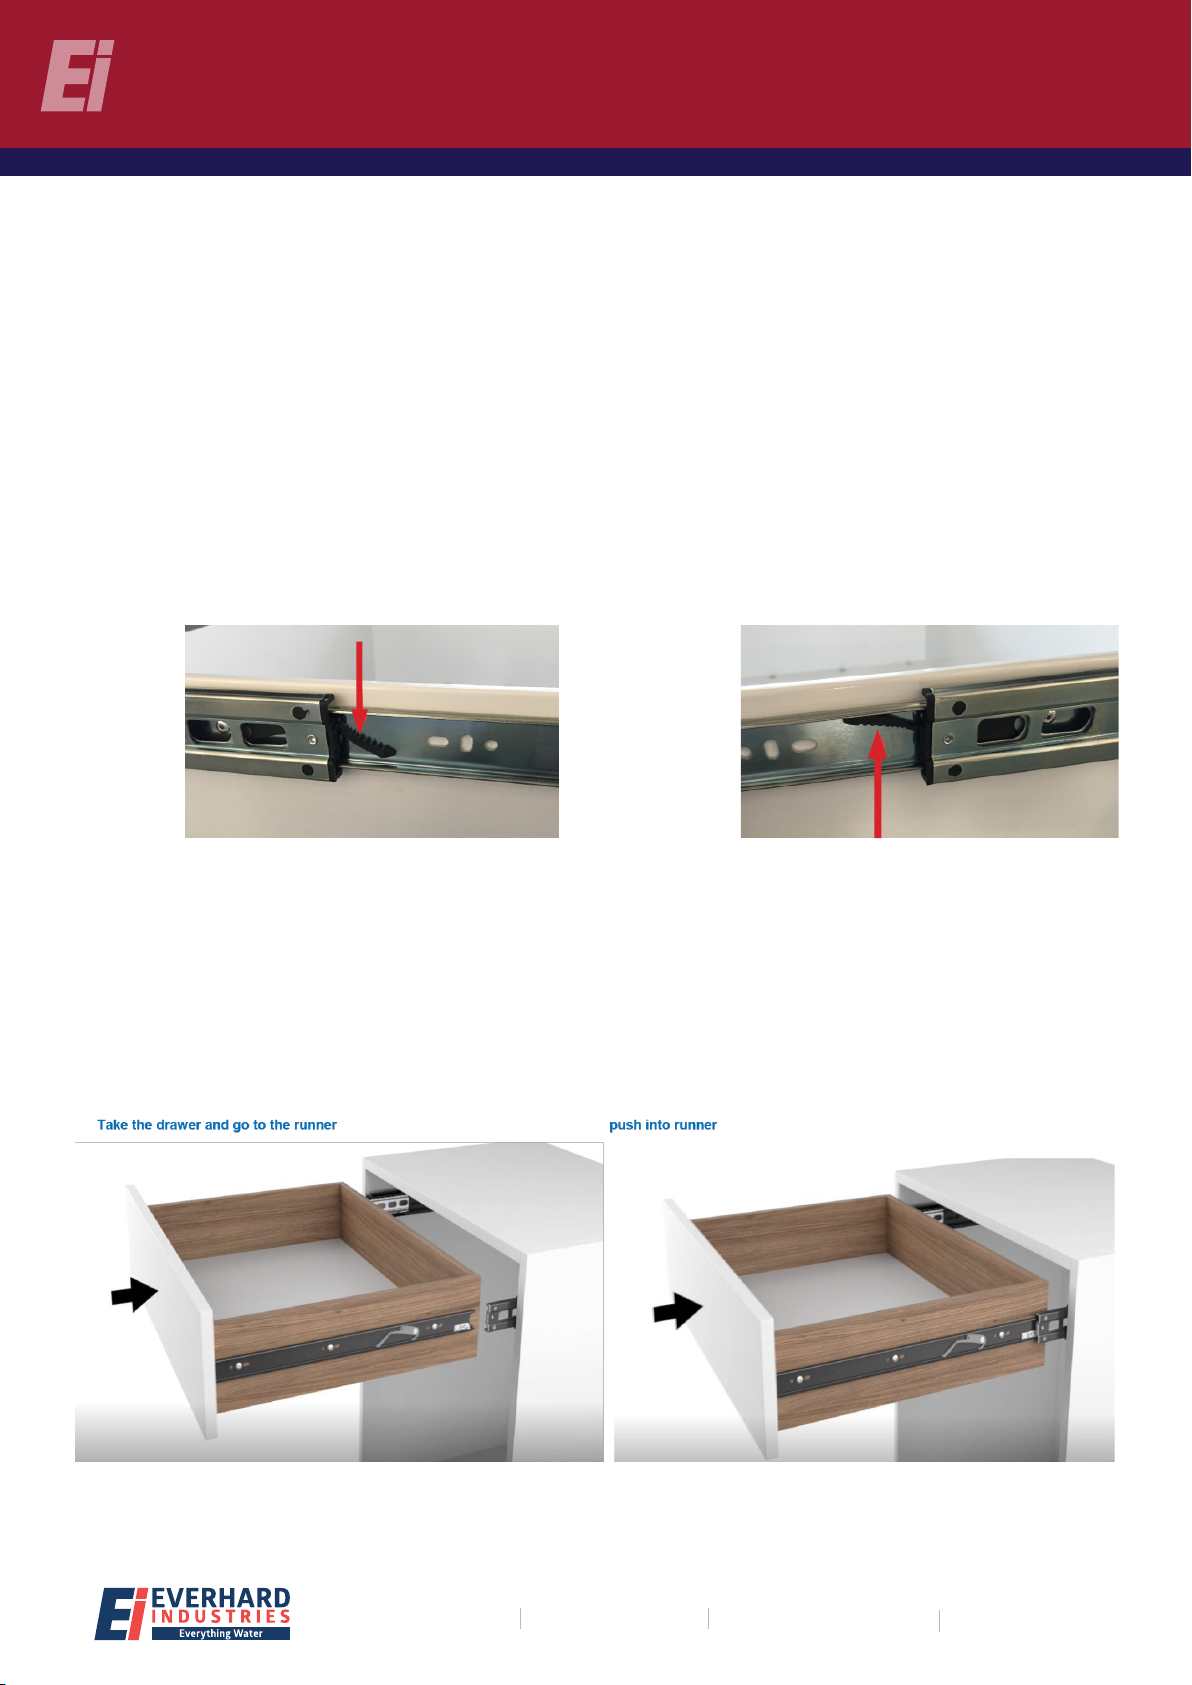
REMOVING DRAWERS
1. On the left runner, push the lever down.
2. On the right runner, push the lever up.
3. Pull the drawer out of the runner.
INSERTING DRAWERS
1. Push the runner back in place, keep the ball bearing always at the front part of the runner.
2. Put the drawer back on the runner. Ensure the rails of the drawer are inserted into the runner in the correct way.
3. If there are any obstacles when inserting the drawer, pull the drawer gently out and redo step 2 again.
Left runner Right runner
EVERHARD INDUSTRIES
ABN: 41 009 690 859
everhard.com.au | 131 926
Head Oce: 454 Newman Rd, Geebung, QLD, 4034
4
version: 002
Drainage
Solutions
Interior
Products
everhard.com.au | 131 926
Environmental Civil &
Commercial
POSITIONING OF HOT AND COLD WATER PLUMBING CONNECTIONS
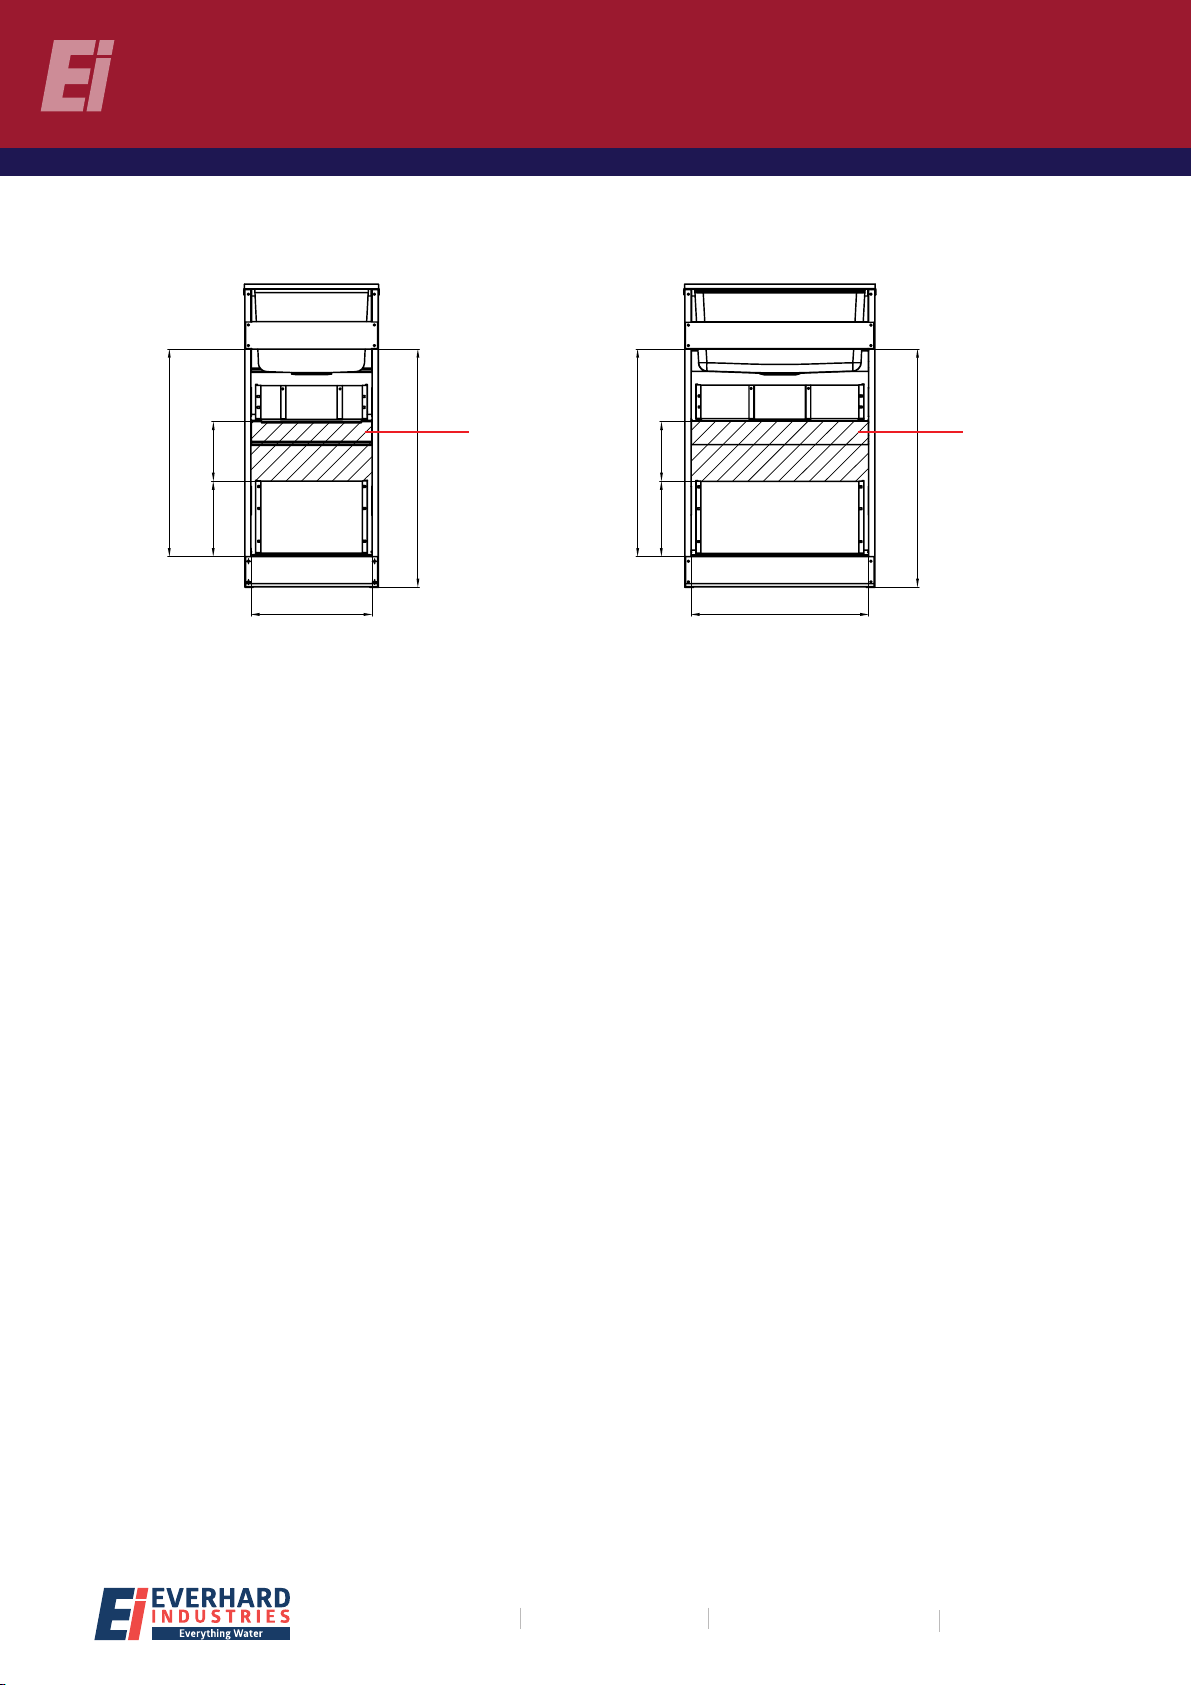
605,9
354
180
220,2
695,6
605,9
519
180
220,2
695,6
Ideal location
for hot and
cold plumbing
connections
35L LAUNDRY UNIT 45L LAUNDRY UNIT
Ideal location
for hot and
cold plumbing
connections
CARING FOR
STAINLESS STEEL
To assist in maintaining and extending the life of your new Everhard Stainless Steel sink we
have compiled a list of important tips on how we recommend you look after it
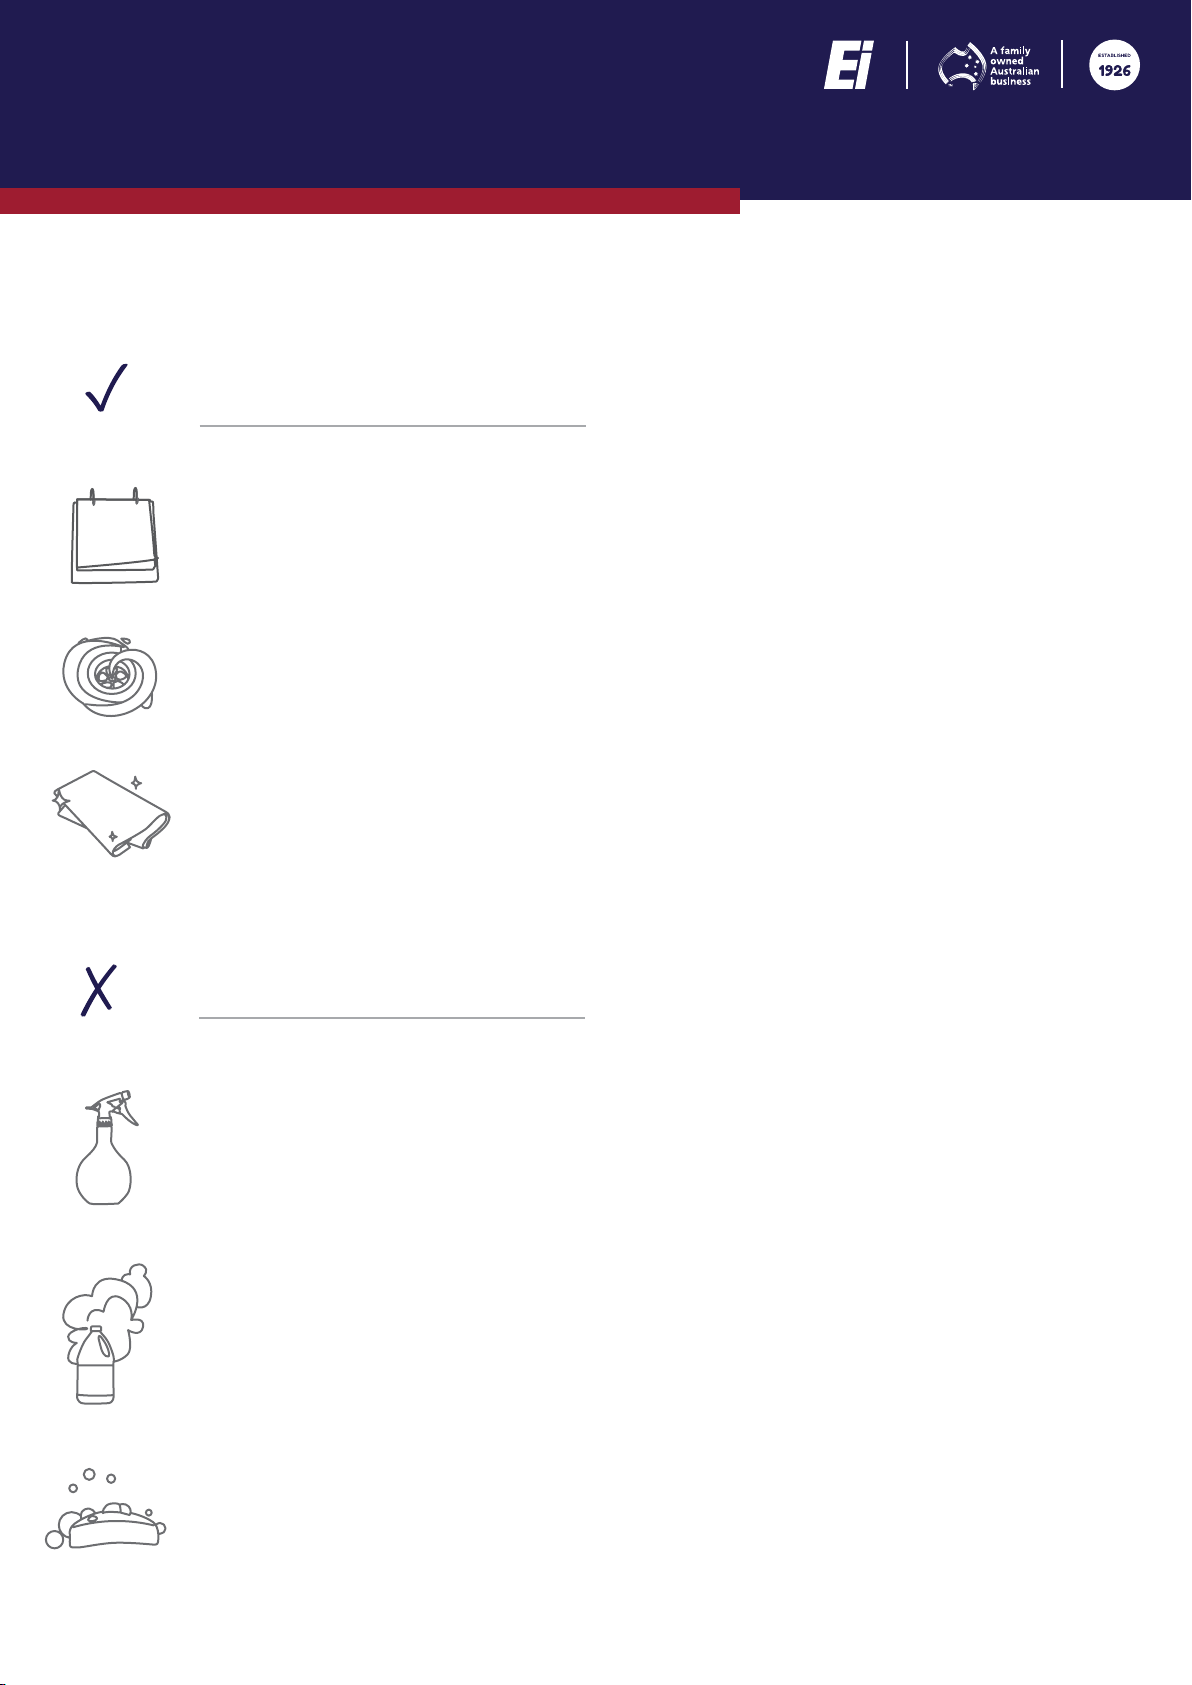
ROUTINE
Clean your stainless steel bowl or sink on a regular basis using bicarb soda or stainless steel cleaner.
This will improve the look of your stainless steel bowl or sink.
21
JULY
DO
RINSE
After use, rinse your stainless steel bowl or sink thoroughly with clean water to remove any
chemicals, iron deposits or acids on the surface.
DRY
Wipe your stainless steel bowl or sink dry using a dry cloth after every use to keep the stainless
steel fresh and spot free.
DON’T
Fruit juice contains citric acid which can mark the stainless steel if left to dry. Cleaning chemicals
used around the home can contain chloride which can cause surface rust on the stainless steel
bowl or sink if left to dry. Remove all juices and chemicals left on the surface with clean water and
dry the surface with a soft cloth.
ACIDS + CLEANERS
FUMES
Storing chemicals such as chlorine, bleach or acid based products underneath your stainless steel
bowl or sink will cause the surface to rust rapidly due to the fumes attacking the surface. Remove
these products and store them in a different area of your home.
SOAKING
Avoid leaving damp sponges or cloths inside the bowl or around the edge of your sink when not
in use. Over time this can cause the surface to become pitted if not cleaned properly.
This manual suits for next models
3
Table of contents


