manuals.online logo
Brands
  1. Home
  2. •
  3. Brands
  4. •
  5. EVGA
  6. •
  7. Software
  8. •
  9. EVGA drivers for video card Release note

EVGA drivers for video card Release note

Windows 98 Manual Driver Installation
Installation of the drivers for your video card can be fairly easy if the following steps
are followed carefully. There are a few things to keep in mind before proceeding with
the removal of the old drivers and installation of the new ones.
•What is your previous card you're upgrading from? Is it a separate video card
that is plugged into either an AGP or PCI slot on your motherboard?
•If you don't see one installed, the video may be supplied by an onboard or
integrated video controller. This simply means that the video chip is built unto
the motherboard itself.
•If you qualify for the above, it is very important to either check with the
motherboard manual or simply contact the manufacture's technical support.
Onboard video can be disabled in one of the three ways:
•In the motherboard BIOS, newer motherboards allow for
Disabling/Enabling the Onboard VGA controller. Now, depending on the
make and model of your motherboard, the option for the onboard controller
may be labeled differently. Again, please double check with the manufacturer.
•Disable the VGA device through the Device Manager in Windows.
•If you have an older motherboard of 4 years and older, the only way of
disabling the onboard VGA device is by setting certain jumpers on the
motherboard (i.e. affixing certain shunts on designated pins.)
If you are upgrading from a previous 3Dfx VGA card such as the Voodoo series or
Banshee, it is important to not only remove previous drivers in both the
Add/Remove Programs and Device Manager, but also by removing certain keys
and values within the Registry. The process can be explained more in-depth in the
following article.
It may also be a good idea to update any motherboard drivers that may be
necessary for your chipset. Chipsets needing updated AGP drivers in particular
include any non-Intel manufactures such as VIA, ALi (Aladdin), and SiS. For further
help in identifying your chipset, please refer to the following article.
Otherwise, please proceed to the manual driver installation for your eVGA.com card!!
Step 1: Download the driver file to either your Desktop or any predetermined
download folder. Once the download process is finished, double-click the file.
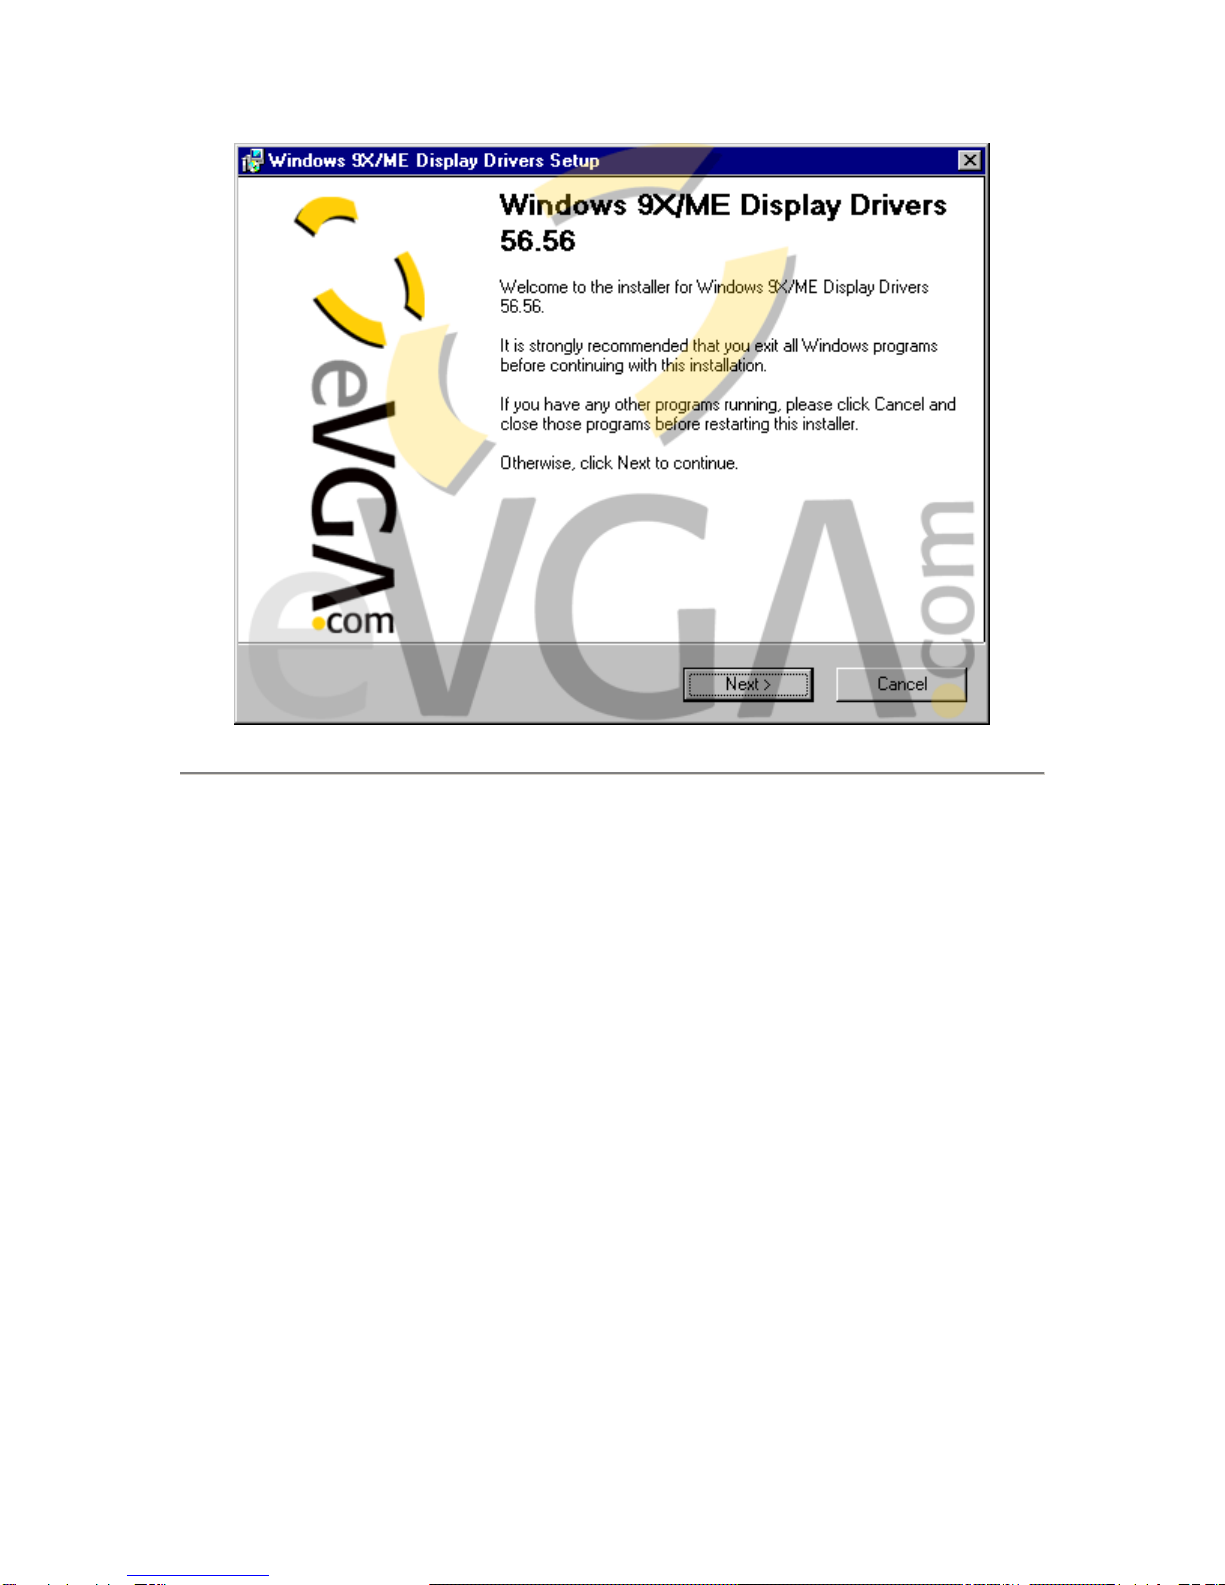
Step 2: A window will appear confirming the extraction for the eVGA video drivers.
Simply click on the NEXT button to proceed.
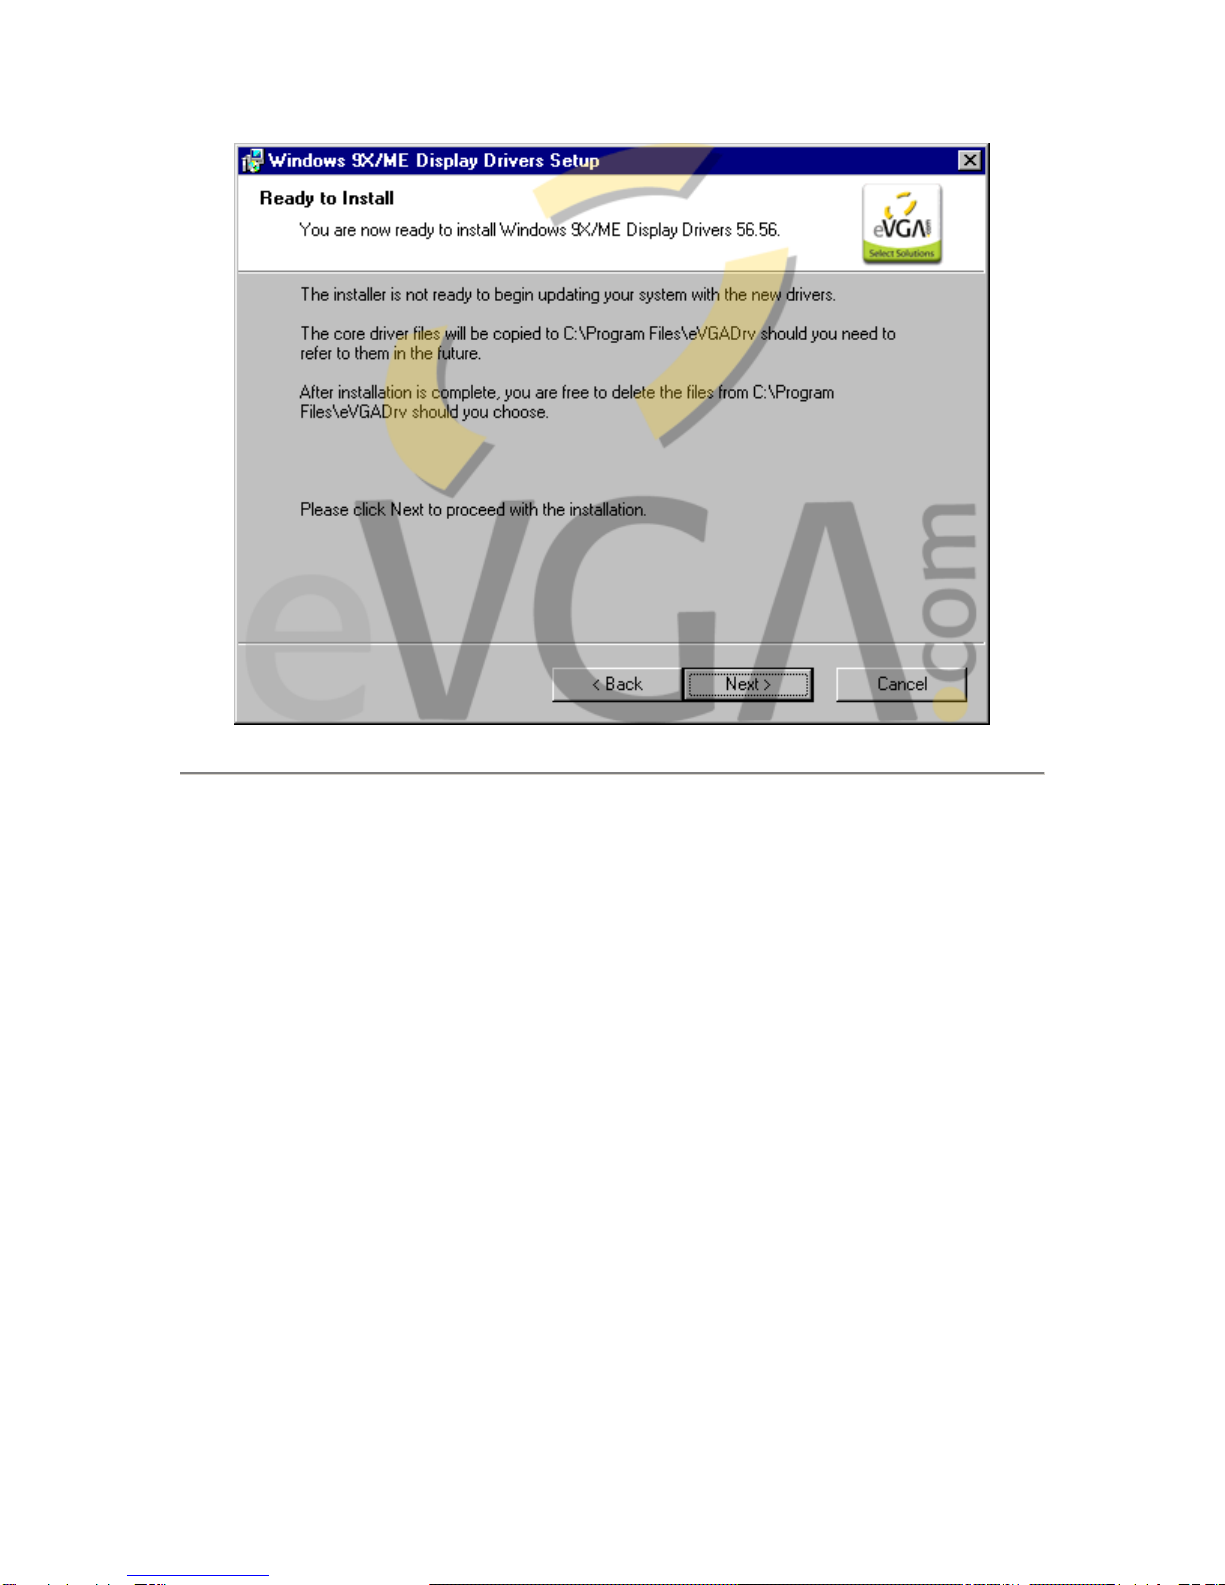
Step 3: To start extracting the driver files hit the NEXT button. This will extract the
contents of the compressed file into this folder, denoted by the blue progress bar as
well as the percentage complete.
Step 4: Once the driver files have been extracted you may then hit the FINISH
button to complete the extraction.
Step 5: A dialog box will appear for the nVIDIA driver install, disreguard this by
hitting the CANCEL button. The Setup program will want you to confirm this, do this
by clicking the YES button.
Step 6: At this point, you want to manually install the drivers by bringing up the
System Properties. Right-Click the My Computer icon on your desktop. Select
Properties at the bottom of the pop-up menu.
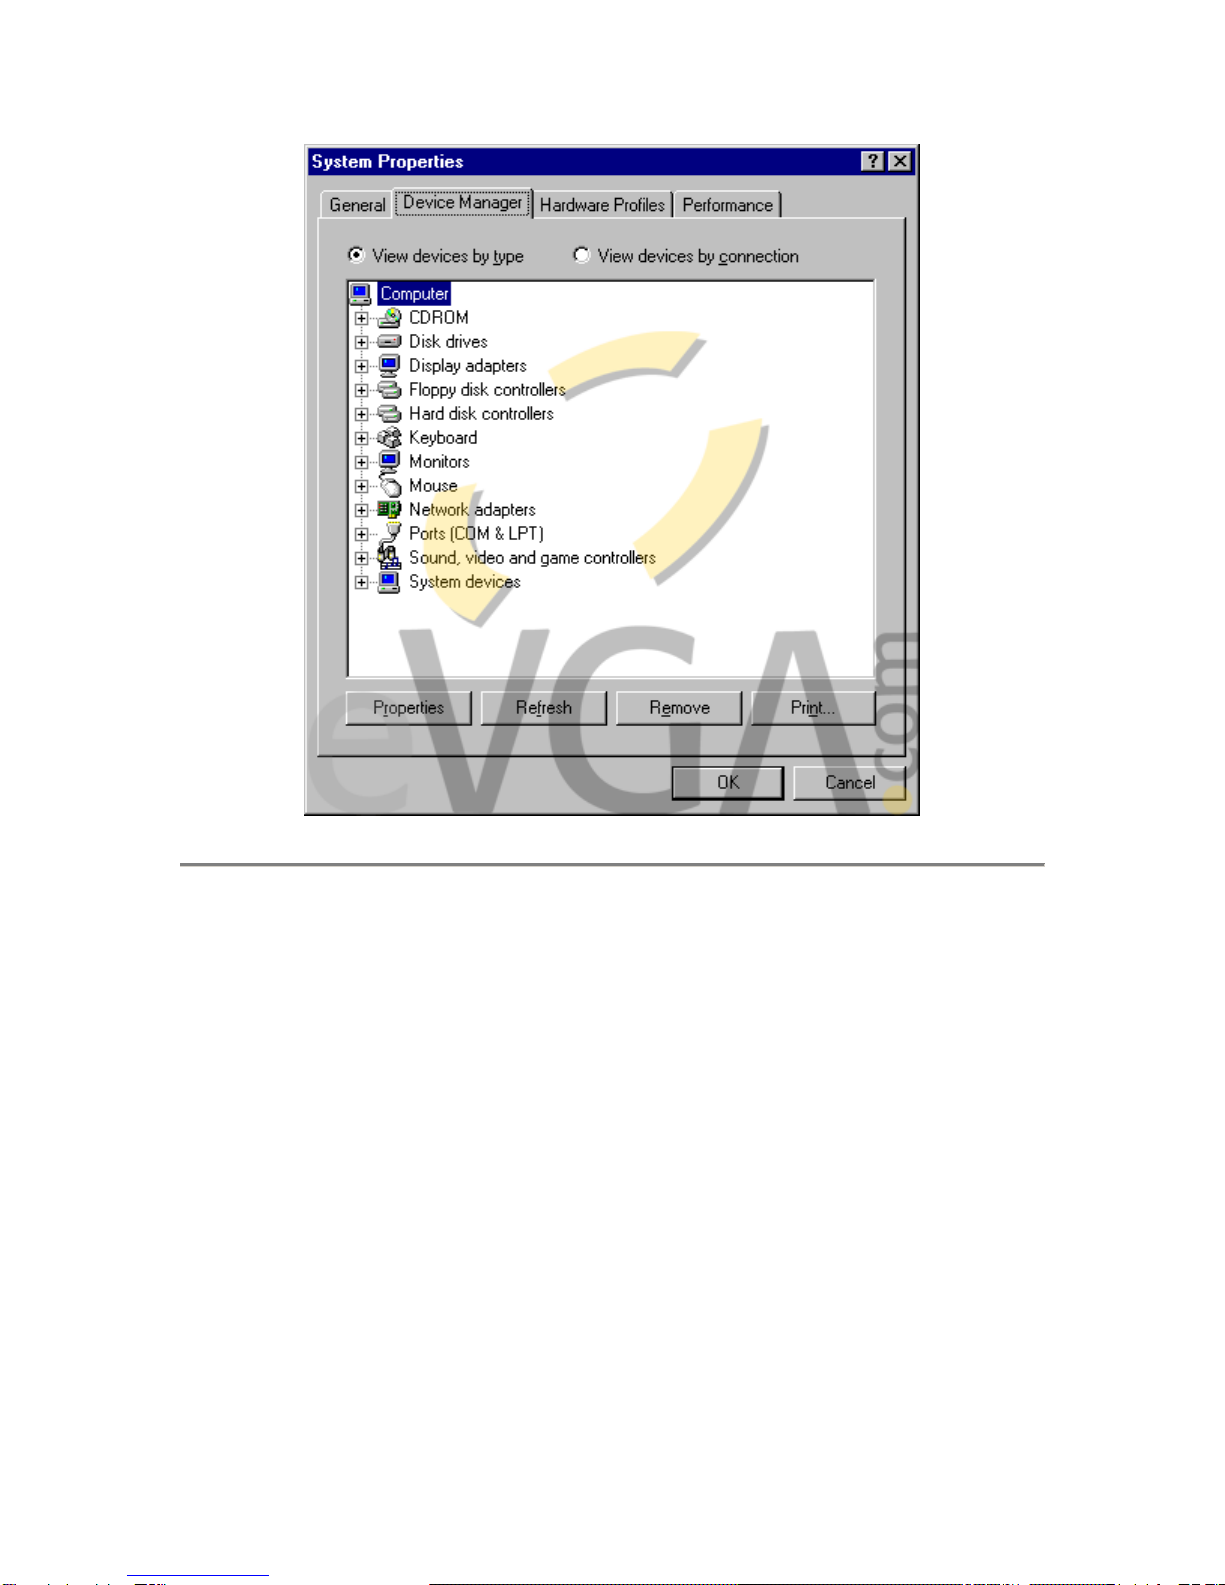
Step 7: This will bring up your system properties of your Windows 98 operating
system. At the top should be four tabs, selecting the tab marked Device Manager.
Step 8: Once at the Device Manager window, you will see a listing of all the
computer components currently installed on your system including the modem,
CDROM and sound card.
Step 9: Third from the top is a listing for Display Adapters. Expand out the
properties by pressing the plus "+" sign immediately to the left of Display
Adapaters. There you will see a listing of what video driver is installed. By defualt,
Windows will use it's basic video driver called the Standard PCI Graphics Adpater
(VGA). Using only this driver will limit your display at only 16 colors and 640 X 480
resolution. To use any other configuration, you must install the drivers that were
written for your video card.
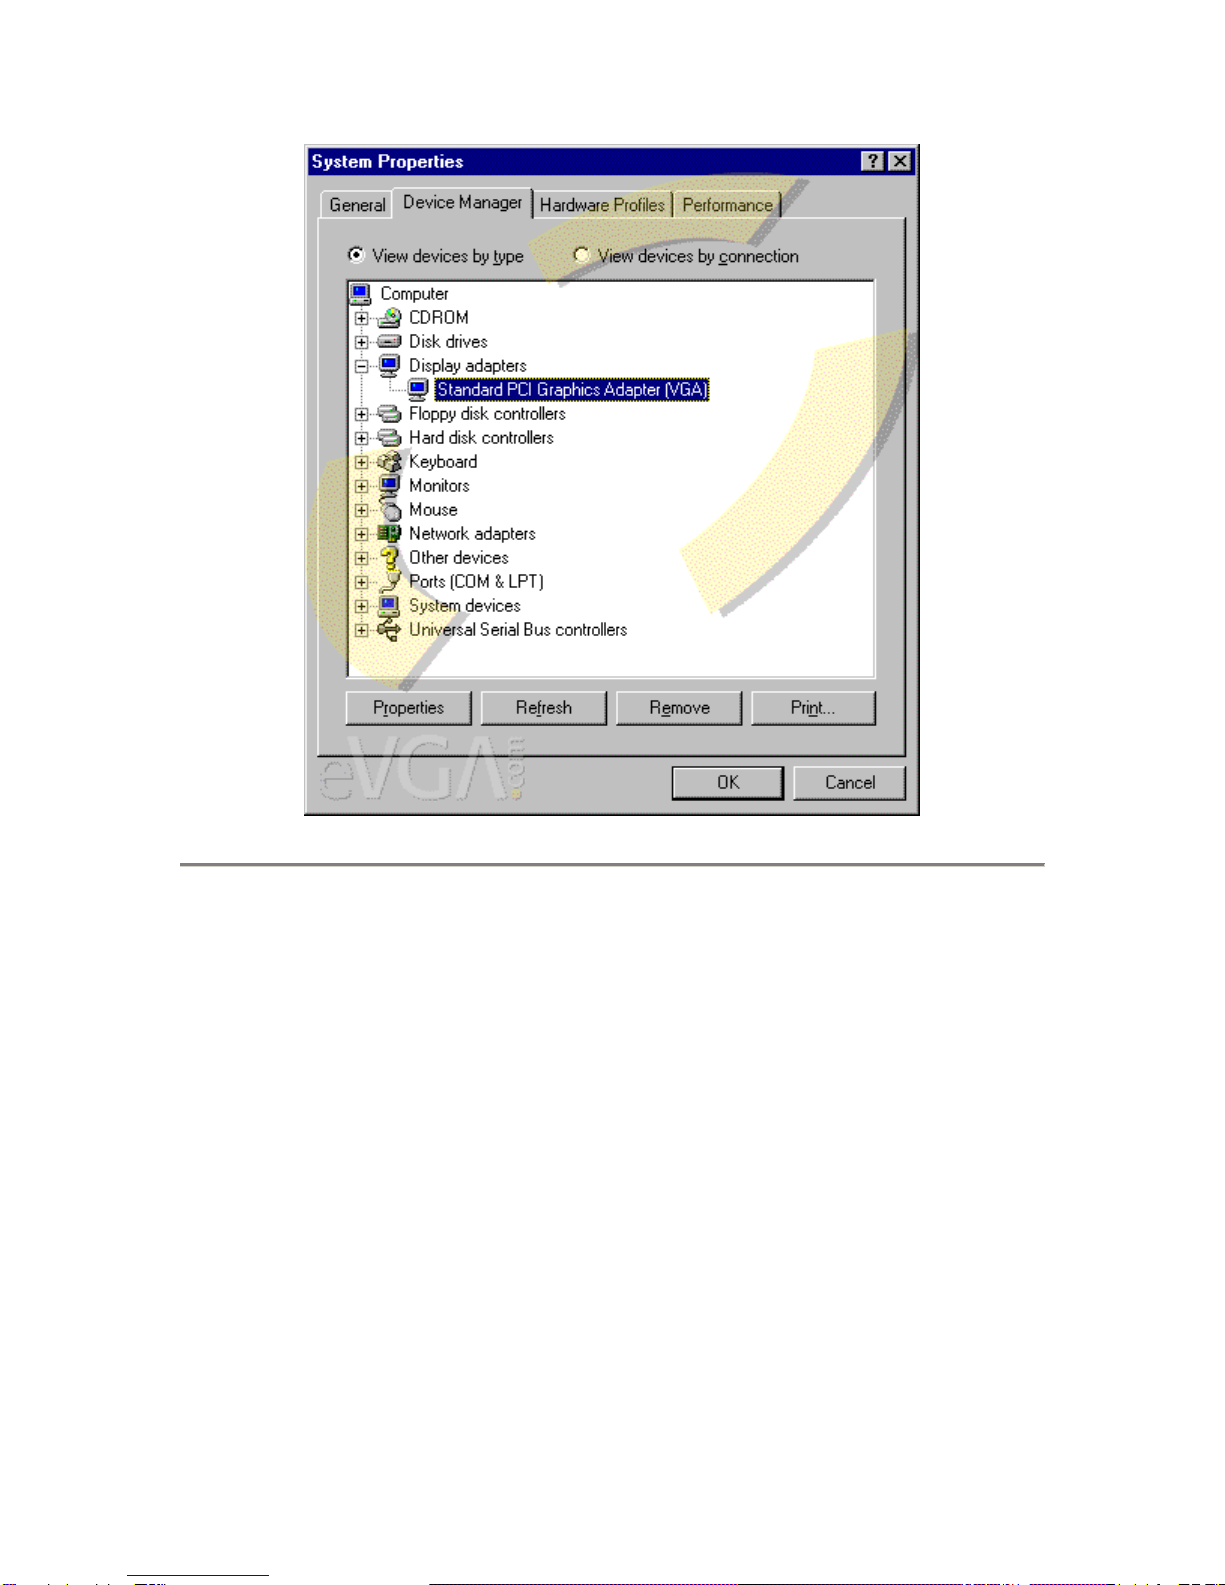
Step 10: Proceed by Right-Clicking the Standard PCI Graphics Display Adapter
(VGA) and selecting the Properties option in the pop-up window.
Step 11: At this point, you will receive the properties of the graphics card. Click the
Driver tab.
Step 12: Once in the Driver tab, click the Update Driver... at the bottom right.
Step 13: This in turn will bring up the Update Device Driver Wizard. Go ahead
and select the Next > button.
Step 14: At this point, the Windows Wizard will allow you the option to either search
for the appropriate drivers or have you pick a specific driver yourself. You know the
location of the display driver from the previous step when you created the eVGA
folder for driver extraction. Select the option, Display a list of all drivers in a
specific location, so you can select a driver you want. Then, click Next >
Step 15: Afterwards a list of models may be shown depending on whether or not a
previous driver has been installed before. Otherwise, the list will be blank. Select the
Have Disk... button at the lower right.
Step 16: A pop-up window will appear asking for the location of these drivers.
Simply click the Browse... button.
Step 17: Another window will appear showing you the folders and contents on your
hard drive. At the bottom of the window denoted Drives: make sure the C: drive is
selected. That will be the drive in which the eVGADrv folder was created from the
earlier steps.
Step 18: Browse to the C:\Program Files directory. Double-click the eVGADrv folder
with the contents of that folder displayed on the left window pane. Make sure the file
nvaml.inf is selected and highlighted. Now you can click the OK button at the upper
right corner of the window.
Step 19: The field should now show the location of the display drivers as
C:\Program Files\eVGADrv. Proceed by pressing the OK button.
Step 20: You will now get a list of you video card, which in this case is the NVIDIA
GeForce2 MX/MX 400. Make sure the card is highlighted in blue and proceed by
clicking the OK button at the bottom.
Step 21: Windows will indicate that the driver is now ready to install and will show
the location of that driver. Double check that the information is correct and select
Next >
Step 22: Windows will copy the files and install them which will then be followed by
the Finish window. Select Finish
Step 23: You will need to restart the computer so Windows can properly load the
driver for your video card. Otherwise, you will be stuck at the dreary 16 color and
640 × 480 limitation.
Double-Check Driver Installation
Once your computer has restarted and you are now safely back to your desktop, you
will notice that colors look more vibrant. That's a good sign. Now there are two ways
of accessing display properties by doing the following:
•Right-Click your desktop and select Properties in the pop-up menu.
•Click your Start button in the lower left
•go to Settings > Control Panel.
•Look for an icon that says Display Properties and double-click it.
You will arrive at this window if you have successfully accessed your Display
Properties.

Other EVGA Software manuals

EVGA PC-over-IP Administrative Interface User manual

EVGA

EVGA PC-over-IP Administrative Interface User manual

EVGA PCoIP Technology User manual

EVGA

EVGA PCoIP Technology User manual

Popular Software manuals by other brands

Symantec PCANYWHERE - V12.5 manual

Symantec

Symantec PCANYWHERE - V12.5 manual

Nortel ICS 4.1 manual

Nortel

Nortel ICS 4.1 manual

Nikon Nikon View Software guide

Nikon

Nikon Nikon View Software guide

American Megatrends StorTrends 2200 user guide

American Megatrends

American Megatrends StorTrends 2200 user guide

Solid State Logic X-Logic Series owner's manual

Solid State Logic

Solid State Logic X-Logic Series owner's manual

Creo DocuColor 2045 user guide

Creo

Creo DocuColor 2045 user guide

Ulead DVD MOVIEFACTORY 5 user guide

Ulead

Ulead DVD MOVIEFACTORY 5 user guide

DH Instruments COMPASS FOR MOLBOX user manual

DH Instruments

DH Instruments COMPASS FOR MOLBOX user manual

Canon SELPHY CP760 Software guide

Canon

Canon SELPHY CP760 Software guide

Lenovo ThinkCentre M58 Guide de déploiement

Lenovo

Lenovo ThinkCentre M58 Guide de déploiement

NEC NP-PH1400U manual

NEC

NEC NP-PH1400U manual

Samsung UN32EH5300F manual

Samsung

Samsung UN32EH5300F manual

HP BL30p - ProLiant - 1 GB RAM user guide

HP

HP BL30p - ProLiant - 1 GB RAM user guide

Dragon Systems DRAGON NATURALLYSPEAKING PROFESSIONAL 4 manual

Dragon Systems

Dragon Systems DRAGON NATURALLYSPEAKING PROFESSIONAL 4 manual

TANDBERG MOVI 4.0 - FOR WINDOWS 10-2010 user guide

TANDBERG

TANDBERG MOVI 4.0 - FOR WINDOWS 10-2010 user guide

Novell OPEN WORKGROUP SUITE SMALL BUSINESS EDITION 9.3 - ADMINISTRATION... manual

Novell

Novell OPEN WORKGROUP SUITE SMALL BUSINESS EDITION 9.3 - ADMINISTRATION... manual

ADTRAN AOS Version R10.1.0 Command reference guide

ADTRAN

ADTRAN AOS Version R10.1.0 Command reference guide

ArcSoft DV-6400 quick start guide

ArcSoft

ArcSoft DV-6400 quick start guide

manuals.online logo
manuals.online logoBrands
  • About & Mission
  • Contact us
  • Privacy Policy
  • Terms and Conditions

Copyright 2025 Manuals.Online. All Rights Reserved.