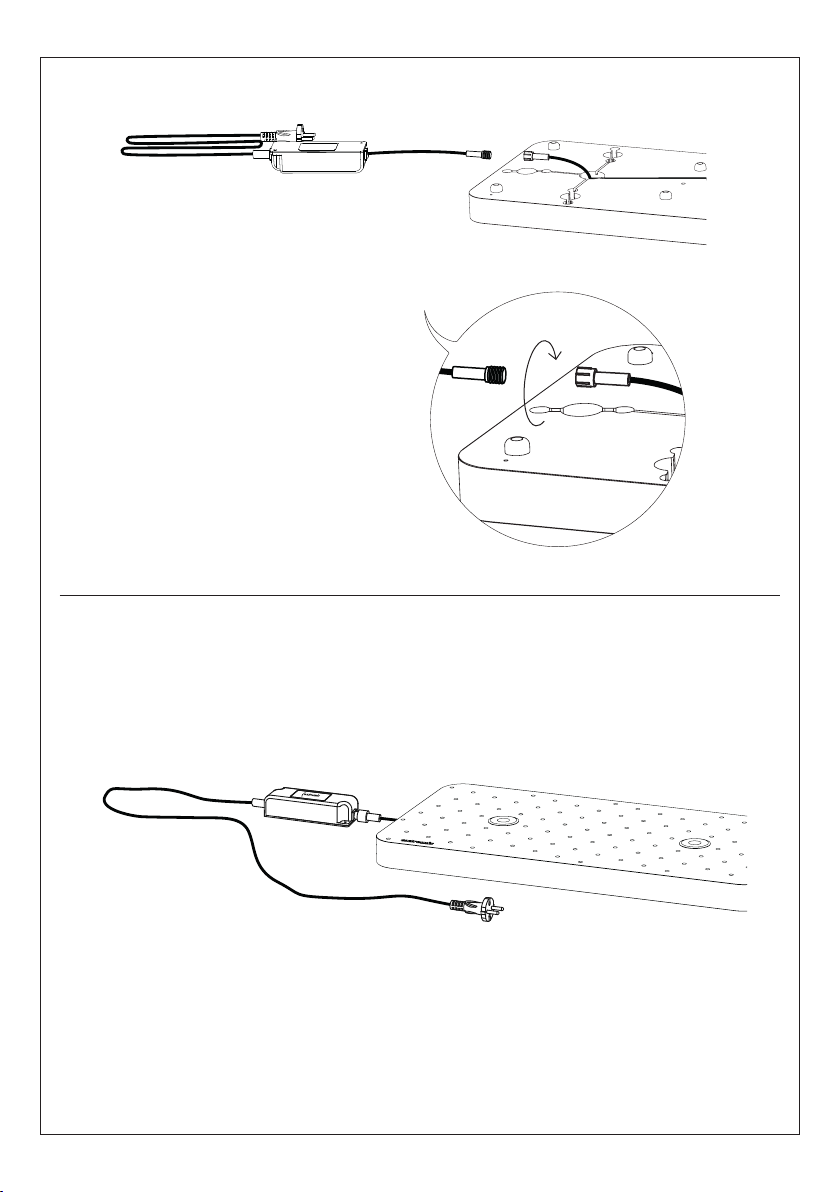
Extremis Sticks User manual

MANUAL
LAB038
Assembly instructions, how to use, useful tips for keeping
your tool for togetherness in shape.
EN – NL – DE – FR – IT – ES
Sticks

Tools for togetherness
© All our designs are original creations and protected by intellectual property rights.

IMPORTANT! RETAIN FOR FUTURE
REFERENCE: READ CAREFULLY.
BELANGRIJK! LEES DIT DOCUMENT
AANDACHTIG EN BEWAAR HET VOOR
TOEKOMSTIGE RAADPLEGING!
WICHTIG! AUFHEBEN, UM SPÄTER
ETWAS NACHSEHEN ZU KÖNNEN:
SORGFÄLTIG DURCHLESEN!
IMPORTANT! LISEZ ATTENTIVEMENT
CE MANUEL ET CONSERVEZ-LE POUR
RÉFÉRENCE ULTÉRIEURE!
IMPORTANTE! CONSERVARE COME
RIFERIMENTO PER IL FUTURO:
LEGGERE ATTENTAMENTE!
¡IMPORTANTE! CONSÉRVELO PARA
FUTURA REFERENCIA: LÉALO
ATENTAMENTE!


Table of contents
Assembly Sticks
6
Assembly with Led
7
Assembly extra weight
12
Assembly connection piece
14
Assembly floor fastening
15
Warnings – Assembly text instructions – Maintenance
18
Parts list
30

6
N° 10
5’
p 18
x 4
x 4
scale 1:2
Screw 4x20 Foot
......
2.
Outer holes
outdoor use, more
stability
Inner holes
indoor use, less
visibility
a. b.
1.
Assembly Sticks

7
N° 10
p 18
2.
1.
Assembly with Led
15’

8
4a.
3.

9
5.
4b.

10
Assembly Sticks
7.
6.

11
8.

12
N° 10
5’
2.
1.
Assembly extra weight
p 19

13
3.
scale 1:2
Screw 3,9x38
x 4
VRS150

14
N° 10
5’
2.
1.
Assembly connection piece
p 19

15
N° 10
5’
1.
Assembly floor fastening
2.
p 19
ø 6 mm

16
4.
3a.
3b.
ø 6 mm, L 80 mm

17
5.

18
English
WARNINGS
General
• Do not use any sharp tools to open the
packaging.
• We strongly advise against using power tools.
• Tripping hazard, mind your step.
• Not grafitti proof.
• To avoid danger of suocation, keep plastic bags
away from babies and children.
• Colours can dier over years and from batch to
batch.
Product
• Anchoring the product has to be done by
qualified people.
• For anchoring: use suitable bolts or screws from
a specialized store depending on the material
your terrace is made of.
• We consequently recommend that you thoroughly
dust or rinse the rods before inserting them into
the bases to reduce these fibres to a minimum.
• Do not touch the fibre glass rods with your bare
hands. Always use gloves to assemble Sticks.
During the production process tiny glass fibres
may come loose and could stick on the rods.
In case of skin contact they may cause slight
irritation. We consequently recommend that you
thoroughly dust or rinse the rods beofre inserting
them into the bases to reduce these fibres to a
minimum.
• Do not allow anyone to use the rods for playing or
jousting. This may cause injuries.
• Because of the specific characteristics of the
production process of fibre glass, colours can
only be reproduced approximatively and colour
dierences may occur. This is the case for both
standard colours as for colours upon request.
• Rubberwood bases are not suitable for outdoor
use.
• When using the Sticks high up or in windy places,
we advise you to attach the bases to the ground.
In places where this is not possible, we oer a
weighted base.
• Due to their more limited wind resistance, we
advise you most strongly not to use the 50 x 25
cm bases outdoors.
• The rubberwood bases are not suitable for
outdoor use.
• Make sure the electrical modules (bases with LED
lighting, cables, adapters and switches) never
end up in a puddle.
Fibreglass
• Stains should be removed immediately with a
clean, soft cloth, particularly in case of dark-
coloured liquids sush as wine, ink, coee, coke,
oil or bird droppings. If left to dry, these liquids
may cause permanent damage!
• Avoid using aggressive and abrasive products.
• The white hue can change to some extent when
exposed to UV.
• With darker colors, the ends may look paler
because of the white glass fibres.
• Color variations are possible, and even likely.
This is intrinsic to this production technique. It
contributes to the natural eect.
Rubber
• Rubber can cause stains on delicate floor,
therefore, we advise to use the plastic feet.
• Rubber can cause stains on carpets, therefore,
we advise to use only the wooden bases on
carpets.
• Rubber can fill a room with a light smell in the
first days after installation. This smell will fade
over time.
Led
• This product meets the requirements of European
Directives. 2006/95/CE and 2004/108/CE.
• 100-240V ~ 50/60Hz
• IP65
• The supplied plug is a Europlug (Type E). I n
countries where this plug is not used, pleaes
provide a suitable plug yourself.
ASSEMBLY INSTRUCTIONS
Sticks - p6
1. Assemble the feet using the screws provided.
a. Use the outer holes if you plan to use the base
outdoors, for greater stability.
b. Use the inner holes if you would prefer the feet
not to show too much.
2. Now insert the rods in the base.
With Led - p7
1. Begin by placing all the bases in (approximately)
Warnings – Assembly text instructions – Maintenance

19
the desired position and then turn them over.
2. Next, link them to each other by clicking the male
connector into the female connector (attaching
the long cable to the short cable). Make sure the
positioning lip is in the right place.
3. Then screw the male and female parts together
so that they are also watertight.
4. a. Now click the connectors and cables into the
holes provided in the underside of the base so
that they are tidied away properly.
b. Tip: choose the holes nearest to the next base.
5. Screw the sealing cap onto the male connector
for the last base.
6. Now attach the power supply to the first base.
7. Then turn the bases over and position them
where you want them.
8. Finally, place the rods into the holes provided in
the base(s).
• 1 x power supply - no connection cable =
maximum 9 bases
• 1 x power supply + connection cable 1m =
maximum 8 bases
• 1 x power supply + connection cable 4m =
maximum 6 bases
• 1 x power supply + connection cable 9m =
maximum 4 bases
Extra weight - p12
1. Turn the base upside down and remove its feet.
2. Push all the cables deep into the recesses.
3. Put the extra weight on the bottom of the base,
make sure the holes match up. Push the cables
through the two outer holes, and attach the feet
using the supplied longer screws.
Connection piece - p14
1. Put the two bases against each other and
position the connection piece on top of them as
shown in the drawing. Make sure the holes in the
connection piece match up with the holes in the
bases.
2. Insert a few rods in the bases through the holes
in the connection piece. Insert the other rods
directly in the bases.
Floor fastening - p15
1. Begin by marking the centre of the base and drill
a ø 6 mm holes through the base.
2. Position the base where you want to install your
Sticks. Insert a pen in the hole in the middle of
the base and mark te floor.
3. a. Drill a hole at the marked spot.
b. Insert a plug n° 8 in the hole.
4. Position the base making sure that the hole in
the middle of the base is situated exactly above
the hole. Insert a screw (ø 6 mm, L 80 mm) in this
holes ant tighten it as much as possible.
5. Insert the rods in the base. Tip: If possible, cover
the screw with a black cap. When all the rods are
in place, the cap is not visible.
MAINTENANCE
Fibreglass
CLEANING
Once in a while
The rubber and the fibre glass rods do not require
special maintenance. They can simply be kept dust-
free with a slightly damp cloth.
Rubber
CLEANING
Once in a while
The rubber and the fibre glass rods do not require
special maintenance. They can simply be kept dust-
free with a slightly damp cloth.
USEFUL ADVICE
You do not have to insert all the rods. If you want
more transparency, just use less rods.
To create a special eect, you can mix dierent colo-
red rods or create smooth colour transitions.
When you disassemble the Sticks space divider,
bundle the rods with the same side up or down, as
the base sometimes leaves marks on the rods.
When re-inserting the rods in the base, make sure
they are facing the same way as they did before the
disassembly.

20
Nederlands
WAARSCHUWINGEN
Algemeen
• Gebruik geen scherp gereedschap om de
verpakking te openen.
• Het gebruik van elektrisch gereedschap wordt
ten zeerste afgeraden.
• Struikelgevaar, let op waar u loopt.
• Niet bestand tegen grati.
• Houd plastic zakken weg om verstikkingsgevaar
te voorkomen bij baby’s en kinderen.
• Kleuren kunnen van jaar tot jaar en van partij tot
partij verschillen.
Product
• Het product moet worden verankerd door
gekwalificeerde personen.
• Voor verankering: gebruik geschikte bouten
of schroeven uit een gespecialiseerde winkel,
afhankelijk van het materiaal waarvan uw terras
is gemaakt.
• Wij raden u dan ook aan om de stokken grondig
af te stoen of af te spoelen alvorens ze in de
sokkels te plaatsen om deze vezels tot een
minimum te beperken.
• Raak de glasvezelstokken niet met uw blote
handen aan. Gebruik altijd handschoenen om de
stokken te monteren. Tijdens het productieproces
kunnen kleine glasvezels loskomen en aan de
stokken blijven kleven. Bij huidcontact kunnen ze
lichte irritatie veroorzaken. Wij raden u dan ook
aan om de stokken grondig af te stoen of af te
spoelen alvorens ze in de sokkels te plaatsen om
deze vezels tot een minimum te beperken.
• Laat niemand met de stokken spelen. Dit kan
verwondingen veroorzaken.
• Vanwege de specifieke kenmerken van het
productieproces van glasvezel kunnen kleuren
slechts bij benadering worden gereproduceerd
en kunnen er kleurverschillen optreden. Dit geldt
zowel voor standaardkleuren als voor kleuren op
aanvraag.
• Rubberhouten sokkels zijn niet geschikt voor
buitengebruik.
• Wanneer de stokken hoog of op winderige
plaatsen worden gebruikt, raden wij u aan om
de sokkels aan de grond te bevestigen. Op
plaatsen waar dit niet mogelijk is, bieden wij een
verzwaarde sokkel aan.
• Vanwege hun beperktere windweerstand raden
wij u aan om de 50 x 25 cm sokkels niet buiten te
gebruiken.
• De houten sokkels zijn niet geschikt voor
buitengebruik.
• Zorg ervoor dat de elektrische modules
(sokkels met ledverlichting, kabels, adapters en
schakelaars) nooit in een plas terechtkomen.
Glasvezel
• Vlekken moeten onmiddellijk met een schone,
zachte doek worden verwijderd, vooral bij
donkere vloeistoen zoals wijn, inkt, koe, cola,
olie of vogelpoep. Indien opgedroogd kunnen
deze vloeistoen blijvende schade veroorzaken!
• Vermijd het gebruik van agressieve en schurende
producten.
• De witte tint kan bij blootstelling aan uv-straling
enigszins veranderen.
• Bij donkere kleuren kunnen de uiteinden lichter
lijken door de witte glasvezels.
• Kleurafwijkingen zijn mogelijk en zelfs
waarschijnlijk. Dit is inherent aan deze
productietechniek. Het draagt bij aan het
natuurlijke eect..
Rubber
• Rubber kan vlekken veroorzaken op een
kwetsbare vloer. Daarom adviseren we om
kunststof poten te gebruiken.
• Rubber kan vlekken veroorzaken op tapijt.
Daarom adviseren we om op tapijt uitsluitend de
houten onderstellen te gebruiken.
• Rubber kan een ruimte in de eerste dagen na
installatie vullen met een lichte geur. Deze geur
zal na verloop van tijd vervagen.
Led
• Dit product is in overeen-stemming met de eisen
van de Europese richtlijnen 2006/95/CE en
2004/108/CE.
• 100-240V ~ 50/60Hz
• IP65
• De geleverde stekker is van het EU-type (Type
E of Europlug). In landen waar deze stekker niet
gebruikt wordt, dient u zelf een passende stekker
te geven.
MONTAGE INSTRUCTIES
Sticks - p6
1. Monteer de voetjes met de meegeleverde vijzen.
a. Gebruik de buitenste gaatjes als je deze buiten
gebruikt, voor meer stabiliteit.
b. Gebruik de binnenste gaatjes als je de voetjes
minder wil zien.
2. Plaats nu de stokken in de voorziene gaatjes in de
sokkel(s).
Other manuals for Sticks
3
Table of contents
Languages: