1. Package Contents……………………..…………………….. 1
2. Introduction………………………………….……………... 1
3. Features…………………………………..………………… 1
4. Hardware Overview…………………………….…………... 2
4.1 Installing the Protect Cover…..……………………..…. 2
5. Remote Control…………………………………………….. 3
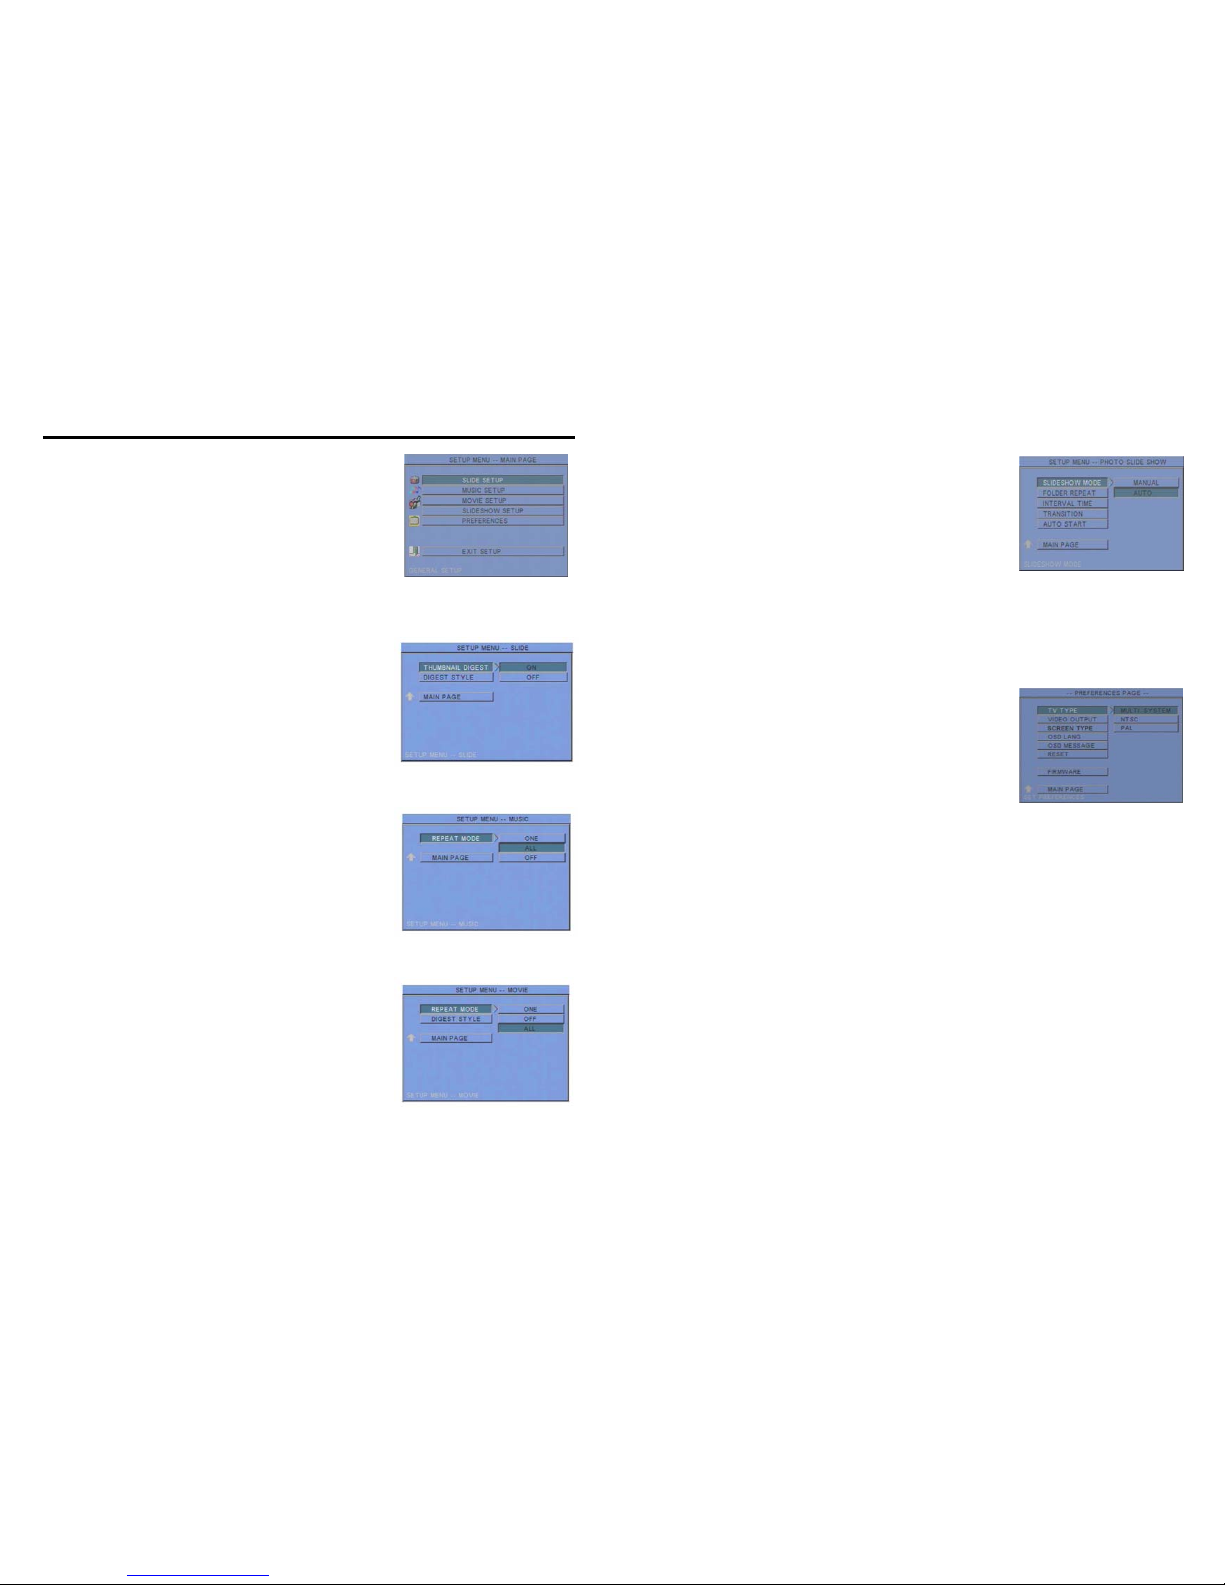
6. Setting Up……………………………………..……..…….. 4
6.1 SLIDE SETUP……………………………………..…. 4
6.2 MUSIC SETUP…………….………………………… 4
6.3 MOVIE SETUP…………….………………………… 4
6.4 SLIDESHOW SETUP…………….……………………. 5
6.5 PREFERENCE……………….………………………… 5
7. Using the P070-10Ex...……………………………………... 6
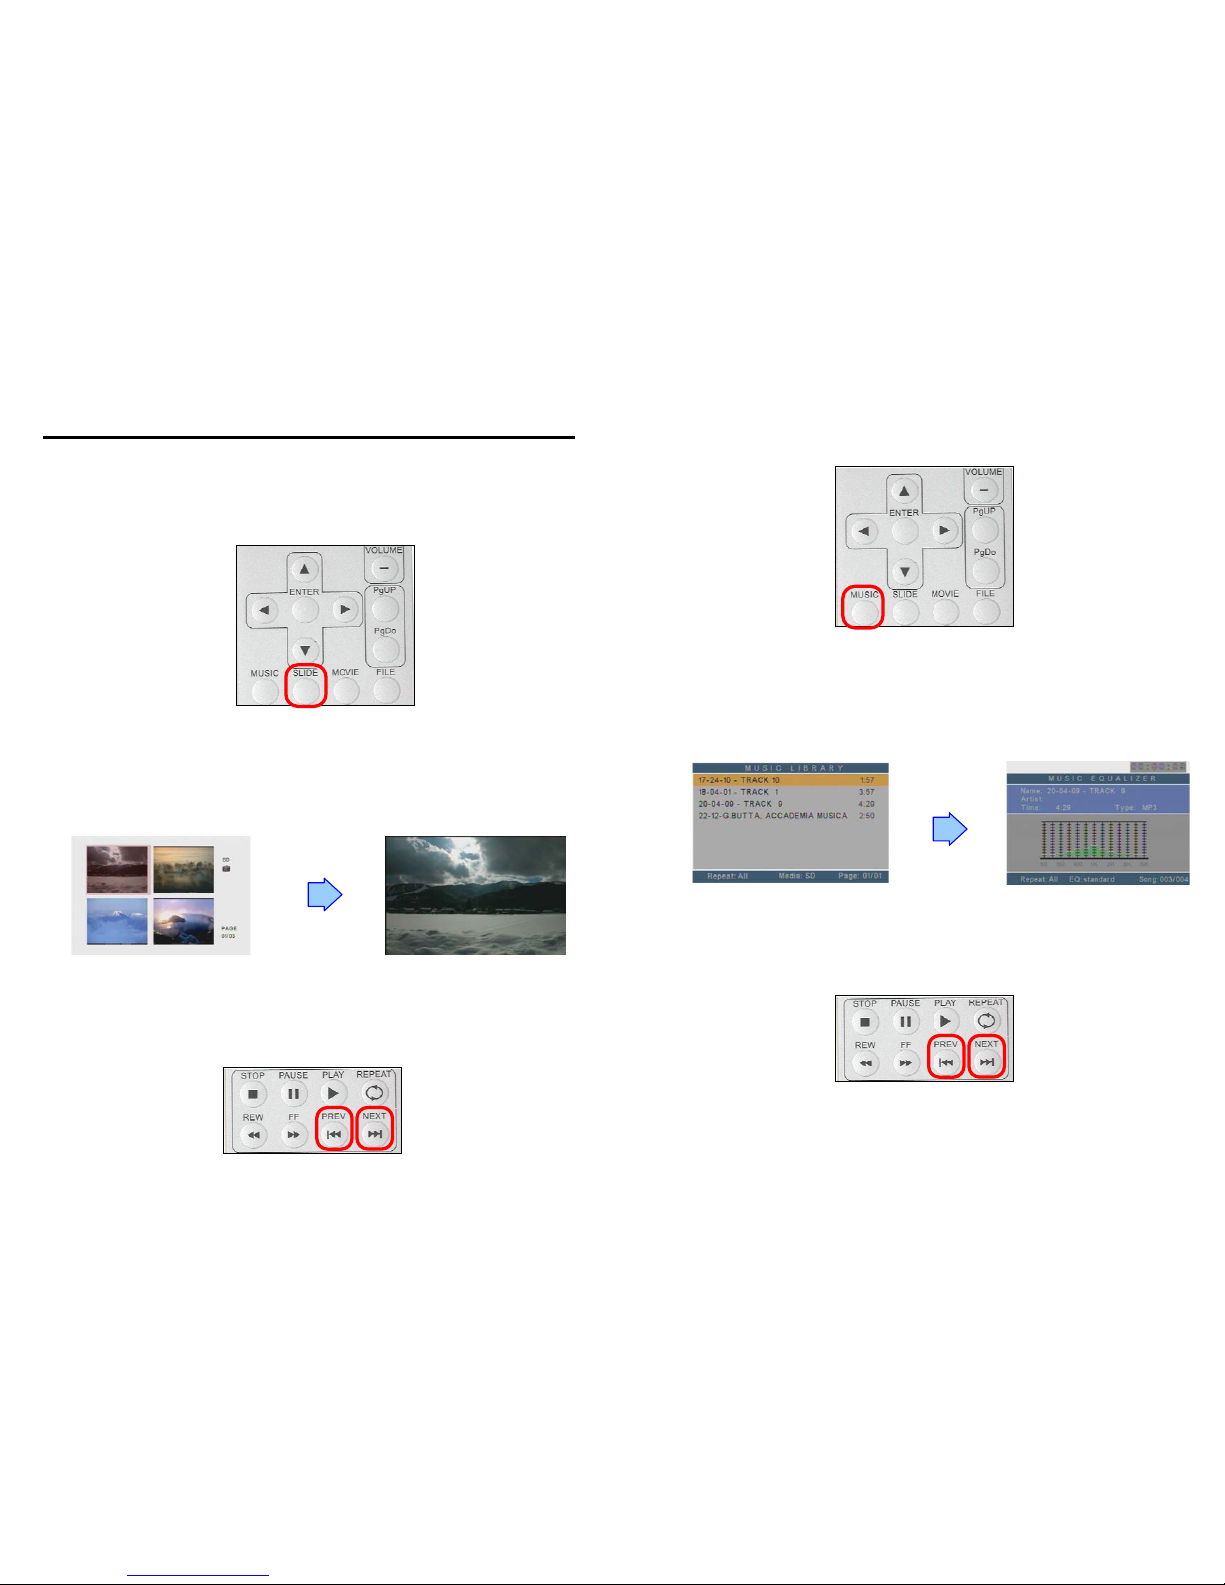
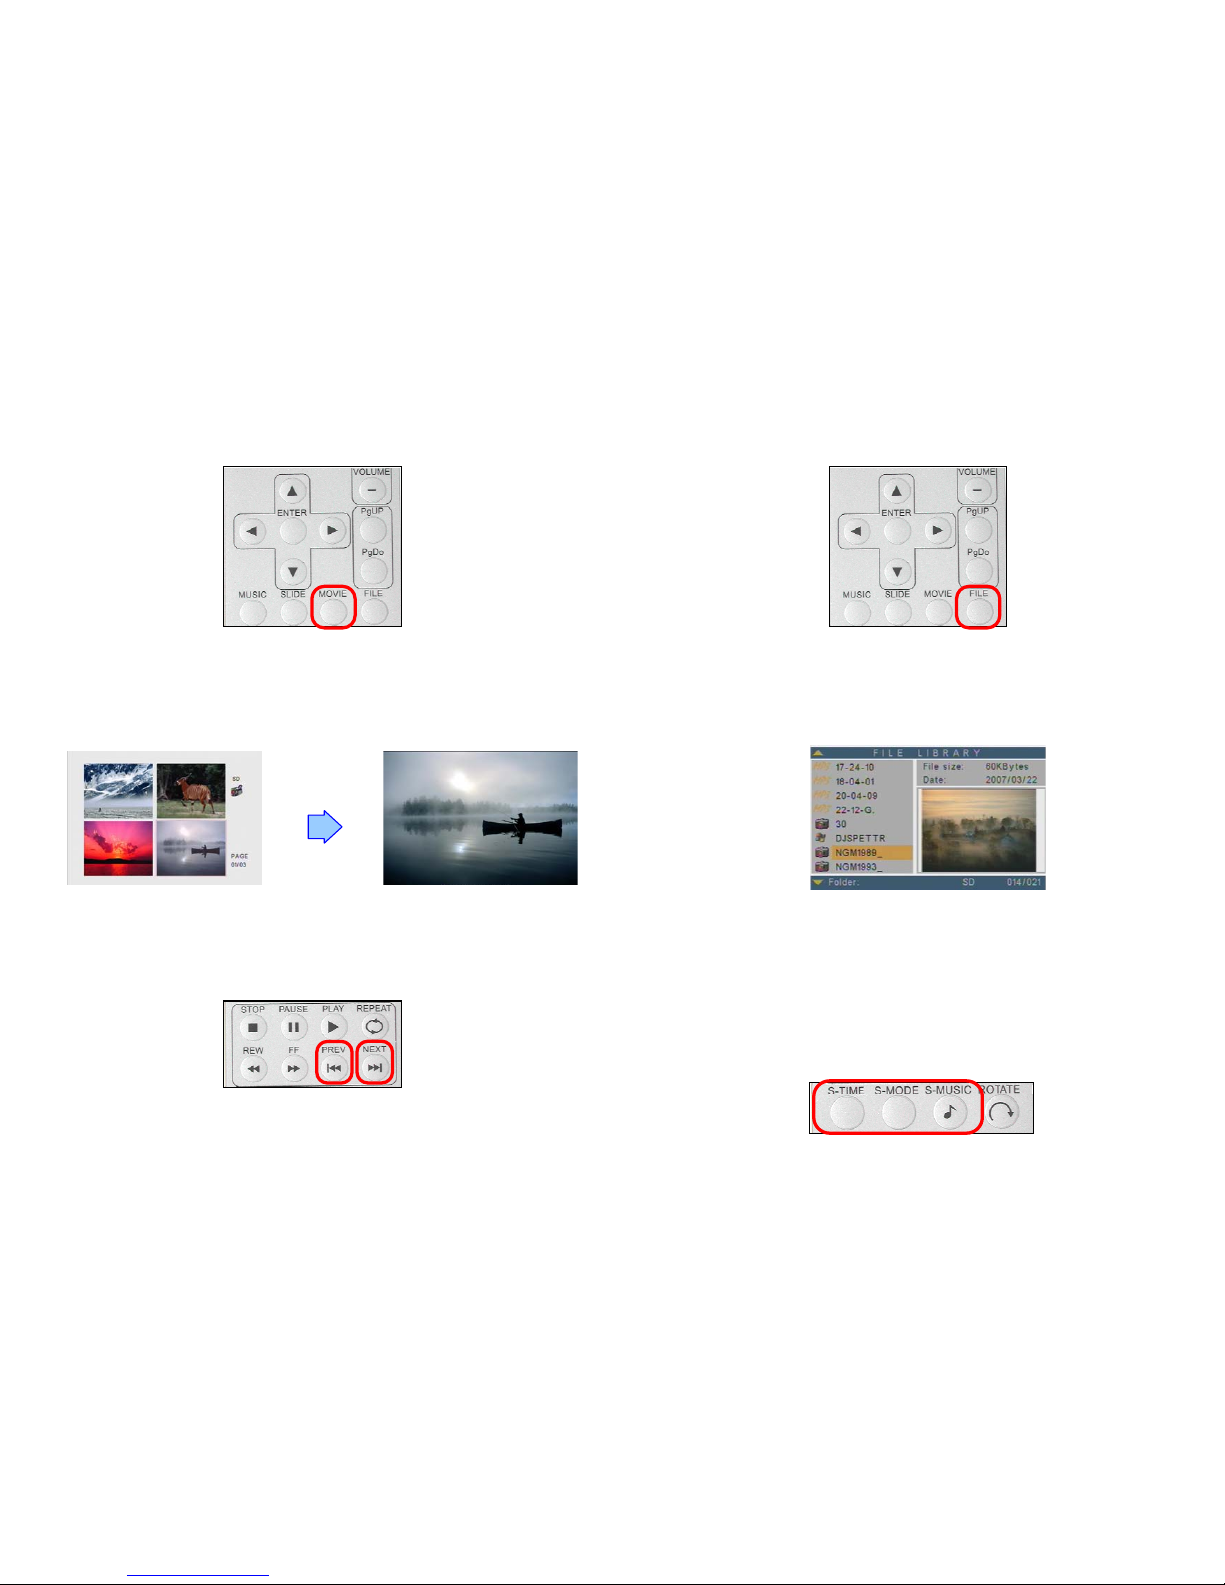
7.1 Play Picture File……………………………………..…. 6
7.2 Play Music File……….………………………………… 7
7.3 Play Movie File……………..………………………..… 8
7.4 File Library…………………………….…….……….… 9
7.5 Hot Key……….………………………………….…….. 9
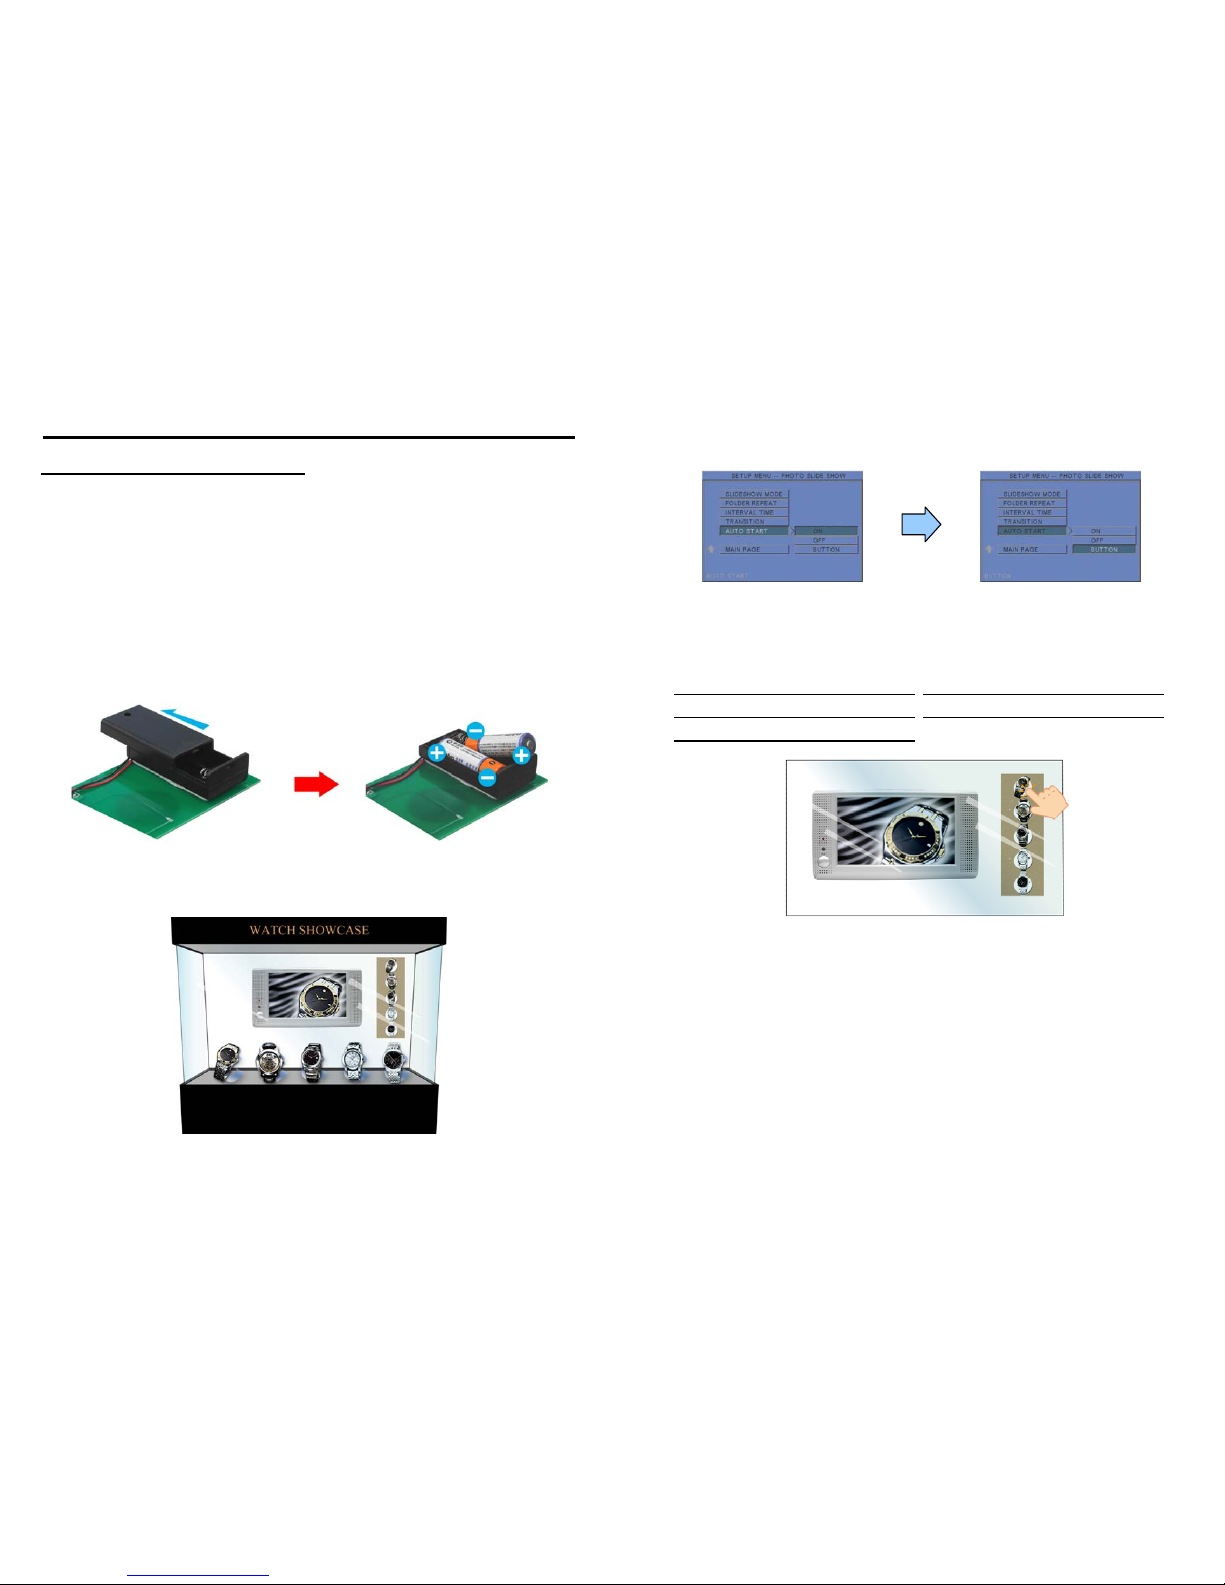
8. Using the Touch-Sensor Buttons………………….………... 10
8.1 Demo Files..……..…………………………………..…. 10
8.2 Connect to the Touch-Sensor Buttons..………………… 10
8.3 Play the Demo File……………..…………..………..… 10
9. Troubleshooting…………….………………………………. 12
CONTENTS
1
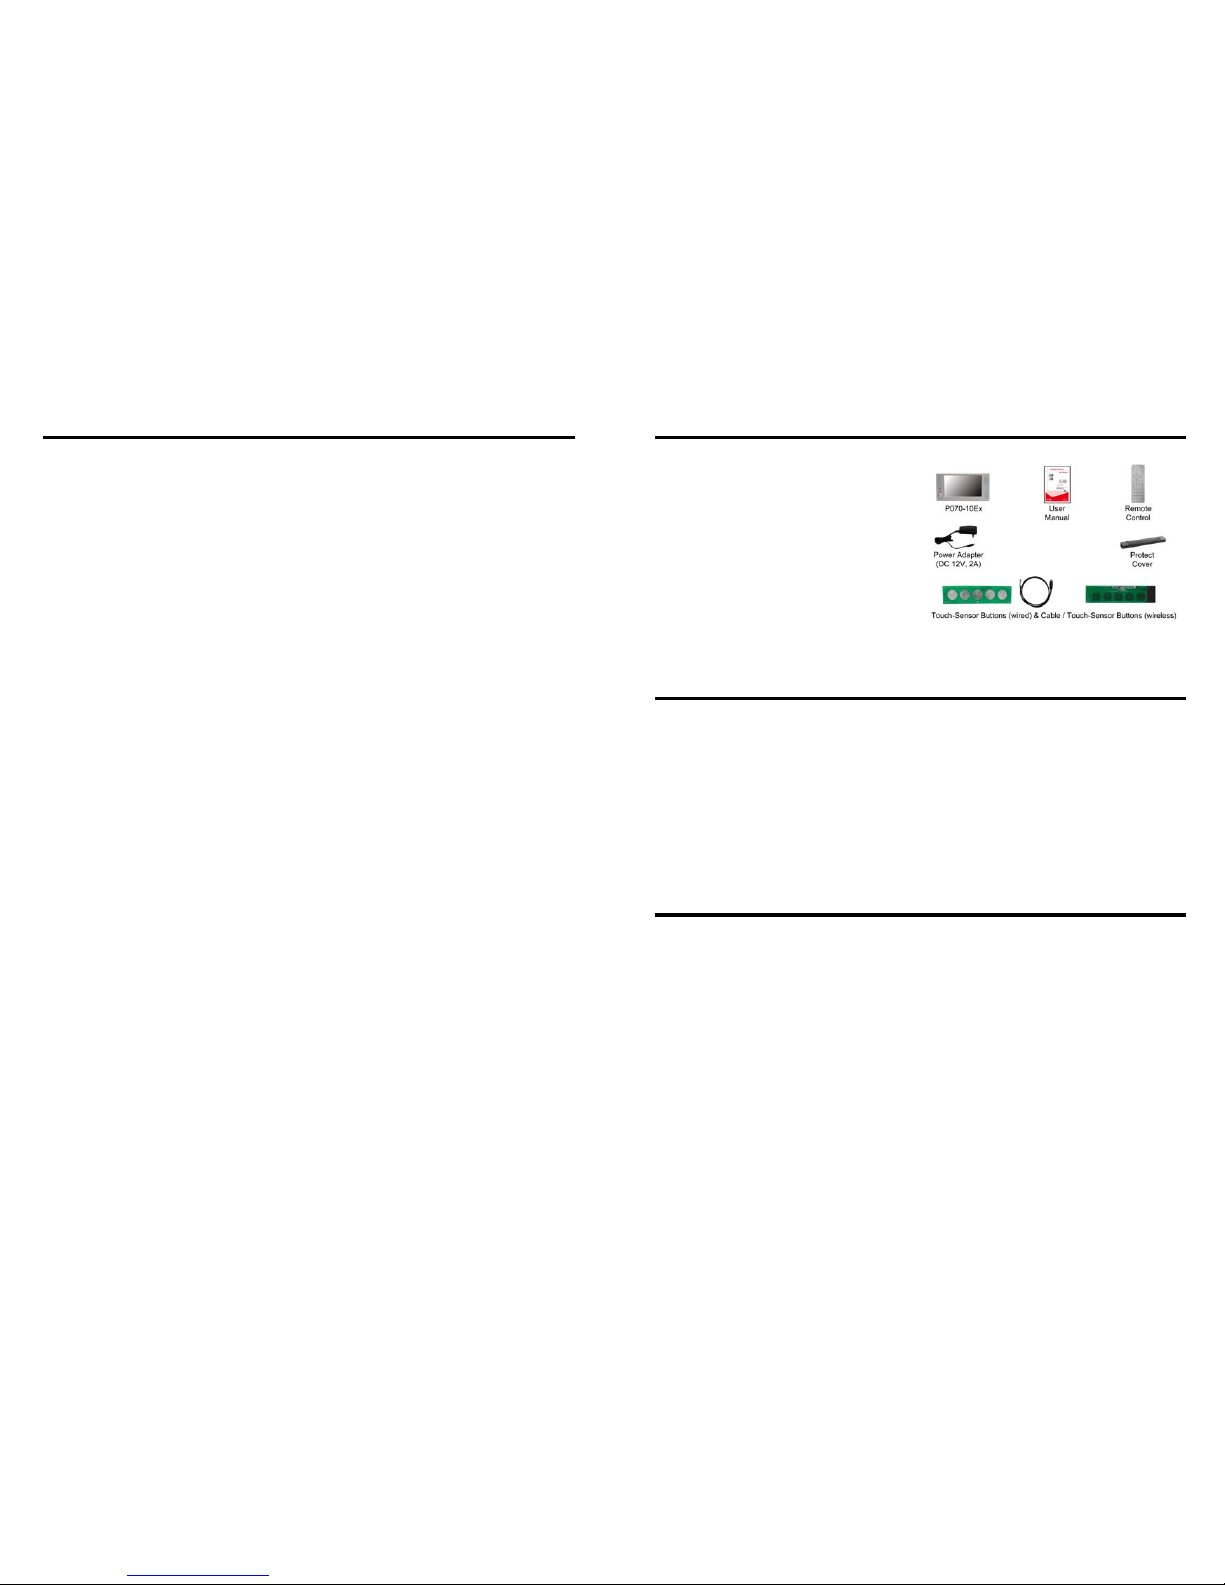
1. P070-10Ex
2. User Manual
3. Remote Control
4. Power Adapter (DC 12V, 2A)
5. Protect Cover
6. Type 1: Touch-Sensor Buttons (wired) & Cable
Type 2: Touch-Sensor Buttons (wireless)
The Eyezone P070-10Ex is a digital signage that plays picture, music and video without a
computer. It uses media files from CF, SD, MMC and MS (Pro) memory card and displays them on
a 7” TFT-LCD with audio-out from the built-in speakers. It also has S-Video and Audio input as
for the display.
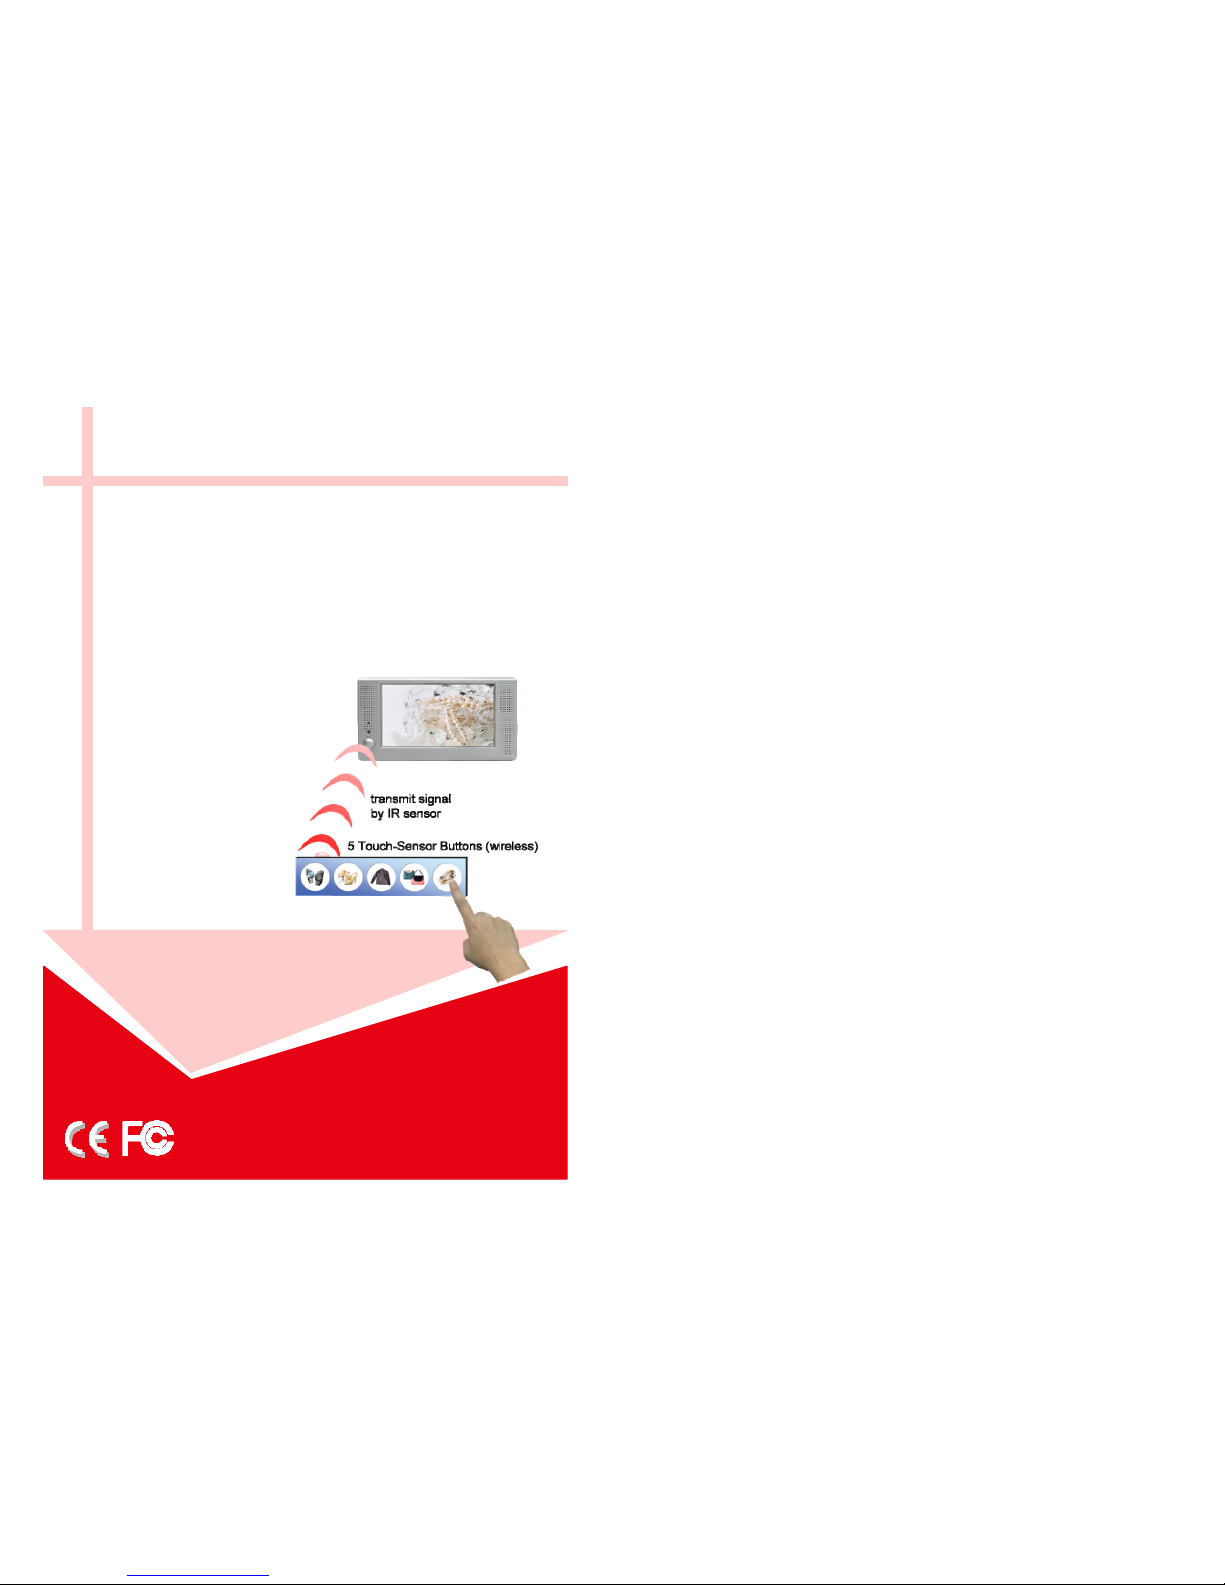
Just press one of the touch-sensor buttons, and the Eyezone P070-10Ex will instantly
display the corresponding file in the 7” TFT-LCD. The Eyezone P070-10Ex is an ideal Digital
Signage Display solution for advertising, presentations, training, and other media applications.
Supports multiple file formats: Picture, Music and Video.
Supports CF, SD, MMC and MS (Pro) memory card.
Built-in 7” TFT-LCD display and stereo speakers.
Supports S-Video and Audio input to connect to DVD player or video game player.
External color and brightness adjustment control buttons.
Includes a full-function infrared remote control.
Touch-Sensor Buttons:
-The number of touch-sensor buttons can be customized to 12, 24 or 36 for OEM project.
-Used with various operating environment (glass, plastics and acrylic material, except metal
material), the thickness supports 3mm -5mm, and it can be customized to 5cm for OEM
project.
-Supports Wired and Wireless modes for transmit signal to the Eyezone P070-10Ex.
Multi-Language OSD:English, French, German, Italian, Portuguese, Spanish, Netherlands,
Japanese and Chinese.
3. FEATURES
2. INTRODUCTION
1. PACKAGE CONTENT