manuals.online logo
Brands
  1. Home
  2. •
  3. Brands
  4. •
  5. Fancy Foam Models
  6. •
  7. Toy
  8. •
  9. Fancy Foam Models 32” Yak-55 User manual

Fancy Foam Models 32” Yak-55 User manual

Rev. 2, 10-15-2012
Fancy Foam Models
www.fancyfoam.com
Assembly Instructions for t e following EPP models:
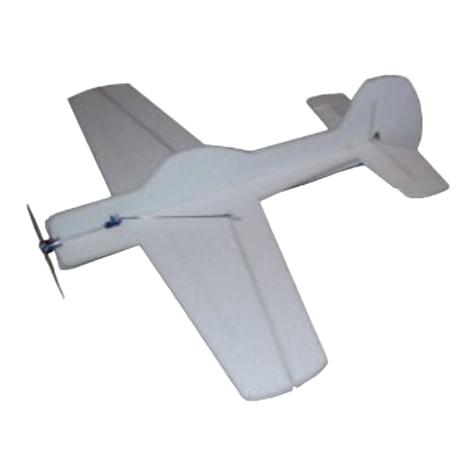
32” Yak-55
32” Yak-54
32” Edge 540
32” Sbac 342
33” Fenix V2
34” Freestyle
34.5” MX2
Recommended Electronics and motors:
Motor: Turnigy 2730-1500 or any equivalent motor
Speed control: Castle Creations T underbird 9 or
equal.
Battery: 300 to 500, 2 or 3 cell, 20C rated or
equivalent.
Receiver: 4 c annel.
Servos: (2) HXT 500 for t e tail and (1) HXT 900 for
t e ailerons.
Disclaimer: Fancy Foam Models has done
everything we can to caution and inform the end
user regarding the use of Lithium polymer battery
technology. We are in no way responsible for any
damage that may be caused by these batteries.
Please read, understand and follow all instructions
for the charger and batteries. Failure to use this
battery technology properly can result in the ris of
fire. If you are not comfortable with this
technology, return the batteries pac s and it to us
for a refund. By building the it and using the
batteries, you accept full responsibility for the
safety of these batteries.
Recommended building methods and glues:
Muc of t e construction of t is model is done by
laying t e parts on a flat table. It is strongly
recommended t at you put wax paper down on t e
surface first so any excess glue doesn’t soak t roug
t e foam and glue t e parts to t e table. For all
assembly, use “Welders” contact ad esive. T e inges
are also done wit Welders, see our video on t e web
site. Hot glue can be used to attac t e servos and
control orns.
Starting out:
Look over t e parts and dry fit t em toget er to c eck
for proper fit.
Painting:
It is easiest to paint t e parts before assembly. Card
stock can be used to make templates for stripes,
c eckers, ect... Epp does is not affected muc by
solvents so Krylon, Testors and airbrus paints can be
used.
Horizontal parts assembly:
Glue t e spar tube into t e slot in t e bottom of t e
wing.
Cut a 6” long piece of 1.5mm carbon pus rod. Cut a v-
slot in t e bottom of t e elevator just be ind t e inge
bevel and glue in t e 6” carbon piece.
1
Hinge t e ailerons to t e wing and t e elevator to t e
orizontal stabilizer. (A Welders glue inge
instructional video is on t e web site.)
Glue toget er t e orizontal pieces; nose, wing, rear
fuselage and orizontal tail. Note: T e wing spar goes
on t e bottom and t e aileron and elevator inges go
on top.
Lower fuselage to horizontal – Assembly:
If using a stick mount, cut a slot in t e orizontal nose
piece and glue t e mount in place. For a firewall plate
wait until t e airframe is built before installing. Set
motor mount wit NO rig t or down t rust. It is not
required.
If installing a single aileron servo t en cut a pocket
for it now in t e nose piece. Lay t e vertical pieces on
t e orizontal assembly to mark and cut clearance
pockets for t e aileron servo.
Glue t e lower vertical fuselage pieces to t e
orizontal assembly making sure it is square.
Now is t e time to add carbon bracing to t e tail. Cut
t e 1mm carbon rod into 2 – 3.5” pieces and 6 – 5.25”
pieces. Glue t em per t e picture wit otglue.
2
Landing Gear (optional):
Cut 2 pieces of t e 1.5mm carbon, 8” long and two
pieces 1” long. Glue t em toget er as s own wit a
1/8” overlap at a 45 degree angle. Cut a 6” piece of
string and wrap t e joint wit it in two directions. CA
t e string to secure t e axel.
Install t e gear legs t roug t e vertical fuselage and
into t e bottom of t e wing, just be ind t e leading
edge, but not t roug t e wing. W en you ave t e
axles parallel and even glue t e gear legs in place.
Glue t e gear pant to t e gear leg and t e fuselage side.
Slide t e w eels onto t e axels. Slide t e w eel pant
onto t e axle and secure in place wit a drop of CA
leaving enoug room for t e w eel to spin freely.
Final assembly:
Install t e aileron servo and glue t e top vertical
fuselage to t e main assembly. T en cut pockets and
install t e tail servos. T e rudder servo goes on t e
left.
Hinge t e rudder to t e aft of t e vertical fuselage
pieces.
Install t e motor onto t e motor mount and velcro t e
speed control and receiver to t e lower left side of t e
fuselage.
Use an exacto knife to slot t e control orn locations in
t e ailerons, elevator and rudder. Glue t e orns in
place.
Wit all t e surfaces set to zero, measure t e distance
between servo arm oles and control orn oles. Cut a
piece of 1.5mm carbon rod for eac pus rod to t e
measured lengt s. Cut a 1.5” long piece of 1/32” wire
and make a z-bend on one end. Slide a 1” lengt of
eat s rink over eac end of t e carbon rod and t en
slide in a z-bend wire. S rink t e eat s rink tubing
wit a eat gun or flame. T e z-bend wire is not glued
in position yet and can be moved for final adjustments.
Remove t e servo arm and assemble t e pus rods to
t e servo arm and control orns. Wit t e servo
centered reattac t e servo orn. Make any final
adjustments to t e z-bend location. Use regular (not
foam safe) t in CA to secure t e z-bends to t e pus
rods by placing a drop at eac end of t e eat s rink
tubing. If you get some CA on t e servo or control orn
t is is ok and moving t e controls will allow t e z-
bend to break loose.
Note: T is pus rod setup will act to save your servos.
In t e event of an impact t e glue olding t e z-bend to
t e pus rod will likely give before t e servo gears. If
t e z-bends start to slide in t e eat s rink a drop of
CA will secure t em again.
3
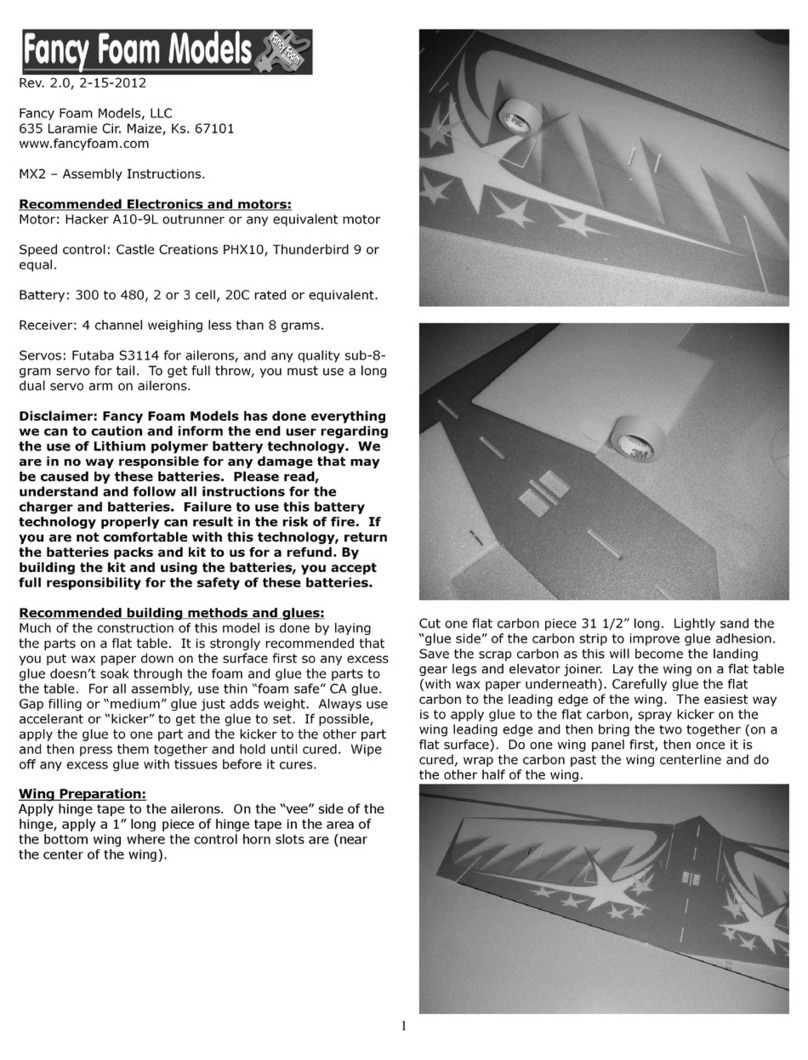
Motor installation
Install t e motor into t e stick motor mount and velcro
t e speed control and receiver to t e lower left side of
t e fuselage.
Flight set-up:
Use double stick Velcro on t e battery and airframe to
secure t e battery to t e bottom of t e orizontal
fuselage in a location t at gives t e model proper
balance. Adjust t e battery location back and fort to
suit your flying style. Use your computer radio to set
t e final sub-trims, exponential and dual rates. Double
c eck t e control directions before your first flig t.
With proper CG, the plane should fly nearly the
same upright or upside-down. Good pilots
experiment wit various battery locations until t e CG
feels just rig t.
Flight set-up:
Use double stick Velcro on t e battery and airframe to
secure t e battery to t e bottom of t e orizontal
fuselage in a location t at gives t e model proper
balance. Adjust t e battery location back and fort to
suit your flying style. Use your computer radio to set
t e final sub-trims, exponential and dual rates. Double
c eck t e control directions before your first flig t.
With proper CG, the plane should fly nearly the
same upright or upside-do n. Good pilots
experiment wit various battery locations until t e CG
feels just rig t.
For indoor flying, we use 2 or 3 cell lipo packs rated at
20C. Batteries of 300 to 480 ma are perfect for
giving good flig t times and plenty of power. T e final
airplane weig t s ould be between 6.0 and 7.5 oz.
Center of Gravity:
Yak-55 is 2.75” be ind t e leading edge of t e wing.
Yak-54 is 2.75” be ind t e leading edge of t e wing.
Edge 540 is 3.5” be ind t e leading edge of t e wing.
Sbac 342 is 3” be ind t e leading edge of t e wing.
Freestyle is 3” be ind t e leading edge of t e wing.
MX2 is 3.75” be ind t e leading edge of t e wing.
Fenix V2 is 3” be ind t e leading edge of t e wing.
We ope you enjoy your airplane.
T ank You,
Mike & Niki Bailey
Fancy Foam Models
4

This manual suits for next models

6

Other Fancy Foam Models Toy manuals

Fancy Foam Models Funfly003 User manual

Fancy Foam Models

Fancy Foam Models Funfly003 User manual

Fancy Foam Models 3dEPP001 User manual

Fancy Foam Models

Fancy Foam Models 3dEPP001 User manual

Fancy Foam Models IndoorDepron001 User manual

Fancy Foam Models

Fancy Foam Models IndoorDepron001 User manual

Fancy Foam Models Air3dEPP006 User manual

Fancy Foam Models

Fancy Foam Models Air3dEPP006 User manual

Fancy Foam Models MX2 User manual

Fancy Foam Models

Fancy Foam Models MX2 User manual

Fancy Foam Models EPP 3Decathlon User manual

Fancy Foam Models

Fancy Foam Models EPP 3Decathlon User manual

Popular Toy manuals by other brands

GRAUPNER altona 2146 Assembly instructions

GRAUPNER

GRAUPNER altona 2146 Assembly instructions

Eduard JAS -39 Gripen quick start guide

Eduard

Eduard JAS -39 Gripen quick start guide

Faller E-werk 190601 manual

Faller

Faller E-werk 190601 manual

Horizon Hobby Hangar 9 HAN7035 instruction manual

Horizon Hobby

Horizon Hobby Hangar 9 HAN7035 instruction manual

Mattel Fairytopia N5679 instructions

Mattel

Mattel Fairytopia N5679 instructions

Mega Bloks KAPOW! NOX 94201 manual

Mega Bloks

Mega Bloks KAPOW! NOX 94201 manual

Mattel MONSTER HIGH X3711 instructions

Mattel

Mattel MONSTER HIGH X3711 instructions

REVELL B-17F "Memphis Belle" Assembly manual

REVELL

REVELL B-17F "Memphis Belle" Assembly manual

Silverlit PicooZ Tandem Z-1 instruction manual

Silverlit

Silverlit PicooZ Tandem Z-1 instruction manual

marklin Percy manual

marklin

marklin Percy manual

Tower Hobbies Mini Uproar instruction manual

Tower Hobbies

Tower Hobbies Mini Uproar instruction manual

Mega Construx Wonder Builders Pokemon Ditto manual

Mega Construx

Mega Construx Wonder Builders Pokemon Ditto manual

Blade Chroma BLH8600 reference guide

Blade

Blade Chroma BLH8600 reference guide

AGILE 5.5 instruction manual

AGILE

AGILE 5.5 instruction manual

Lionel Pioneer Zephyr owner's manual

Lionel

Lionel Pioneer Zephyr owner's manual

roco 70787 operating manual

roco

roco 70787 operating manual

Wilesco D320 manual

Wilesco

Wilesco D320 manual

Lansay mini delices instruction manual

Lansay

Lansay mini delices instruction manual

manuals.online logo
manuals.online logoBrands
  • About & Mission
  • Contact us
  • Privacy Policy
  • Terms and Conditions

Copyright 2025 Manuals.Online. All Rights Reserved.