Caution
Please read and observe all warnings and instructions in this manual
and those marked on the unit. Retain this booklet for future reference.
There are two kinds of alarm symbols as follows:
WARNING
WARNING
CAUTION
The lightning bolt with arrowhead inside in an equilateral
triangle is intended to alert the user to the presence of
"dangerous voltage"within the product s enclosure that may be
of sufficient magnitude to constitute a risk of electric shock to
people.
The exclamation point inside an equilateral triangle is intended
to alert the user to the presence of important operating and
maintenance (servicing) instructions in the literature accompanying
the product.
Installation of all TV monitors
must be out of the driver s
field of vision.
Do not try and service these
products yourself, locale a
qualified service center or
factory service center for all
repairs.
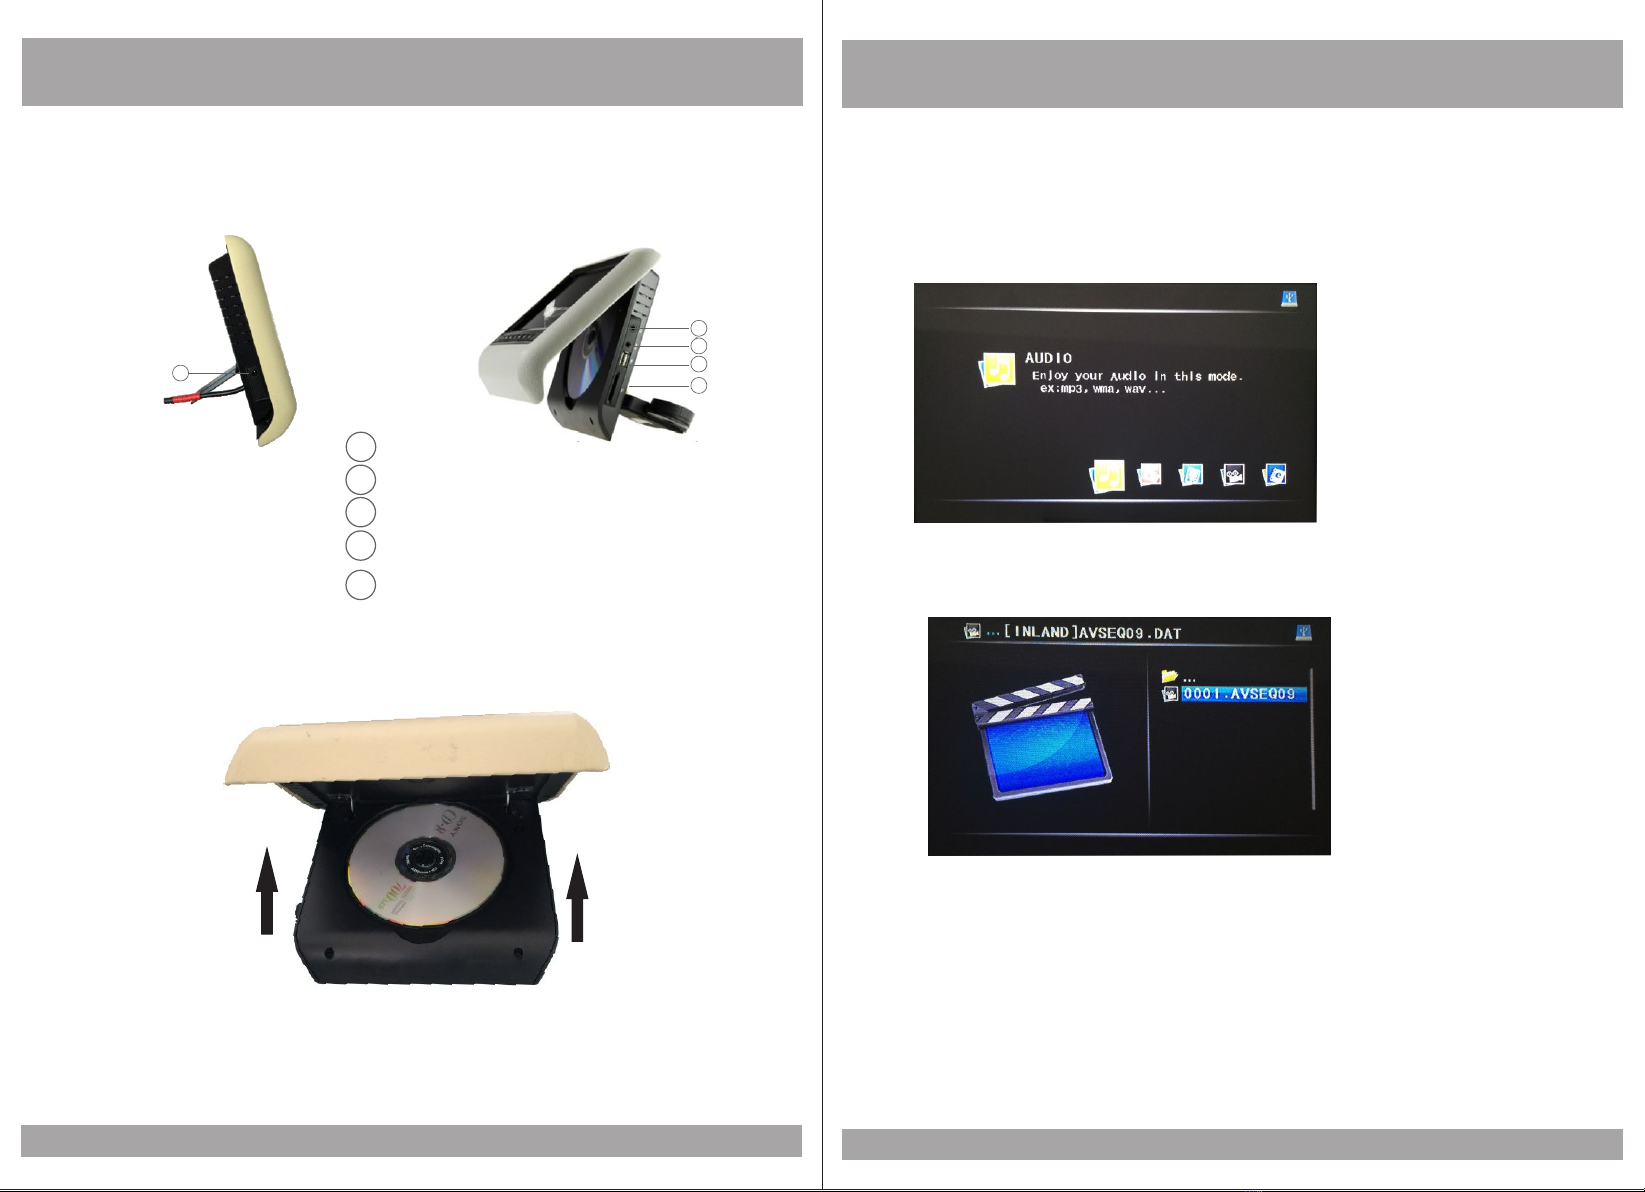
Be careful not to drop or
apply under pressure to the
front panel of your video
monitor. If the screen cracks
due to misuse, your warranty
will be void!
Do not mount the product where
it will obstruct the deployment of
the airbag or in an area where it
would affect the driver s ability
to control the vehicle. Also be
careful to avoid mounting the
product where it can become
hazardous during sudden stops
or in the event of an accident.
Use extra caution with any liquids
in your car. If you or your child
spills any liquid on these products,
pull your vehicle to the roadside
and turn the key off to disconnect
or wipe the products with a towel. Do not
operate the equipment until all liquids have
either evaporated or you have had the monitor
inspected at a service center by a qualified
technician. Severe harm or danger can result.
Use only a damp cloth to clean
the screen and use only purified
water on the cloth. wring out all
excess water prior to wiping the
screen. Do not use any cleaners
or chemicals to clean the screen.
In most cases a dry cloth will do!
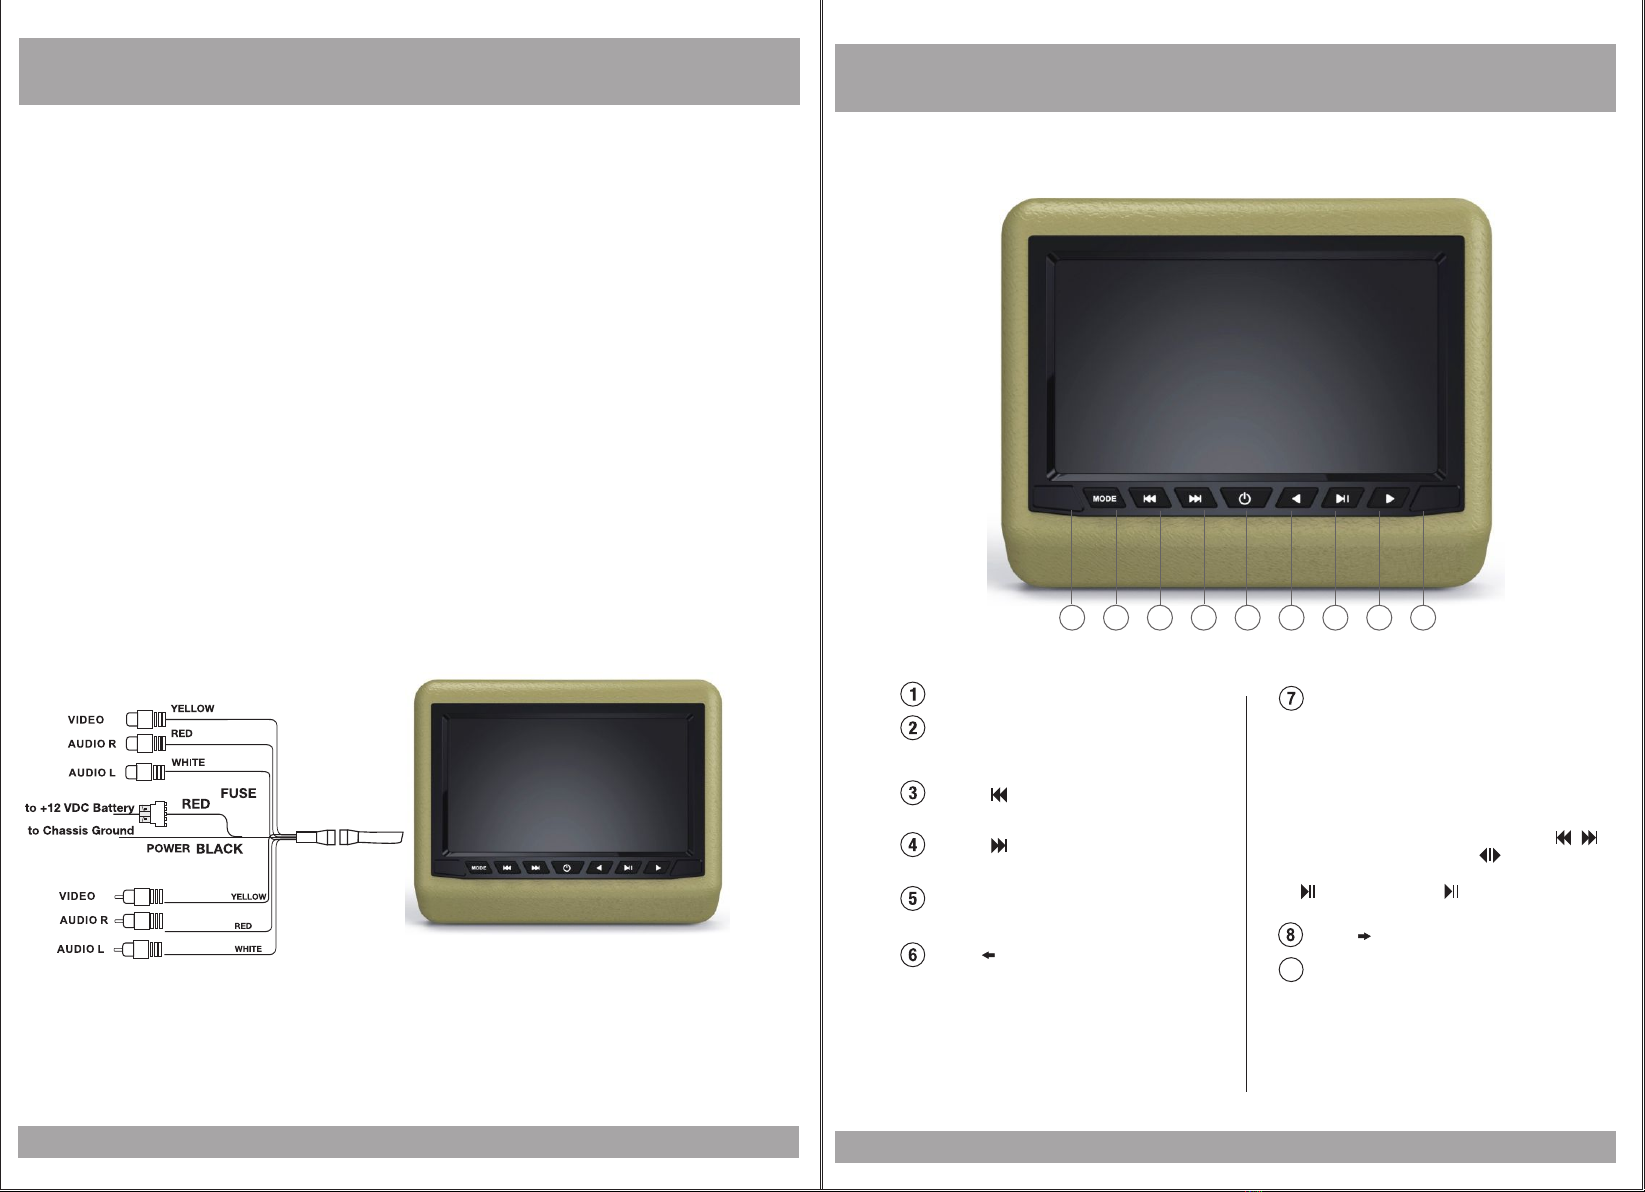
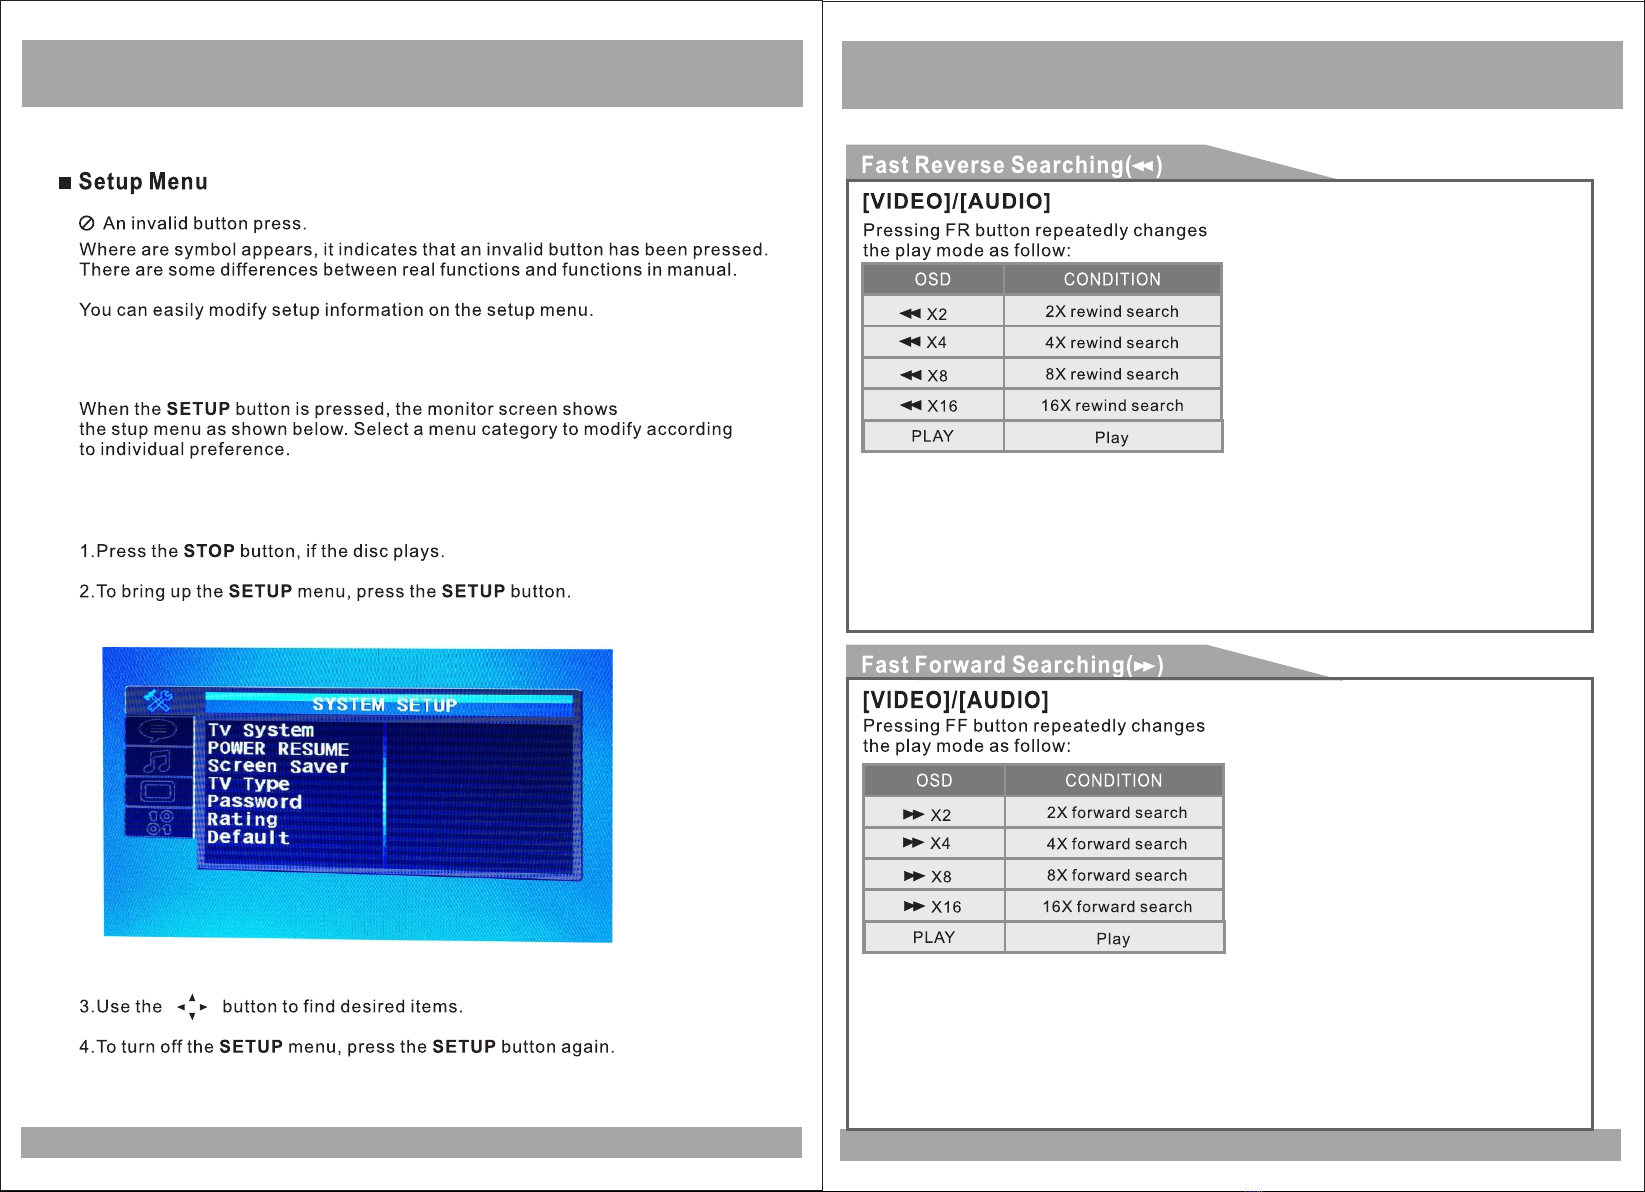
POWER
AV
MENU
,
3
’
,
Disc Information
DVD features
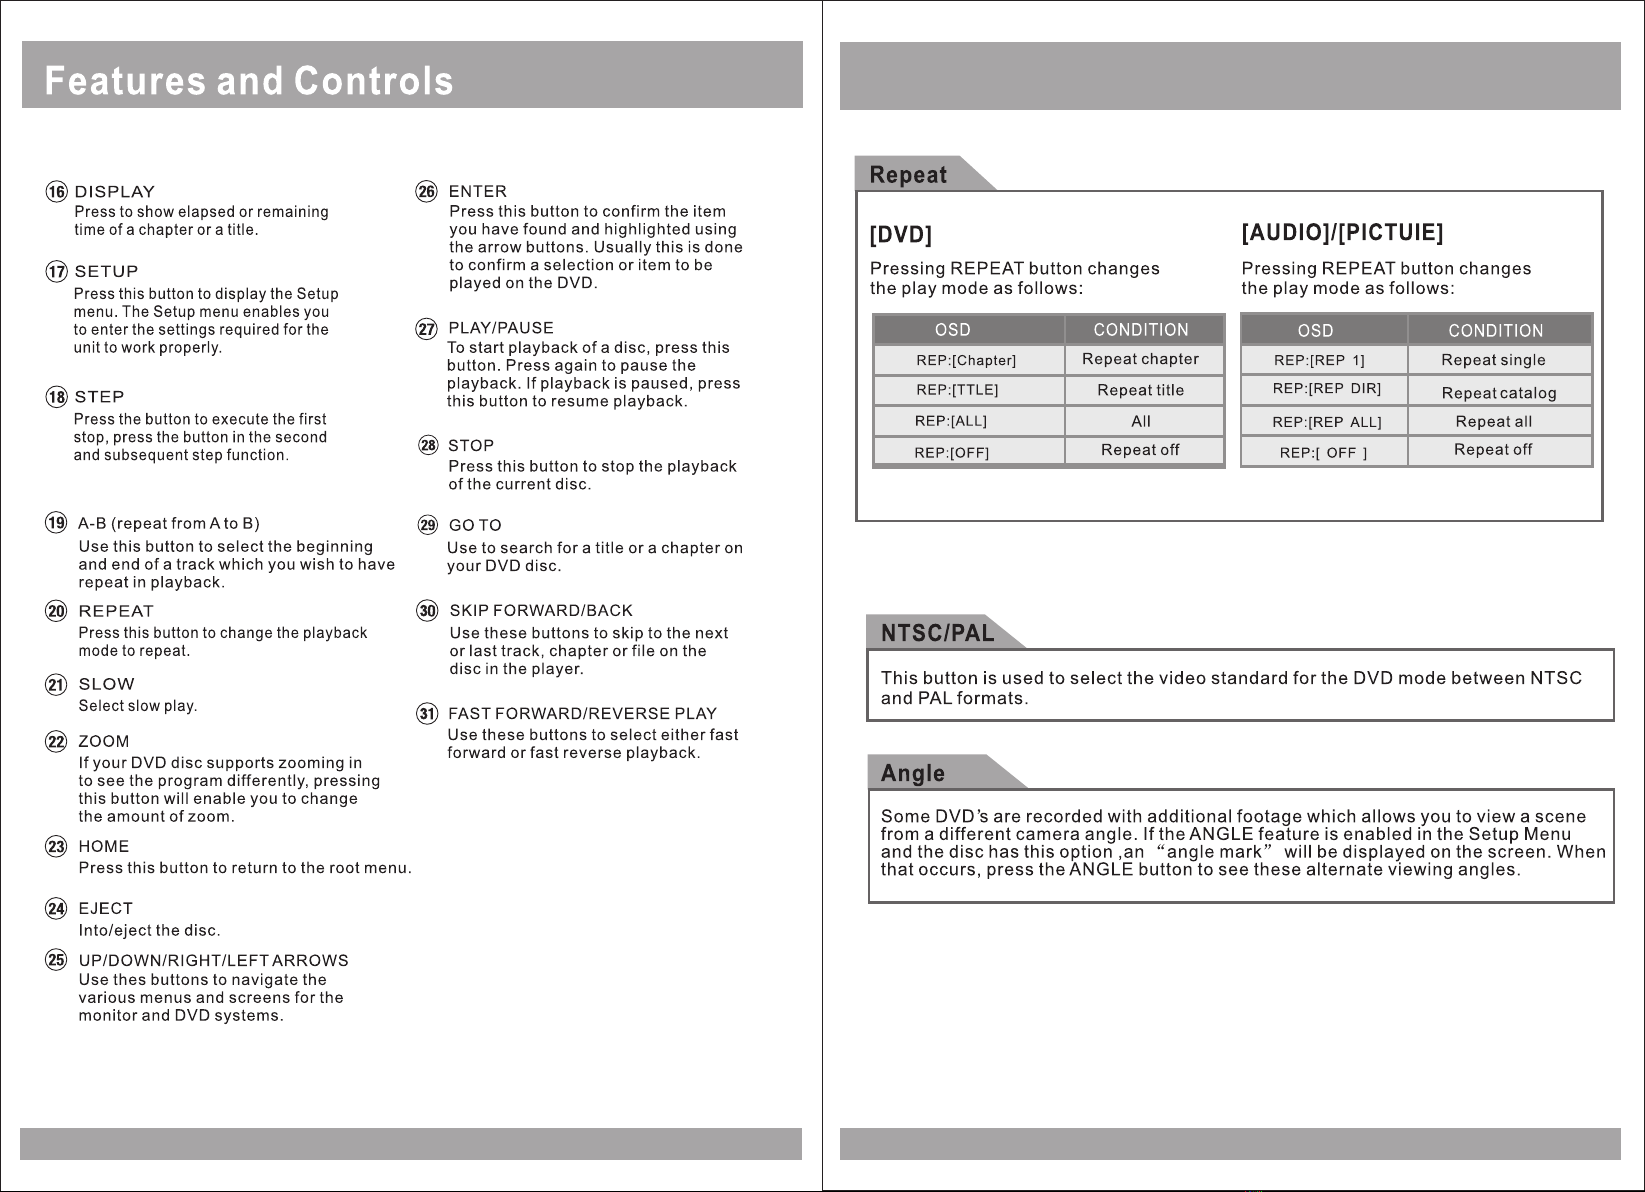
DVD discs provide high-resolution images with high-quality sound. This DVD player
can play not only DVD discs of various versions, but also S-VCD, VCD, audio CD and
Mp3 discs.
Discs that cannot be played
DVD-RW, DVD-REM, CD-ROM, CD-EXTRA discs cannot be played on this unit. In
addition, a CD or a CD-RW which was recorded on special software cannot be played.
Region code
Your DVD player is designed and manufactured to region management information
that is recorded on a DVD disc. Please check the region code.
1: North America 2: Japan 3: Korea and Southeast Asia
4: Australia, Mid & South America 5: Russia 6: China
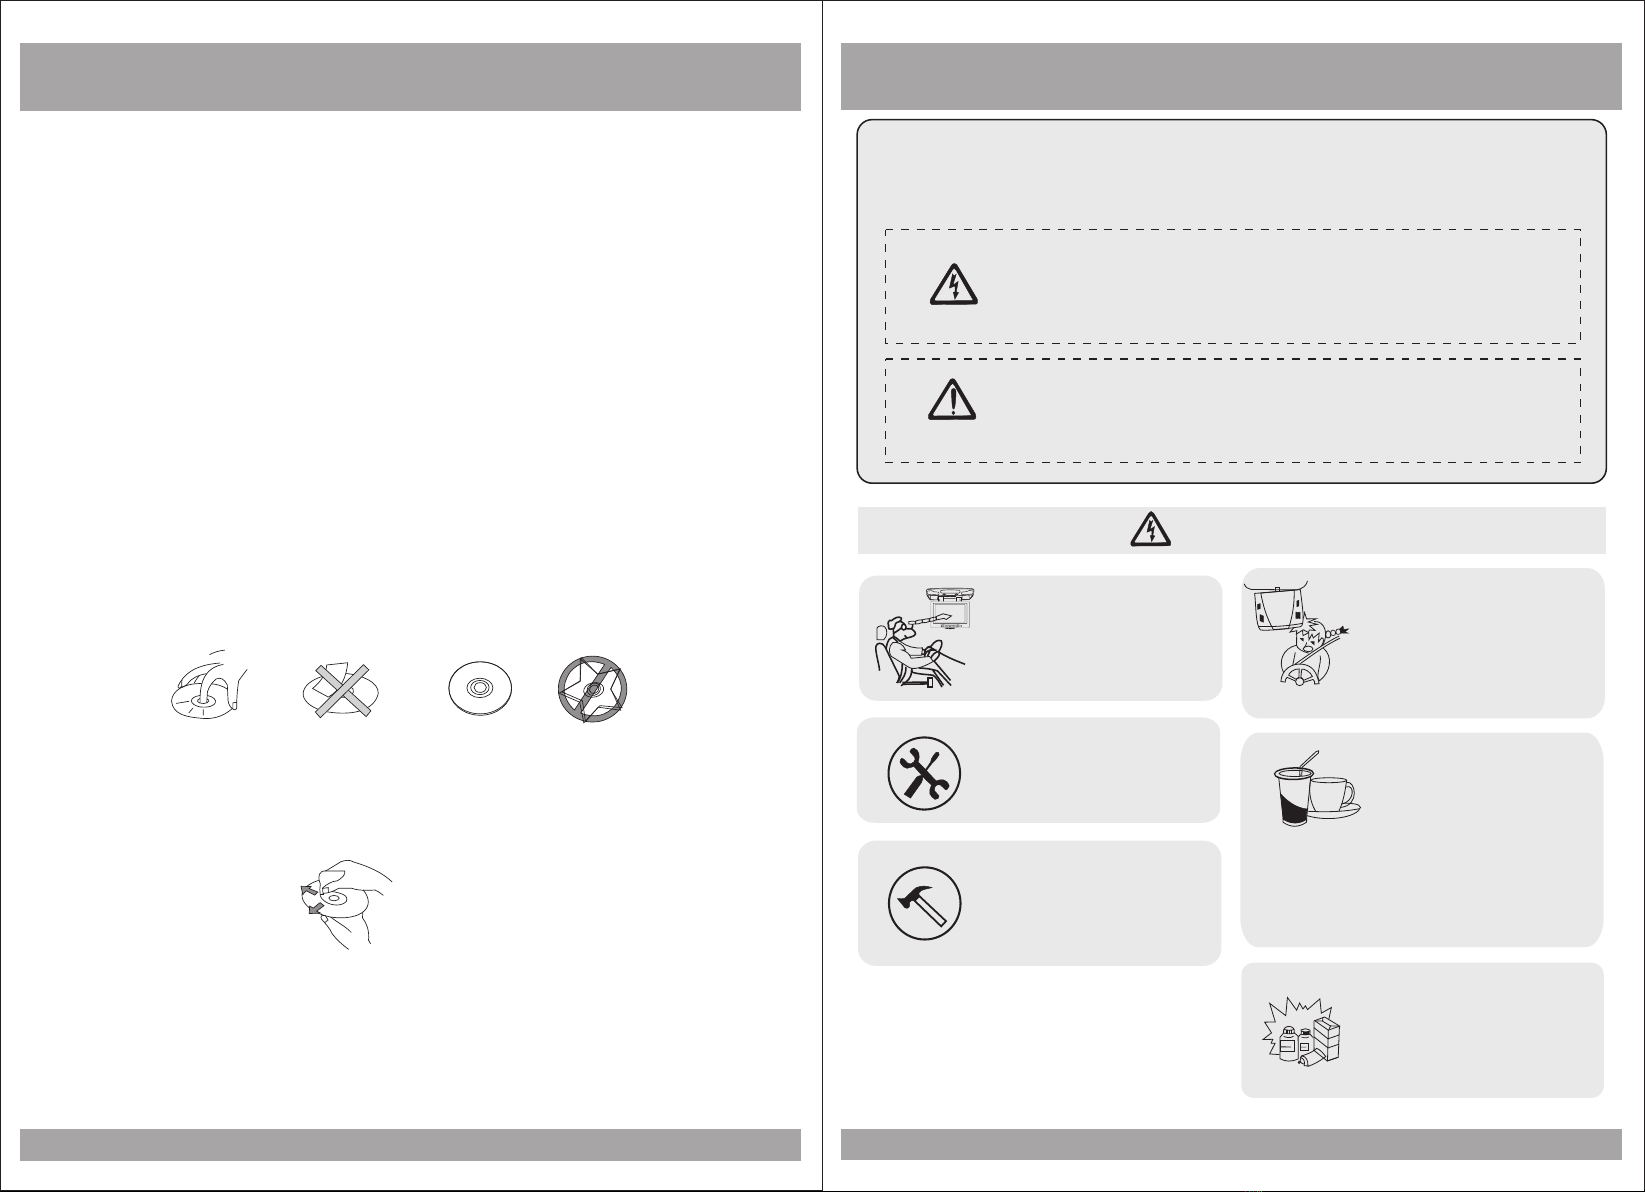
How to handle the disc
Don t touch the shiny side of the disc (the side with the embedded information).
Don t stick a label or a glue-based note on either side of the disc.
Don t use discs that have glue or a damaged label with exposed adhesive residue.
It might result in damage to your DVD player.
Don t put discs in the sunshine.
Park your car in the shade.
How to handle the discs
Only use round discs. Discs with other shapes like a star, a heart, etc. may cause
damage to the player. If a disc is dirty, wipe softly with a wet cloth and then with a dry
one. Before playback, wipe the disc outward from the center with a clean cloth. Do not
use any type of solvent such as thinner, benzene, commercially available cleaners or
antistatic spray. To avoid damaging your DVD player, don t use a scratched disc.
22
,
,
,
,
,