Faro ACCSS8008 User manual

Tripod Quick Release Mount (ACCSS8008) Installation for the Focus M
and S Series
Quick Steps
1. Order the Quick Release Package from FARO®Sales. See the Prepare section of this article for part numbers.
2. Gather parts and tools.
3. Set up the tripod.
4. Attach the base plate to tripod platform.
5. Attach the mount plate under scanner.
6. Lock the scanner onto the tripod.
Overview
The FARO®Laser Scanner FocusMand FocusSQuick Release allows you to easily attach and detach the Focus
from your tripod. Using the steps in this article you can install the quick release components to the scanner and tripod.
Once the components are installed, just lower the scanner onto the tripod base plate aligning the lock holes, turn the
scanner to orient it relative to what you want to scan, and rotate the outer ring of the scanner mount plate to lock the
scanner to the tripod.
https://knowledge.faro.com/Hardware/3D_Scanners/Focus/Tripod_Quick_Release_Mount_-ACCSS8008-_Installation_for_the…
Updated: Tue, 09 Nov 2021 02:45:07 GMT
1

Prepare
Time to Complete 20 minutes
Items Needed • Laser Scanner Quick Release package—FARO Part #: ACCSS8008
Supported Hardware
• FARO®FocusM70
• FARO®FocusS70
• FARO®FocusS150
• FARO®FocusS350
• FARO Focus3D X 30/130/330
• FARO Focus3D X 130/330 HD
• FARO Focus3D S 20/120
• FARO Focus3D 20/120
Back to top
Gather Parts & Tools
1. Order the Quick Release Package from FARO®Sales.
Laser Scanner Quick Release package—FARO Part #: ACCSS8008
2. When you receive the package, verify you have these parts.
a. 1 Base Plate attaches to the tripod platform (item 1 in the picture)
b. 1 Mount Plate attaches under the scanner (item 2 in the picture)
Note: Part a and b are attached together when you receive the package. Rotate the Mount Plate to separate
the two parts.
https://knowledge.faro.com/Hardware/3D_Scanners/Focus/Tripod_Quick_Release_Mount_-ACCSS8008-_Installation_for_the…
Updated: Tue, 09 Nov 2021 02:45:07 GMT
2

c. 1 Imperial 3/16" Hex Key (depicted in these pictures as black in color)
d. 1 Metric 3 mm Hex Key (depicted n these picture as silver in color)
3. Retrieve the Tripod Hex Key from the original package.
Set Up the Tripod
1. Extend the legs of the tripod and lock the leg angle clips.
2. Ensure that the tripod is stable, the feet are secure, and the platform is as level as possible.
3. Make adjustments as needed to the platform set screws (one or more) using the original tripod hex key to recess
the screws below the platform surface. For correct installation of the base plate, they must not extend above the
platform surface.
Attach the Base Plate to the Tripod Platform
1. Ensure that the base plate set screw is recessed below the surface of the base plate by inserting the 3 mm silver
hex key into the hexagonal recess in the center of the set screw.
https://knowledge.faro.com/Hardware/3D_Scanners/Focus/Tripod_Quick_Release_Mount_-ACCSS8008-_Installation_for_the…
Updated: Tue, 09 Nov 2021 02:45:07 GMT
3

2. Install the base plate on the tripod platform by threading the base plate 3/8" center hole onto the tripod platform 3/
8" threaded stud. The two parts should fit flush against each other. Twist the base plate in a clockwise direction,
securing it snuggly to the platform.
3. Firmly tighten the base plate to the platform using the 3/16" black hex key inserted into the hexagonal recess on
the base plate.
4. Tighten the base plate set screw using the 3 mm silver hex key inserted into the recess at the center of the set
screw.
https://knowledge.faro.com/Hardware/3D_Scanners/Focus/Tripod_Quick_Release_Mount_-ACCSS8008-_Installation_for_the…
Updated: Tue, 09 Nov 2021 02:45:07 GMT
4

5. Check that the base plate is securely attached to the tripod platform and is unable to spin in any direction.
Back to top
Attach the Mount Plate Under the Scanner
1. Attach the mount plate beneath the scanner using the central 3/8" screw, tightened with your fingers so it is snug
but not firmly tightened.
2. Insert the long end of the 3 mm silver hex key into one of the three openings on the side of the mount plate outer
ring. With the key inserted, slightly rotate the outer ring to find a spot where the key easily seats into one of the six
hexagonal holes of the mount plate inner ring. Ensure that the key has engaged completely with the hole in the
inner ring.
https://knowledge.faro.com/Hardware/3D_Scanners/Focus/Tripod_Quick_Release_Mount_-ACCSS8008-_Installation_for_the…
Updated: Tue, 09 Nov 2021 02:45:07 GMT
5

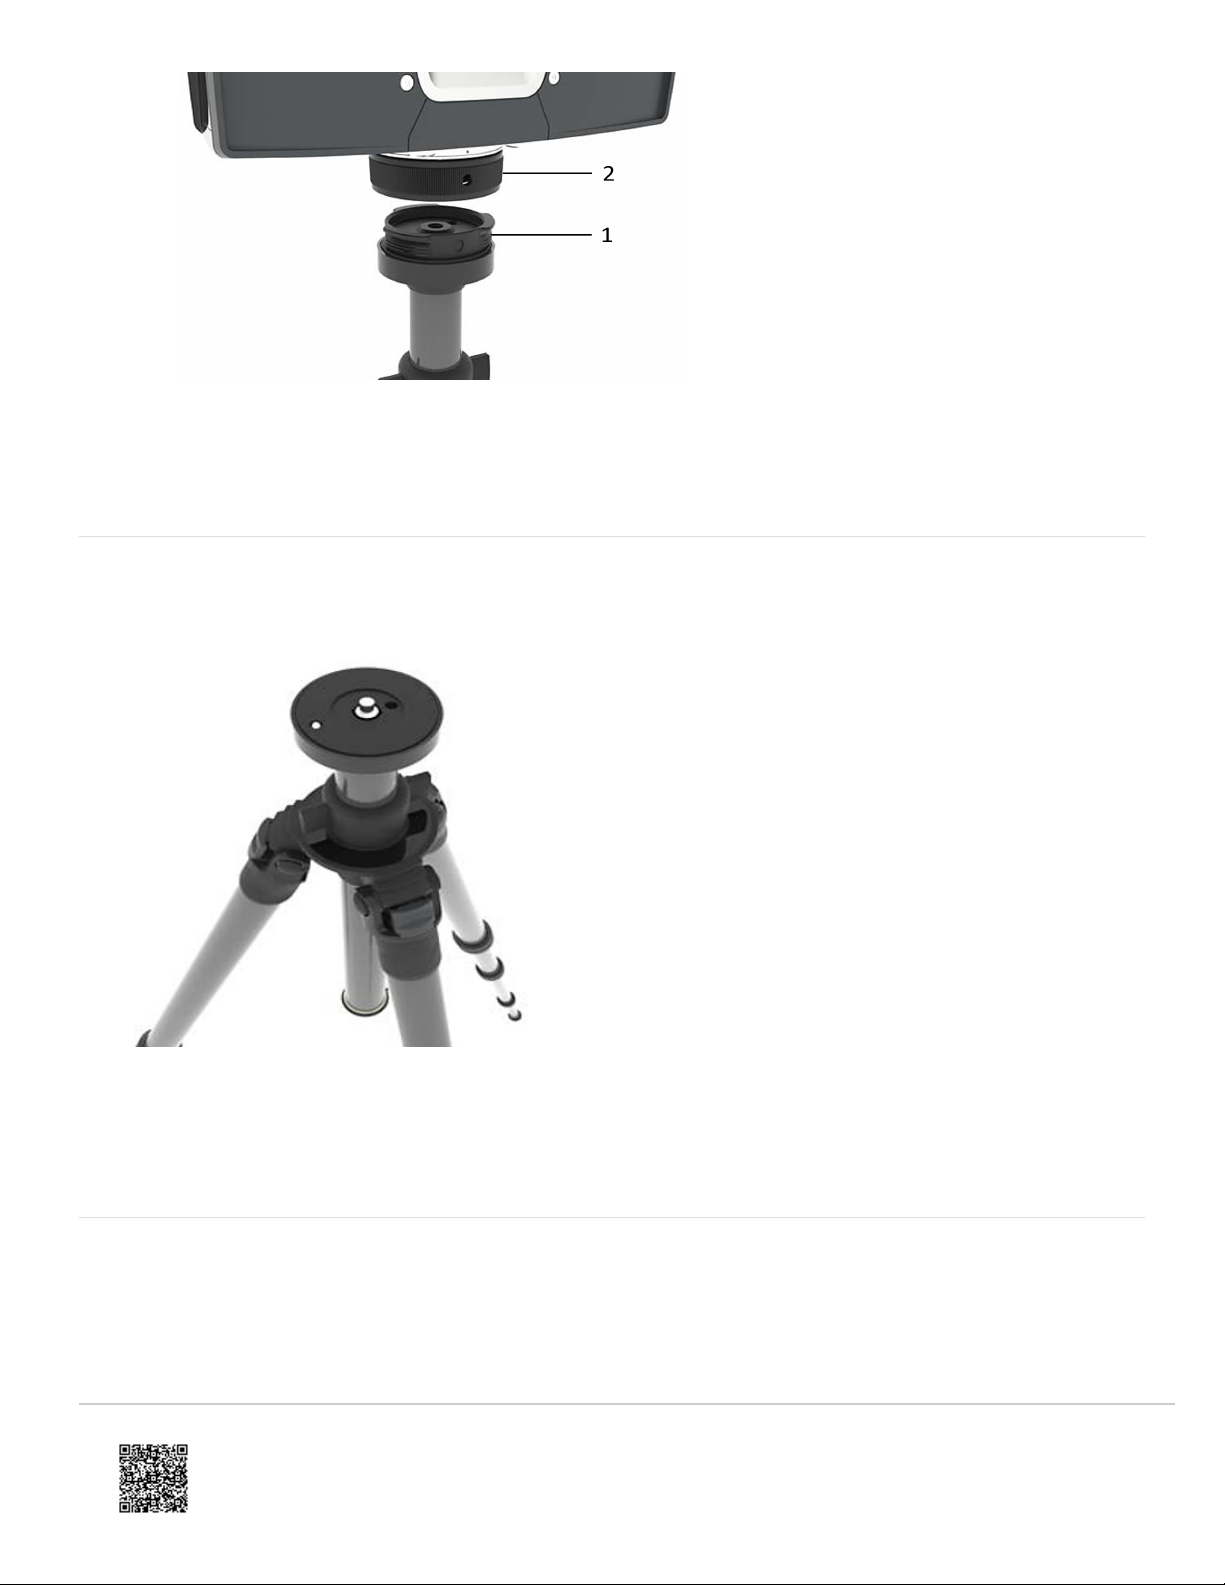
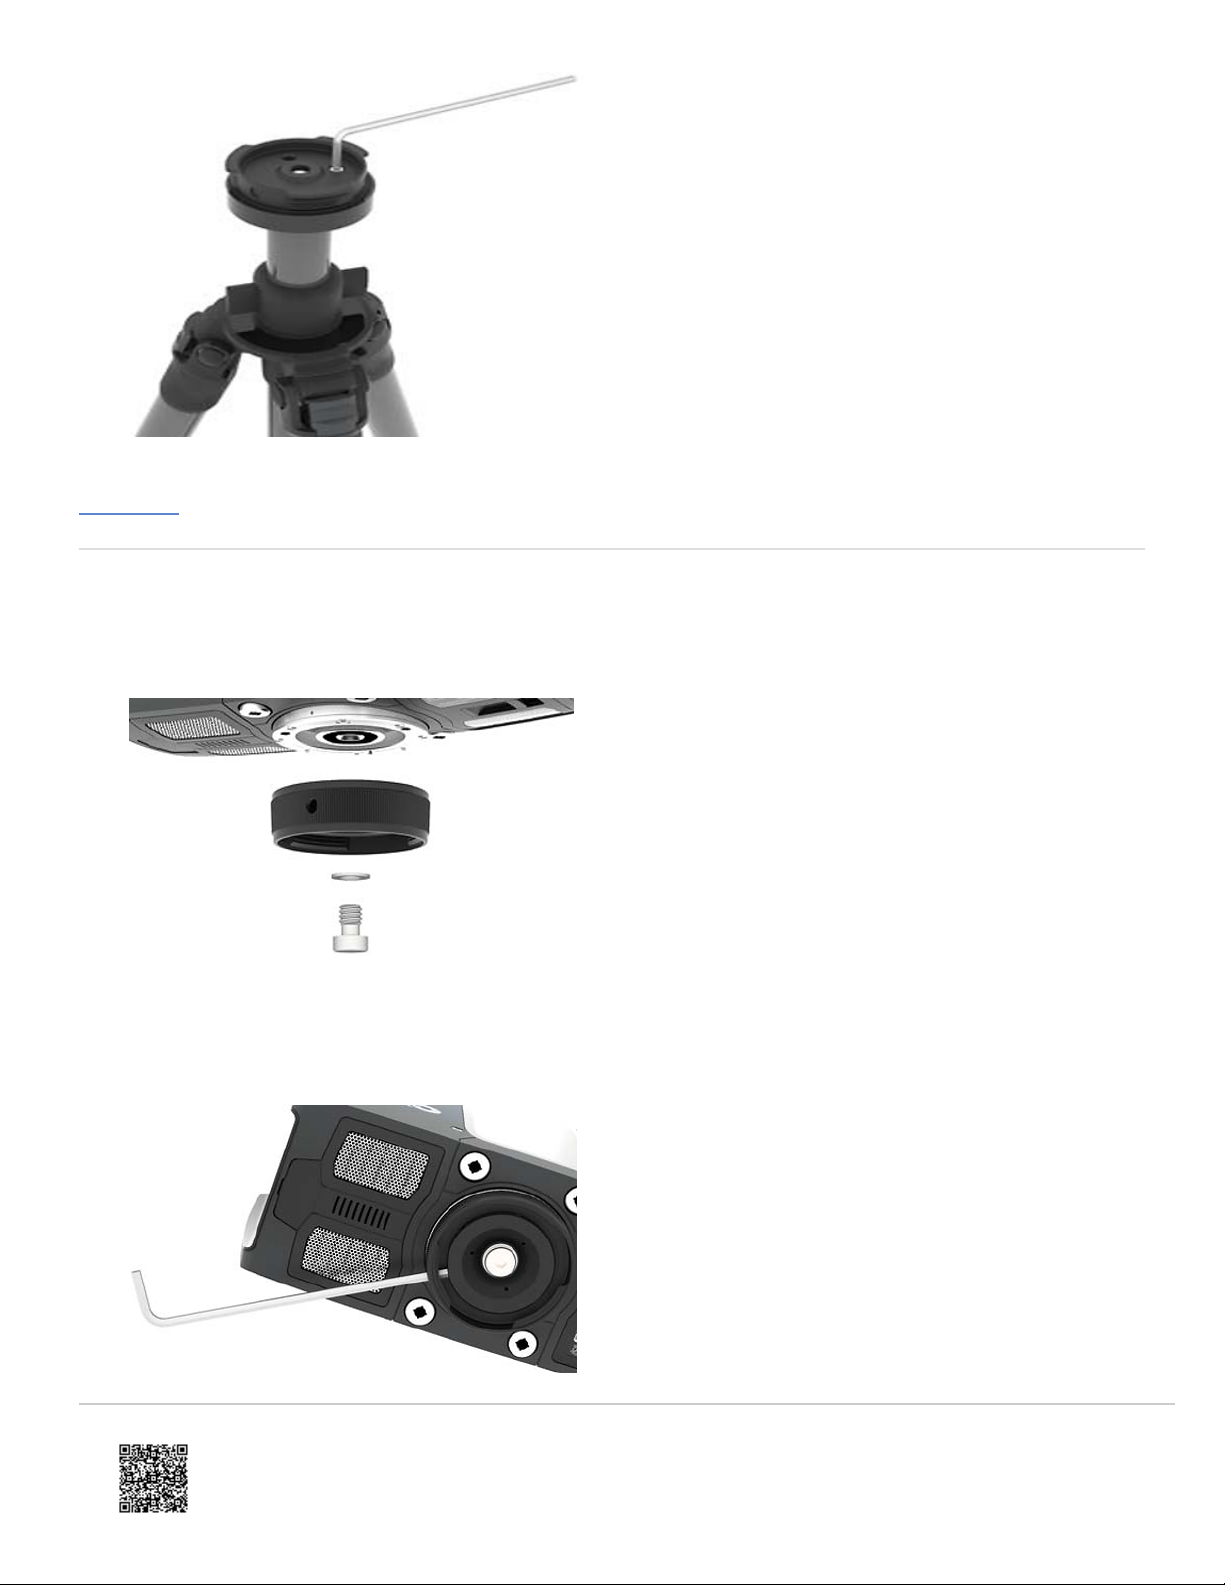
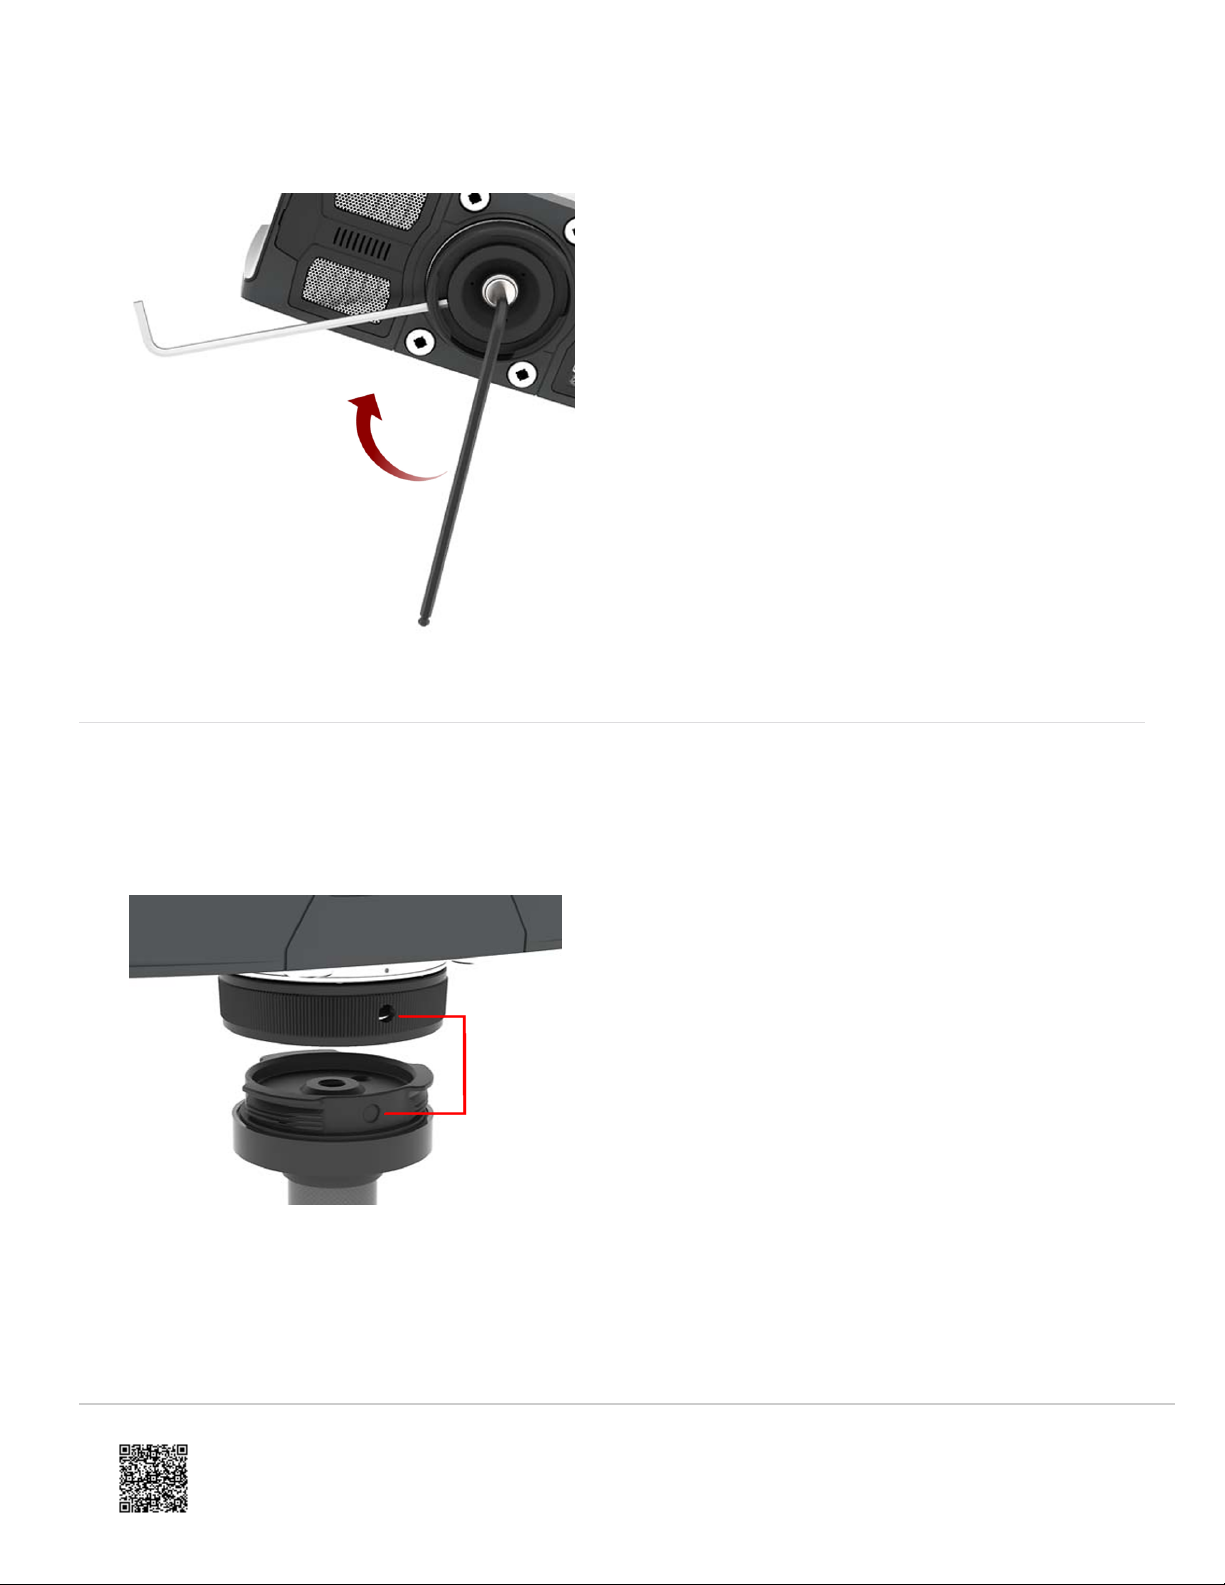
3. Insert the short end of the 3/16" black hex key into the hexagonal recess in the central 3/8" threaded screw on the
mount plate.
4. Holding the silver key firmly in the hole in the inner ring, tighten the central 3/8" screw with the black key. Do not let
the silver key have any leverage while you are tighten the central screw.
5. Check that the mount plate is securely attached to the scanner and does not move in any direction
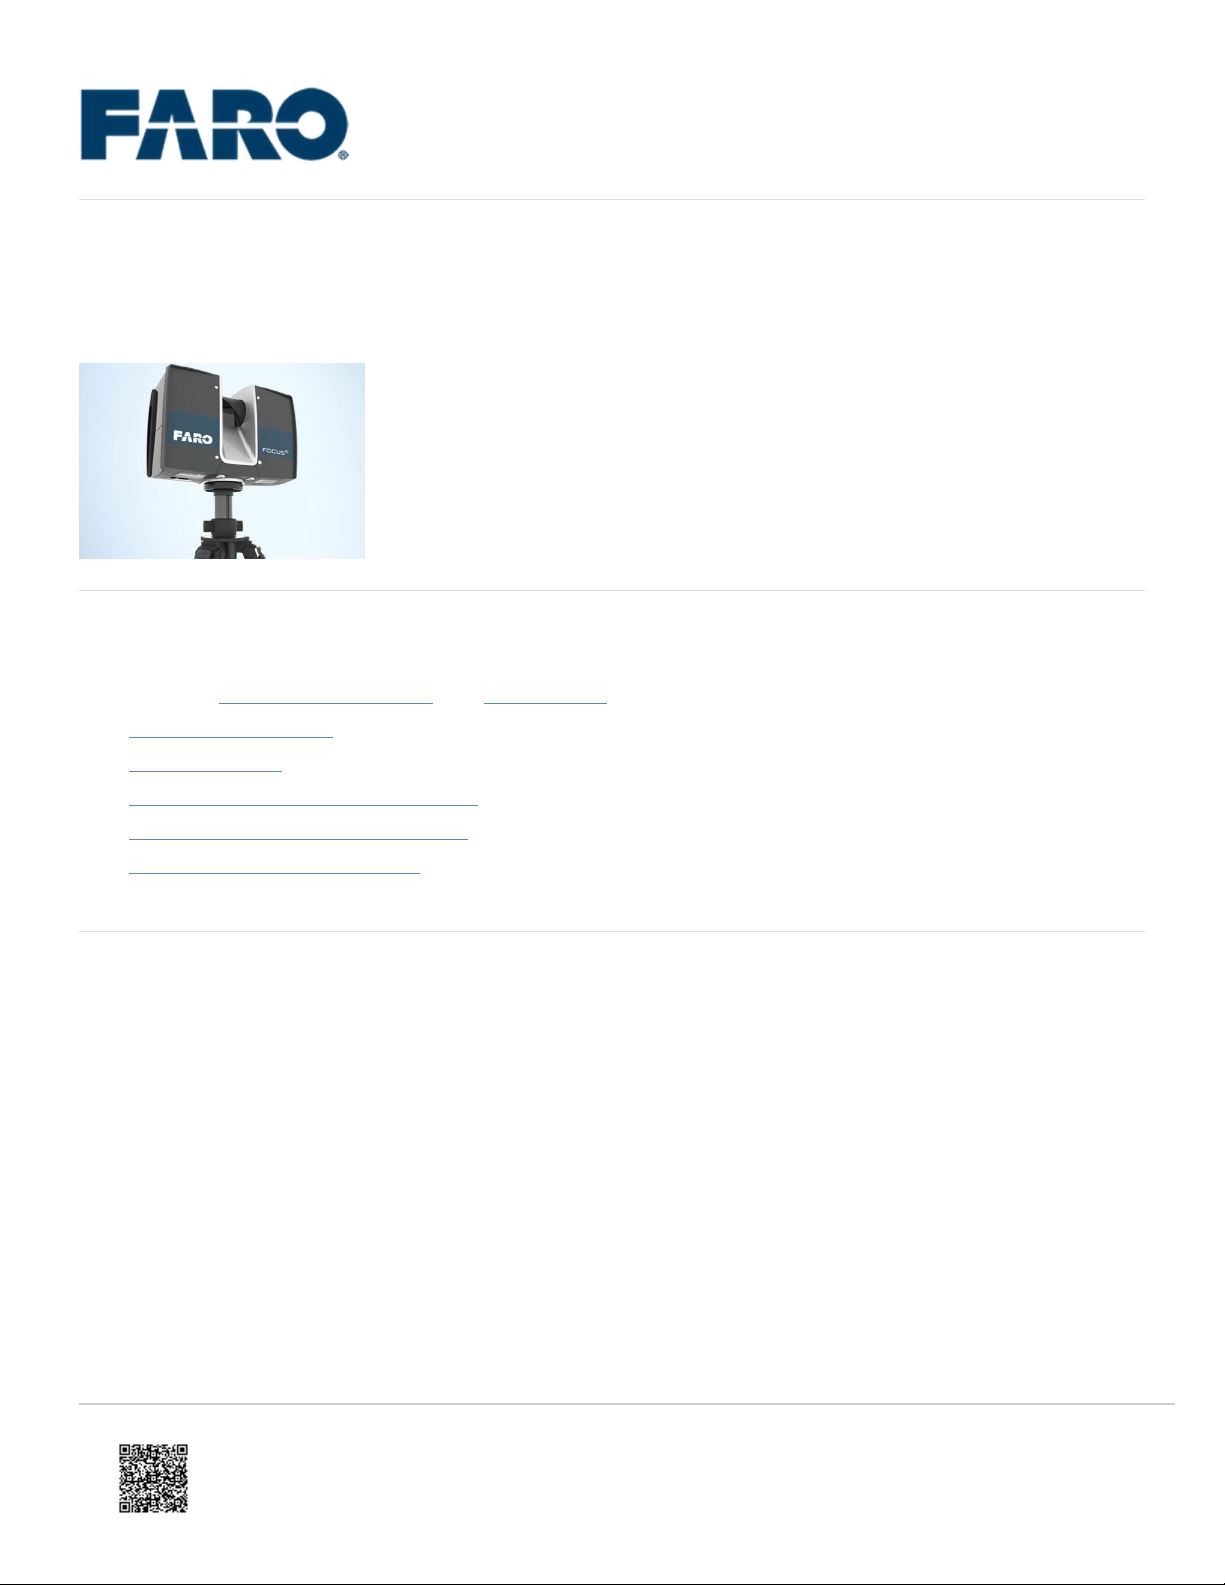
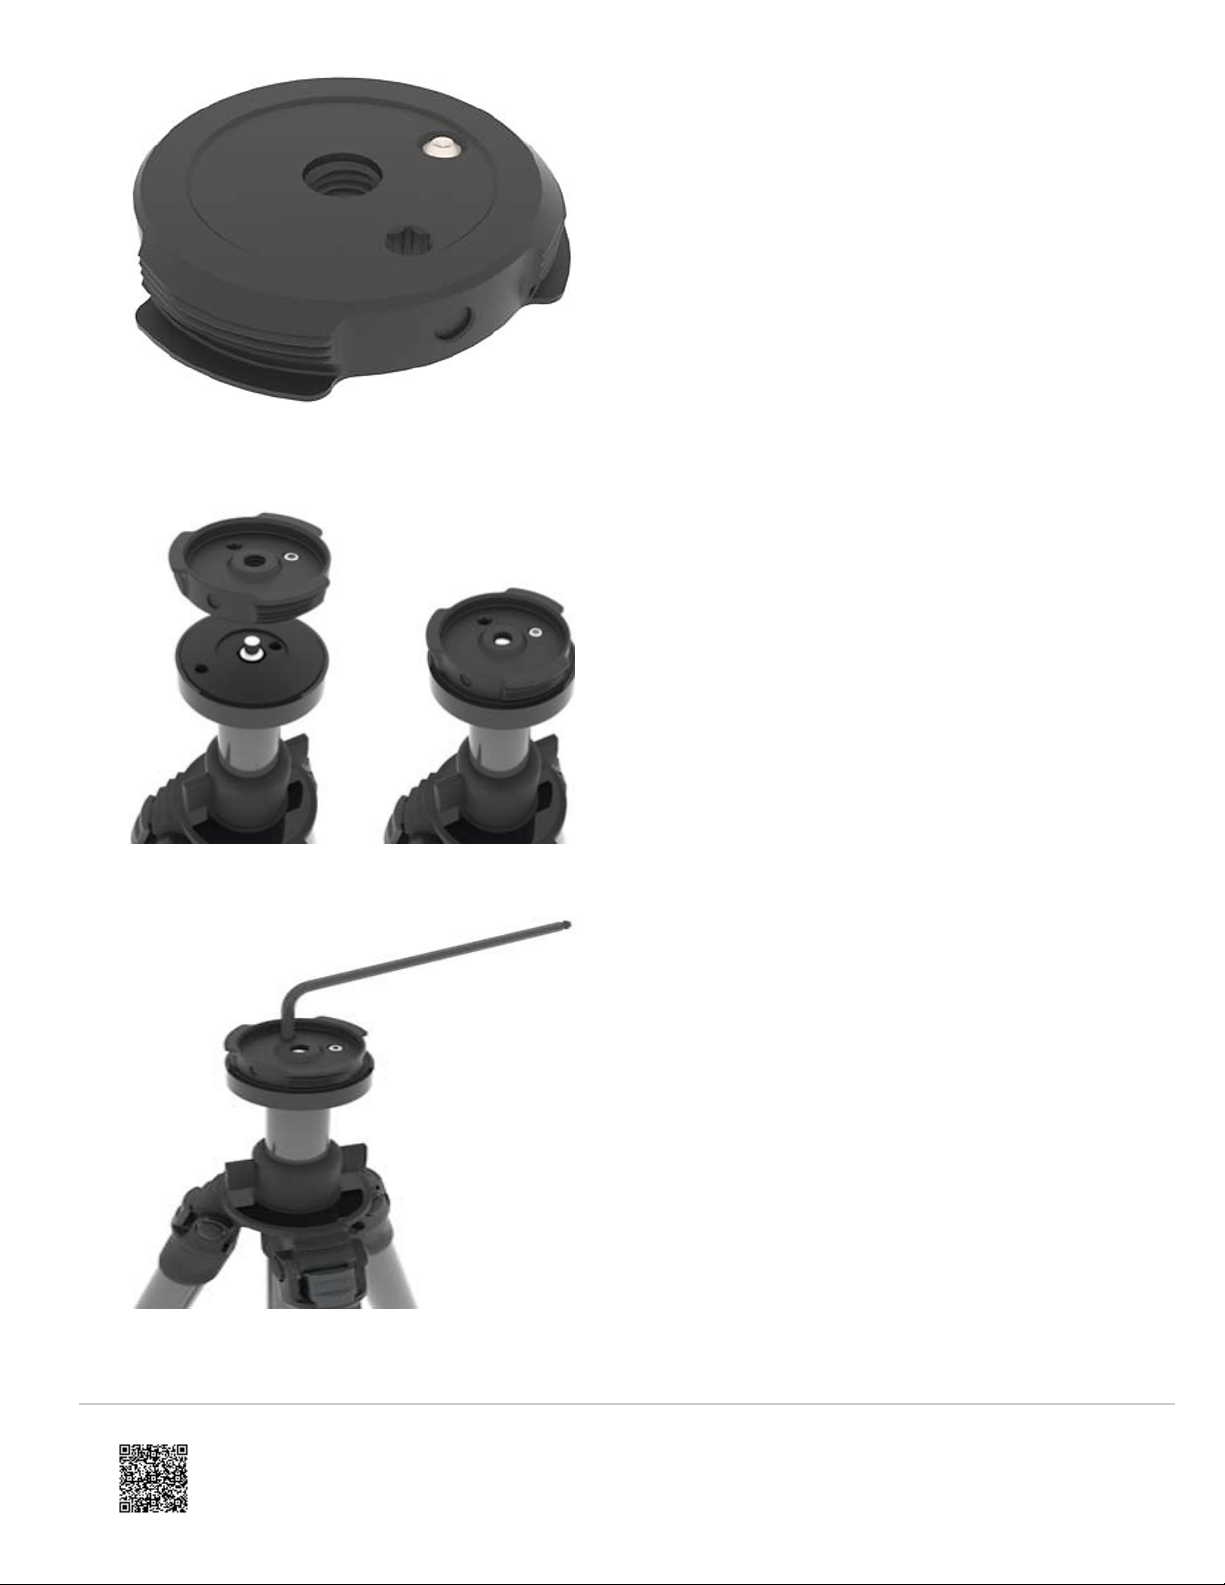
Lock the Scanner Onto the Tripod
1. Holding the scanner above the tripod, align one of the three lock holes on the scanner mount plate outer ring with
a corresponding circular indentation on the side of the tripod base plate.
2. Lower the scanner onto the base plate keeping the lock hole aligned with the corresponding circular indentation..
3. With the scanner contacting the base plate, turn the scanner to orient it relative to the location you want to scan.
4. On the scanner mount plate, rotate the outer ring until the scanner is securely locked onto the tripod.
https://knowledge.faro.com/Hardware/3D_Scanners/Focus/Tripod_Quick_Release_Mount_-ACCSS8008-_Installation_for_the…
Updated: Tue, 09 Nov 2021 02:45:07 GMT
6

5. Check that the scanner and tripod are correctly locked gently lifting up on the bottom of the scanner. If it stays
attached to the tripod the scanner is secure.
6. Check the inclinometer and adjust your tripod to make sure it is secure before you begin your scan project.
Troubleshooting
When attempting the remove the scanner from the tripod, in some instances the entire quick release assembly can
begin to rotate making it impossible to separate the two quick release halves. If this occurs:
1. Continue rotating the outer ring clockwise (to the right) until the scanner and the complete quick release assembly
is free of the tripod.
2. Set the scanner upside down on a sturdy surface. Insert the 3/16 hex key into the hex socket (A) of the base
plate (B). While firmly holding the knurled outer ring of the mount plate (C), rotate the 3/16 hex key in a counter-
clockwise direction to separate the base plate from the mount plate.
https://knowledge.faro.com/Hardware/3D_Scanners/Focus/Tripod_Quick_Release_Mount_-ACCSS8008-_Installation_for_the…
Updated: Tue, 09 Nov 2021 02:45:07 GMT
7

3. Once separated, reinstall the base plate per the steps in the above section, Attach the Base Plate to the Tripod
Platform. When reinstalling, be sure the base plate is firmly tightened to the platform of the tripod (Step3) and then
firmly tighten the set screw (Step 4).
See Also
•Heat Protection Cover and Manual for the Focus M70 and S70/S150/S350
•Focus3D Panorama Tripod Quick Release Mount Installation
Keywords
quick release adapter, setup, install, unpack, quick release appliance, quick release attachment
https://knowledge.faro.com/Hardware/3D_Scanners/Focus/Tripod_Quick_Release_Mount_-ACCSS8008-_Installation_for_the…
Updated: Tue, 09 Nov 2021 02:45:07 GMT
8
Table of contents