Faro G3 User manual
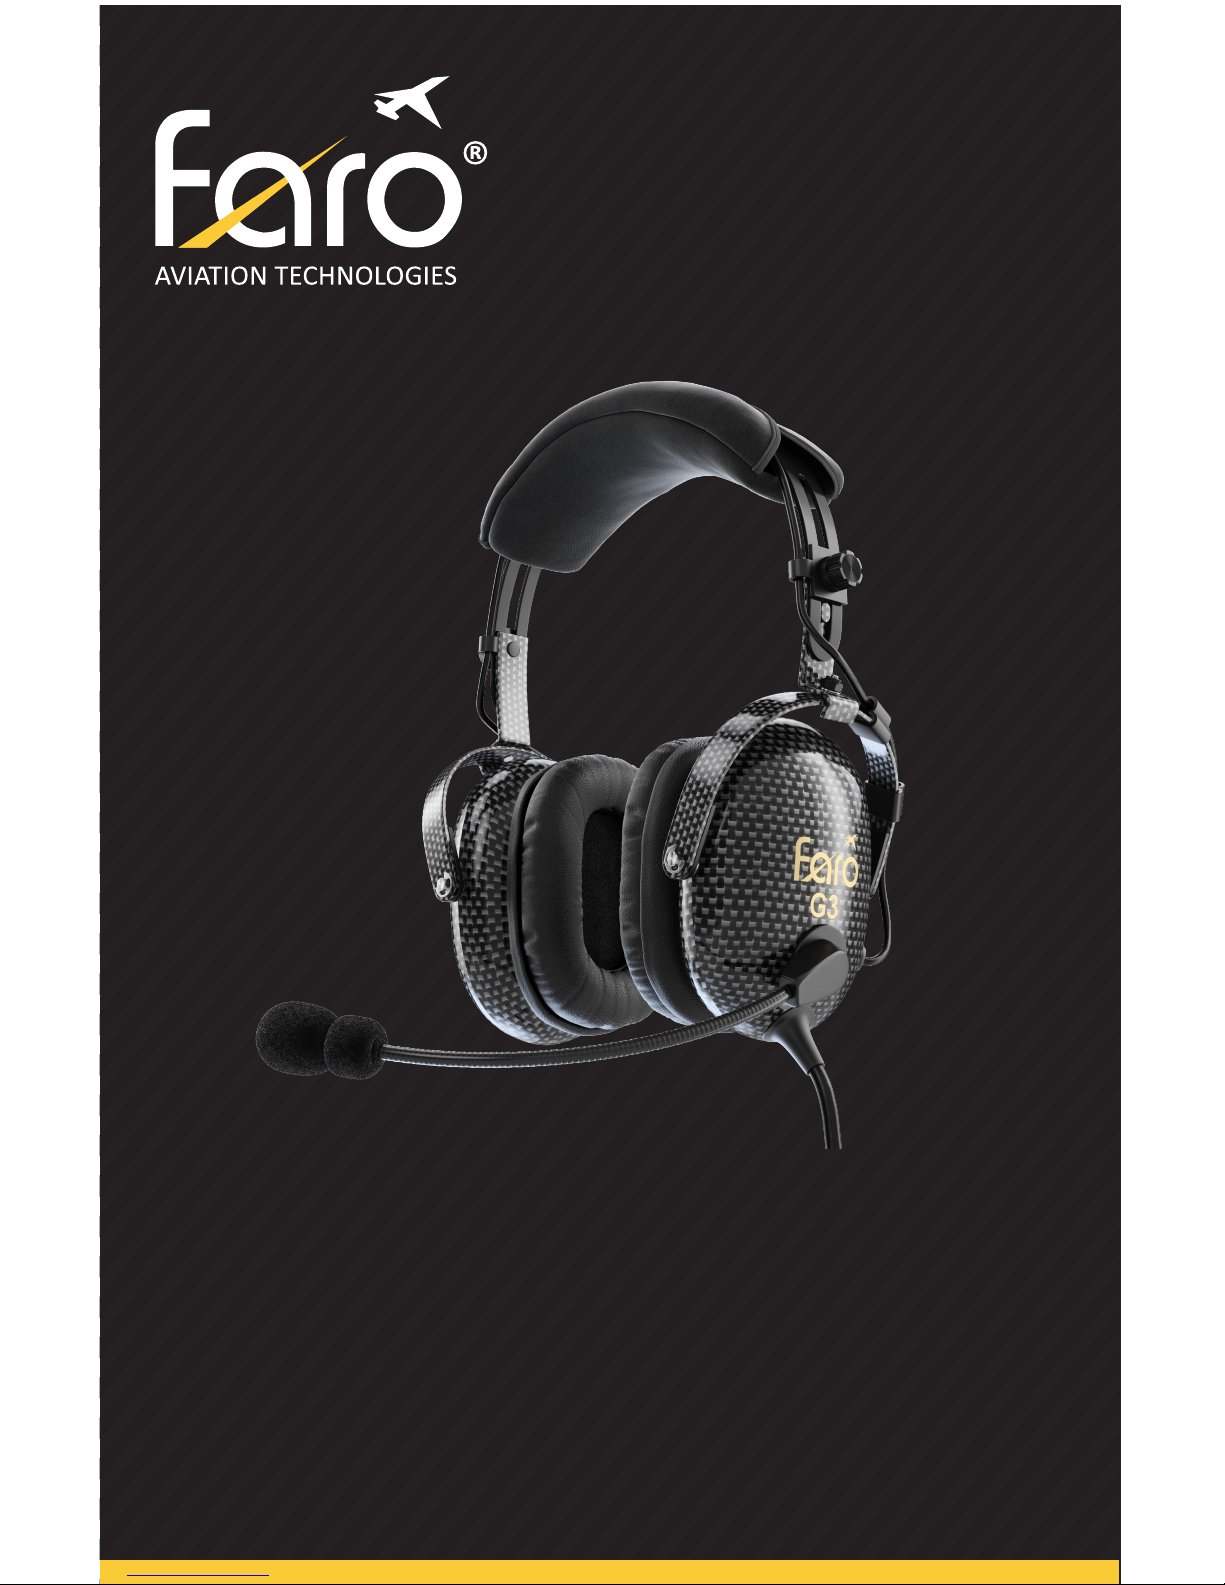
G3
CARBON FIBER
AVIATION HEADSET
User Guide

Greetings.
Congratulations on your purchase of the Faro® G3
Aviation Headset. This product has been meticulously
designed by Faro engineers in San Jose, California to bring
you years of quiet, comfortable, and enjoyable ights.
Here at Faro, we live and breathe aviation. We love pilots,
planes, and just about everything aviation has to oer.
We encourage you to visit www.FaroAviation.com where
you will nd free videos, tutorials, and articles from some
of the best ight instructors in the world.
Your headset is backed by an amazing warranty. Please
feel free to reach out to Faro for any questions and we
always appreciate your feedback.
Thank you for choosing Faro as your aviation headset.
Sincerely,
The Faro Team
2

Contents.
Getting Started
Advisories............................................................................ 4
Function Overview ............................................................. 5
Adjusting your head pad................................................... 6
Adjusting your microphone.............................................. 7
Battery Type ....................................................................... 8
Battery Life.......................................................................... 8
Battery Installation ............................................................ 9
Controller Overview........................................................... 10
Controller Reference ......................................................... 11
Using your G3
Turning it ON...................................................................... 12
Auto Shut O...................................................................... 12
Power Status....................................................................... 12
Stereo / Mono Setting ....................................................... 13
Audio Priority Switch ......................................................... 14
Bluetooth Devices.............................................................. 15
Pairing Bluetooth for the First Time ................................ 15
Turn Bluetooth ON or OFF................................................ 16
Re-connecting Bluetooth .................................................. 16
Bluetooth Features ............................................................ 17
Bluetooth Status Lights..................................................... 17
Good to know
Pro Tips ............................................................................... 18
Common Questions........................................................... 19
Common Questions (continued)...................................... 20
Technical Specications .................................................... 21
Warranty ............................................................................. 22
Product Registration.......................................................... 24
Connect with Faro.............................................................. 24
3

Getting Started.
Advisories.
Please read information in this booklet carefully and
completely before using your headset. Keep these
instructions and make them easily accessible to all other
users. Always include this booklet when giving this
headset to third parties.
In an unlikely event of a problem with your headset, it
is recommend to switch to an alternate communication
method and to use standard cockpit resource
management skills to minimize distraction.
Your aircraft sounds such as engines, propellers, warning
alarms, and other sound sources may sound dierently
when using a new headset.
When listening to an audio source via your Faro G3
headset, please limit the volume to safe levels to ensure
you are able to hear communication and warning alarms
from your aircraft.
Do not attempt to disassemble or service inside of the ear
cups or others parts of the headset. This will void your
warranty and may result in unexpected performance of
your headset.
54

Function Overview.
5

Getting Started.
Adjusting your head pad.
Adjustment for a personalized t on the G3 is simple and
easy. Proper t is important both for comfort and optimal
noise reduction.
1. Loosen the thumb
knobs on the headset
rails.
2. Place the headset on.
3. Adjust the pressure by
moving the ear cups up or down so it is completely
over your ear. It should produce an even, gentle
pressure all around each ear.
4. Tighten the thumb knobs when appropriate t is
found.
6

Adjusting your microphone.
G3 microphone can be rotated to be placed on the right
or the left side of the headset.
To adjust the
microphone placement,
rotate the microphone
from its base and bend
the exible boom.
For clear and crisp
communication, the microphone should be placed
approximately 1/8” from the lips.
7

Getting Started.
Battery Type.
Faro G3 requires two AA batteries. Use Alkaline batteries
from trusted brands for best performance. Rechargeable
batteries are discouraged because they provide uneven
voltage power which interferes with ANR.
The ANR and Bluetooth functions are powered by
battery. Your G3 headset will continue its basic
operations of hearing and transmitting without batteries.
Please do not mix old and new batteries together.
Battery Life.
A set of brand new Alkaline batteries can provide up to 40
hours of battery life. However, the exact duration
depends on the amount of noise reduction required in
your cockpit and Bluetooth usage which can reduce
battery life.
8

Battery Installation.
To open the battery compartment door, press rmly
down and out as shown in gure below.
9

Getting Started.
Controller Overview.
A. Volume Control: You can adjust the volume from
your audio panel for each ear cup independently.
B. Power Status: Flashes Green when battery supply is
strong. Flashes Amber when battery is low. Flashes
Red when battery is very low.
C. Power Button: Press and hold for one second to
turn the ANR on. Press and hold for one second to
turn o.
D. Bluetooth Status: Flashes Blue and Red when in
pairing mode. Flashes Red twice when disconnected.
Flashes Blue regularly when connected. Short Flash in
blue indicates phone line is busy.
E. Bluetooth Button: Used for connecting and phone
operation shortcuts. Please refer to page 15.
F. Bluetooth Volume Control: Used for adjusting audio
levels from your bluetooth sources.
G. Audio Priority Switch: Controls which audio gets
through.
A - Intercom priority - Bluetooth and Aux are muted
when intercom is active.
B - All audio sources are played together.
C - Intercom only - All audio from sources other than
intercom are muted.
H. Aux Input: Use the provided 3.5 mm cable to
connect your audio source.
10
Table of contents
Other Faro Headset manuals


