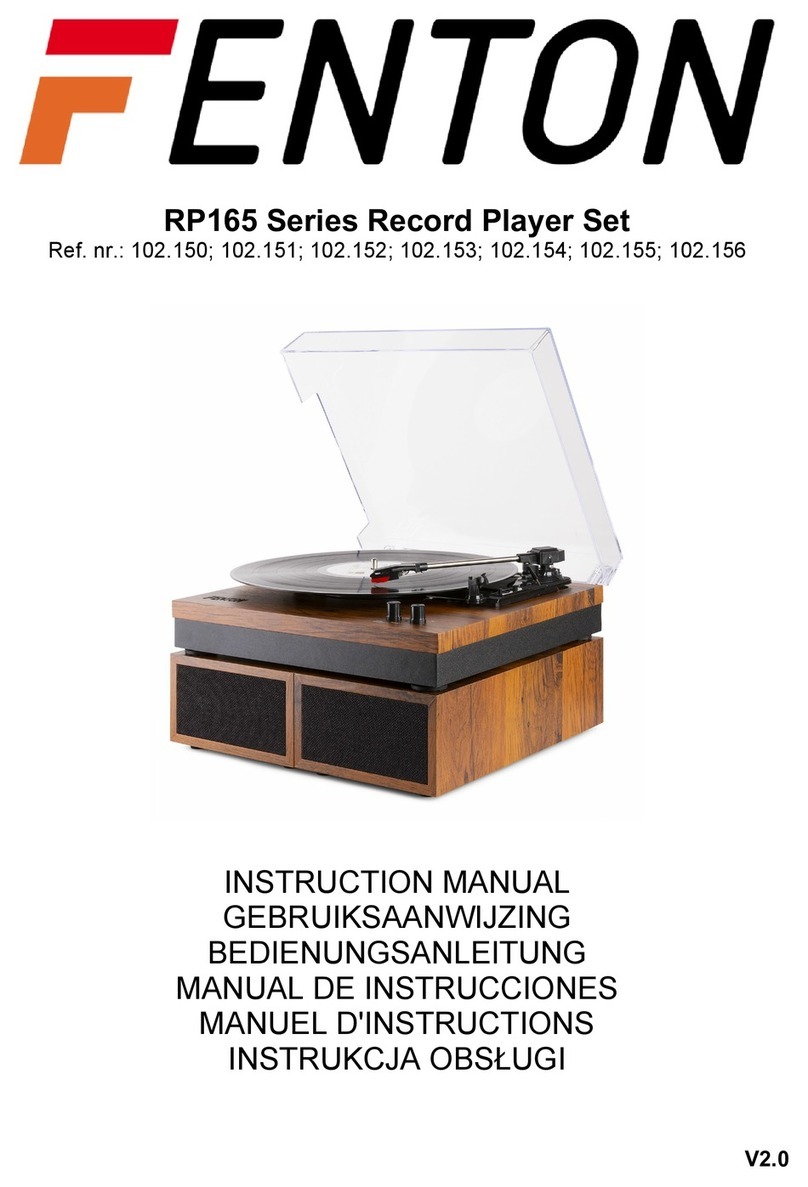
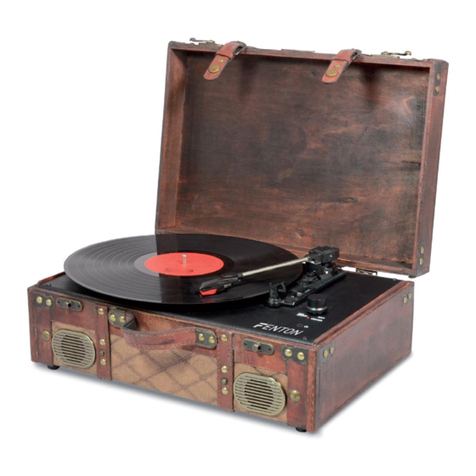
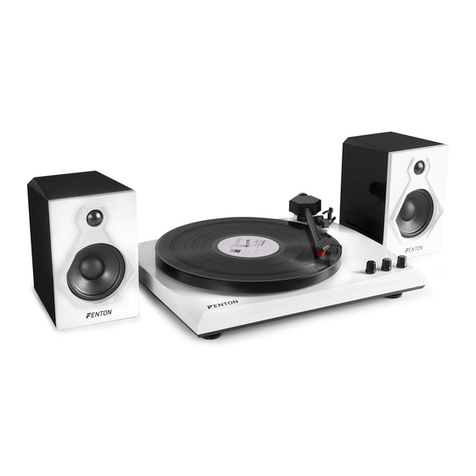
Fenton SSX22P165 User manual

1
Technical specifications
Power Source:.......................................................................................................DC 12V 2A(Power adapter)
Impedance of speakers: ..............................................................................................4Ω10W*2+4Ω15W*2
Pairing working distance:................................................................up to 10 meters measured in open space.
(Wall and structures may affect range of device)
Pairing frequency band:.................................................................................................................2.4G-2.48G
Pairing max output power:......................................................................................................................2*7W
Pairing compatible version:.........................................................................................................................5.0
FCC Statement
This equipment has been tested and found to comply with the limits for a Class B digital device, pursuant to part 15 of the FCC Rules.
These limits are designed to provide reasonable protection against harmful interference in a residential installation. This equipment
generates, uses and can radiate radio frequency energy and, if not installed and used in accordance with the instructions, may cause
harmful interference to radio communications. However, there is no guarantee that interference will not occur in a particular installation.
If this equipment does cause harmful interference to radio or television reception, which can be determined by turning the equipment
off and on, the user is encouraged to try to correct the interference by one or more of the following measures:
-- Reorient or relocate the receiving antenna.
-- Increase the separation between the equipment and receiver.
-- Connect the equipment into an outlet on a circuit different from that to which the receiver is connected.
-- Consult the dealer or an experienced radio/TV technician for help.
Changes or modifications not expressly approved by the party responsible for compliance could void the user's authority
to operate the equipment.
The distance between user and device should be no less than 20cm.
Electric and electronic equipment and included batteries contains materials, components and substances that
can be hazardous to your health and the environment, if the waste material (discarded electric and electronic
equipment and batteries) is not handled correctly.
Electric and electronic equipment and batteries is marked with the crossed on trash can symbol, seen
here.This symbol signifies that electric and electronic equipment and batteries should not be disposed of with
other household waste, but should be disposed of separately.
All cities have established collection points, where electric and electronic equipment and batteries can either
be submitted free of charge at recycling stations and other collection sites, or be collected from the
households.Additional information is available at the technical department of your city.

2
IMPORTANT SAFETY INSTRUCTIONS
This symbol indicates that
dangerous voltage
constituting a risk of
electric shock is present
within the unit.
This symbol indicates that
there are important
operating and maintenance
instructions in the literature
accompanying the unit.
1.
Read these instructions carefully.
2.
Keep these instructions for future reference.
3.
Take careful note of all warnings.
4.
Follow all instructions carefully.
5.
Do not use the unit near running water.
6.
Clean only with a damp dry cloth.
7.
Do not block any ventilation openings.
8.
Do not install near any heat sources such as radiators, heaters, or other devices that generate heat.
9.
If the provided plug does not fit into you’re A/C outlet, consult an electrician.
10.
Protect the power cord from being pulled or stretched.
11.
Only use attachments/accessories specified by themanufacturer.
12.
Unplug the unit from the A/C mains socket during lightning storms or when unused for long periods of
time.
13.
Refer all servicing to qualified service personnel. Servicing is required when the unit has
been damaged in any way, the power-supply cord or plug is damaged, liquid has been
spilled or objects have fallen into the unit, the unit has been exposed to rain or moisture, does not
operate normally, or has been dropped.
14.
To reduce the risk of fire or electric shock, do not expose the unit to rain, moisture, dripping or
splashing, and no objects filled with liquids, such as vases, must be placed on theunit.
15.
DO NOT overload wall outlets or extension cords beyond their rated capacity as this can cause an
electric shock or fire.
16.
No naked flame sources, such as lit candles,should be placed on the unit.
17.
The ventilation openings should not be blocked by covering them with items such as newspapers,
tablecloths, curtains, etc.

3
BEFORE USING THEUNIT
As the unit may become warm during operation, always leave sufficient space around the unit for
ventilation.
The voltage supplied to the unit should match the voltage as printed on the rear panel. If you are in any
doubt regarding this matter, consult an electrician.
Choose the installation location of your unit carefully. Avoid placing it in direct sunlight or close to a
source of heat. Also avoid locations subject to vibrations and excessive dust, heat, cold or moisture.
Do not place the unit on another electric device such as a TV.
Do not open the cabinet as this might result in damage to the circuitry or electrical shock. If any object
should get into the unit, contact yourdealer or service company.
When removing the power plug from the wall outlet, always pull directly on the plug, not the power
cord.
To keep the stylus pickup clean, do not touch it, and always replace with the protective cover.
Do not attempt to clean the unit with chemical solvents as this might damage the finish. Use a clean
damp dry cloth.
Keep this manual in a safe place for future reference
DO NOT MOVE THE UNIT WHILST IT IS INUSE.
During playback, the turntable rotates at high speed.
Doing so may damage the turntable mechanism or theunit.
WHEN MOVING THE UNIT
When changing the unit’s location or packing the unit for moving, be sure to pack the unit carefully and
securely.If the unit is to be packed and moved a great distance, it is also advisable to tighten the turntable
transport locking screw.
HANDLING RECORDS
Do not touch the record's grooves. Only handle records by the edges or the label. Make sure your
hands are clean. Skin oils from even clean hands can leave a residue on the record surface that will
gradually deteriorate the quality of your record.

4
Should the record become dirty, gently wipe the surface in a circular motion, using a soft anti-static
cloth.
Keep your records away from dust. Keep them in a cool, dry place.
To avoid dust and scratches, keep records in their sleeves and jackets when not in use.
Store records upright on their edges. Records stored horizontally will eventually bend and warp.
Do not expose records to direct sunlight or high humidity and temperature. Long exposure to high
temperatures will warp therecord.
Do not store your records in the trunk of your car. The temperature in a closed trunk can ruin your
collection.
Store records in an area with a stable temperature and low humidity.
GETTING STARTED
General Operation:
1.
Connected the unit to an AC power outlet as instructed below.
Ensure that the mains voltage of your home corresponds to the operating voltage of the adaptor. Your
unit is ready to be connected to a mains voltage of 12V 2A DC adaptor.
Connect the Power adapter to the A/C walloutlet.
Connect the DC connector to the “DC IN” jack on the rear of the unit.
2.
Turn the Power ON/OFF--Volume knob clockwise to power on the unit and set the volume to the desired
level.
3.
When you have finished listening to the unit, turn the Power ON/OFF--Volume knob counterclockwise
until light is off.
Amplifier Connection
Connect it to your existing speaker. Connect audio cable to the AUDIO LINE OUT sockets on the rear of the turntable.
Red plug into the Right Channel Input .
White plug into left Channel Input.

5
Playing a record
1.
For first time use, take off the protective plastic cover from the stylus as illustrated below:
2.
Unlock the Tone Arm from the holder as illustrated above.
3.
Place the Record on the center spindle.
4.
Note: If you are playing a 45 RPM Single (small size record), place the supplied 45 RPM adapter to the
center spindle then place the record on it.
5.
Slide the speed selector to 33 45 or 78 to match the play speed of the record.
6.
Set the auto stop control to ON if you want the turntable to stop turning when it has reached the
end of the record. If the switch is set to OFF , the turntable will continue turning at the end of the
record.
7.
Turn on the Power Switch to on position, which will go to the PHONO mode position automatically,
the
switch also controls the volume.
8.
Raise the Lever to raise the Tone Arm then move it to the top of the desired location of the record.
Release the Lever to put the Tone Arm onto the record. Playing will start automatically.
9.
When the record has stopped playing, the turntable will stop automatically if the Auto stop switch is in
the ‘ON’ position. If the Auto stop switch is set to the “OFF’ position, the turntable will continue
turning at the end of the record.
10.
Raise the Lever to raise the Tone Arm then put it back to the Tone Arm Holder position .
Release the Lever then lock the Tone Arm on the Holder.
BT pairing
Ensure Tone Arm is locked in Tone Arm holder.
Turn on the Power Switch, it will automatically enter BT mode. Blue light is pairing mode and red light
is record player mode.
On your phone or other device, scan for “SSX22P165”. (See your device’s instruction manual for
scanning instructions if you are not familiar with pairing). Select “SSX22P165”from the list when it
appears on your device screen.

6
If pairing is successful, you will hear the connection tone from the record player. Now you can play
music from your device.
Adjust volume control on the record player and your device to find desired level.
Your device should automatically pair to record player in future. To connect a different device, first
unpair your paired device, then repeat these instructions.
Aux in function
(lift up the tone arm and put it on the Tone Arm Holder
position)
Turn on the Power Switch , and Insert aux in cable
(not supplied) to Aux in jack it has entered into Aux
in mode.
The other side of aux in cable connect your devise,
then you can enjoy the music.
Adjust volume by volume control .
Note: The buttons
or
is useless when Aux
in mode. You can
adjust the tracks by your devise.
MAINTENANCE
How to replace the stylus
The stylus should last about 500 hours under normal use. However, it is recommended that the stylus be
replaced as soon as you notice a change in the sound quality

7
Caution:
Do not remove or bend the stylus.
To avoid injury, do not touch theneedle.
Turn off the unit's power before you replace thestylus.
Keep out of the reach of children.
Handle with care, as the stylus is delicate. Use of a bent or broken stylus may damage the record
and cause the turntable stylus to malfunction.
Do not expose stylus to extreme heat.
Contact a qualified repair company if you experience difficulty in changing the stylus
ITEMS INCLUDED
1xTurntabe player
2x Satellite speaker
1 x User’s Manual
1 x AC/DC Adaptor (Input: AC 100-240V~; 50/60 Hz; Output: DC
12V,2A, ) 1 x 45 RPM Adaptor
Table of contents
Other Fenton Turntable manuals

Fenton
Fenton RP145 User manual

Fenton
Fenton RP135 User manual

Fenton
Fenton RP112 Series User manual

Fenton
Fenton RP180 Series User manual

Fenton
Fenton 102.157 User manual

Fenton
Fenton RP106 Series User manual

Fenton
Fenton 102.124 User manual

Fenton
Fenton 102.156 User manual

Fenton
Fenton RP155 Series User manual

Fenton
Fenton RP168 Series User manual

Fenton
Fenton RP102 Series User manual

Fenton
Fenton RP135W User manual

Fenton
Fenton RP161 User manual

Fenton
Fenton RP165 Series User manual

Fenton
Fenton RP162 User manual

Fenton
Fenton RP162LED User manual

Fenton
Fenton RP105 User manual

Fenton
Fenton 102.106 User manual

Fenton
Fenton RP110 User manual

Fenton
Fenton RP125 User manual