Go to fetco.com for the latest versions of all information Page 7User Guide & Operator instructions MBS-1221 P202Re0August 2021
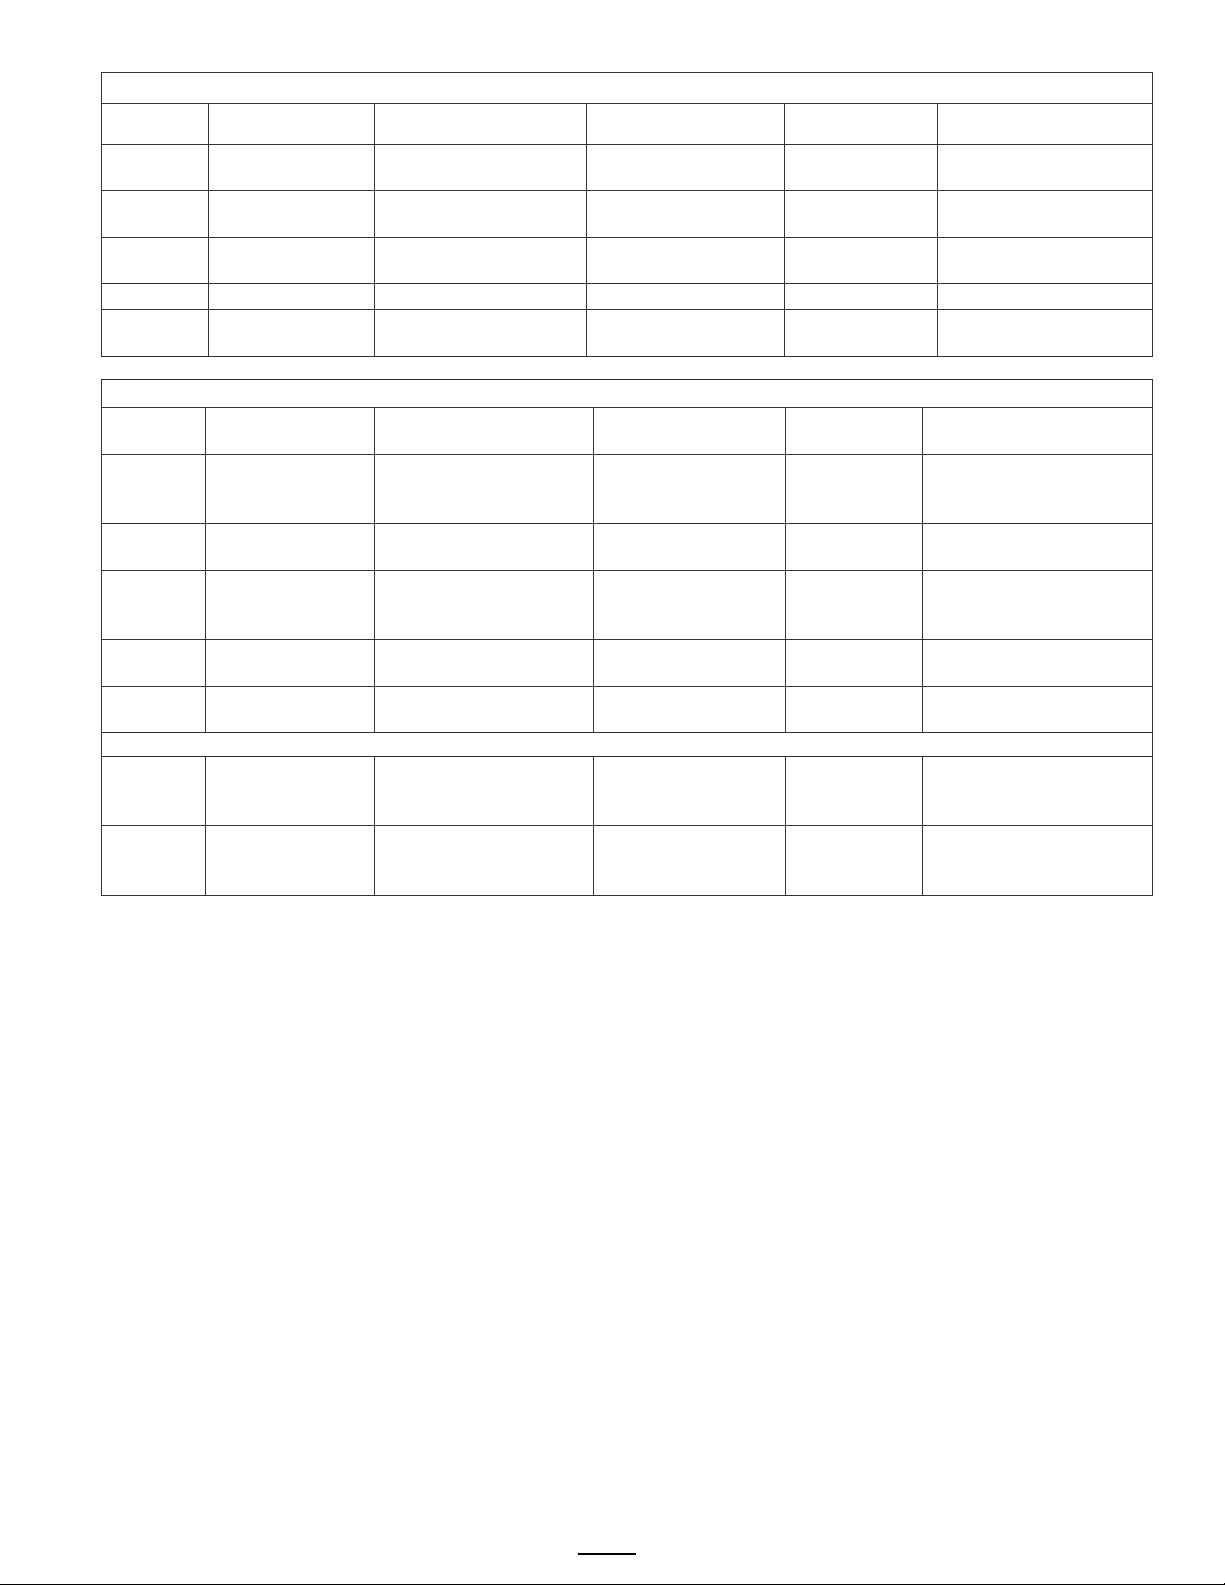
Brewer Operation Control Settings, Adjust Brew Flow Rate
POSITION Program Items Factory set Default Programming Range
Increments Notes
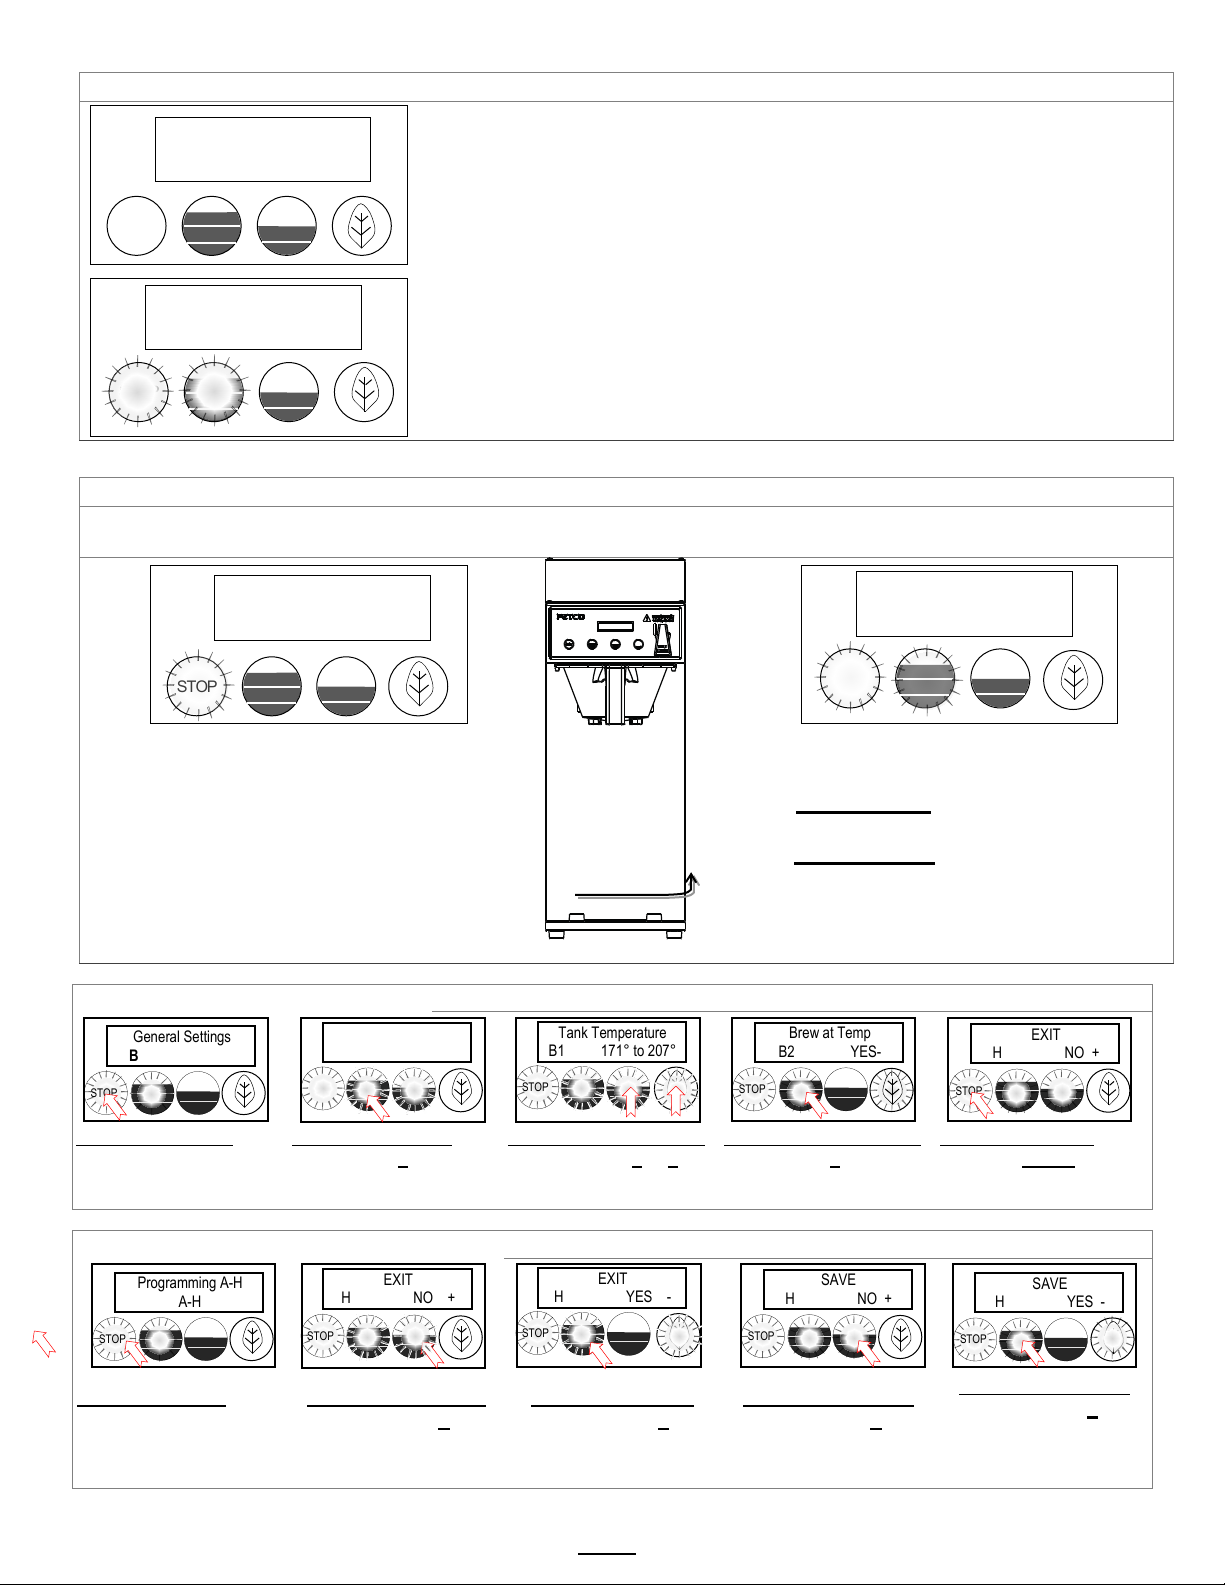
B1 Tank Temp.
NOTE:
Units are Celsius by
170° to 207°F
77° to 97°C
1.0°F
0.5°C
Chart to correct for high
altitude below
B4
YES YES/NO
To display HW tank
temperature on screen
B5
Units of Measure
TEMPERATURE
° Fahrenheit Fahrenheit/Celsius C/F
NOTE: Overwrites user
settings (see page 9)
B6
L LITERS Liters/Gals/Ounces L/Gal/Oz
NOTE: Overwrites user
settings
(see page 9)
B7 Customer Name Off NO or YES For name on screen
B7 Customer Name (only if above is “ON)
A-Z;a-z;0-9 16 characters total
B9 Demo Mode OFF DEMO ON/OFF
Demonstrates the controls for
training. Disables all
B10 Eco Mode Off ON/OFF YES/NO
If Selected: Lowers hot water
tank temperature after preset
B11 Eco Idle Time
(turns on if B10 active) 1Hr 1-6 hours 1 hour Time of inactivity to go into
ECO Mode
B12 Eco Idle Temp
(turns on if B10 active) 169°F 158-176°F 1 degree Temperature that hot water
tank is lowered to
B13 Filter Life OFF ON/OFF YES/NO
Water filter life is accessed in
G-Counters. This is user set
and will display indicator to
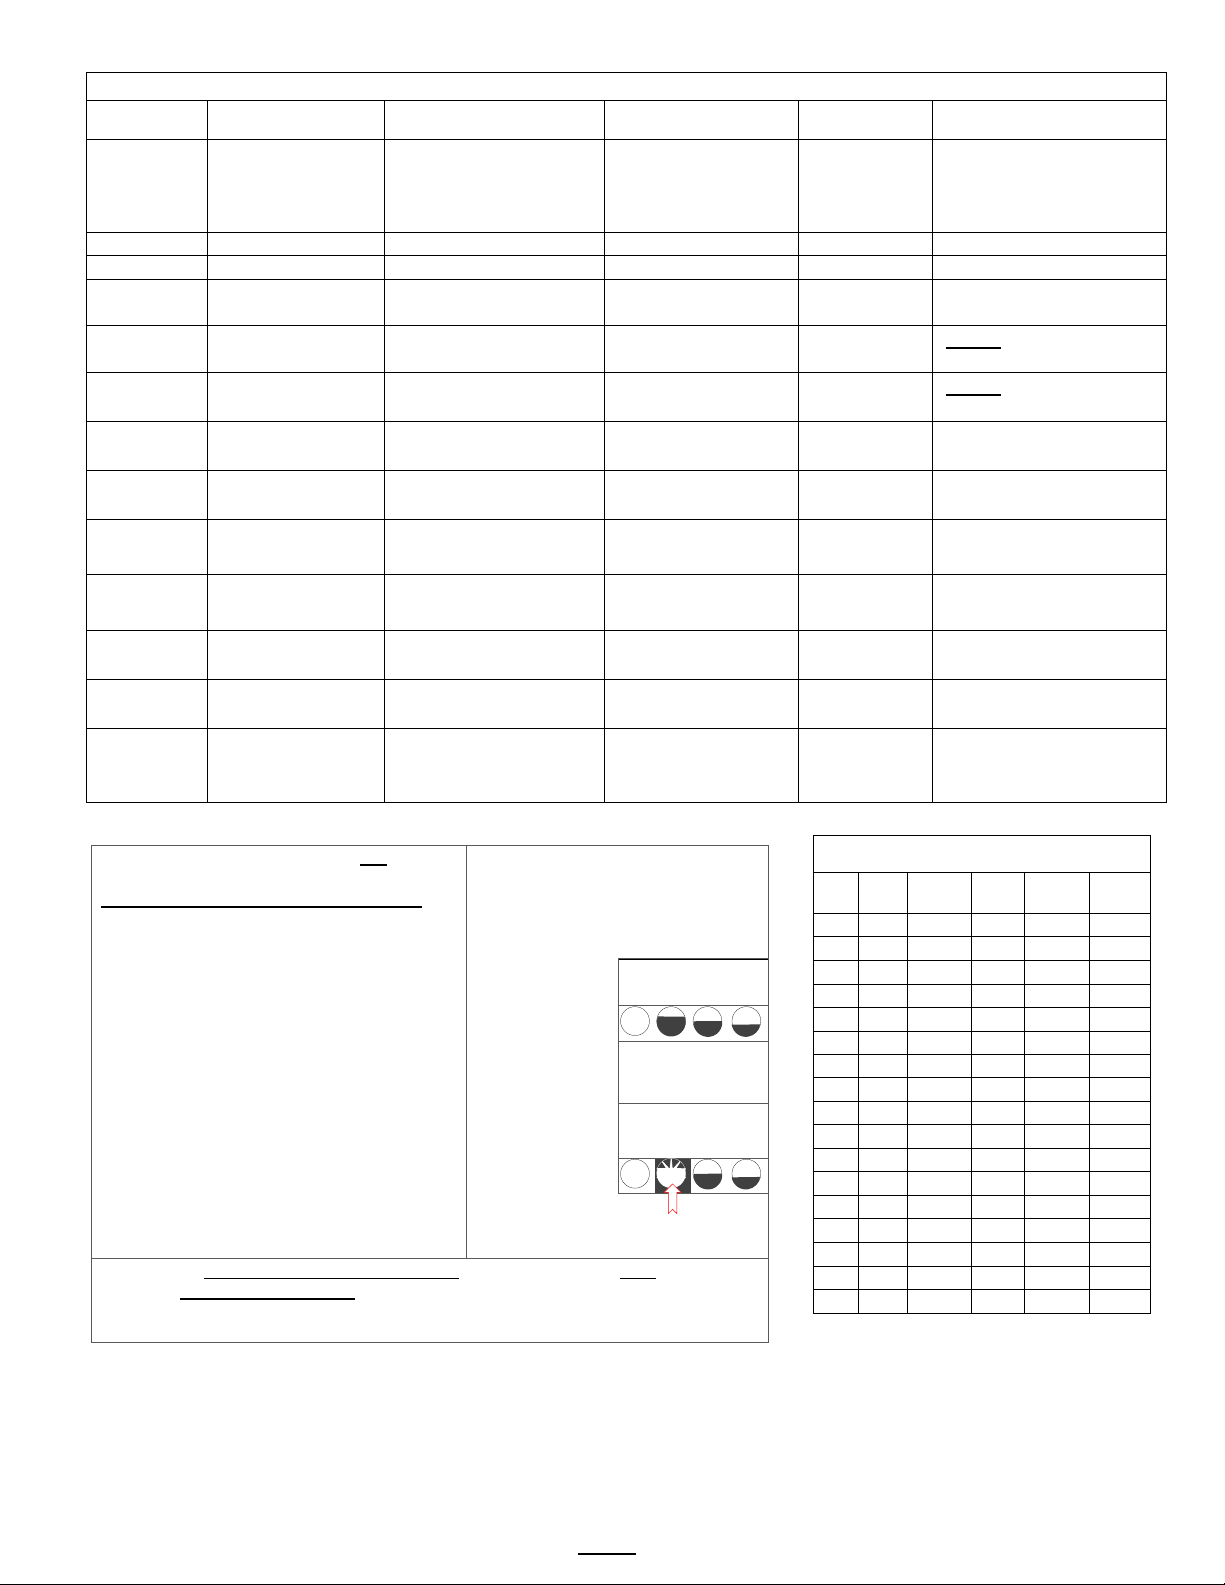
BREW AT TEMPERATURE DEFINITIONS
DEFAULT: BREW AT TEMP: “ON”
(FACTORY DEFAULT FOR BREWER)
“BREW at TEMP:
-Batch will not start if tank temperature
is below set point.
-Display will show “HEATING”
and hot water tank temperature
The “BREW START” entry buttons will not
illuminate until the hot water tank reaches the
selected temperature.
Notifications shown on screen:
TEXT: HEATINGTank above 87°C/189°F-
will allow brew at low temperature.
Extracted tea flavor may be affected
TEXT: L. HEATTank above 76°C/169°F-
will allow brew at low temperature.
Tea flavor will be noticeably affected
Tank temp
STOP is not lit
& BREW START
buttons not lit.
and are disabled.
Batch menu
button(s ) will
illuminate and
“READY”
on screen when hot
water tank
temperature is at
brew temp setpoint.
FETCO
Ready to Brew
USER SELECTABLE OPTION: BREW AT TEMP: OFF
(Not recommended) Unit will operate at reduced temperature
Allows brewing at any temperature above 169°F/76°C
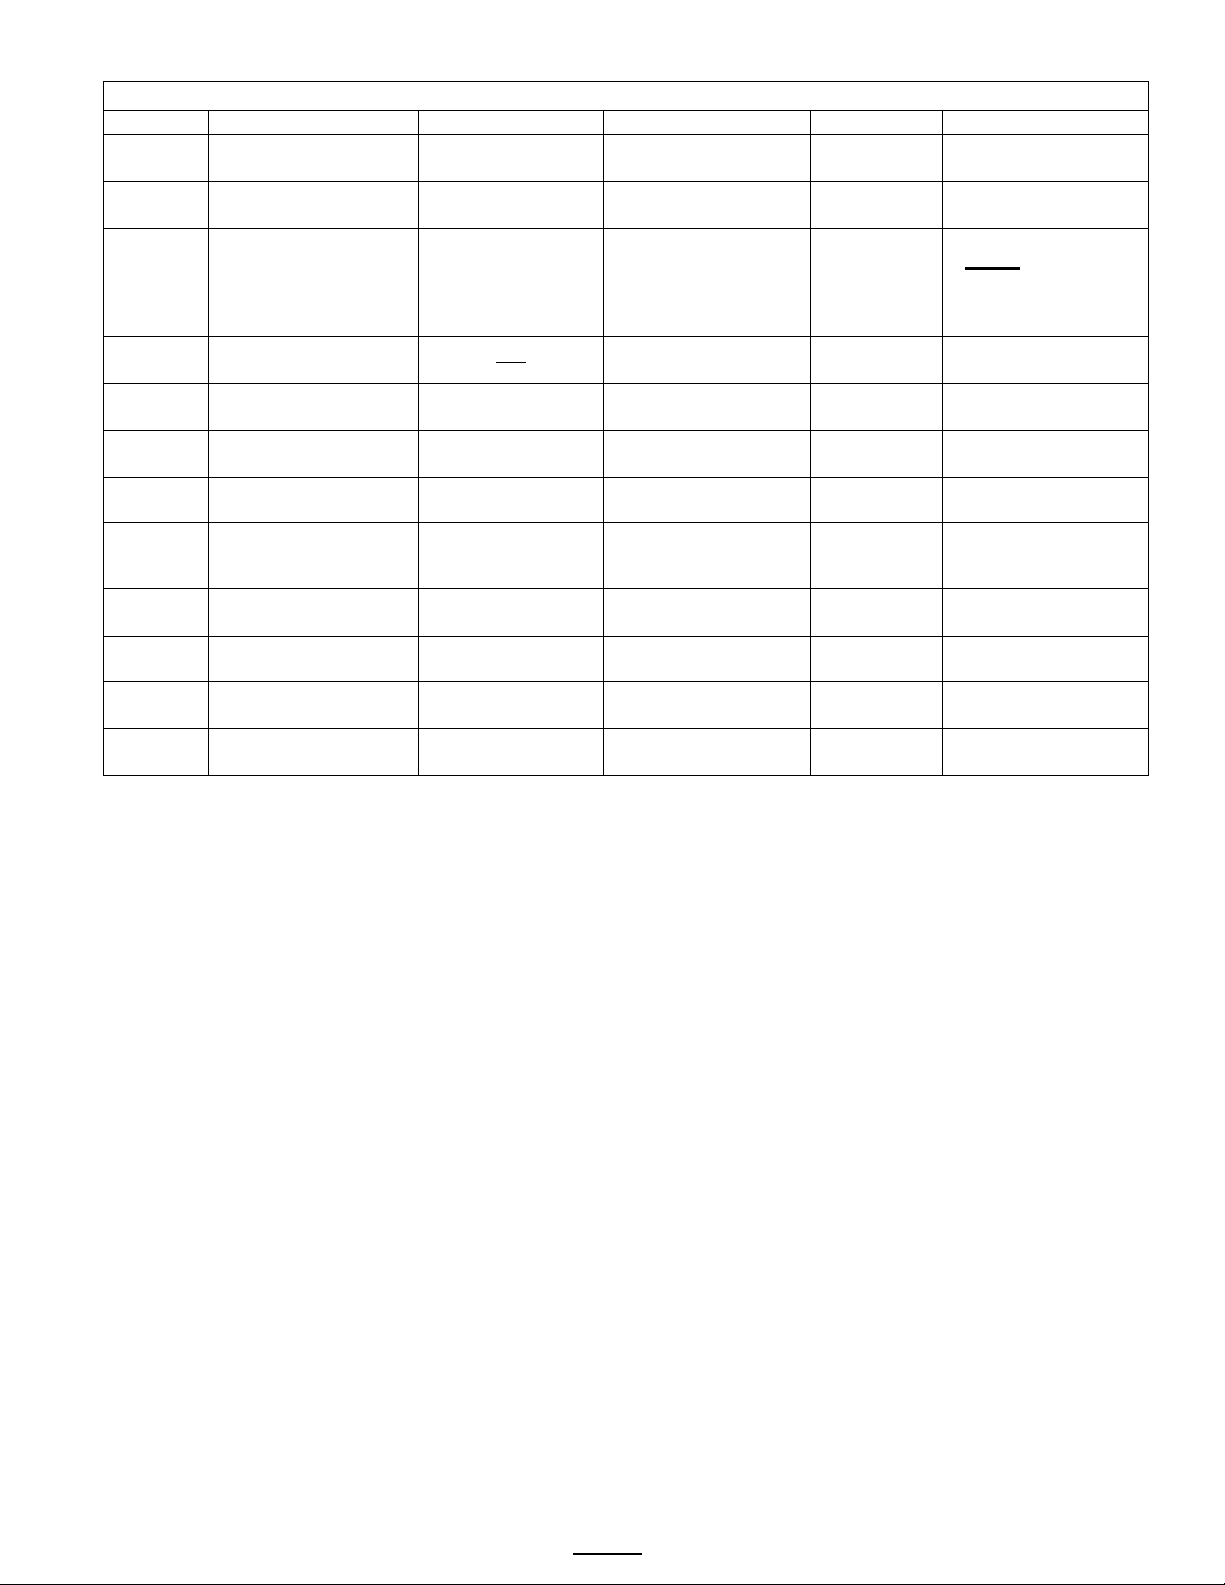
Chart to correct for altitude for boiling point
in tank water temperature.
[ft] [m] Suggested
Setting[°F]
Boiling
point[°F]
Suggested
Setting[°C]
Boiling
point [°C]