10 11
MP3
PREVIOUS NEXT
METRONOME
ARR ON /OFF ARR MODE
EQ & FX
TOUCH CURVES
DUAL
SPLIT
EXIT
TEMPO TRANS ARR HARMO PLAY
TEMPO TRANS ARR HARMO REC
SOUNDS RHYTHMS
DRUMS START / STOP VARIATION CRYSTAL FUNCTIONS
MAGIC
ON / OFF
VOLUME
Demos
String Ensemble
Synths
Pads
Guitars
Vibraphone
Acoustic Pianos Electric Pianos Harpsichords Organs Accordion
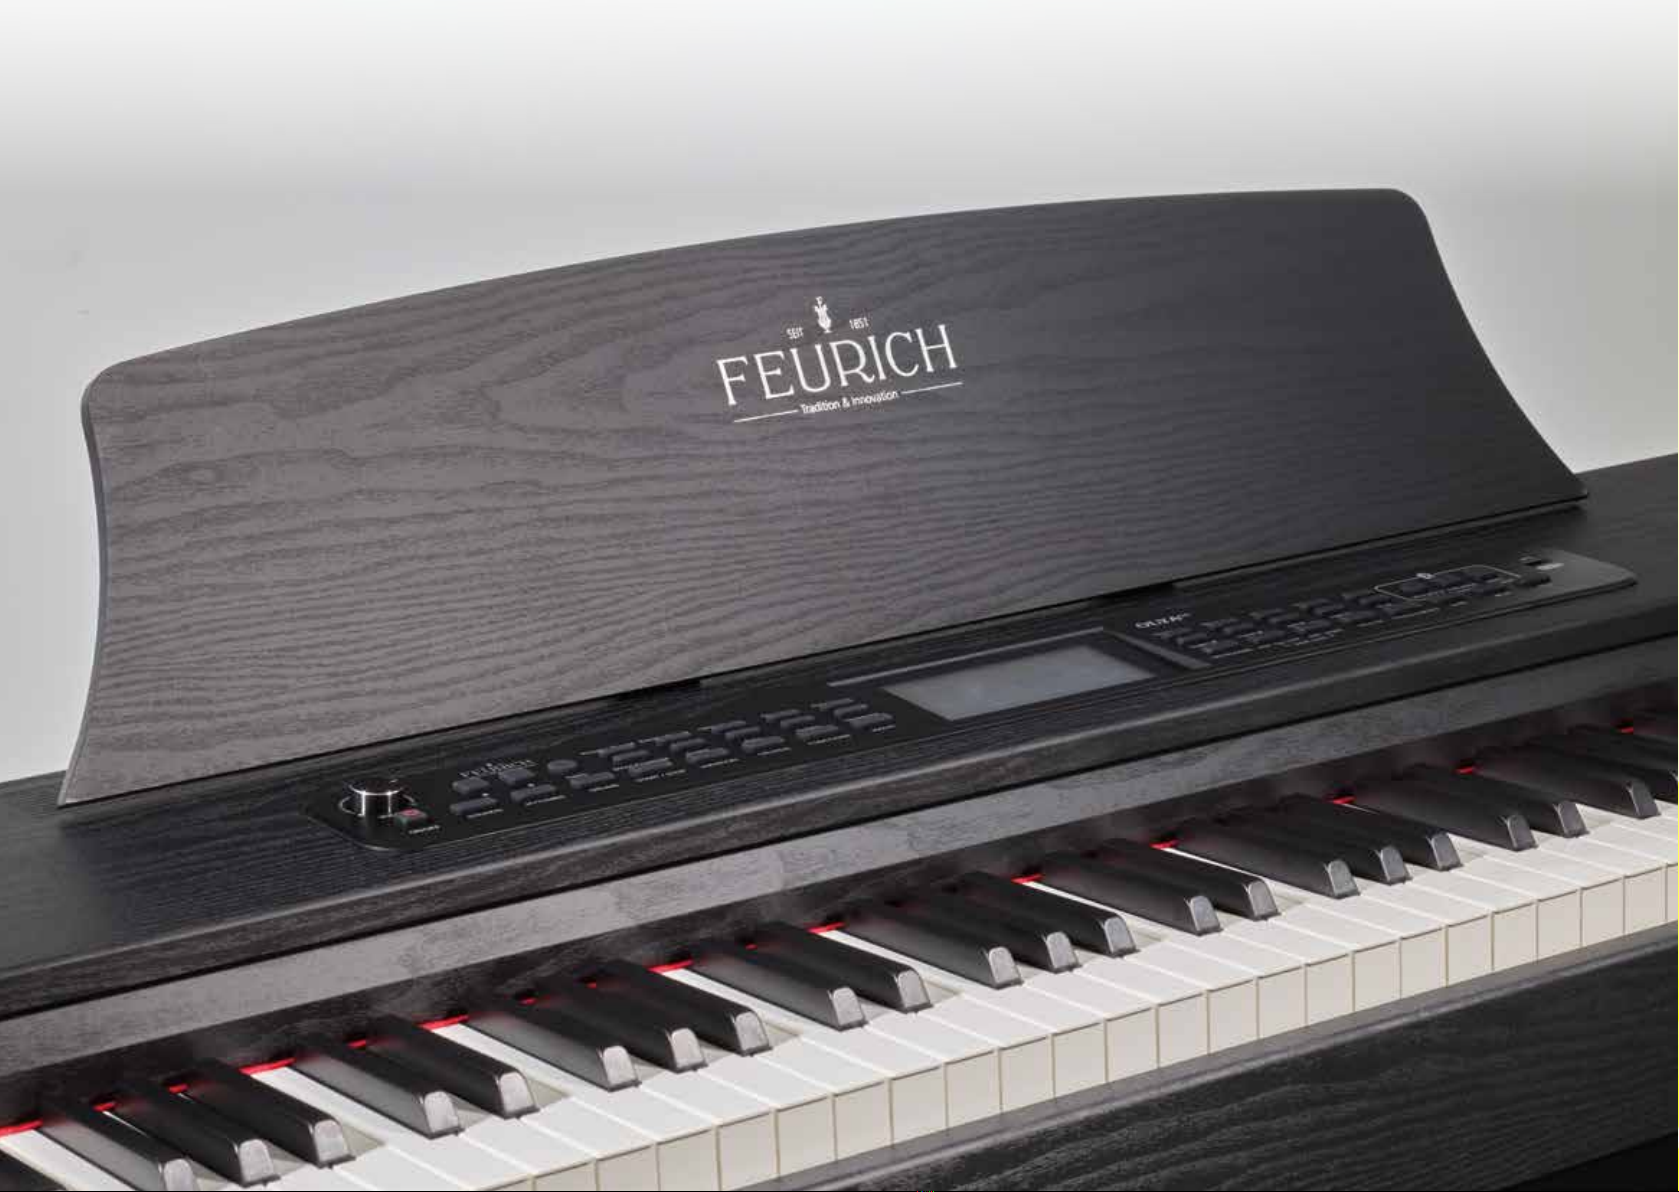
Front panel diagram
SAVE DATA
MP3
PREVIOUS NEXT
METRONOME
ARR ON /OFF ARR MODE
EQ & FX
TOUCH CURVES
DUAL
SPLIT
EXIT
TEMPO TRANS ARR HARMO PLAY
TEMPO TRANS ARR HARMO REC
SOUNDS RHYTHMS
DRUMS START / STOP VARIATION CRYSTAL FUNCTIONS
MAGIC
ON / OFF
VOLUME
Demos
String Ensemble
Synths
Pads
Guitars
Vibraphone
Acoustic Pianos Electric Pianos Harpsichords Organs Accordion
Front panel diagram
SAVE DATA
How do I switch on Bluetooth?
Press „MP3 PLAY/STOP“ for one second. You can now pair your phone with the
piano and use the OLYA as a Bluetooth speaker.
Can I connect Bluetooth headphones?
No, you can’t connect Bluetooth headphones, because Bluetooth can be subject to
delays which would cause latency when you play the piano. But you can connect your
headphones using the 6.35 mm jack socket under the piano to the left (two sockets
available), or on the back.
Can I connect a USB memory stick to play MP3s?
Yes, you just have to activate the interface rst by pressing „MP3 PLAY/STOP“
for one second and then insert the memory stick.
NOTE: your MP3 les must be saved in the memory stick’s root folder.
Don’t save them in other folders or subfolders, otherwise the piano won’t
read them.
How do you choose a sound?
You can choose from 20 selected sounds using the control panel. EXAMPLE: press
Accordion to play with a Cavagnolo accordion sound. Press it again to select another
accordion sound.
When you switch the piano on, the default sound is acoustic piano. You can return to
that setting at any time by pressing the „EXIT“ button (on the right side of the control
panel) without having to switch the piano off.
How do I switch on the drum machine?
Press „START/STOP“, tap „RHYTHMS“, then press „+“ and „–“ to scroll through 100
different rhythms.
How do I play with full orchestration?
Press „START/STOP“ to start the drum machine, then press „ARR ON/OFF“
(accompaniment on/off). Use the „ARR MODE“ (accompaniment mode) button to
choose whether you prefer to form chords using one nger or at least three ngers.
How can I layer 2 sounds?
Select a sound, press „DUAL“, then select another sound.
How can I see which note I’m playing?
When you play a note on the piano, it appears on the keyboard on the LCD in the
middle of the control panel. When looking at the display from your piano stool, lean
forward a little to get a better view of the screen.
SIMPLIFIED OPERATING INSTRUCTIONS