FieldLogix GPS Device User manual

1
Copyright © 2010 FieldLogix 888-803-0200
support@fieldtechnologies.com
GPS Device Installation Instructions
You will need the following tools:
•
Crimp ring terminal •
Electrical Tape •
Silicone Glue
•
Soldering tool and solder
•
Voltage Meter
•
Zip Ties
•
Torque Seal •
Wire strippers •
Wire crimpers
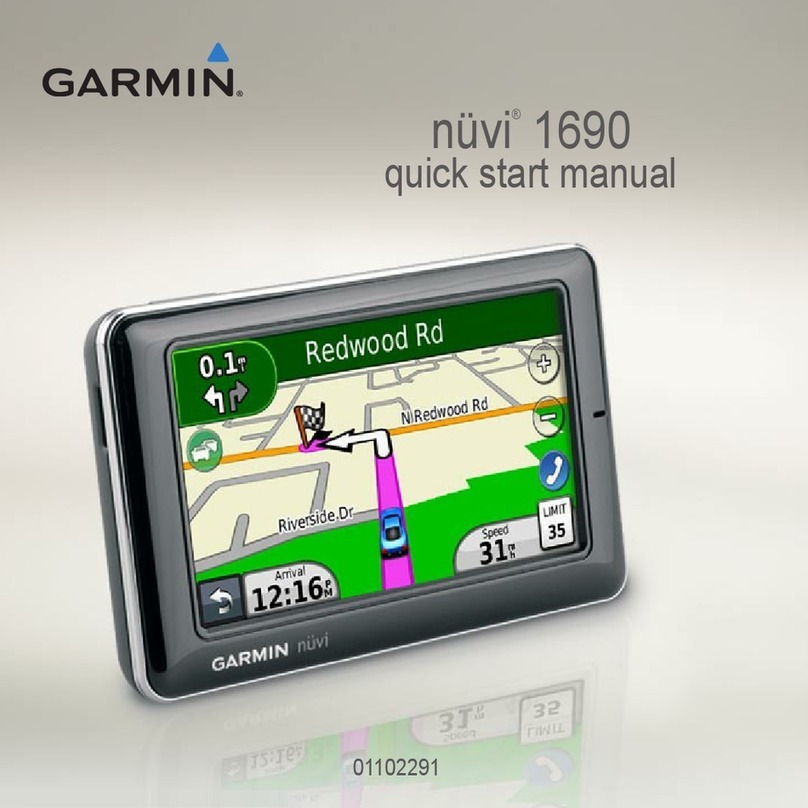
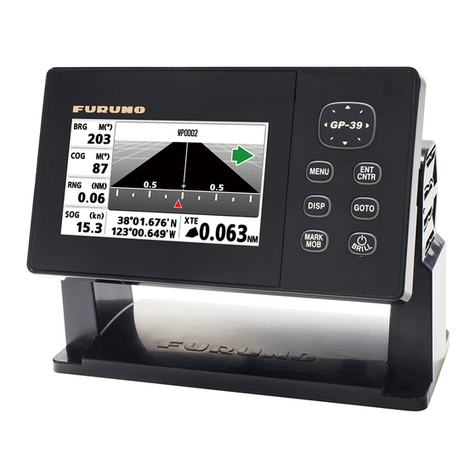
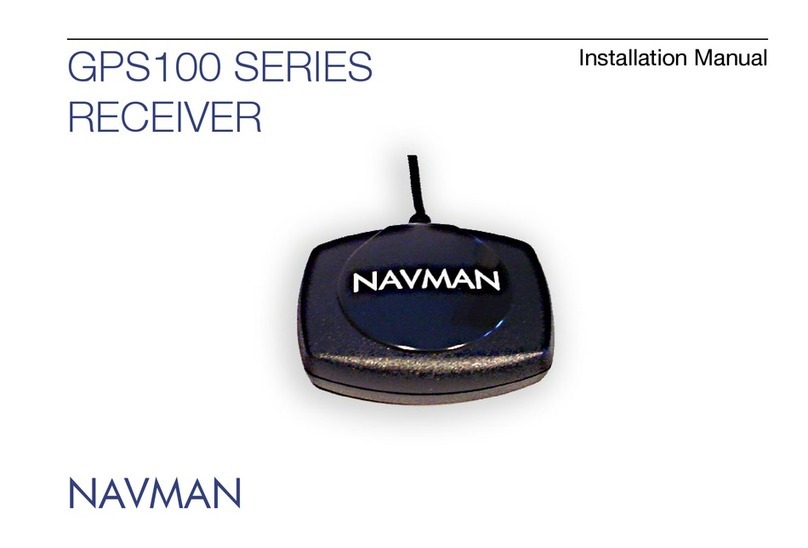
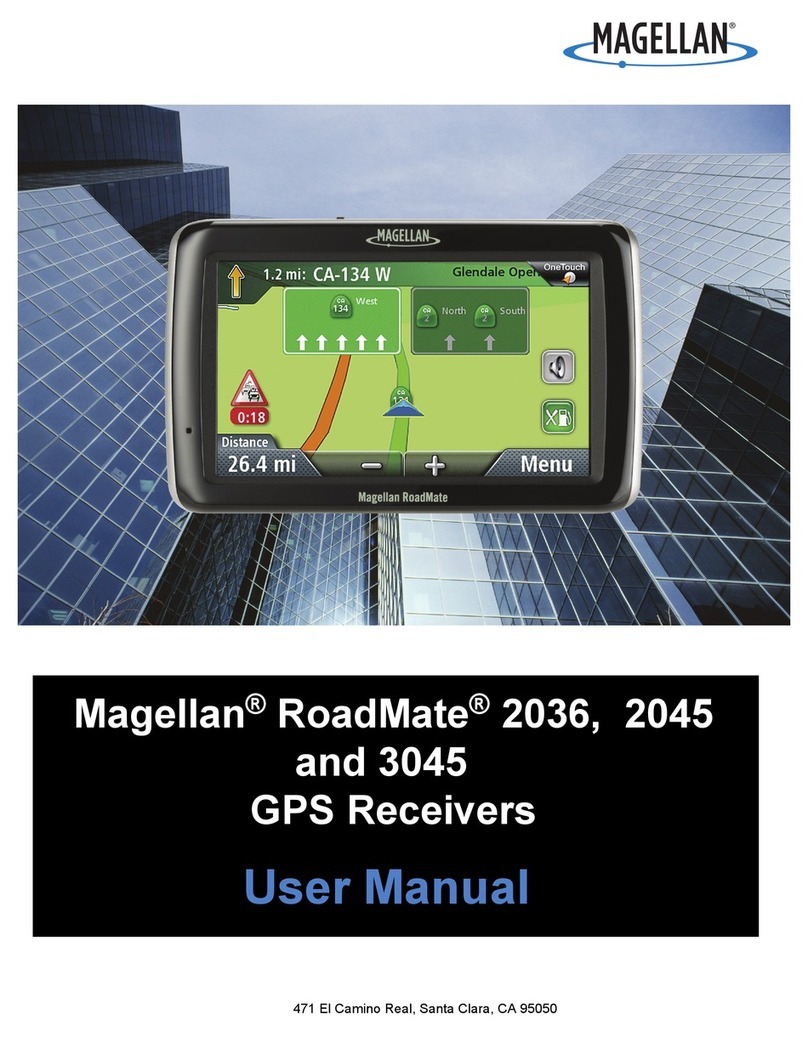
There are 4 components to the GPS device:
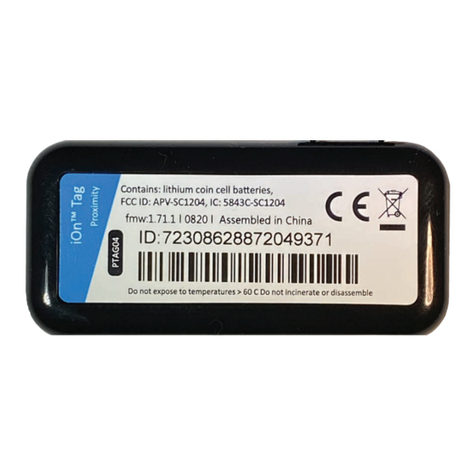
A. GPS
Antenna
B. Power
Harness
C. GPS
Device
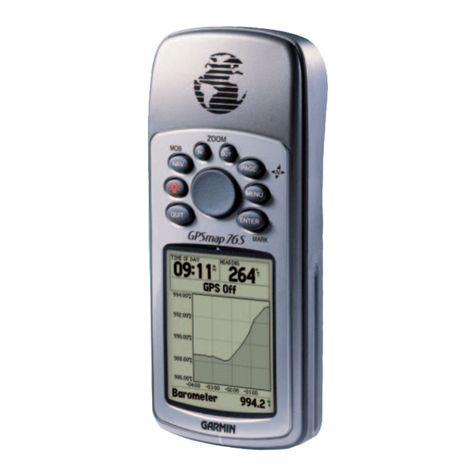
D. Navigation
Device
The above components must be installed in the following order:
A. GPS / Cell combo antenna
B. Power harness
C. GPS device
D. Garmin Navigation Device
Table of Contents
Item
Page
GPS / Cell Combo Antenna Installation Procedure 2
Power Harness Installation Procedure 3
GPS Device Installation Procedure 5
Device Testing & Troubleshooting Procedure 6

2
Copyright © 2010 FieldLogix 888-803-0200
support@fieldtechnologies.com
A. Installing the Combo GPS / Cellular Antenna
Mount the antenna in the specified location (see below) and run the antenna leads to the
planned location of the GPS device. The standard location is underneath the dashboard.
Only perform a roof mount installation if you cannot meet the specifications required in the
under dashboard installation or if specified on the work order.
1. Under dashboard installation - Standard:
Mount the antenna in a location underneath the dashboard. Be sure to follow the points
below:
•The top (side that has the arch) of the antenna must face up toward the sky.
•The antenna should be hidden and must have direct line of sight to the sky through
the windshield.
•The antenna cannot be mounted underneath metal as this will interfere with the
GPS signal.
•Make sure that the antenna is not beneath a portion of the windshield that has a
metal film or tint as this will block the signal.
•Do not crimp or route antenna cables.
•Use the adhesive or silicone glue to secure the bottom of the antenna to its
location.
2. Roof mount:
Only install a roof mount antenna if specified on the work order or if you cannot find a
suitable location underneath the dash board.
Drill a 3/4 inch hole in the front left corner of the roof of the vehicle, just over the A-pillar.
Run the antenna leads through the hole down the A-pillar to the device. Mount the GPS
antenna to the roof using silicone glue and use silicone on the drilled hole to ensure that
there are no leaks. ***You must ensure that any drilled holes are sealed properly***

3
Copyright © 2010 FieldLogix 888-803-0200
support@fieldtechnologies.com
B. Installing the wiring harness:
This type of harness has three wires. The Red wire is for constant power, the White wire is
for ignition, and the Black is for ground.
Do not plug harness into device when making connections!
Searching for Correct Wires:
In order to find to correct wires, you must first set your multi meter to DCV or DC voltage
12V or 20V, attach the negative (-) probe to the vehicle chassis ground, and then begin
probing the wires you suspect of being the constant and ignition power sources.
Important:When searching for the correct wires, DO NOT use a test bulb circuit tester.
Often, damage to vehicle computers and vehicle air bag restraint systems result from the
use of a test bulb causing a short circuit. Ideally, the use of a digital multi meter is the best
tool to search for the correct wires.
The appropriate power wires should be found in the vehicle’s ignition harness
(See Chart A for the most common color codes for most vehicles)
How to Find Constant Power:
Locate the wire that you suspect would have constant power. Probe the wire with the meter
lead. Turn the vehicle’s ignition on and off while metering the wire. This wire should read a
constant 12 volts or higher when the ignition is in both the “ON” and “OFF” positions.
Strip the insulation back and connect the red wire from the tracking unit’s harness to this
constant wire using the hook and wrap technique (See diagram A on the following page).
Solder the connection to ensure a quality contact. Refer to Chart A for the most common
colors for a constant power connection.
How to Find Ignition (switched) power:
Locate the wire that you suspect to have ignition (Switched) power. Probe the wire with the
meter lead.
•With the key in the ignition and turned to the “ON” position (Not starting the
vehicle), the wire should meter 12 volts or more.
•With the lead still probing the wire, start the vehicle. When the car is cranking, the
wire’s voltage should not drop by more than 2 volts.
•Turn the key to the “OFF” position, the voltage should drop down to 0.

4
Copyright © 2010 FieldLogix 888-803-0200
support@fieldtechnologies.com
Strip the insulation back and connect the white wire from the tracking unit’s harness to this
ignition wire using the hook and wrap technique (See Diagram A). Solder the connection.
Refer to the chart A for the most common colors for the ignition power connections.
Diagram A
Hook & Wrap Method
Strip the wire that you will connect the device’s wire to and spread the wire apart and insert
the device’s wire. Wrap the wire and solder the connection. Be sure to use electrical tape to
cover the soldered wire. You should also use a zip tie around the electrical tape to ensure
that the connection is secure.
Connecting to Ground:
Crimp a ring terminal at the end of the black wire coming from the tracking unit’s harness.
Connect it directly to the vehicle’s chassis via an existing bolt or self tapping screw. A
common grounding area would be at the driver’s kick panel. Scrape off any paint at the
point of grounding to ensure a good connection.
Run the wiring harness’ plug connector to the GPS device and run the Garmin FMI Cable to
the desired Garmin Navigation Device location (example: top center of dash)

5
Copyright © 2010 FieldLogix 888-803-0200
support@fieldtechnologies.com
C. Mounting the Devices
Find a secure location underneath the dashboard to mount the GPS device. Do not mount
device under the hood of the vehicle or in the engine compartment. The heat from any of
these locations may cause product failure.
The device’s LEDs should be mounted facing the rear of the vehicle so that they are visible
for testing purposes. Use zip ties to mount the device to an existing wiring loom or other
available location.
Connect the GPS and GSM/Cellular antenna connectors to the device. Use a bead of torque
seal around the point of connection to ensure that any future signs of tampering are visible.
Connect the wiring harness plug to the device. The Ground/black wire should be on the far
left side of the device, matching the “ground” plug on the device’s front panel.
**Do not power up the device before connecting the GPS and GSM/Cellular
antennas first** Doing so may result in product failure.
Find a location on the top center of the dash that DOES NOT BLOCK the vision of the driver to
the road. Safe placement of this device is important as improper placement can create an
unsafe blind spot for the vehicle operator (Please see Work Order for specified mounting
method).
If using the suction cup mount to the windshield, please clean the area of the windshield
with the alcohol wipe provided. Moisten suction cup then mount onto windshield.
If using dash mount with the double sided tape, please clean the area of the dash with the
alcohol wipe provided. Allow cleaned area to dry. Remove mounting tape film and mount
onto the dash.
Once mounted, connect the FMI cable to the Garmin Navigation Device.

6
Copyright © 2010 FieldLogix 888-803-0200
support@fieldtechnologies.com
D.Test the device
In order to test the device, the vehicle must be parked outside in an open area so that it can
receive a GPS lock. The device’s LEDs will indicate proper operation.
Device LED Codes
PWR GPS – This LED will become solid RED when the device receives constant power.
USR2 – GPS - This LED will become solid RED when the device receives a GPS lock. This process may
take between 5 to 15 minutes.
USR1 – GSM / Cellular - This LED will become solid GREEN within 1 minute of powering up the
device. This indicates that the device is receiving a cellular signal.
*Once all three LEDs are lit solid and the Garmin Navigation device is plugged in and
mounted, make sure the vehicle is off and call 888-803-0200 Option 4 to test the
operation of the devices. DO NOT release the vehicle to the client until the devices
have been tested.

7
Copyright © 2010 FieldLogix 888-803-0200
support@fieldtechnologies.com
LED Troubleshooting
LED Pattern
Probable Issue
Solution
PWR GPS will not light up Device is not receiving
power
1. Check power harness to ensure
that connections to the device are
secure.
2. Check to ensure that the power
and ground connections are secure
and that the correct power sources
were selected.
Flashing Green USR1 Device is not receiving a
good cellular signal.
1. Unplug the wire harness, wait
15 seconds, then plug back in.
2. If the above action does not
resolve the issue, try moving the
vehicle or move the antenna to see
if the signal improves.
USR2 (GPS) will not light up Device is not receiving a
GPS signal
1. Make sure that the top of the
GPS antenna is facing directly
skyward and is not obstructed by
metal.
2. Try a different location
3. Move the antenna outside the
vehicle to see if the light will
become solid.
Table of contents
