manuals.online logo
Brands
  1. Home
  2. •
  3. Brands
  4. •
  5. Fiesta
  6. •
  7. Grill
  8. •
  9. Fiesta ESD45055-BC402 User manual

Fiesta ESD45055-BC402 User manual

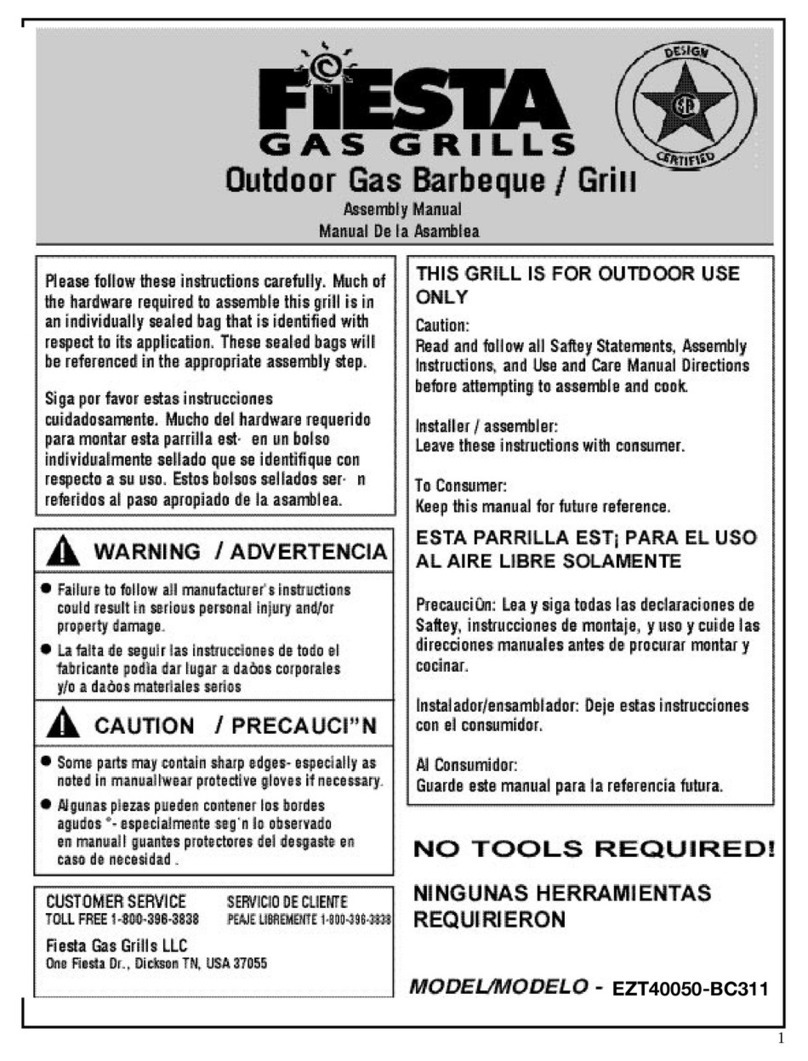
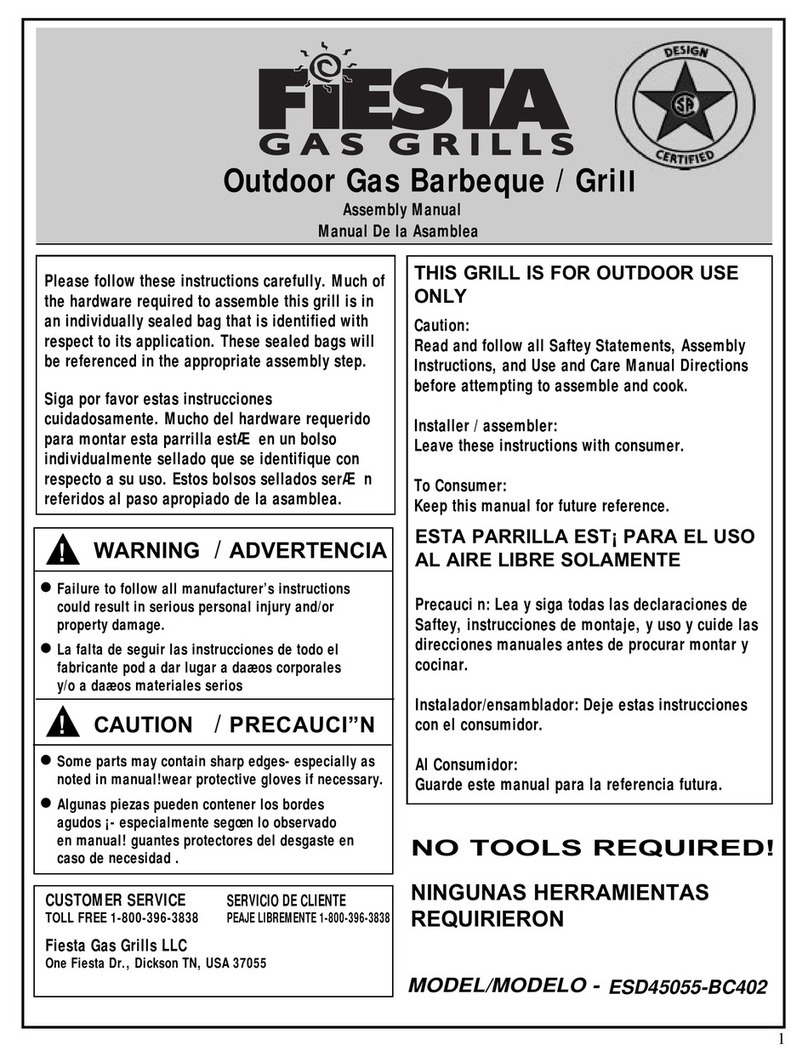
Please follow these instructionscarefully. Muchof
the hardware required to assemble this grill is in
an individually sealed bag that is identified with
respectto its application. These sealed bagswill
be referenced in the appropriate assembly step.
Siga por favor estas instrucciones
cuidadosamente. Muchodel hardware requerido
para montar esta parrilla est/E en un bolso
individualmente sellado que se identifique con
respectoa su uso. Estosbolsossellados ser/E n
referidos al pasoapropiado de la asamblea.
A WARNING /ADVERTENCIA!
• Failure to follow all manufacturer's instructions
could result in serious personal injury and/or
property damage.
•La falta de seguir las instruccionesde todoel
fabricante poda dar lugar a da_eoscorporales
y/o a daaeosmateriales serios
A CAUTION /PRECAUCI"N
•Some parts may contain sharpedges- especially as
noted in manual!wear protective gloves if necessary,
•Algunas piezas pueden contener los bordes
agudos i" especialmente segmn Io observado
en manual! guantesprotectoresdel desgaste en
casode necesidad.
THIS GRILL IS FOR OUTDOOR USE
ONLY
Caution:
Read and follow all Saftey Statements, Assembly
Instructions,and Use and Care Manual Directions
before attempting to assemble and cook.
InstallerIassembler:
Leavetheseinstructionswithconsumer.
To Consumer:
Keepthis manual for future reference.
ESTA PARRILLA ESTi PARA EL USO
AL AIRE LIBRE SOLAMENTE
Precaucin: Lea ysiga todas las declaraciones de
Saftey, instruccionesde montaje, y use y cuide las
direccionesmanuales antesde procurarmontar y
cocinar.
Instalador/ensamblador:Deje estas instrucciones
conel consumidor.
AI Consumidor:
Guarde este manual para la referencia futura.
NO TOOLS REQUIRED!
CUSTOMERSERVICE SERVICI0DECLIENTE
TOLL FREE1-800-396-3838 PEAJELIB_MENTE1-800-396-3838
Fiesta GasGrills LLC
OneFiestaOr., DicksonTN, USA37055
NINGUNAS HERRAMIENTAS
REQUIRIERON
MODEL/MODELO- ESD45055-BC402
WHEELS AND LEG EXTENSIONS
RUEDASY EXTENSIONESDELA PIERNA
Install Wheels
Instalar_tlas ruedas
Axle
Right Hand Leg Assembly
AsambleaDela PiernaDe
la ManoDeRigth
Hubcap
Wheel
Rueda
Place Axle Through Wheel Center. Push Axle into Clip Until it Snaps in Place.
Acomodael _rbol a traves de centro de la rueda. Empujeel arbol en el clip hastaque se encaja a presi6n en lugar.
Install Leg Extensions.
Position LEFT LEG ASSEMBLY as Shown and Insert Leg Extensions.
Turn Assembly Over and Tap Leg Extensions Against a Hard Surface (If Necessary)
Until Fully Seated.
Instalar lasextensionesde la pierna. Acomodael ensamblaje izquierdo de la pierna segdn Io mostrado e inserte
las extensionesde la pierna. De vuelta al ensamblaje lasextensionesexcesivasyde la etiqueta de la pierna
contra una superficiedura (en case de necesidad) hastaque esta asentadocompletamente.
Leg Extensions
Extensionesde la pierna
Assembly
AsambleaDelaPiernaDe
laManoizquierda
.... ii,
CHASSISASSEMBLY
ASAMBLEADECHASIS
InstallCrossMemberasShown.
InstalaramiembrocruzadosegdnIomostrado.
CarriageBolt
ElCerrojodecoche
LeftEnd
BottomSupport
ayudadelfondo
delextremoizquierdo
RightEnd(Tank)
tanquedelextremo
Cup
._ela delataza
i
i
@CrossMember
WingNut miembrocruzado
LaHuezdelala
ChannelClampInstalled
AbrazaderaDelCanalInstalada
1/4" - 20 X 2-1/2" CarriageBolt
1/4" - 20X2-1/2" ElCerrojodelcoche
ChannelClamp
abrazaderadelcanal_\ WingNut
LaNuezdelala
L
CupWasher
arandeladelataza 1/4" WingNut
LaNuezdelala
FRONT PANEL AND BACK SUPPORT
PANELDELANTEROYAYUDATRASERA
Install Front Panel.
InstalarelPanelDelantero
Install BackSupport
Instaledetr_lslaayuda
Locatehardware in back
supportbag pack.
Localiceelhardwareenpaquete
traserodelbolsodelaayuda.
1/4-20 1 BOLT
1/4 PERN0DeJ
1/4-20 Wing Nut
1/4-20 lamuezdelala
i_ _ _ _
il i! _I_ iii ii ii !i
CONSOLE AND BASE
CONSOLAY BASE
Installation of Console to Leg Assembly.
Instalaci0nde laconsolaal ensamblajede lapierna.
Install Console/
as Shown.
Instalar consola
_.\ _iiiiiill
J
_>_ Console Mounting Screw
t_ t f'_ T°rnil',°aD;oMs°;_aje
Attach Screw as Shown.
TornillosegunIo mostrado.
Install BaseCastingand Grease CupClip
Instalarelbastidorbajoy engraseelclipdelataza
/
SoupCannot Suppliedwith Grill.
Lasopanopuedeprovistodelaparrilla.
5
BURNER AND IGNITER
HORNILLAY ENCENDEDOR
Install H Bumer as Shown.
Instalar hornilla de la H segun
Io mostrado, "H" Burner
HornJlla De "H"
Note: Feed the two ignition
wires from the burner
through the front hole of
the casting.
Nota: Alimente los dos
alambres de la ignicion de la
hornilla a travds del agujero
del_ del bastidor,
Hook Electrodewire to igniter usinglong (10'_ JumperWire.
Hook Green groundwire to igniter. (any terminal on igniter)
Engancheelalambredelelectrodo
elalambredepuentelargo.
Alambredetierraverdedel
ganchoai encendedor.
EnlargedView of
,!_ BurnerInstalled.
'_ Vistaagrandadade
::_ lahomJllaJnstalada.
laconsola.
Igniter may not be exactly as shown.
EncendedorpuedenoestarexactamentesegdnIodemostrado.
Installation.
Lsvalvulasencajebiendurantelainstalacionde
NOTE:After wiring main burner bundlewires
together and wire tie around them.
Despu_salambresprincipalesdelpaquetedelahomilla
delcableadojuntoy lazodelaiambrealrededordeellos.
Locatebattery in the electronic
ignitor bag pack.
LocalJcelabateriaenel
paqueteelectrOnicodelbolso
delignitor.
Install Battery and Ignitor J
Button as shown. /
Ingle labateriayelbotGnde
ignitorsegunIodemostrado.
6
!i!i ¸¸ i i SHELFAND FLAMETRAP
TRAMPADELESTANTEY DELLAMA
\Install Side Shelf.
Instalar el desvlo
lateral del estante.
Slide Shelf onto Legs.
Tabs on Underside of Shelf
will Snap into Notches as Shown.
Resbaleel estantesobrelaspiernas.
Lastabulacionesen el superficie
inferiordelestanteseencajar_lna
presi6nhaciamuescassegunIo
mostrado.
Install Two Support Rods and
Flame Trap as Shown.
Instala dos varillas de ayuda
y trampa de fuego como
mostrador.
SIDE BURNER ASSEMBLY
: ASAMBLEALATERALDELAHORNILLA
Install Side Burner Base Assembly and Valve Attachment.
Instalela conexionlater; del ensamblajey de lavalvulade lahornilla.
Slide Side Burner Base Assembly
Over Legs Until Front Trim Snaps
into Place. (Reference Side Shelf
Laspiernasexcesivasdela hornilladela diapositiva
del ensamblajelateralde la basehasta
seencajana presi6nhacialugar.
(Instalacionlateraldel estantede la
referencia.)
Note:
Remove regulator and side
burner valve from poly bag
(assembly is factory attached
to the rear of the console).
Nota:
Quiteel reguladory la
v_lvulalateral dela hornilla
debolsopoly(el ensamblaje
esfiibricaasociadaenla parte
traserade laconsola).
Install Push Pin Through
Rear Burner Base into
Leg as Shown (Side burner
bag pack).
Instalarel contactodel
empujea travesde base
posteriorde la hornilla
enla piernasegt|nIo
mostrado(paquetelateral
dela hornilla).
Install Side Burner Valve Bracket in Opening and Rotate 90 Degrees
Counter-Clockwise to Snap into Place.
Instalarel corchetelateralde lawllvula de la hornillaenla aperturay rote 90 gradoscontrario en
sentidodelasagujasdel reloj al brochedepresionenlugar.
SIDE BURNER ASSEMBLY
ASAMBLEALATERALDELAHORNILLA
Install Side Burner.
Instalar la conexi0n lateral.
Hook Electrode wire to igniter (using short (3") Jumper Wire
if necessary). Hook Green ground wire to igniter. (Rear Side
of Console) (remaining 2 terminals on igniter)
Engancheelalambredelelectrodoalencendedorusando
brevemente(3'1 elalambredepuente(encasode
necesidad).Engancheel alambredetierraverdeal
encendedor.(ladotraserodelaconsola)
NOTE:After wiringsidebumer,bundlewires together
andwire tie througha holein castingsupportto
ensurethe tank canbe installedand removedfreely.
NOTA:Despu_sdehornilladelacaratela,el
paqueteataconalambrejuntoyellazodel
aiambreatrav_sdeunagujeroenlaayudadel
bastidorparaasegurareltanquesepuedeinstalar
yquitarlibrernente.
#10-24 Wing Nut
#10-24 tuercadeala
'tl.......... [i'
3/8"
Ignitermay not be exactly as shown.
EncededorpuedenoestarexactamentesegunIodemostrado.
LID INSTALLATION
INSTALACI"NDELTAPA
InstallLid,Handle,CookingGrid,WanningRack,HingeClip,andLogo.
Instalelatapa,manija,cocinandorejilla,elestantequesecalienta,elclipdelabisagra,y la
insignia.
Usehandlebag pack,swing
rackbag packand Logobag
pack.
Elpaquetedelbalsadelamanija
delusa,elpaquetedeibalsadol
estantedeloscilaciOny elbalsa
dela insigniaembalan.
,Note:Notchesin handletubematewith tab
insidehandlerap.
Nora:Lasmuescasentubadelamanijaseacoplan
e__Con realzanel _Nuillo interiorde lamanya. _
Apriete,astuercasdeala_::y" __ '/Note: Keephandletubealignedwith endcaps
seguddad. II // at alltimes.
/ No :manUatuba0e,osubs, enc,aa,no0
conloscasquillosdeextremosiempre.
Noteto customer:
Wire tie attachment:Pleaseensurethat nouninsulated
connectorsareneara metalsurface.
Noraalcliento:
Accesoriodellazodelalambre:Asegureseporfavorde
quenohayconectadoressinaislarcercadeunasupe_ciedelmetal.
]0
TANK INSTALLATION
INSTALACI"N DEL TANQUE
Insert Tank Bracket into Slot, Rotate 90 Degrees.
Slide Down Over Tank Ring to Hold Tank in Place.
Inserte el soporte del tanque en ranura, rote 90 grados.
Resbale abajo sobre el anillo del tanque hacia el tanque del asimiento en lugar.
IMPORTANT: Ensure hose
assembly does not contact the casting ....
or any other parts which will get hot.
IMPORTANTE: asegure el
ensamblaje de manguera no entra en
contacto con el bastidor, o ningunas
otras piezas que consigan calientes.
Regulator Connection Facing Front.
Frente De los Revestimientos De la
ConexiOn Del Regulador
WARNING: Before proceeding with the following
steps, ensure you have read L.P. Gas Cylinder Hose
and Regulator sections of the USE AND CARE
MANUAL. The L.P. cylinder, if supplied with your
grill, has been shipped empty for safety reasons.
The cylinder must be purged of air and filled prior
to use. Follow all directions under L.P. Gas
Cylinder Filling section of the USE AND CARE
MANUAL.
]]
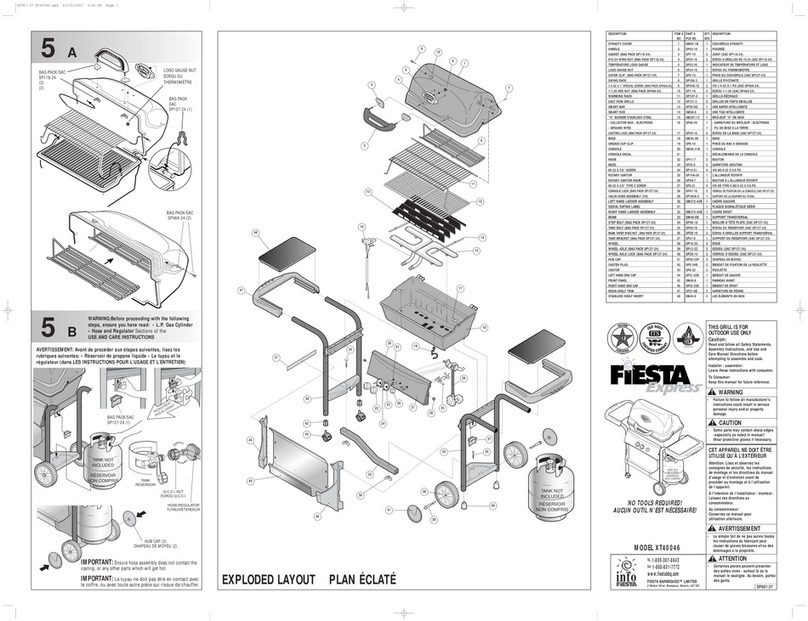
Replacement Parts/Piezas De Recambio 1
SPIOOA-3 SP13-14
WARMINGRACK GASKET
elanaquelcalentador junta
SP5010-19
LHENDCAP
casquillodeextremo
ellaIh
SP33-16
SP67-18 PUSH NUT
SCREW ernpuje nuez SM59-1B
"D" LID
tornillo la tapa t
SP5014-26
LOGO
galadelogo
SM5050-42C
HANDLE
ManUa
SM68-6
SMARTROD
barra elegante
SP5005-20
JUMPERWIRE
alambre de puente
SP32-16
KNURLEDNUT
_nestdastue_a
SP5000-16
la nuez del ala
;:3_-----SP 4-15
HAIRPIN
SP4-17 el alfilerdelcabello
LOCKWASHER
Arandelade SP5005-3
Bloqueo
_,1 ijSWINGRACK
estantedel oscilaciOn
SP5009-19
RH END CAP
casquillode extremo
el derecho SP102A-3
CASTIRONCOOKINGGRID
rejillaelcocinardel hierrofundido
SP25-9G
SMART BAR
barraelegante
SP8B-20
IGNITORCLIP
clipdelignitor
SM5002-12
HBurner
hornilla de h
SPgA-20
ELECTRODE
electrode SP5006-20
GROUNDWIRE
alambredetierra
Replacement Parts/Piezas De Recambio
SM43-9C
INSERT
SM5009-6C
BAC
PostenorKyude SPZ-16
WING NUT
BP70-18
CARRIAGEBOLT
Pemo del Carro_ _
INSERTSHELE
inser_ el estante
SM38-2B
BASE
SP25-T6
WING NUT
la nuez del ala
SP135-3
COOKING GRID
_rejiBa
SPSOO4-ZO
JUMPERWIRE (if necessary)
alambre de puente (en casode
rmcesided)
SP9-7
S.B. RNOB/perilla
SM5OOgA-4ZC
S.B. BASE
s.b. la base
$P22-6
VALVEBRACKET
5P52A-12
SIDEBURNER
horngla lateral
SP30-16
PUSH PIN
empuje el contacto
GROUND WIRE
alambre de tierra
SP51
CARRIAGE BOLT
el cerrojode coche
SMSO6Z-42C
L, H, LADDERASSEMBLY
L.H. emamblaje de la escala
IGNITOR
Ignitor
SP150A-4
BURNERTRIM
ajuste de la hornifla
SP24-16
WING NUT
tuerca de ala
CONSOLEASSM
SP24-33 consola
LEGEXTENSION
extension de la
arandela de la taza
SPZ8A-9B
5M56-8C FRONTPANEL
CHANNEL SM87-6 delantero panel
_6 CHANNELCLAMP
_abrazadera del canal
GG20-27
TANK WING NUT
tanque tuerca de ala
SP21-6, SP55-18
lANK CLI' AXLE
clip del -rbol -
HUBCAP
_ casquiBo
i" j delcubo
SP30-15
AXLECLIP
clip del .rbol
SM5061-42C
R.H. LADDERASSEMBLY
R.H. ensamblaje de la escala
SP17-22
WHEEL
rueda

Other manuals for ESD45055-BC402

1

Other Fiesta Grill manuals

Fiesta EZT40040-T402 User manual

Fiesta

Fiesta EZT40040-T402 User manual

Fiesta EZT40040-P413 User manual

Fiesta

Fiesta EZT40040-P413 User manual

Fiesta EZT34545-B338 User manual

Fiesta

Fiesta EZT34545-B338 User manual

Fiesta EZH30030-B405 User manual

Fiesta

Fiesta EZH30030-B405 User manual

Fiesta Express Classic EH34540 User manual

Fiesta

Fiesta Express Classic EH34540 User manual

Fiesta EZT45055-P312 User manual

Fiesta

Fiesta EZT45055-P312 User manual

Fiesta Express Classic EH34552 User manual

Fiesta

Fiesta Express Classic EH34552 User manual

Fiesta Express ET40062 User manual

Fiesta

Fiesta Express ET40062 User manual

Fiesta EZT40050-BC307 User manual

Fiesta

Fiesta EZT40050-BC307 User manual

Fiesta OUTDOOR GAS BARBEQUE/GRILL EZT40050-P317 User manual

Fiesta

Fiesta OUTDOOR GAS BARBEQUE/GRILL EZT40050-P317 User manual

Fiesta EZH30040-B301 User manual

Fiesta

Fiesta EZH30040-B301 User manual

Fiesta EZT EZT34545-B304 User manual

Fiesta

Fiesta EZT EZT34545-B304 User manual

Fiesta Express EH30035 User manual

Fiesta

Fiesta Express EH30035 User manual

Fiesta EZA24025-B309 User manual

Fiesta

Fiesta EZA24025-B309 User manual

Fiesta EZT40050-P340 User manual

Fiesta

Fiesta EZT40050-P340 User manual

Fiesta ET34567 Quick reference guide

Fiesta

Fiesta ET34567 Quick reference guide

Fiesta EZL24025-B406 User manual

Fiesta

Fiesta EZL24025-B406 User manual

Fiesta EZT34545-P310 User manual

Fiesta

Fiesta EZT34545-P310 User manual

Fiesta ESD45055-B327 User manual

Fiesta

Fiesta ESD45055-B327 User manual
Fiesta EZT34545 User manual

Fiesta

Fiesta EZT34545 User manual

Fiesta EZT34545-BC409 User manual

Fiesta

Fiesta EZT34545-BC409 User manual

Fiesta EZT40050-B703 User manual

Fiesta

Fiesta EZT40050-B703 User manual

Fiesta EZA345435-B334 User manual

Fiesta

Fiesta EZA345435-B334 User manual

Fiesta EZH30035-B402 User manual

Fiesta

Fiesta EZH30035-B402 User manual

Popular Grill manuals by other brands

Camp Chef TB90LW Care, use and safety instructions

Camp Chef

Camp Chef TB90LW Care, use and safety instructions

BONFIRE 4 Installation instructions and owner's manual

BONFIRE

BONFIRE 4 Installation instructions and owner's manual

anko SK1 user manual

anko

anko SK1 user manual

Ducane Affinity 31-3200 owner's manual

Ducane

Ducane Affinity 31-3200 owner's manual

TEFAL Plancha Booster manual

TEFAL

TEFAL Plancha Booster manual

Kenmore 137.23671311 Use & care guide

Kenmore

Kenmore 137.23671311 Use & care guide

Nexgrill 720-0882BF Assembly instructions

Nexgrill

Nexgrill 720-0882BF Assembly instructions

Grill-Max Express X30 Installation and operation instructions

Grill-Max Express

Grill-Max Express X30 Installation and operation instructions

Traeger FLATROCK Assembly guide

Traeger

Traeger FLATROCK Assembly guide

Napoleon PRESTIGE 600RB user manual

Napoleon

Napoleon PRESTIGE 600RB user manual

Kenmore 119.163018 Use & care guide

Kenmore

Kenmore 119.163018 Use & care guide

Linea 2000 DOMO DO9261G Instruction booklet

Linea 2000

Linea 2000 DOMO DO9261G Instruction booklet

Kenmore 146.16142210 Use & care guide

Kenmore

Kenmore 146.16142210 Use & care guide

H.Koenig GR70 instruction manual

H.Koenig

H.Koenig GR70 instruction manual

Jenn-Air JA460 user manual

Jenn-Air

Jenn-Air JA460 user manual

Napoleon PRO285EBK manual

Napoleon

Napoleon PRO285EBK manual

Electrolux EQT4520BOG user manual

Electrolux

Electrolux EQT4520BOG user manual

Bakers Pride Dante CBBQ-30S Install and operation instructions

Bakers Pride

Bakers Pride Dante CBBQ-30S Install and operation instructions

manuals.online logo
manuals.online logoBrands
  • About & Mission
  • Contact us
  • Privacy Policy
  • Terms and Conditions

Copyright 2025 Manuals.Online. All Rights Reserved.