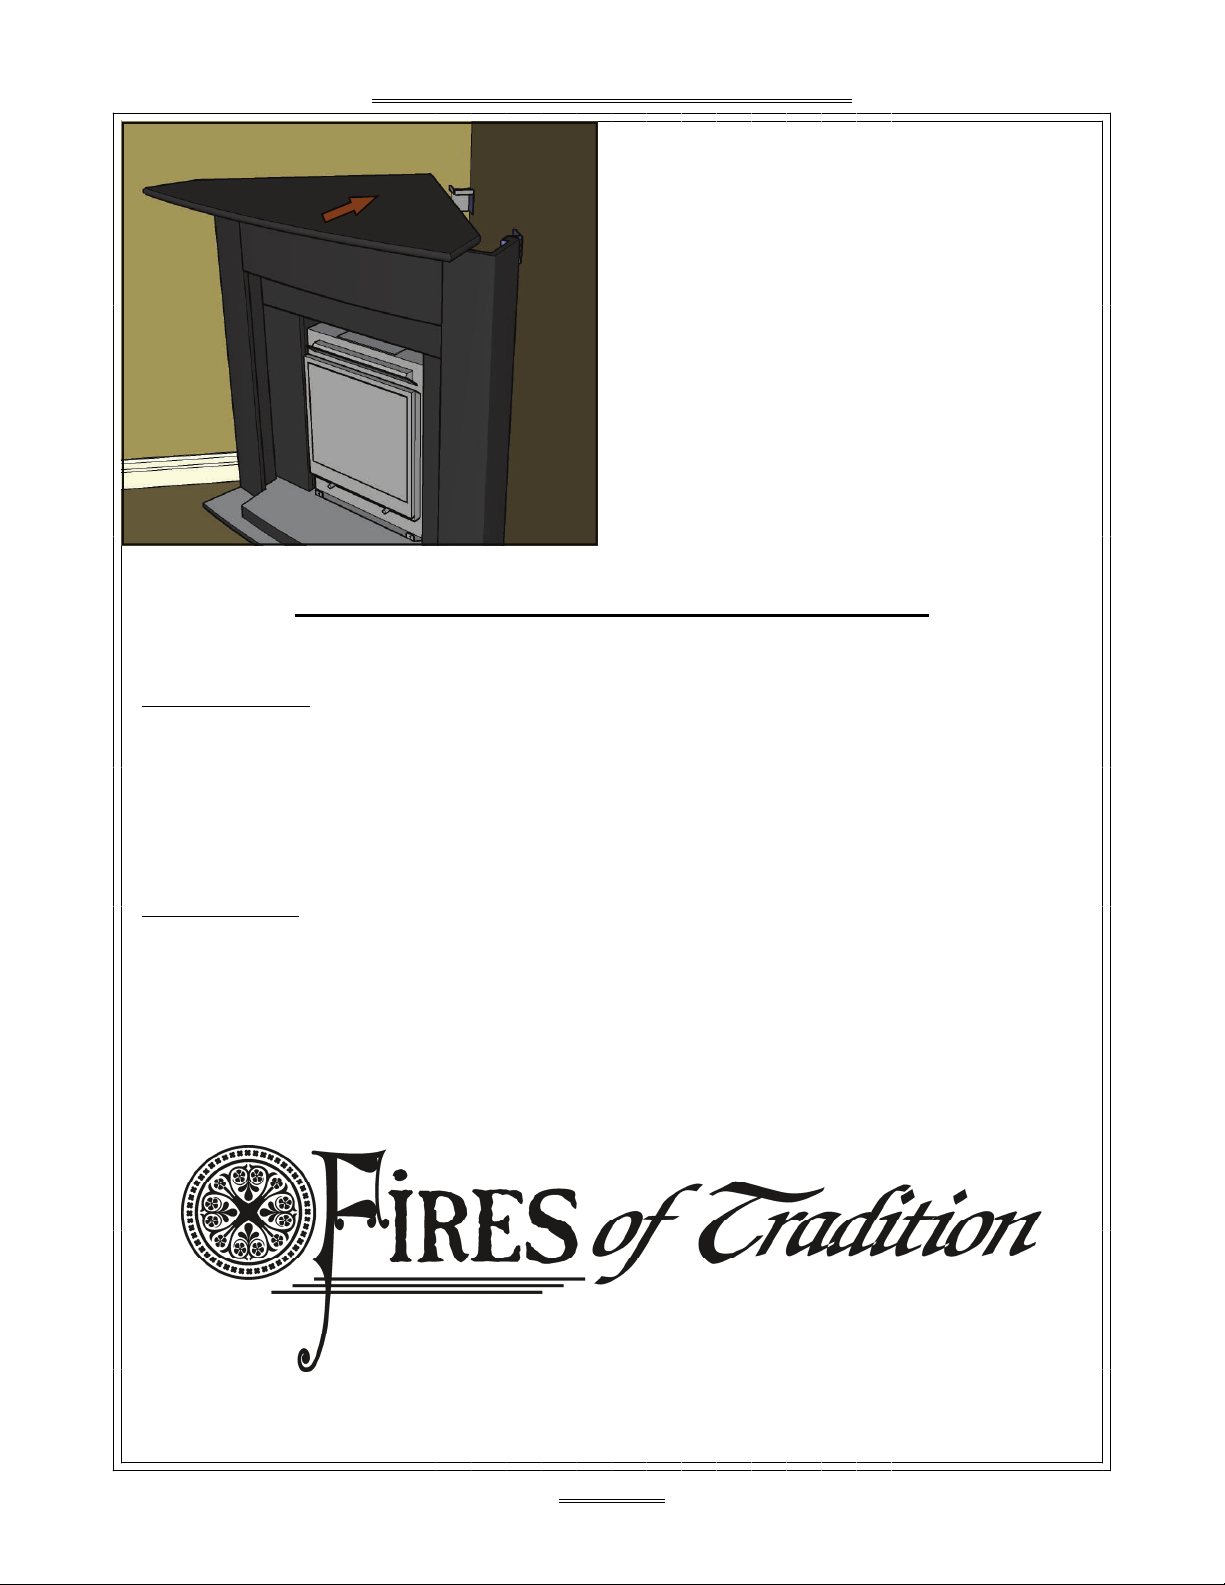
Fires of Tradition Octavia Configuration guide

Install Instructions for
Corner Octavia Mantel
Please read this manual before installing the suite. This manual should remain with the homeowner.
137 Nelson St Brantford Ontario Canada N3S 4B5 1-800-325-7988
190808

PAGE 2 OF 7
FIRES OF TRADITION INSTALL INSTRUCTIONS FOR OCTAVIA
Index
Page #3 Hearth and riser positioning
Page #4 Dry fit and firebox positioning
Page #5 Installing legs and back bracket
Page #6 Assembling backpanels and beam
Page #7 Installing the shelf, care and maintenance
Note: The fireplace manufactures technical specifications take
precedence over any thing detailed in the following. All clear-
ances or installation requirements detailed in the fireplace
manufactures installation manual or the local building code
should be strictly followed.
Under NO circumstances should the brackets not be installed.
Fires of Tradition assumes no responsibility for the colour and texture varia-
tions of stone mantels. There will be slight variations in colour and texture
from time to time. Fires of Tradition assumes no responsibility for the care and
cleaning of stone mantel.
Octavia Rebate
• Hearth
• Left leg
• Right leg
• Beam
• Shelf
• Left side backpanel
• Right side backpanel
• Center backpanel
• 2 pcs leg brackets
• Corner Bracket

PAGE 3 OF 7
FIRES OF TRADITION INSTALL INSTRUCTIONS FOR OCTAVIA
The hearth cannot be installed on car-
pet. If carpet is on the floor, pull it back
from the corner to allow you to properly
position the hearth [it can be cut after
the hearth and firebox are securely in
their final position.]
The hearth must be located and the
baseboard cut before the firebox can be
installed.
Measuring from the wall corner along
both walls, make sure that the back
corners of the hearth are the same dis-
tance from the inside wall corner.
Insure that the hearth is level. A couple
of wood shims [not supplied for this
purpose] carefully positioned under the
hearth can help keep it level while the
cement dries. Make sure that any shims
used are removed and the holes touched-
up with cement.
You will have to construct a riser of
wood on which the firebox can be set.
This would finish off flush with the
hearth surface.
Keeping in mind that the back corners
of the hearth will be touching the
drywall face when it is in its final
position, mark the baseboard where it is
to be cut. Remove the hearth, and cut the
baseboard.
The hearth, in most cases, will have to
be set into a bed of thinset cement in or-
der to insure that it is perfectly level.
Butter the bottom of the hearth with a
thin bead of the cement provided, and
reset the hearth into position.
Step #1
Step #3
Step #2

PAGE 4 OF 7
FIRES OF TRADITION INSTALL INSTRUCTIONS FOR OCTAVIA
Remove the beam, and then carefully
set one of the backpanel sides into posi-
tion behind the leg. Make a small pencil
mark on the hearth surface
[alternatively, use a piece of tape]. This
will be your reference point for position-
ing the firebox. When the Bolero front is
mounted onto the firebox, the back of
the cast front will be in line with this
pencil line you just made. Remove side
backpanel and legs, and install the fire-
box into its proper position.
Check their fit against the hearth. Care-
fully lower the beam into position be-
tween the two legs, to define the proper
distance between them. While carefully
holding these three pieces in place, posi-
tion the two leg brackets against the
granite lugs on the inside top of each leg,
and make a mark on the wall where the
hole in the bracket rests.
It is best to do a dry fit of the legs and
beams in order to locate the mounting
brackets. Carefully place the legs into
position on the hearth, making sure that
they are the correct end up.
Note; when placing any of the granite
parts take special care to not chip any
edges. This can easily occur when a part
isn’t placed properly and falls into place
when it is released.
Take care not to stand on the hearth as
this may cause it to lose level!!
Step #4
Step #5
Step #6

PAGE 5 OF 7
FIRES OF TRADITION INSTALL INSTRUCTIONS FOR OCTAVIA
Install the corner brackets, insuring that
the fasteners are securely mounted to the
wall. Frequently, there is adequate fram-
ing tight into the corner that can be
screwed into. If not, then you will have to
use the appropriate wall plugs. Note how
the brackets overlap.
Use a black silicone to hold the insure
that the parts of the mantel do not shift
once they are in position. Run a bead of
the silicone along the bottom of the leg
where it comes in contact with the
hearth, and carefully lower it into
position. Install a side bracket onto the
wall using the wall plugs to secure the
leg into position. Repeat for the other leg
in the same fashion.
Make sure the firebox is centered on
the hearth!
With a level, make a mark in the back
corner that is level with the top of the
leg. This is where the bottom of the shelf
will sit. Now measure the thickness of
the block on the bottom of the shelf at
the back corner. Make a mark on the cor-
ner wall down from the line that
indicates the height of the leg, that is
equal to this block thickness. This is
where the top of the corner brackets will
rest.
Step #7
Step #8
Step #9

PAGE 6 OF 7
FIRES OF TRADITION INSTALL INSTRUCTIONS FOR OCTAVIA
After running a bead of black silicone
along the appropriate edges, the beam
can now be lowered into position
between the legs. Again, take care when
lowering this piece, to insure that it does
not drop and chip. Inspect all joints to
make sure they are closed. Clean off any
excess silicone. Any that is left can easily
be cut off with a blade once it has dried.
The center backpanel can now be
installed. A thin bead of silicone should
be applied on the side edges where it
comes in contact with the side
backpanels.
Note; damage can often occur at this
step if this piece isn’t seated on the side
backpanels properly.
Run a bead of black silicone along the
back edge of the leg, and gently set one
backpanel side in place, aligned with the
firebox. Insure that you have the back-
panel the correct side up. Install the other
backpanel side in the same fashion.
Step #10
Step #11
Step #12

PAGE 7 OF 7
FIRES OF TRADITION INSTALL INSTRUCTIONS FOR OCTAVIA
Care and Maintenance of the Octavia mantel
Wax Removal
In the event some hot wax is spilt on the mantel or hearth wait for it to cool. When the
wax is cool CAREFULLY pick it off with the tip of a sharp object (i.e. Knife). When using
the sharp object it is very important that the tip (or any other part) of the sharp edge is
not pushed into the finish of the effected area, as this will chip the finish.Use a
commercial wax remover for any remaining residues, testing the remover on an
inconspicuous area of the mantel prior to use on the effected area.
Spilt Liquids
Spills and stains should be removed as soon as possible for best results. Dab up spills
with a clean cloth or paper towels, avoiding wiping the spill. Water and soap will clean
up most spills, providing that they are addressed quickly. Avoid using strong acids or
chemicals with a strong acid reaction, as they might roughen the surface if left on for
any length of time. It is always best to test the cleaning agent on an inconspicuous part
of the mantel in order to check its impact on the finish. Dust and air born dirt will set-
tle on any mantel surface. This can easily be removed by a vacuum with a soft bristle
head. Be careful to not scratch the surface in the process.
Carefully lift the shelf and slide it into
position, locating the back block under
the shelf into the corner brackets affixed
to the wall.
The Bolero front can now be carefully
and gently slipped into position.
Distributed in Canada and U.S.A. by;
Fires of Tradition
137 Nelson St
Brantford Ontario N3S 4B5
1-800-325-7988
Step #13
Other Fires of Tradition Fireplace Accessories manuals
Popular Fireplace Accessories manuals by other brands

Valor
Valor LEGEND G3 Series installation instructions

Firegear
Firegear LOF-3012HTMSI-N Installation and operating instructions

Dimplex
Dimplex RLG20BR owner's manual

Valor
Valor LT1 2500K quick start guide

Travis Industries
Travis Industries 95900352 Installation

Dimplex
Dimplex GBF1500-GLASS Assembly instructions

Lennox Hearth Products
Lennox Hearth Products Crestline Decorative Hood Kits LDGHK36 installation instructions

Napoleon
Napoleon GPFL Installation

Sunnydaze Decor
Sunnydaze Decor KF-SHDFPR quick start guide

Schiedel
Schiedel Prima Smooth installation instructions

Dimplex
Dimplex DLG920 owner's manual

Hearth and Home Technologies
Hearth and Home Technologies REM-KIT manual