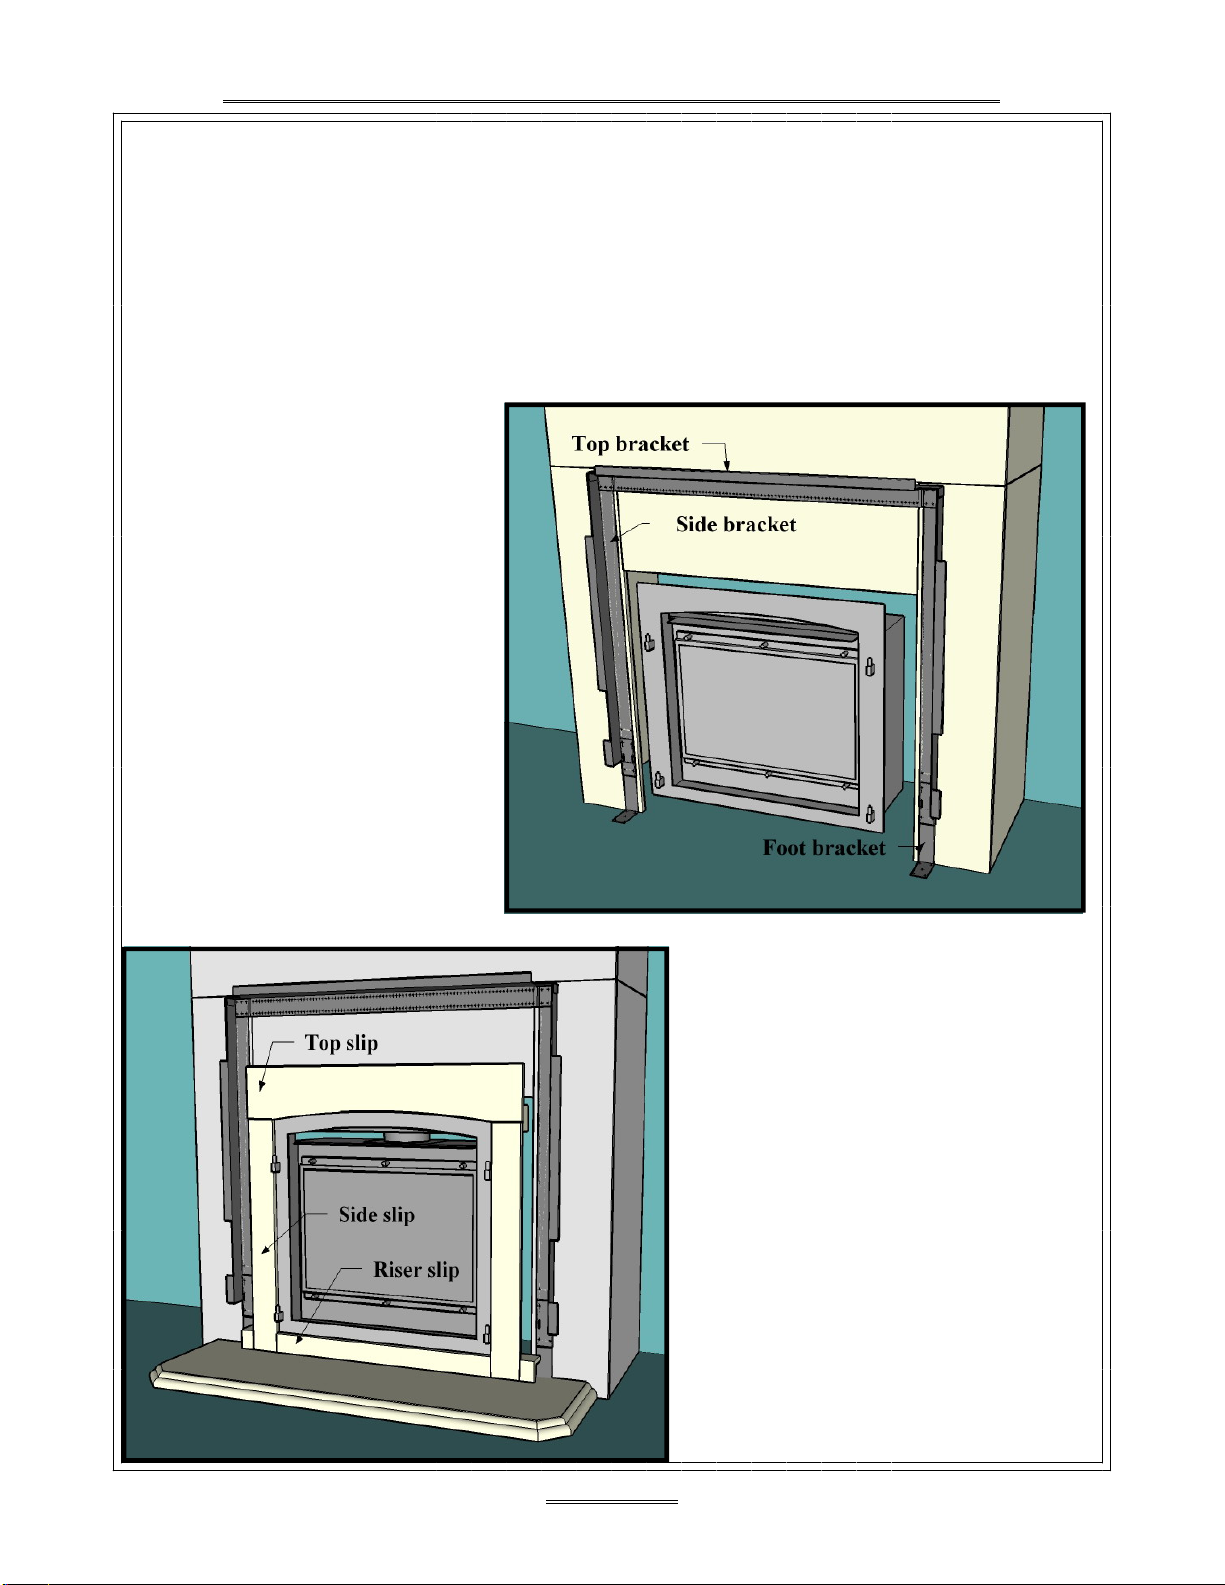
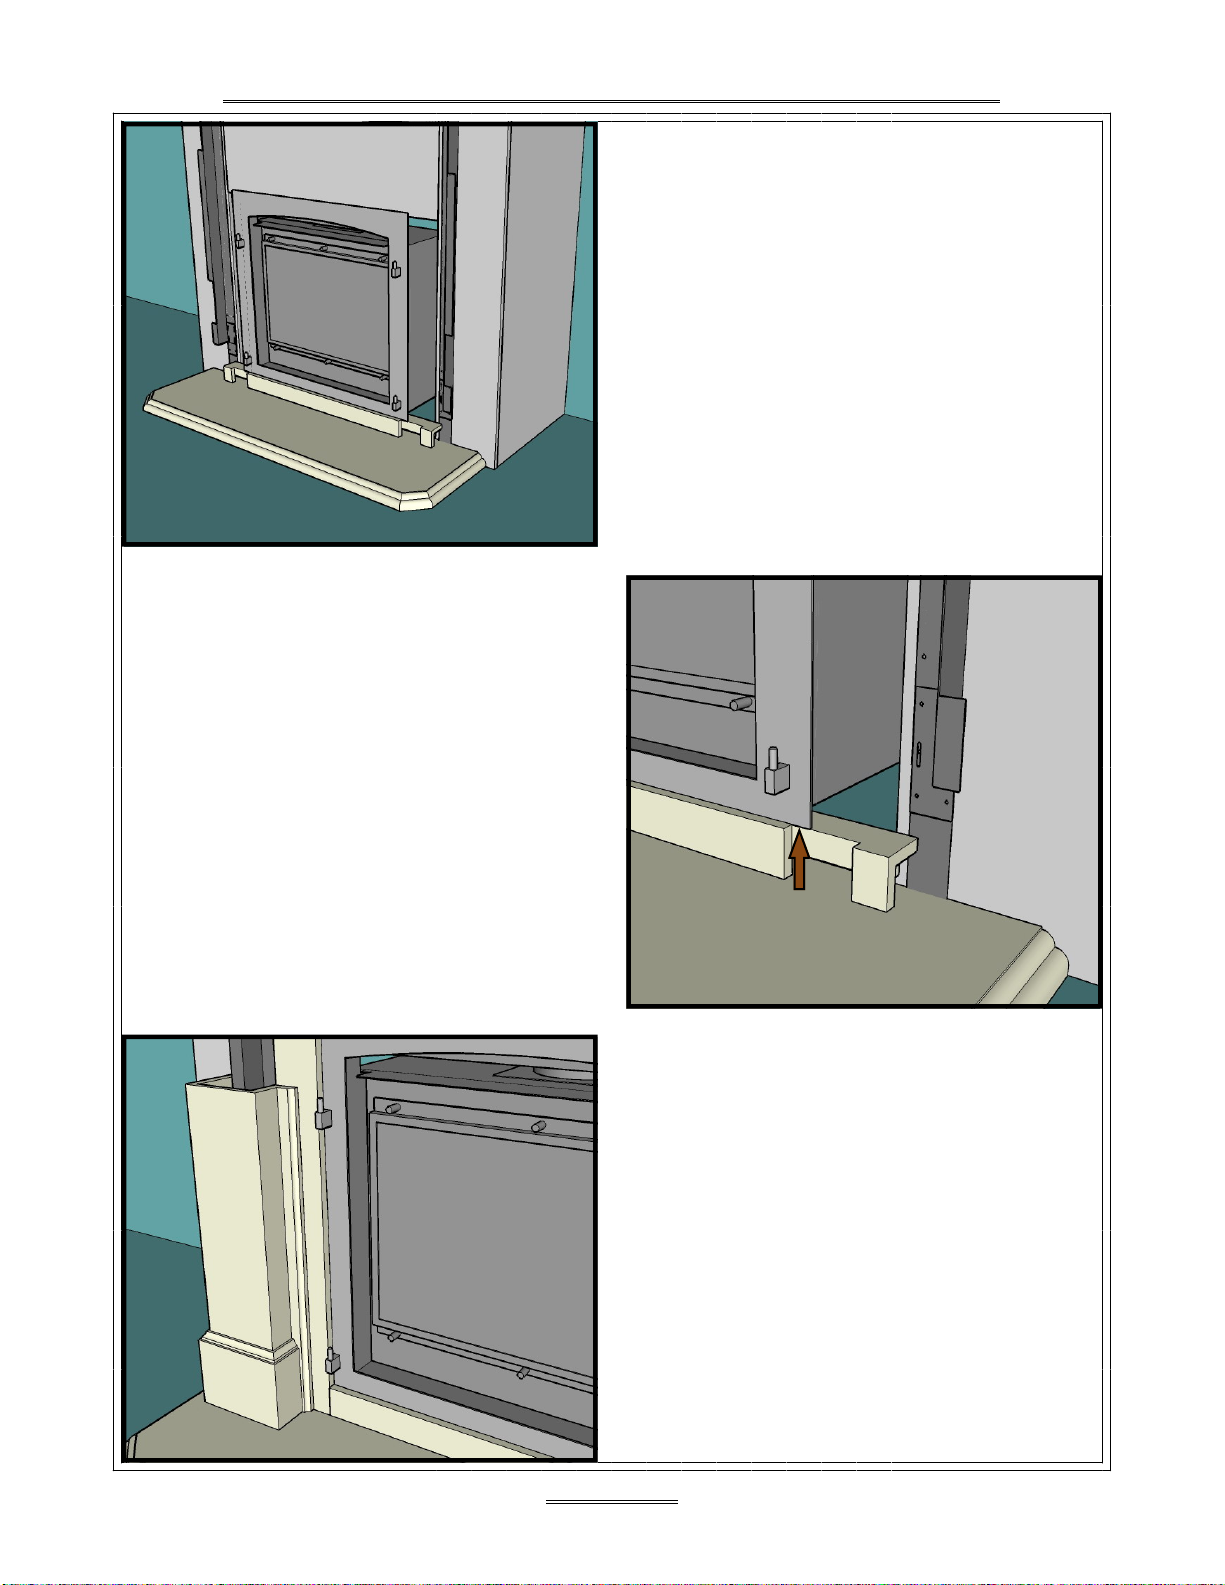
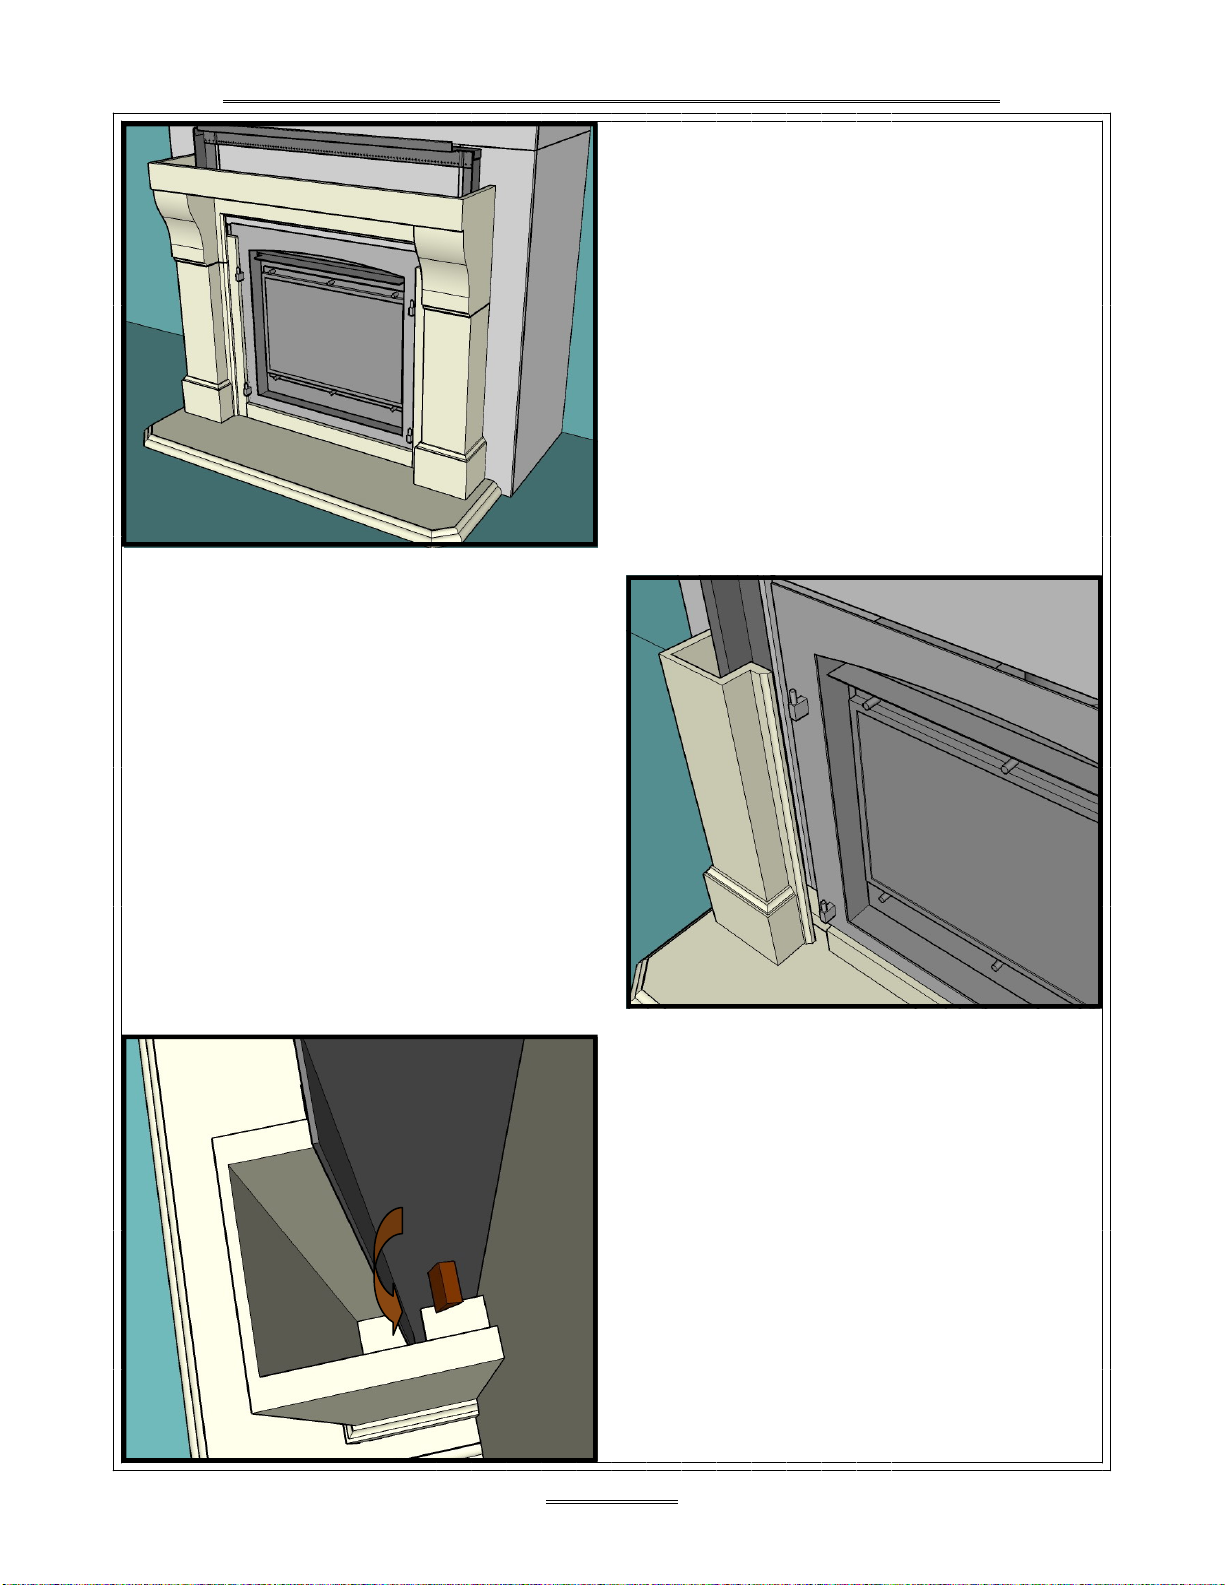
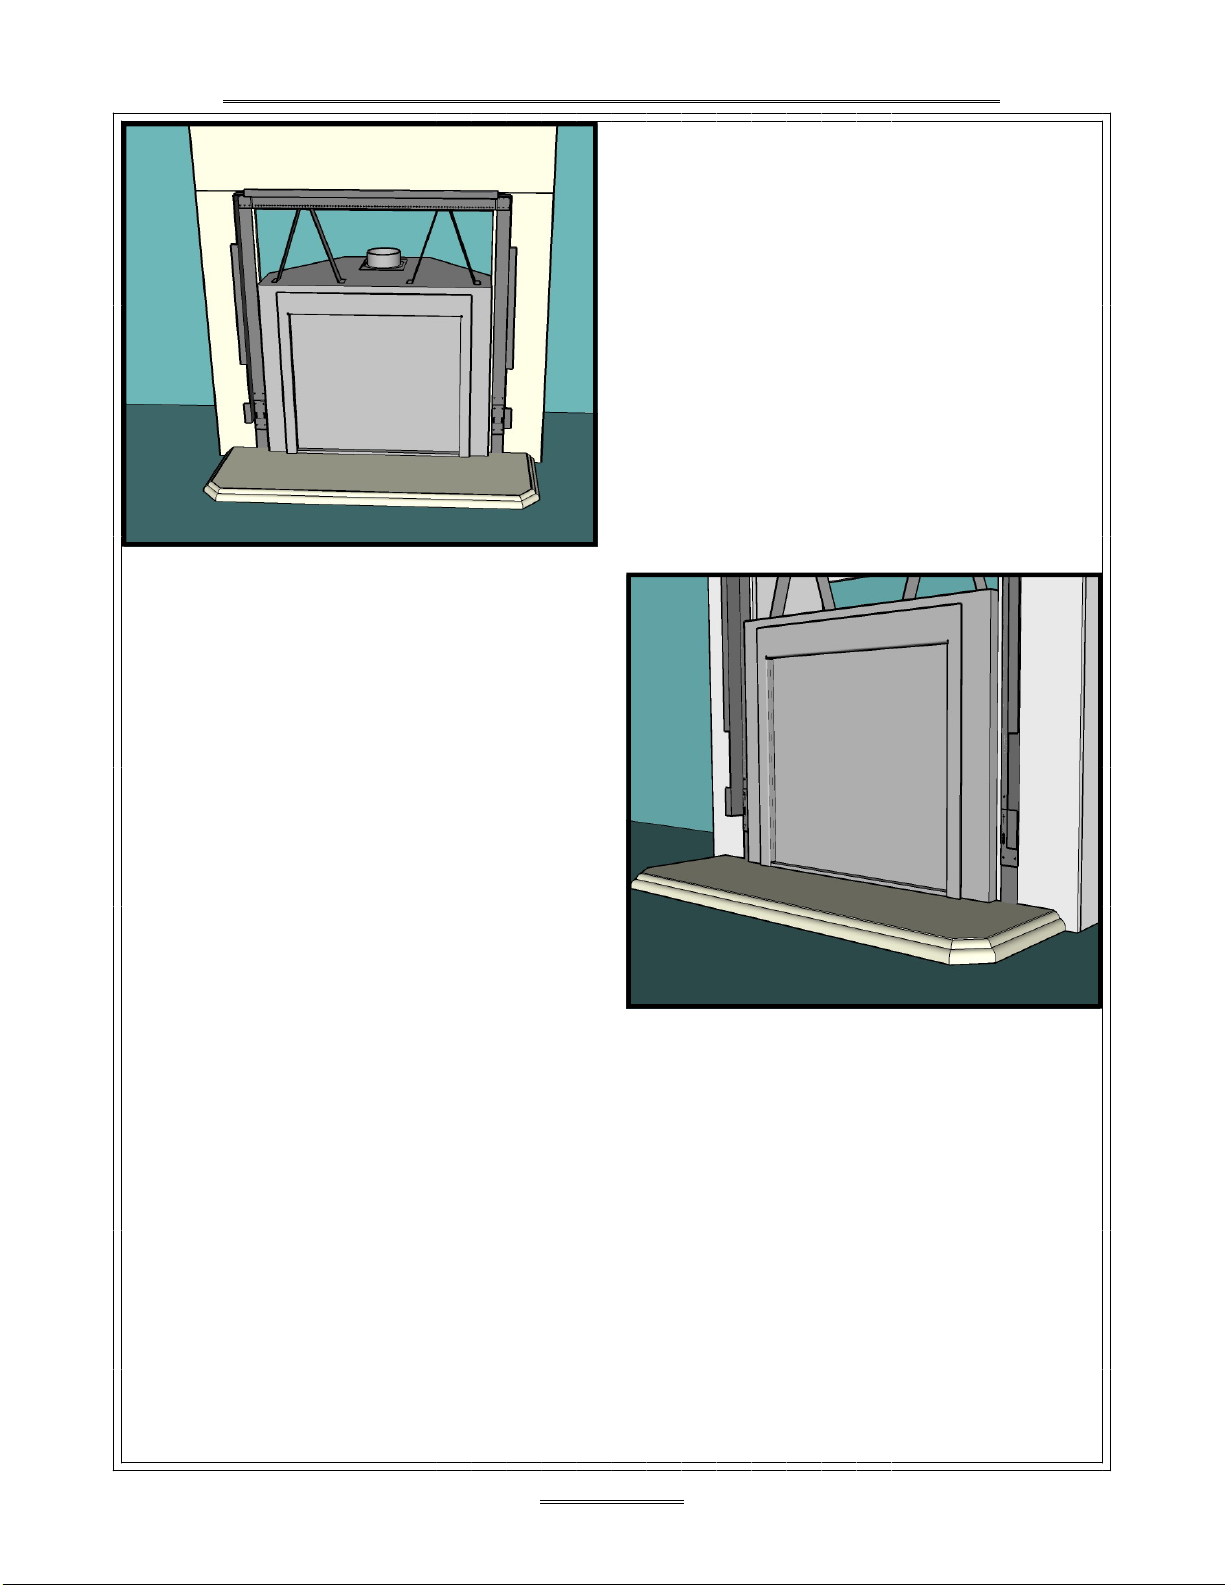
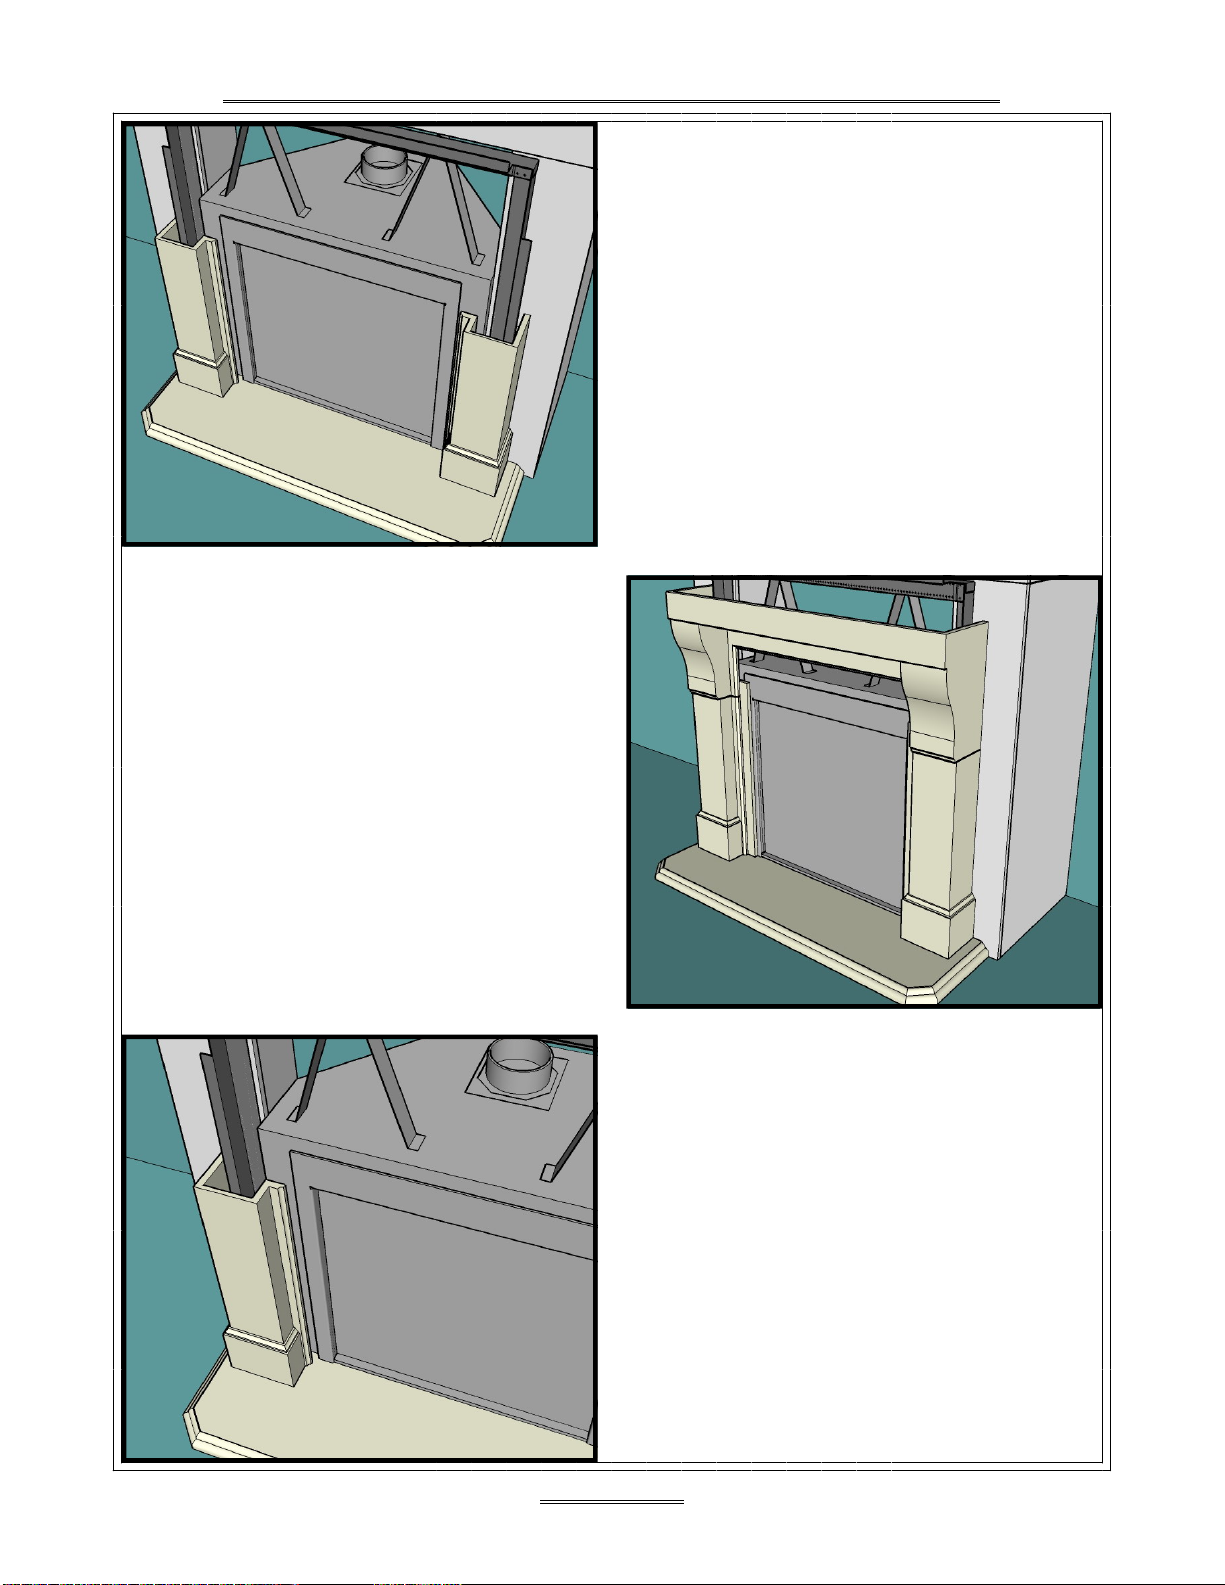
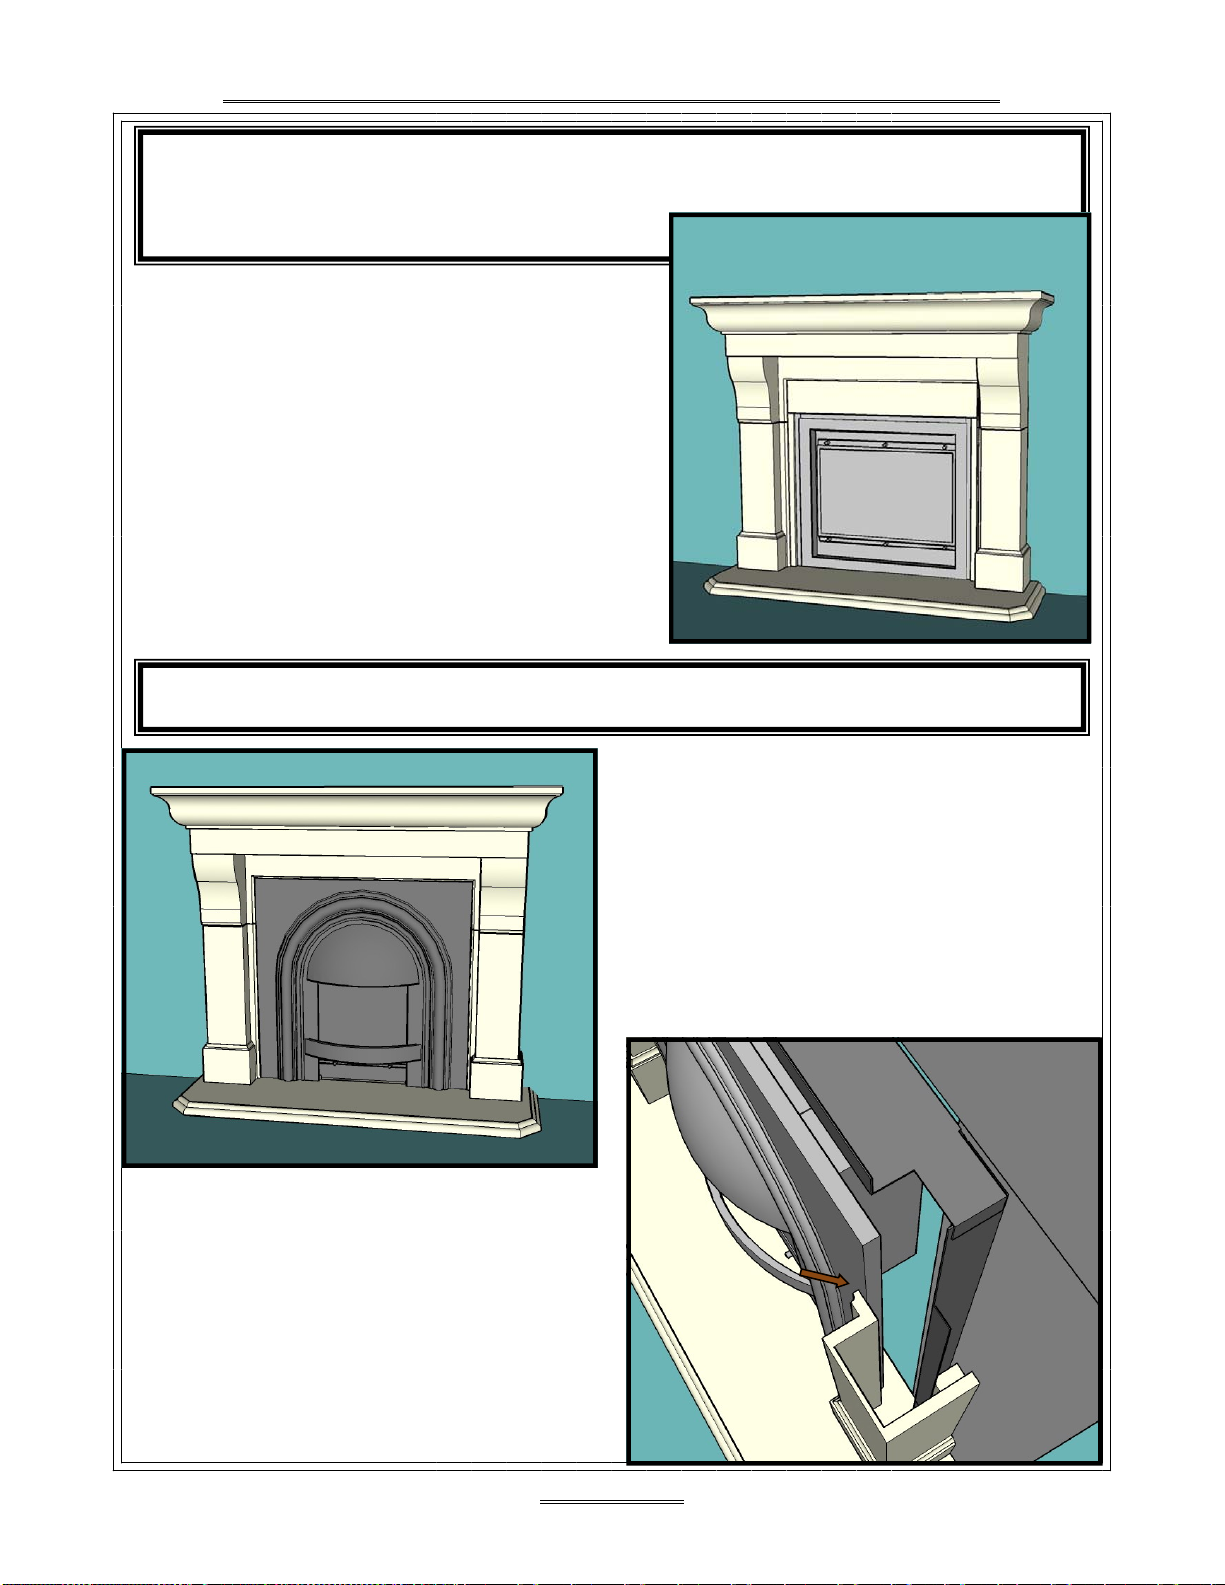
Fires of Tradition Corvallis Jurastone 4008 Configuration guide


Other Fires of Tradition Indoor Fireplace manuals


Popular Indoor Fireplace manuals by other brands

Spartherm
Spartherm Varia Bh-P7 instruction manual

Napoleon
Napoleon Ascent Linear Series owner's manual

Dru
Dru Global 55XT CF-01 RCE installation manual

Woodbridge
Woodbridge DVI 750 (N Installation and operating instructions

Regency
Regency Alterra F175B-1 Owners & installation manual

Acquisitions
Acquisitions X-FIRE 1200 user guide

Travis Industries
Travis Industries DVL EF owner's manual
Heatilator
Heatilator Icon I100 owner's manual

Majestic fireplaces
Majestic fireplaces WM36SX installation manual

KASTOR
KASTOR Elegia Installation and user manual

Pioneer
Pioneer Wee Rad Corner Shield Fitting instructions

Sylvania
Sylvania SOQC111-MBK user manual

Regency
Regency U1500E-NG11 manual

FireplaceXtrordinair
FireplaceXtrordinair 95801021 FPL ELECTRIC 51 Installation and operating instructions

Life zone
Life zone lifesmart zone ZCFP1061US manual

Superior
Superior VRE6036 Assembly, installation and operation instructions

Boulevard
Boulevard VFLL72FP90LN-1 Installation instructions and owner's manual

Napoleon
Napoleon GDS60-1N Installation and operating instructions