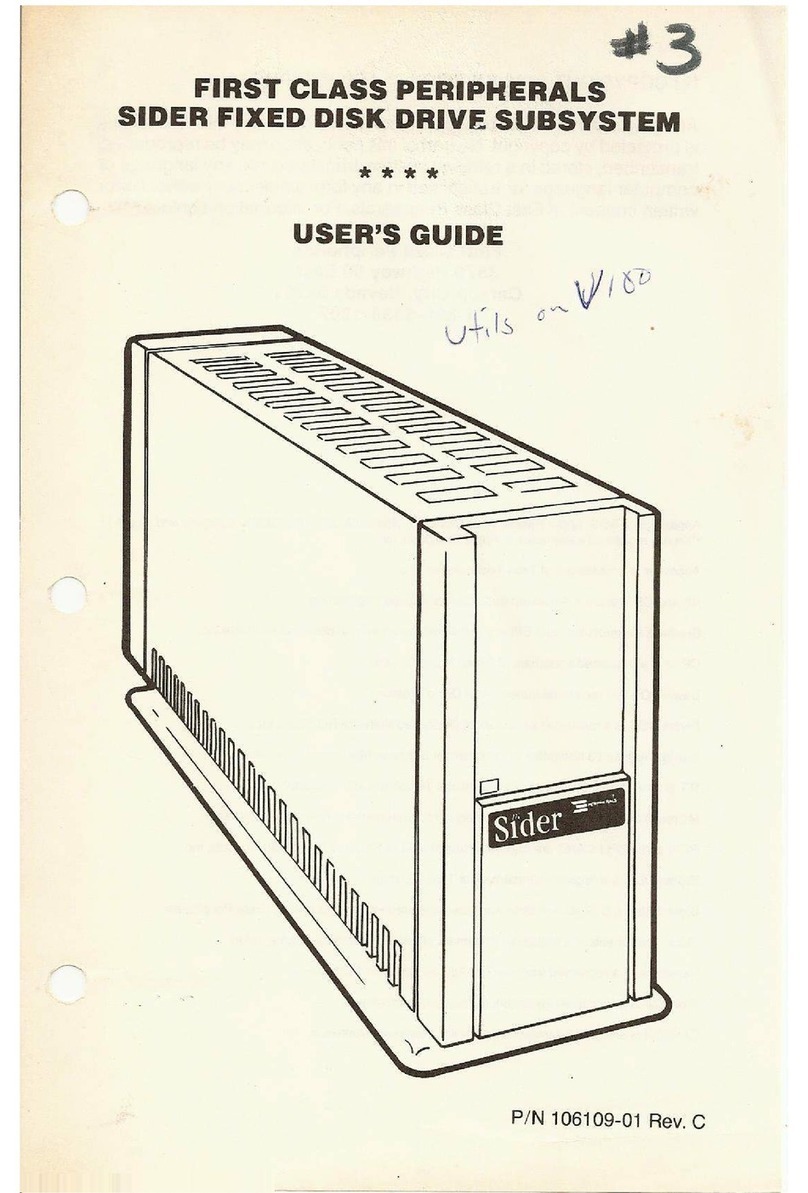
First Class Peripherals Sider D4 User manual


Installation / Users Guide
Part Number 104061-04
REVISION C

PREFACE
The following manual contains instructions for installing the FIRST CLASS
PERIPHERALS SIDER Sider D4 bard drive subsystems on the APPLE lle and
APPLE IIGS. The instructions in the manual assume you have a working knowledge
of the APPLE system.
COPYRIGHT INFORMATION
© Copyright 1988 By FIRST CLASS PERIPHERALS
All rights reserved. This publication contains proprietary information that is pro-
ected by copyright. No pan of this publication may be reproduced, transcribed,
stored in a retrieval system, translated into any language or computer language, or
transmitted in any form whatsoever without prior written consent of FIRST CLASS
PERIPHERALS. For information contact:
FIRST CLASS PERIPHERALS
3579 HIGHWAY 50 EAST
CARSON CITY, NEVADA 89701
702-883-2500
702-883-8200
24 hour bulletin board 702-883-9264
(set modem to 8-n-I t bauds supported 2400,1200,300))
COMPUSERVE APPLE VENDORS FORUM
(When in COMPUSERVE enter ‘GO APP VEND’
and you will find us under sub-topic 6)

TRADEMARK INFORMATION
Sider, Sider D2, Sider D4, Sider D4A, Sider D4T, Sider C46, SiderFile, Siderware,
SiderPartitioner, FastTape are Copyrights of FIRST CLASS PERIPHERALS, INC.
Apple, Apple lle, Apple IIGS, are all trademarks and Copyrights of Apple Computer
Inc.
ProSel, Copyright 1988 of Glen Bredon. 521 State Road, Princeton, NJ. 08540

Table of Contents
1. HARDWARE INSTALLATION.....................................I
1.1 INVENTORY CHECK LIST......................................2
1.2 INSTALLATION PROCEDURE..................................3
1.3 HARDWARE INSTRUCTIONS SUMMARY.....................9
2. SOFTWARE OVERVIEW..........................................11
2.1 STARTING UP THE SIDER....................................12
2.2 RUNNING THE SIDER FOR THE FIRST TIME...............13
2.3 SOFTWARE INSTALLATION..................................16
2.4 DISKETTE INFORMATION....................................16
2.5 INSTALLATION PROCEDURE.................................17
2.6 SOFTWARE INSTALLATION SUMMARY....................24
2.7 PARKING THE HEADS.........................................25
2.8 GS/OS INSTALLATION........................................25
2.9 ProDOS 16 INSTALLATION...................................26
2.10 ProDOS 1.1.1 INSTALLATION..............................28
3. THE SiderFile UTILITY.............................................31
3.1 COMMANDS AVAILABLE.....................................32
3.2 SIDERFILE FUNCTIONS.......................................34
3.2.1 X -Catalog..................................................34
3.2.2 C . Copy Files..............................................35
3.2.3 T-TypeFiles................................................38
3.2.4 L-LockFlles................................................39
3.2.5 U-Unlock Files............................................40
3.2.6 D -Delete Files.............................................41
I

3.2.7 R -Rename A Fuel Volume...........................42
3.2.8 E -Exhume Files......................................43
3.2.9 V -Verify Files ......................................44
3.2.10 S -Sort Directory....................................45
3.2.11 C -Change File Date................................46
3.2.12 / -Create Directory..................................47
3.2.13 N -Show Volume Names............................48
3.2.14B-ToggleBeIl........................................48
3.2.15 P -Toggle Prompting...............................48
3.2.16 M -Move Files.......................................49
3.2.17 F -Format A Disk....................................50
3.2.18 W -Wipe A Volume..................................51
3.2.19 C -Compare Directories.............................51
3.2.20 D -Disable Unused Devices.........................51
4. AN OVERVIEW OF SiderFile’s ProSel.............................53
4.1 INSTALLING THE SiderFile PACKAGE.......................54
4.2 USING SiderFile’s MENU SYSTEM...........................57
4.3 THE BUILT IN EDITOR.........................................58
4.3.1 Available Functions~.................................58
4.3.2 How To Use Each Function...........................58
4.4 ADDITIONAL CAPABILITIES..................................64
4.4.1 Displaying Files I Volumes..........................64
4.4.2 Screen Saver Function................................64
4.4.3 Using ProSel On Multiple Volumes.................64
4.5 PROSEL ON THE APPLE IIGS.................................65
II

5. AUXILIARY PROGRAMS.........................................67
5.1 BACKUP...................................................67
5.1.1 Backing Up To A /RAM Drive......................69
5.1.2 Backing Up To Slot 5 or 2.........................70
5.2 BEACH COMBER.........................................71
5.3 BLOCK WARDEN.........................................75
5.3.1 Read I Write Mode...................................76
5.3.2 EdIt Mode.............................................78
5.4 BOOT.S6 I BOOT.S7......................................80
5.5 CACHE / CACHE.XL......................................80
5.6 CLOCK.DRV PROGRAM.................................82
5.7 COPY/ COPY.GS..........................................82
5.8 FTND.FILE.................................................85
5.9 INFO.DESK................................................86
5.10 MAKE.PPSYS............................................88
5.11 MR.FIXIT................................................89
5.12 PARK.HEADS............................................93
5.13 PASSWORD PROTECTION..............................93
5.14 PIN.PATCHER...........................................95
5.15 PRINT.NAMES...........................................95
5.16 PROSEL.CYCLER.......................................95
5.17 PROSEL.ED..............................................97
5.18 SELECT.SYSTEM........................................98
5.19 RAM.DRV................................................99
5.20 RAMDRV.HEADER....................................100
5.21 RESTORE.FAKE........................................101
III

5.22 RECOVER................................................102
5.23 RESTORE..............................................103
5.24 SCAVENGE ............................................105
6. SiderFile’s ProSel APPENDIX 107
6.1 RUNNING FROM A RAM VOLUME...................107
6.2 AUTOMATIC BOOTING OF A RAM VOLUME........110
6.3 AUTOMATIC BACKUP OF A RAM VOLUME.........111
6.4 CHANGING STARTUP NAMES........................112
6.5 HOW TO GET RID OF PROBLEM FILES..............113
7. SPECIFICATIONS.................................................115
7.1 TECHNICAL INFORMATION ......................... 115
7.1.1 Sider Specifications............................115
8. HARDWARE APPENDIX .......................................117
8.1 HOST ADAPTER CONFIGURATION................... 117
8.1.1 Important Information.........................119
9. FCC AND WARRANTY......................................... 121
9.1 FCC COMPLIANCE.................................... 121
9.2 LIMITED WARRANTY POLICY....................... 122
10. GLOSSARY OF TERMS...................................... 125
Iv

1. HARDWARE INSTALLATION
The hardware section of this manual is written to guide you
through a successful first time installation of the Sider D4 sub-
system on your Apple IIe or Apple IIGS. Most instructions are
identical for both the IIe or IIGS. Where there are differences,
there will be special sections detailing proper procedures.
To install your new subsystem, you’ll find the following helpful:
A quarter-inch, HEX nut driver.
A pair of needle nose pliers.
Your Apple Corporation, OWNER’S GUIDE manual.
HARDWARE INSTALLATION 1

1.1 INVENTORY CHECK LIST
First Class Peripherals makes every effort to make the installa-
tion process as simple as possible. Having the complete pack-
age is a big part of that goal. Please inspect the materials in the
Sider’s shipping carton to assure you have received all the re-
quired items.
1- Sider D4 subsystem. 1- Power cord.
1- Host adapter interface card. 1-Owner’s manuals
1- FIat ribbon cable. 1- Terminator.
1- Dual 25 pin data cable. 2 Program diskettes.
2- Hex nut screws 1- 3-1/2 inch
1- 5-1/4 inch
FIG. 1-1 INVENTORY LIST
2INVENTORY CHECK LIST

1.2 INSTALLATION PROCEDURE
Before proceeding, make sure you have turned your computer’s
power off as well as the power to your other peripherals. Follow
each step in order.
1. Locate the SIDER ‘s host adapter and inspect it for proper
configuration as shown below. The host adapter jumpers
Wi and W2 should be in an open position or removed. To
set in an open position, each plastic jumper should connect
with only one of the two pins. WI and W2 should never be
in the closed position or connecting both pins if the Sider
has a warning label on the rear panel. For use with other
models of the Sider host adapter see the HARDWARE AP-
PENDIX.
FIG. 1-2 HOST ADAPTER SETTINGS
2. With the host adapter properly configured, locate the Sider’s
flat ribbon cable which has a 50 pin connector on one end
and a 25 pin D-SUB connecter on the other. (This cable is
normally rainbow colored).
HARDWARE INSTALLATION 3

3. Connect the 50 pin side of the ribbon cable to the front of the host adapter
as shown in FIG. 1-3.
FIG. 1-3 CONNECTING THE RIBBON CABLE
4 INSTALLATION PROCEDURE

4. Pop-out one of the pass-through port covers on the rear of the
Apple. Connect the end of the ribbon cable with the 25 pin
D-SUB female connector to the rear plate of the Apple. We
suggest using a hex nut driver to attach the 25 pin con- nect
with the hex nuts provided as shown in the figure below.
FIG. 1-4 ATTACHING THJE 25 PIN CONNECTOR
5. To install the host adapter, identify slot 7. (The farthest
standard slot from the power supply.) We recommend this
slot because it is not normally used for other expansion cards
such as modems, printers, floppies etc. Using slot 7 will
make the Sider the boot device on the lle. On the 1105, using
slot 7 will make it the boot device if the CONTROL PANEL
is set to SCAN. You should NEVER use slot 3 on either
machine. It is designed for video cards.
FIG. 1-5 INSTALLING THE HOST ADAPTER
HARDWARE INSTALLATION 5

6. Check the device address window on the top rear of the Sider
D4 to assure the jumper is positioned over the HO position
as shown in FIG. 1-6. If it is not, use the needle nose pliers
to move the jumper to the proper position.
FIG. 1-6 REAR PANEL OF SIDER
6 INSTALLATION PROCEDURE

7. With the host adapter installed, next attach the Sider to the
Apple. Place the Sider next to the Apple with at least 3 in-
ches of clearance for top and sides to allow proper ventila-
tion.
FIG. 1.7 PLACING THE SIDER
8. Attach one end of the data I/O cable to the 25 pin connecter
you installed on the rear of the computer. Attach the other
end to either one of the two 25 pin connectors on the rear of
the Sider.
FIG. 1-8 CONNECTING THE SIDER
9. Locate the Sider’s terminator plug and attach it to the other
of the two connectors on the rear of the Sider.
10. The last step in installing the Sider is to attach the power
cord to the rear of the unit. The Sider’s power switch should
be in the OFF position before applying power.
HARDWARE INSTALLATION 7

The Sider can be added to your power strip or surge protector
equipment. We recommend surge protecting all your computer
equipment to lessen the damaging effects of irregularities in your
community’s power source.
NOTES
8 INSTALLATION PROCEDURE

1.3 HARDWARE INSTRUCTIONS SUMMARY
1- Turn off power to the computer and peripherals.
2 - Check the jumpers on the host adapter.
3 - Connect the ribbon cable to host adapter.
4- Connect the ribbon cable to rear of computer.
5 - Insert host adapter in Apple’s mother board.
6 - Check the device address jumpers.
7 - Connect data I/O cable to the rear of computer.
8 - Connect data I/O cable to the rear of Sider.
9. Connect terminator to the rear of Sider.
10- Insert the power cord.
Having completed the above instructions you are ready to use
the Sider. Turn to the Software Overview section for instruc-
tions on running your programs from the Sider and an initial
check-out procedure.
HARDWARE INSTALLATION 9

NOTES
10 HARDWARE INSTRUCTIONS SUMMARY

2. SOFTWARE OVERVIEW
Each Sider D4 hard drive subsystem comes with a powerful col-
lection of software tools and utilities to ensure maximum benefit
from your hard drive investment. These software programs are
distributed under the name of ‘SiderFile Disk Utilities’.
SiderFile is designed to work with, and extend the features of the
Apple ProDOS operating system. Your Sider hard drive has both
the SiderFile utilities and the Apple ProDOS operating system
pre-installed on it at the factory.
The Siderfile package contains three types of benefits to you:
1. It is built around an easy to use menu system. This system
is know as the ‘Program Selector’ and allows you to design
your own menu of commonly used application programs.
Items can be selected and run from the menu by simply using
the arrow keys or mouse to highlight a menu item and press-
ing return. It is also intelligent. When you are done with an
application and exit from it, the Program Selector menu
automatically reloads and allows you to select your next
operation. Information pertaining to the Program Selector
is found in section 4.2
2. It offers a powerful file management program called the
SiderFile Utility. This program appears in the program
selector menu and offers over eighteen time saving utilities.
Its functions include everything from copying and catalog-
ing files to un-erasing and password protecting them. The
program is screen oriented and will prompt you with simple
and understandable requests for information. Information
about the SiderFile Utility is found in section 3
3. First Class Peripheral’s SiderFile package also includes the
ProSel family of data management tools. These utilities
have gained national recognition for their ability to aid
ProDOS users in recovering from or preventing data
catastrophes. SiderFile includes all of the current ProSel
programs ranging from the data de-fragmenting tool, to the
SOFTWARE OVERVIEW 11

advanced block/byte editor. Also included are intelligent back-
up and restore programs. Discussion of the ProSel utilities is
found in chapter 4 & 5.
The combination of these three pans make up the SiderFile pack-
age. The Sider family of hard drives for Apple II computers are
right choice for the wise investor.
2.1 STARTING UP THE SIDER
The Sider D4 supports the APPLE ProDOS operating system. It
was preformatted at the factory with ProDOS-8 and the Sider-
File software package and is ready to use. The storage area of
the drive is divided into two (2) ProDOS partitions. Each of these
partitions is 19 megabytes.
To use the Sider, check that all the connectors are securely at-
tached, then power on your Apple and Sider. The computer will
load the SiderFile Program Selector from the hard disk and its
menu will appear. To learn more about SiderFile, refer to the
SiderFile and ProSel sections of this manual.
If your Apple does not boot the operating system from the Sider,
check the following:
Can you hear the drive spinning?
•Is the Sider plugged in, turned on and connected to the
computer?
Is the Host Adapter card in slot 7?
•If you have an Apple IIgs, make sure the CONTROL PANEL
is properly set up for the slot you put the Sider’s host adapter
in (See the Special Instructions for IIGS, see section 2.5).
If these conditions are correct, the drive may simply need re-for-
matting. To re-format the Sider and prepare it to store your files
and programs, proceed to Section 2.3.
12 STARTING UP THE SIDER
Table of contents
Other First Class Peripherals Storage manuals
Popular Storage manuals by other brands

Lifetime
Lifetime 60298 Assembly instructions
Spectra Logic
Spectra Logic Spectra nTier500 install guide
Seagate
Seagate Constellation ES product manual

LaCie
LaCie 107416 - 1.6/4.16TB AIT3 2U 16SLOT user guide
Seagate
Seagate Constellation ST9500622SS product manual
Addonics Technologies
Addonics Technologies External CipherChain manual
