Preparing the Oven
1. Place the oven on a bench or stand at a con-
venient working height. Maintain a minimum of
12 inches of clearance between the oven and
any combustible surfaces.
2. Turn temperature control to low position and
turn power switch off.
3. Check voltage and watts stamped on the data
plate for compatibility before connecting oven to
power source. The data plate can be found
near the power cord.
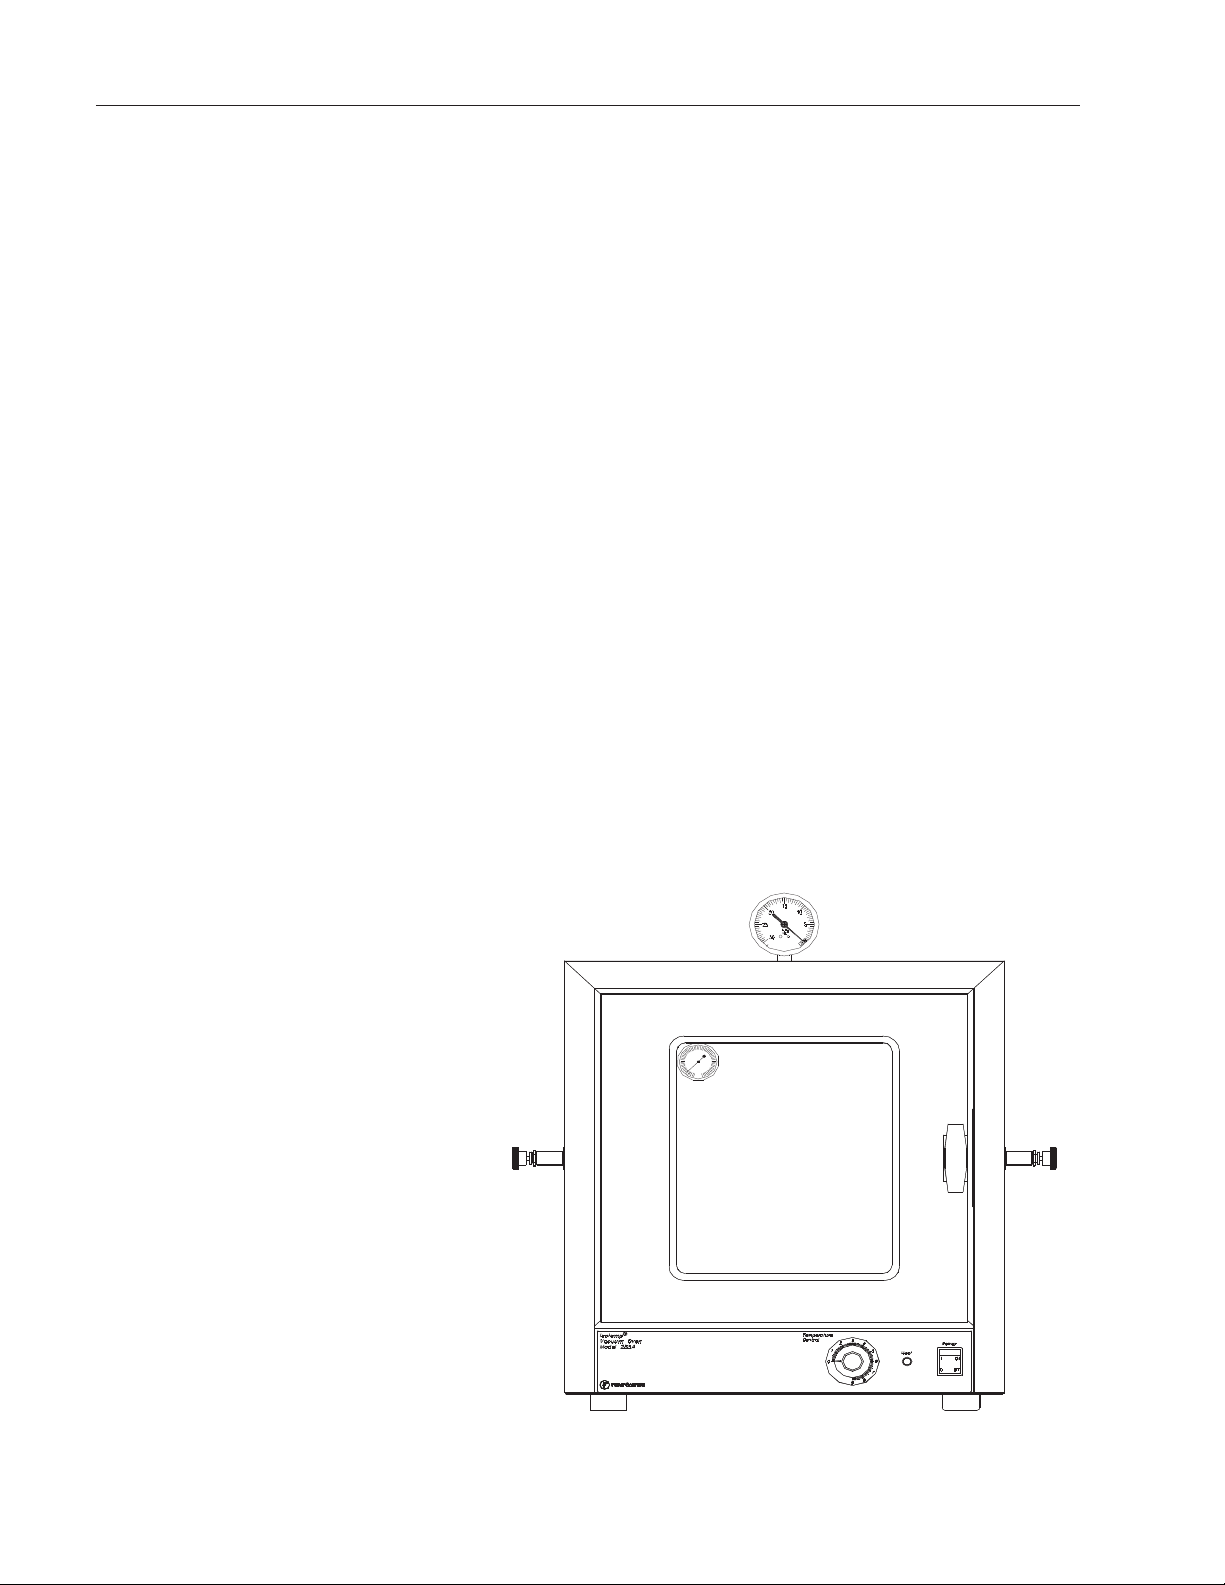
4. Connect a vacuum pumping system, including a
suitable trap, to the serrated fitting on the valve
designated as vacuum. Use 1/4” ID heavy
walled tubing and secure the connection with a
hose clamp.
5. If desired, connect a purge gas supply to the
remaining serrated fitting. Use a two stage gas
flow regulator if gas is to be supplied by a pres-
surized cylinder.
Temperature Adjustment
1. Turn the power switch on, to supply power to
the oven.
2. Turn the Temperature Control knob fully clock-
wise. The " eating" indicator will glow when the
unit is heating. When the temperature reaches
the desired operating level (as indicated on the
thermometer) turn the Temperature Control knob
counterclockwise until the " eating" indicator
turns off. Allow the temperature to cycle on and
off several times (3 to 4 hours) to make sure the
oven has stabilized. Adjust the Temp. Control
knob up or down as necessary.
3. When temperature is at the desired setting pro-
ceed to operate in any one of the following vac-
uum environments.
7
Operation
Note
Recommended vacuum tubing and
vacuum pumps are listed under the
Accessory Items section of this man-
ual.
Note
When the oven is new and is first
heated, the insulation will become
scorched and some smoke and
burning odor will occur. It is normal
for this condition to last 2 to 3 hours
at high heat.