FishHunter Pro User manual

U
SER MANUAL

TheFishfinderSonar
Thank you for purchasing a FishHunter.
This quick start guide will tell you the
main things you need to know to start using
our product.
If you would like more information you can
also go directly to our web site where we
have video’s and additional content.
www.fishhunter.com

TheFishfinderSonar
A military grade fishfinder
Engineered with military grade technology,
FishHunter is a powerful sonar fishfinder for
Apple and Android phones and tablets. The
sonar floats on the top of the water and tracks
water temperature, depth and fish locations.
The FishHunter sonar connects to your
smartphone/tablet via Bluetooth by using our
free APP, so you don’t need to have a cell tower
connection to use your new fishfinder.
Using our Free app, you will also have the ability
to access and store critical fishing info like
you’re favorite fishing spots, your catch details,
share with friends and enter one of our many
free contests.
You can download our free app from the either
the Google Play store for android users or the
Apple App store for IOS users.

CHARGINGYOURFISHFINDER
Using your new FishHunter can be easy you
just need to charge it up!
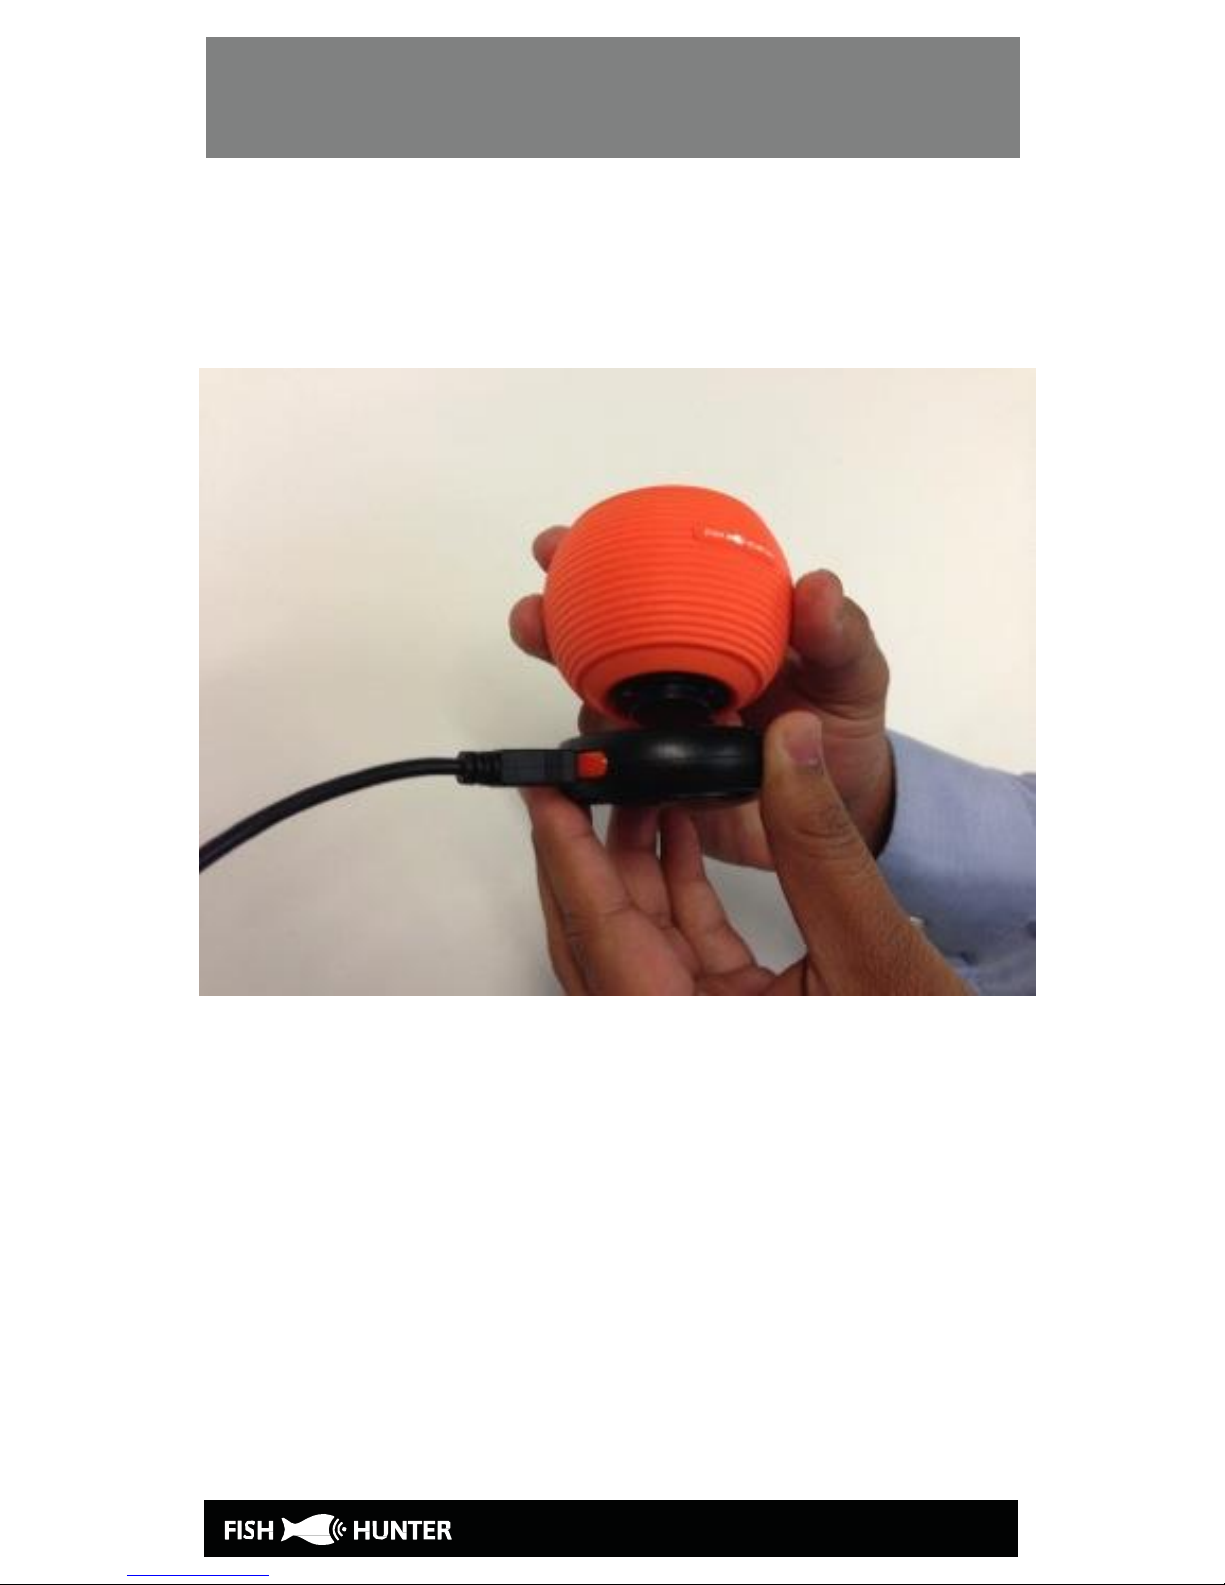
Step 1: Connect the sonar to the charging
base
Step 2: Connect USB cable to the charging
base
Step 3: Connect USB cord into the charger
Step 4: Check to see 2 charging lights are on.
Step 5: Download app to smartphone/tablet
Step 6: Pair your charged sonar with
phone/Tablet.
Step 7: Turn on your sonar using the app
CHARGINGYOURFISHFINDER
Step 1: Connecting the sonar and the
charging base

CHARGINGYOURFISHFINDER
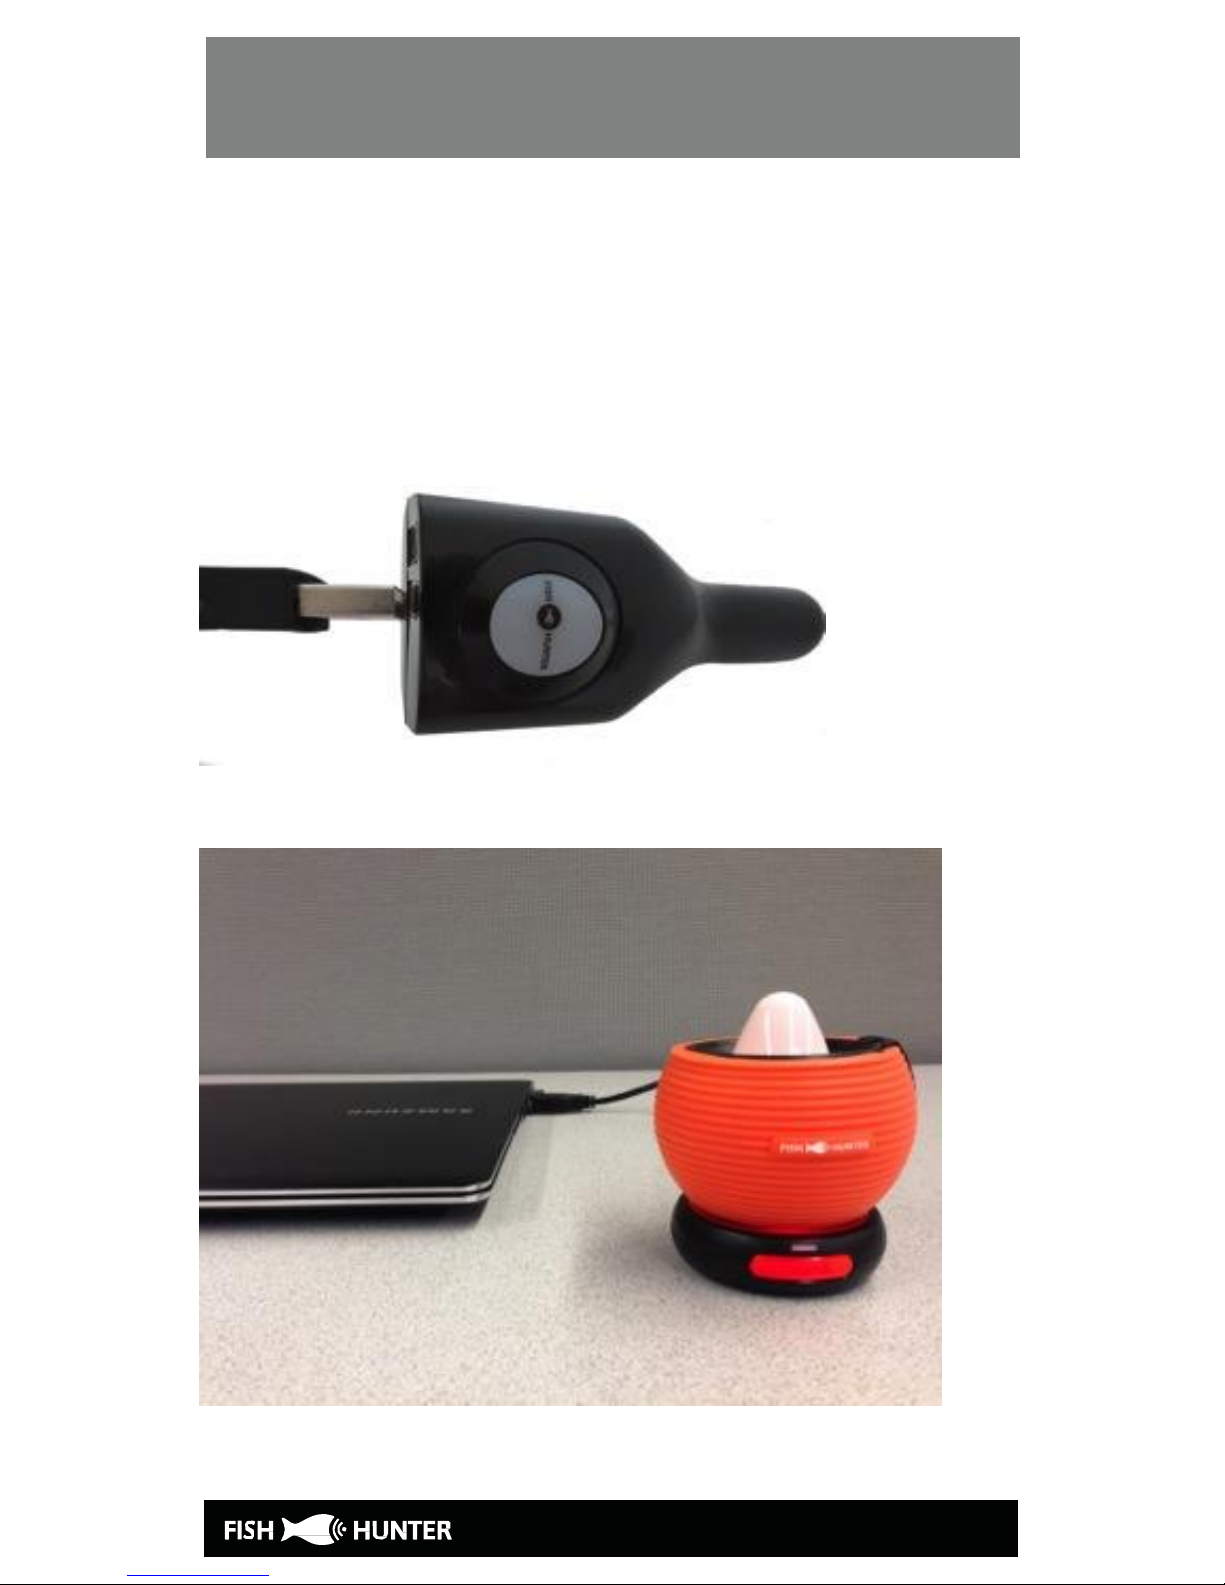
Step 2: Connecting the USB Cable to the
charging base
The connection between USB-mini cable and the
charging base is shown below:
Connect the charging base and USB cord by
inserting the cord into the opening on the
charging base as shown below:
CHARGINGYOURFISHFINDER
Step 3: Connect USB cord into the charger
Connect the other end of the USB cord to the
computer or a USB charger.
CHARGINGYOURFISHFINDER
Step 4: Check to see both charging lights are
on
You will notice that a red light appears on the
charging base which means that the base has
power and is ready to charge the sonar.

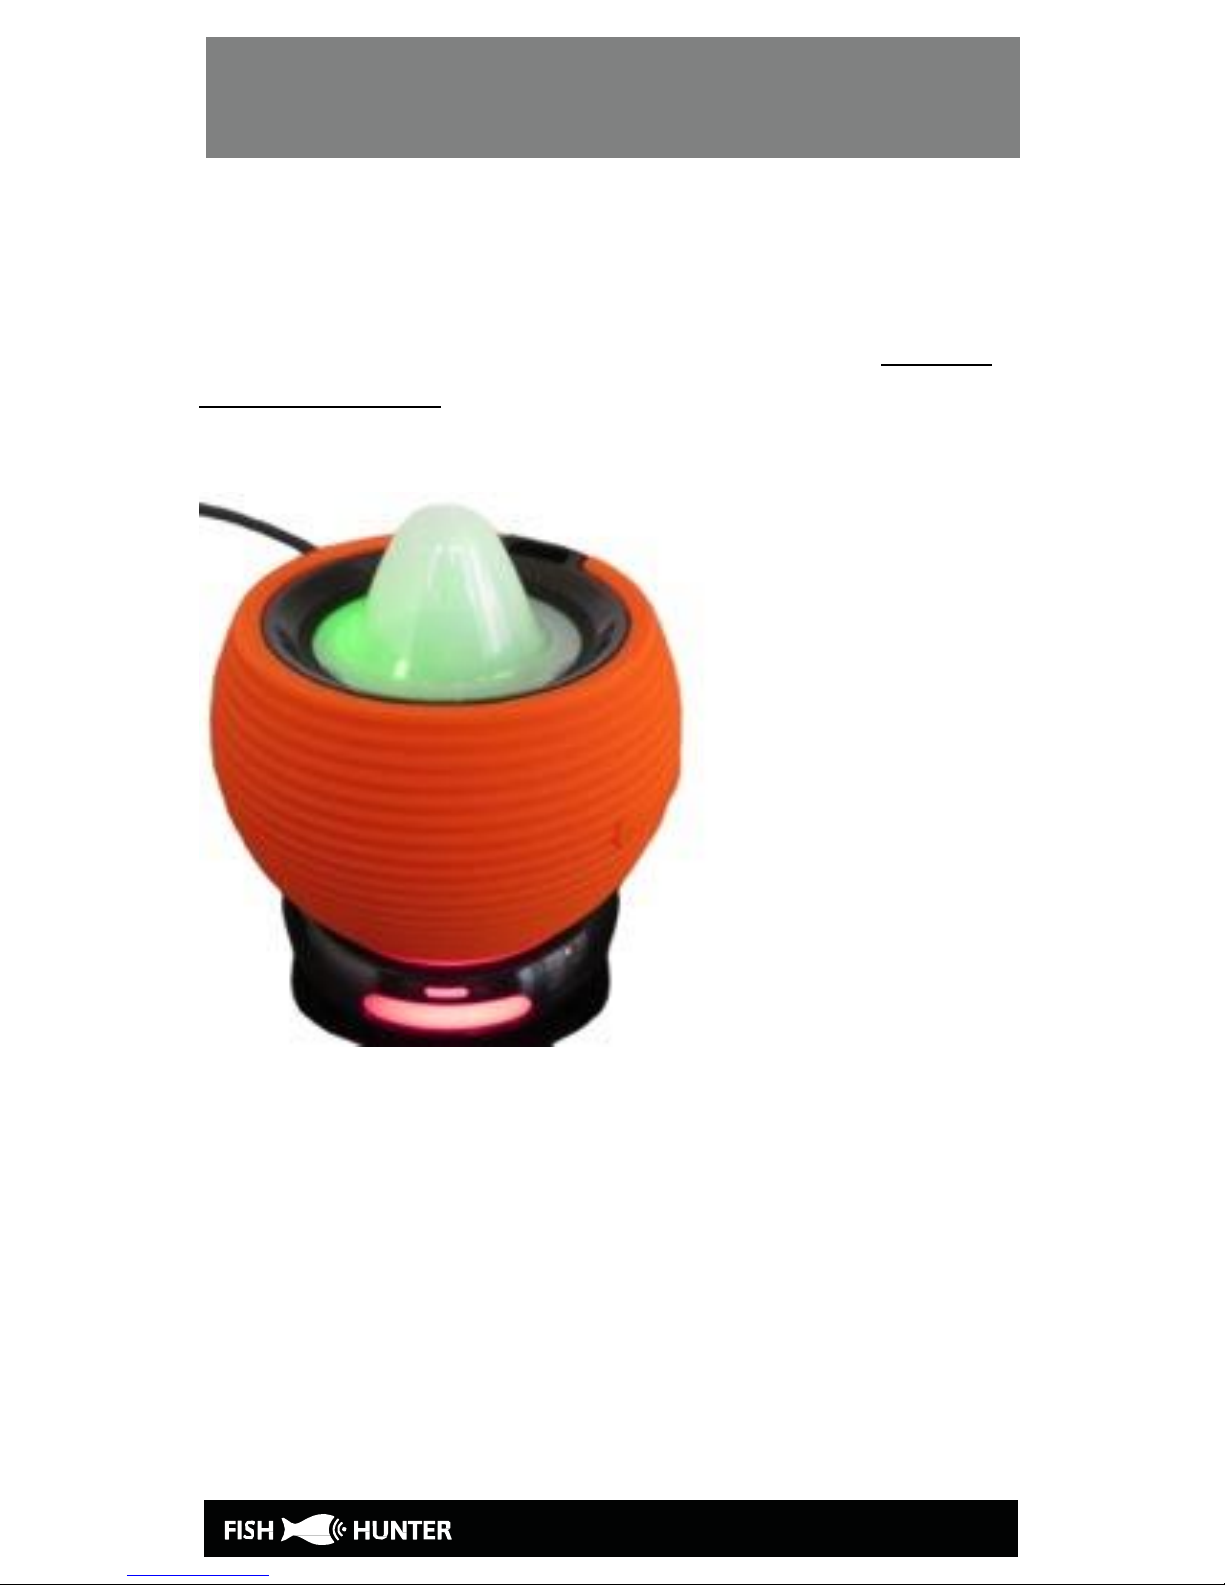
CHARGINGYOURFISHFINDER
When the sonar is attached to the charging base,
the sonar body will lit up yellow while charging is
in progress. This light will turn green when the
charging is complete.
Step 5. Download the “FishHunter Pro” app
to your smartphone/tablet

BLUE TOOTHPAIRWITHAPP
6. BLUE TOOTH PAIR THE APP WITH SONAR
Important reminders:
- It takes about 2 hours to fully charge your
FishHunter sonar.
- Your fishfinder body does not operate in air; it
only works when it is placed on the water
surface. Please deploy it in water before you
begin the following Bluetooth connection
process.
- Your fishfinder connects to your mobile device
using Bluetooth connection. The fishfinder
broadcasts a signal that your phone will pick up
and connect with.
Step 1:
Ensure your fishfinder is fully charged by
following the charging instructions above.
Step 2: Place your sonar into water. You will see
that the sonar’s red lights are blinking fast and
eventually stay lit to indicate that the sonar is
“waking up.”If the red light is not on, the sonar
is OFF.
Other manuals for Pro
2
Table of contents


