manuals.online logo
Brands
  1. Home
  2. •
  3. Brands
  4. •
  5. Flipsky
  6. •
  7. Remote Control
  8. •
  9. Flipsky VX2 User manual

Flipsky VX2 User manual

Remote VX2 product manual
01Introduction
02 Wiring diagram
BAT+




GND VESC GND
VESC 5V
VESC RX
VESC TX

PPM
Receiver Connection with VESC


Thank you for purchasing this product!
Improper operation may result in useless or even damage to the product. We strongly recommend that
you read this manual carefully before using this product and strictly follow the prescribed operating
procedures.
We are not responsible for any liability arising from the misuse of this product, including but not
limited to liability for direct or indirect loss or damage; And we do not assume any liability for
unauthorized modification of the product. We reserve the right to change product design, appearance,
performance and usage requirements without prior notice to the buyer.

Power on/off button
Setting button
USB charging port
Hang strap
Accelerate/Brake
gear
Display screen
Receiver LED light

Remote power
Speed




km/h
H
M
L
CurrentMileage
Forward/Reverse
Skateboard powerConnection Status
Speed mode
1

03 Operation Manual
1> Press power on/off button for 1 second to turn on and the remote screen display “FLIPSKY” and
shakes at the same time; after power on, press power on/off button for 2 seconds to shut down, and the
remote shakes at the same time.
2> Remote will power off in 10 minutes without any operation, except for cruise control mode.
2

The remote will not work unless it’s paired with the receiver .
How to pairing?
Step1, Power on remote and press the Setting button for 3 seconds then the remote comes to parameter
setting mode
Step2, Shortly Press Setting button and shift setting options to“Pairing”then press Setting button
until“Pairing”becomes blinking and then remove from the button and now the remote will get in
Pairing Mode.
Step3, Power on the receiver and then the remote and receiver will be Pairing; If the screen shows
“Pairing succeed”then Pairing succeed.
Reminds: In step 3, if the receiver does not light red within 10 seconds and turns to blink and the
screen keeps blinking status and does not show “Pairing succeed”which means Pairing failure and will
exit Pairing Mode. Please re-power on the receiver and keep Pairing.
If the signal light is blinking, pairing failed, retry all steps from the beginning.
3

Top left corner of remote screen does not show any connecting symbol and receiver signal LED keeps
blinking – Not Connected
Top left corner of remote screen show connecting symbol and receiver indicator shows
bright–Connected.
4

Push the acceleration/brake gear forward, then speed up. Push it backward, then braking .
Switch speed mode: Keep the acceleration/brake gear default or original status, quick press the Setting
button to switch the speed mode : Low speedMedium speedHigh speed.
“H”“M”“L”in remote screen are corresponding to “High speed” “Medium speed”“Low
speed”accordingly.

5

Push the accelerate gear to a speed that you like , then shortly press the power button, remote will
vibrate one time, then your electric skateboard is in cruise mode;
Press any button to exit cruise mode.
6 Parameter Setting
Press Setting button for 3 seconds and then enter remote Setting Mode. Quick press Setting Button to
shift setting options.
How to revise data in a setting option?
Shift to the option that you want to revise parameter,
Then pressing the setting button for 3seconds until the option item is blinking.
Next when the option title becomes blinking the parameter could be adjusted by sliding throttle pulley,
acceleration is to increase the data and braking direction is to reduce the data.
When the revised date is confirmed, shortly press the Power button to confirm revision and shortly
press Power button again to exit setting menu.
Parameter supporting setting:
Setting and save of Battery Cells , Pole Pairs ,Wheel Type, Motor Pulley, Wheel Pulley, Wheel
Diameter, Throttle Calibration( Remark: For Wheel Type, parameter of Motor Pulley and Wheel Pulley
could only be set in Pulley option)
Popular Remote Control manuals by other brands

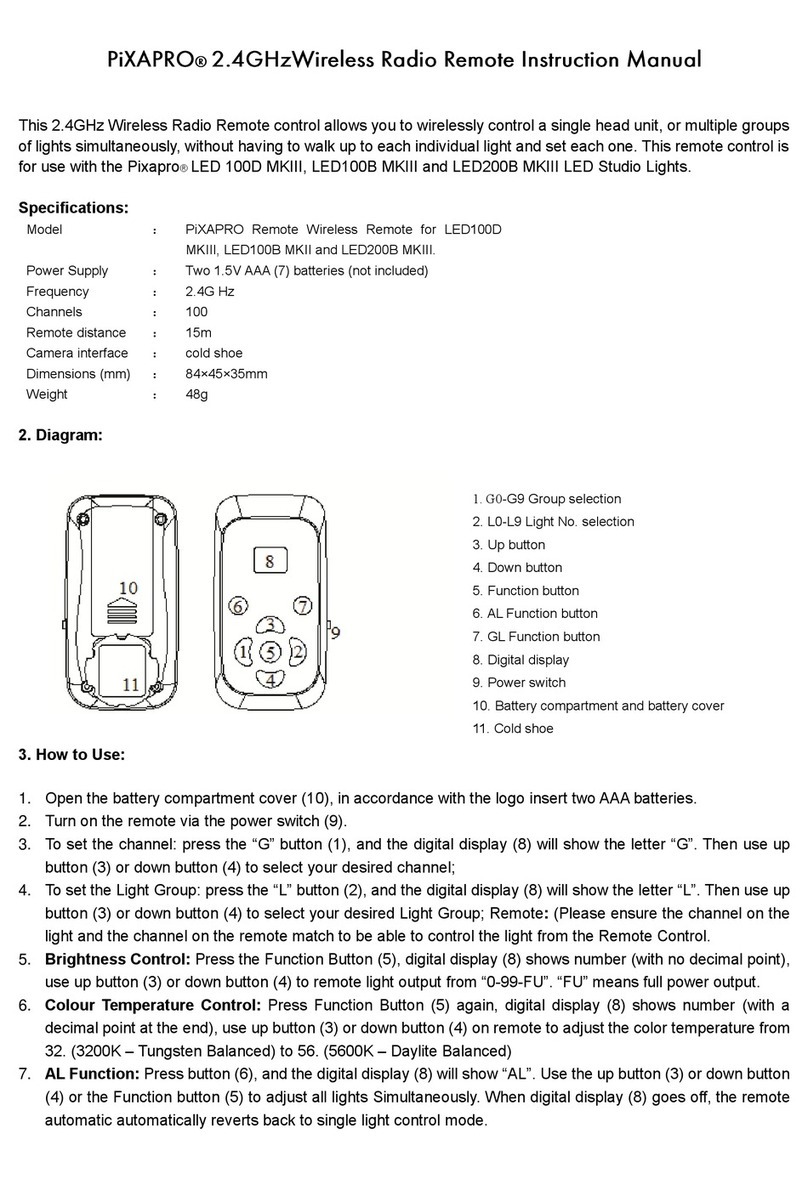
Pixapro M-060006 instruction manual

Pixapro

Pixapro M-060006 instruction manual

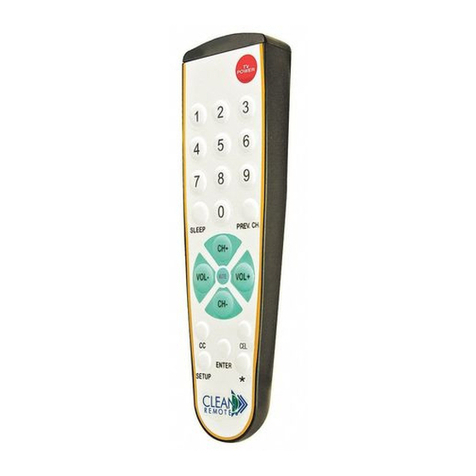
Clean Remote CR3BCB Instructions for

Clean Remote

Clean Remote CR3BCB Instructions for

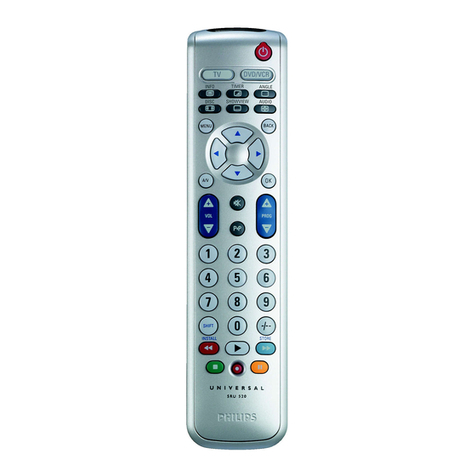
Philips SRU 5020/87 Instructions for use

Philips

Philips SRU 5020/87 Instructions for use

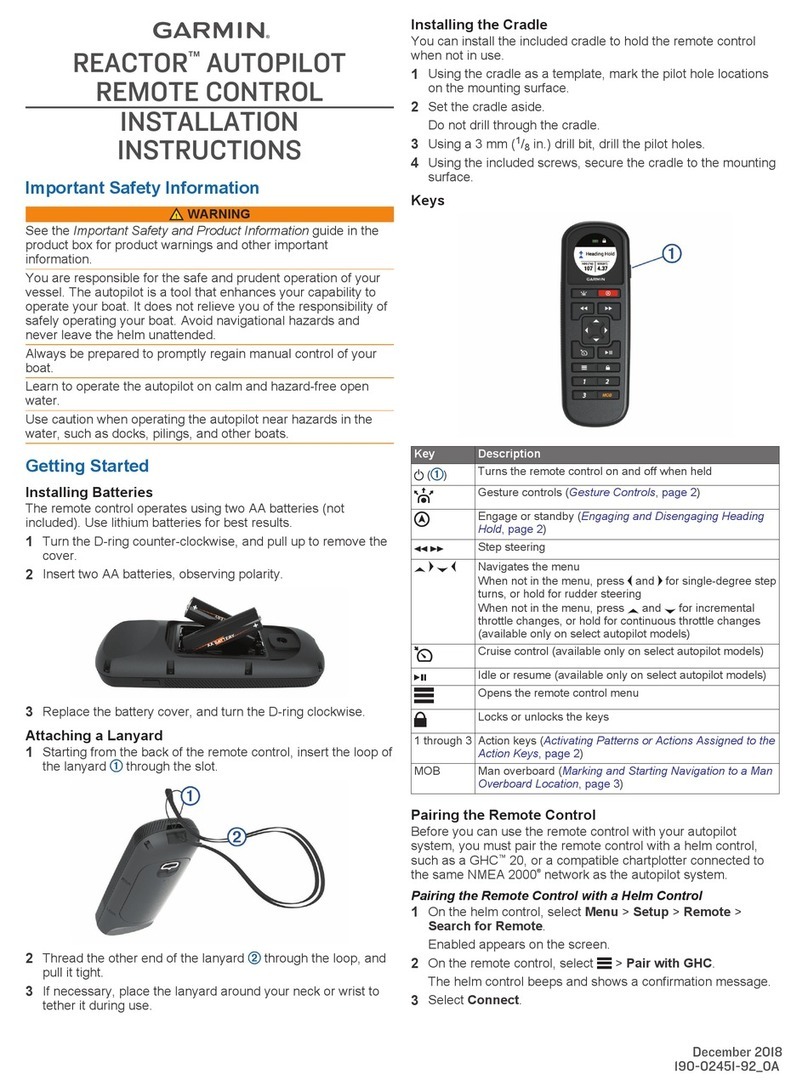
Garmin REACTOR installation instructions

Garmin

Garmin REACTOR installation instructions

Woodbridge BID03 user manual

Woodbridge

Woodbridge BID03 user manual

Velleman VM118R manual

Velleman

Velleman VM118R manual

Universal Remote Control CABLEVISION UR2-CBL-CV04 operating instructions

Universal Remote Control

Universal Remote Control CABLEVISION UR2-CBL-CV04 operating instructions

Toshiba RBC-CR1-PE owner's manual

Toshiba

Toshiba RBC-CR1-PE owner's manual

elco REMOCON PLUS 2 operating instructions

elco

elco REMOCON PLUS 2 operating instructions

Daikin DCS302C51 Operation manual

Daikin

Daikin DCS302C51 Operation manual

Pulsar PULSAR RCC instructions

Pulsar

Pulsar PULSAR RCC instructions

Carrier RBC-AMS54E-UL installation manual

Carrier

Carrier RBC-AMS54E-UL installation manual

RCA SYSTEMLINK3 RCU1300 manual

RCA

RCA SYSTEMLINK3 RCU1300 manual

Zenith ZRF1 user manual

Zenith

Zenith ZRF1 user manual

Extron electronics IR 701 Instruction guide

Extron electronics

Extron electronics IR 701 Instruction guide

Universal Electronics Millennium 4 user guide

Universal Electronics

Universal Electronics Millennium 4 user guide

RIB SUN 2CH instructions

RIB

RIB SUN 2CH instructions

CoastKey Master FOB user manual

CoastKey

CoastKey Master FOB user manual

manuals.online logo
manuals.online logoBrands
  • About & Mission
  • Contact us
  • Privacy Policy
  • Terms and Conditions

Copyright 2025 Manuals.Online. All Rights Reserved.