Fluid Gaming EK-AC Radeon RX 5700 +XT User manual
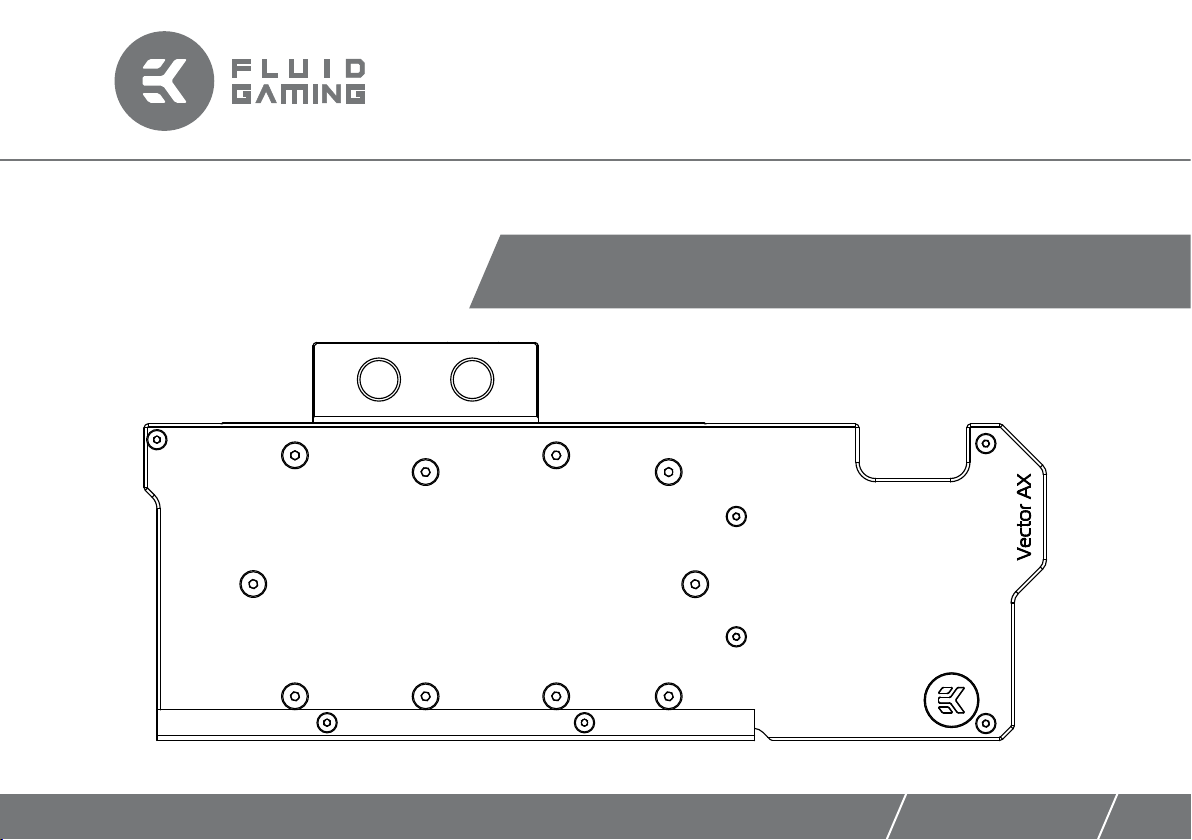
EK-AC Radeon RX 5700 +XT
USER GUIDE
1st Revision, Sep 25th 2019


/ 3 /
IMPORTANT INFORMATIONS
This product is intended for installation by expert users. Please
consult a qualified technician for installation. Improper installation
may result in damage to your equipment. EK Water Blocks
assumes no liability whatsoever, expressed or implied, for the use
of these products, nor their installation. The following instructions
are subject to change without notice. Please visit our web site at
www.ekwb.com for updates. Before installation of this product
please read important notice, disclosure and warranty conditions
printed on the back of the box.
Before you start using this product please follow these basic
guidelines:
1. Please carefully read the manual throughly before beginning with
the installation process!
2. Please remove your Graphics card from the computer to assure
safest mounting process in order to prevent any possible damages
to your GPU and/or graphics card circuit board (PCB).
3. The EK-ALU ACF and EK-ALU HDC type fittings require only
a small amount of force to screw them firmly in place since the
liquid seal is ensured by the rubber O-ring gaskets.
4. The use of corrosion inhibiting coolants is always recommended
for any liquid cooling system.
This product is made from aluminum and can be only used
with other aluminum liquid cooling components, such as Al
fittings, water blocks and radiators. Mixing aluminum with
copper and brass products can cause galvanic corrosion of
the metal and render liquid cooling equipment useless. Such
misuse is not covered by warranty.

/ 4 /
GENERAL INFORMATIONS
CONTENT:
- EK-AC Radeon RX 5700 +XT waterblock
- Mounting screws
- Thermal pads
REQUIRED TOOLS:
- Scissors
- Phillips head screwdriver
- Optional: pliers
BAG CONTENT:
Bag content is universal for all water blocks, you may not need all screws.
M2,5x4 AXI
16 pcs
M2,5x8 AXI
2 pcs
PVC washer
16 pcs
Thermal grease
1 pc
EK plug G1/4 Acetal
2 pcs
M2,5x6 AXI
13 pcs
M2,5 nut
6 pcs
M3x4 DIN7985
2 pcs
2,5 mm Allen key
1 pcs
Replacement mounting mechanism: AC - Tip F (M2,5 x AX1) (EAN: 3831109817100)
/ 5 /
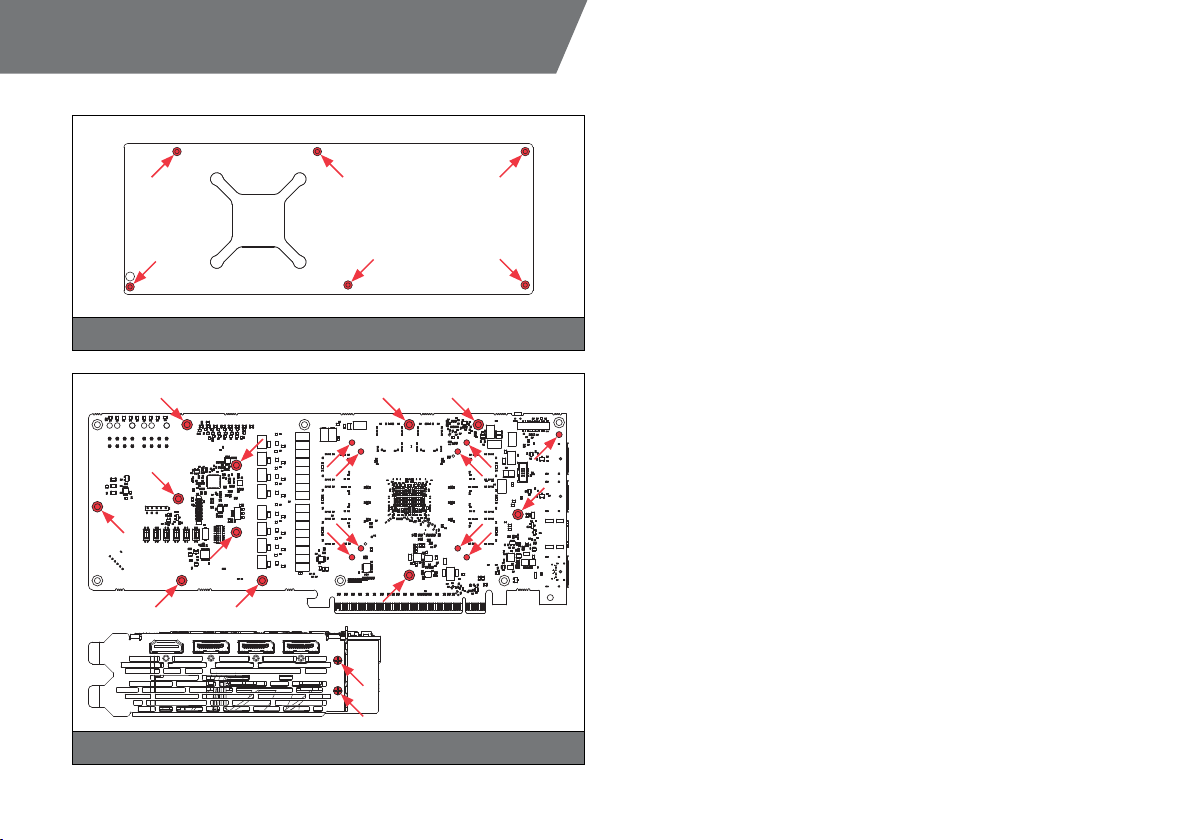
PREPARING YOUR GRAPHICS CARD
STEP 1
REMOVING THE FACTORY PROVIDED BACKPLATE
Remove all encircled screws using a Phillips head screwdriver, then take off
the backplate. Save these screws for later. You will need them when reinstalling
the backplate.
STEP 2
REMOVING THE STOCK COOLER
Remove the remaining screws as shown below. The cooler can now be
gently removed, take care to unplug the LED and Fan connections. If there
are any self-adhesive washers or either side of the PCB these should also
be removed.
STEP 1
STEP 2
/ 6 /
STEP 3
CLEANING THE PCB
Wipe off the remains of any thermal compound from the GPU core by using a
non-abrasive cloth or q-tip. EKWB recommends the use of denatured alcohol for
removing TIM leftovers. Additionally, remove all of the stock thermal pads from both
sides of the PCB.
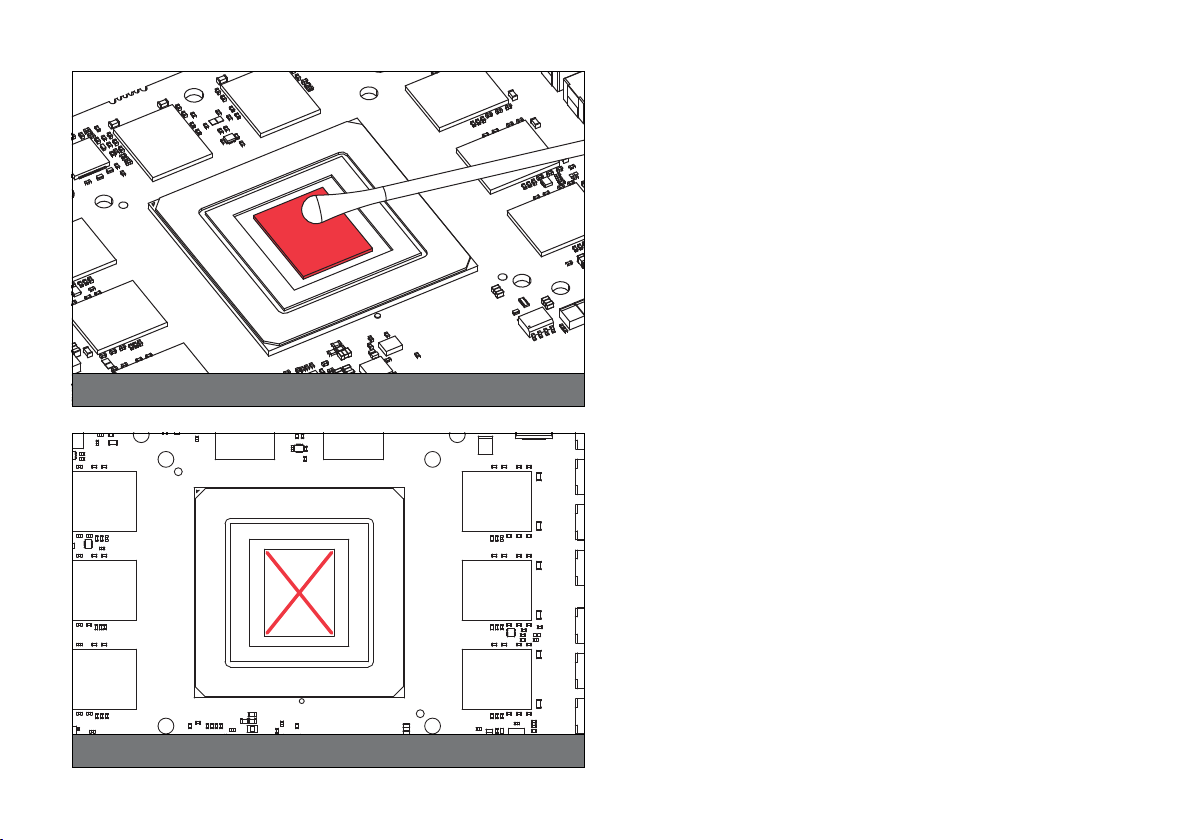
STEP 4
APPLYING THERMAL COMPOUND
Lightly cover AMD GPU chip with enclosed EK-TIM Ectotherm thermal grease.
EKWB recommends to apply the thermal grease in a cross form to best performance
(see sample picture).
STEP 3
STEP 4

/ 7 /
STEP 5
CUTTING THERMAL PADS
Your block is supplied with thermal pads that need to be cut into smaller pieces in
order to cover all VRM components. PLEASE REMOVE THE PROTECTIVE FOIL
FROM BOTH SIDES OF THE THERMAL PADS PRIOR TO INSTALLATION.
Replacement thermal pads:
1. Thermal Pad E – 0.5 mm (RAM 8x) – (EAN: 3830046996688)
2. Thermal Pad F 1,0 mm - (120 x 16 mm) – (EAN:3830046996732)
3. Thermal Pad F 0,5 mm - (120 x 16 mm) – (EAN: 3830046996725)
STEP 6
PLACING THERMAL PADS
Once cut to size the thermal pads should be applied to the PCB as illustrated below.
EK made sure to provide customers with more than adequate quantity of thermal
pads to complete this step.
1: Thermal Pad E – 0.5 mm
2: Thermal Pad F – 1.0 mm
12
100
3: Thermal Pad F – 0.5 mm
16
120
16
120
F 1.0 mm
F 0.5 mm
E 0.5 mm
STEP 6
STEP 5

/ 8 /
INSTALLING THE WATER BLOCK
STEP 1
PLACING THE BLOCK ON TO THE GRAPHICS CARD
Carefully position the water block with preinstalled standoffs on to the graphic
card. During this process please make sure you align mounting holes on the
PCB with holes on the water block. Also pay attention not to use too much force.
STEP 2
ATTACHING THE BLOCK TO THE GRAPHICS CARD
Use a Phillips screwdriver,screw with the enclosed M2.5X4 AX1 screws. EKWB
recommends users to start tightening the screws around the GPU core and
continue outwards.
STEP 1
STEP 2
Plastic washer
Screw M2,5x4 AX1

/ 9 /
INSTALLING THE BACKPLATE
Take six mounting countersunk screws (M2.5x8) that you have already removed
from the backplate and install them as shown in the picture.
Tighten the screws with the Phillips head screwdriver.
Screw M2,5x8
INSTALLING THE FITTINGS AND TUBING
Plug G1/4
Plug G1/4
Compression fitting
Screw in the two G1/4 threaded male fitting. Attach the liquid cooling tubes and
connect the water-block(s) into the cooling circuit. On other two G1/4 openings
attach the enclosed plugs.
You can use any opening as an inlet/outlet port.
In case of using connectors other than EK-ALU series compression
fittings, take special attention to the length of the fittings male G1/4
thread. 5 mm is the maximum allowed G1/4 thread length!
/ 10 /
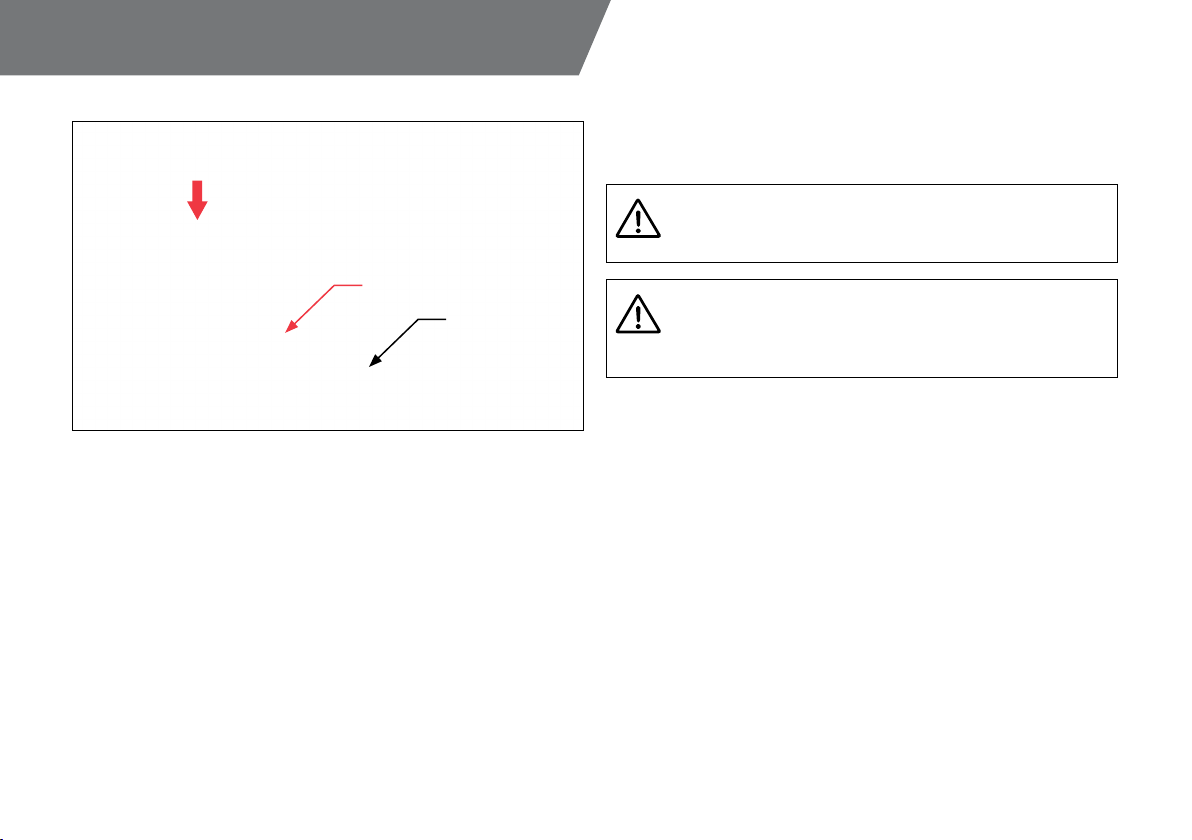
CONNECTING THE D-RGB LED STRIP
Plug the 4-pin connector from Water block’s D-RGB LED light to the DRGB
HEADER on the motherboard. The LED will work if the pin layout on the header
is as follows: +5V, Digital, empty, Ground.
Please ensure that the arrow indicated on the connector is plugged
into the +5V line as indicated on your motherboard. If you put LED
Diode to the 12V RGB HEADER you can damage the LEDs.
Connector is the same on D-RGB and RGB versions, but D-RGB
version has 3 cables from connector to PCB; RGB version has 4
cables. If you connect D-RGB led to ordinary RGB header you can
damage your motherboard or LED strip.
D-RGB Header
RGB Header

SUPPORT AND SERVICE
For assistance please contact:
http://support.ekwb.com/
EKWB d.o.o.
Pod lipami 18
1218 Komenda
Slovenia - EU
SOCIAL MEDIA
EKWaterBlocks
@EKWaterBlocks
ekwaterblocks
ekwaterblocks
EKWBofficial
Table of contents


