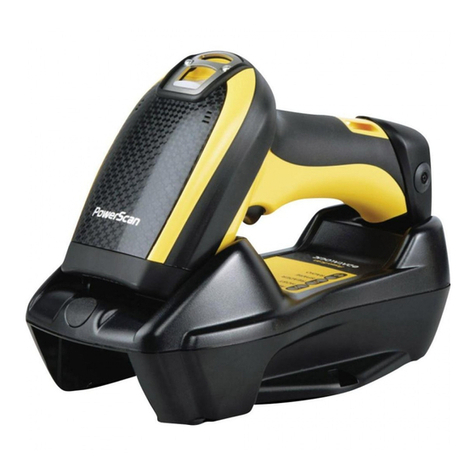
Fluid Life WinRoast User manual

The Fluid Life Corporation Revised March 28, 2008
W
Wi
in
nR
Ro
oa
as
st
t
B
Ba
ar
r
C
Co
od
de
e
S
Sy
ys
st
te
em
m
S
Se
et
tu
up
p
a
an
nd
d
U
Us
se
er
r
G
Gu
ui
id
de
e

The Fluid Life Corporation Revised March 28, 2008
WinRoast Bar Code System Setup and User Guide
2
Table of Contents
System Requirements: .................................................................................................... 3
Initial Hardware Installation and Setup:.................................................... 3
Scanner Setup:
........................................................................................................ 3
Selecting the Scanner Port
................................................................................... 3
Connecting the Scanner to Your PC
.................................................................. 3
Preparing Your Scanner for First Use
................................................................ 4
Printer Setup
............................................................................................................ 5
Connecting the Printer to Your PC
.................................................................... 5
Setting Default Label Size in Windows
............................................................. 6
Using the Printer and Scanner With WinRoast...................................... 7
Preparing to Print from WinRoast
..................................................................... 7
Printing Labels for Sample Containers
............................................................. 8
Scanning and Entering Sample Information
................................................... 9

The Fluid Life Corporation Revised March 28, 2008
WinRoast Bar Code System Setup and User Guide
3
WinRoast Bar Code System Setup & User Guide
Congratulations on purchasing the most powerful oil sampling system available.
With companion printer and scanner, WinRoast Software provides the fastest
and easiest method of data access and control.
System Requirements:
• Windows 98 or later.
• WinRoast 2.2 Build 338 or higher
The following instructions assume you have WinRoast loaded on your PC.
Initial Hardware Installation and Setup:
Scanner Setup:
Selecting the Scanner Port
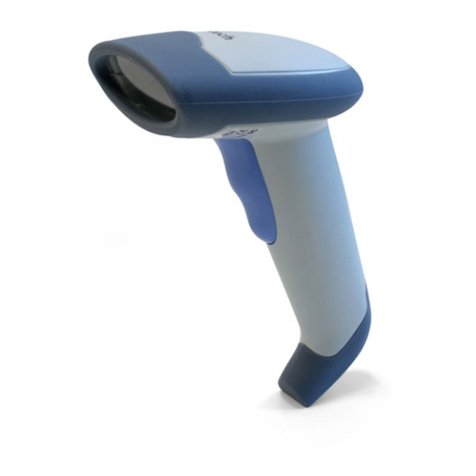
Connecting the Scanner to Your PC
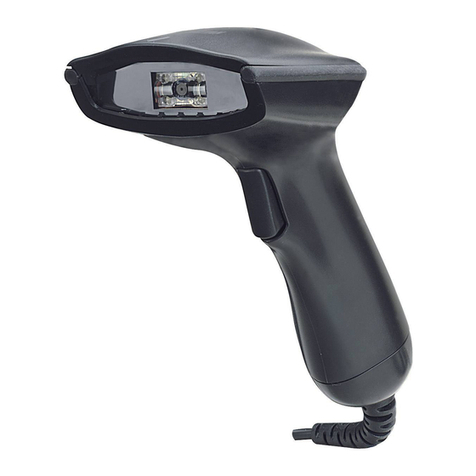
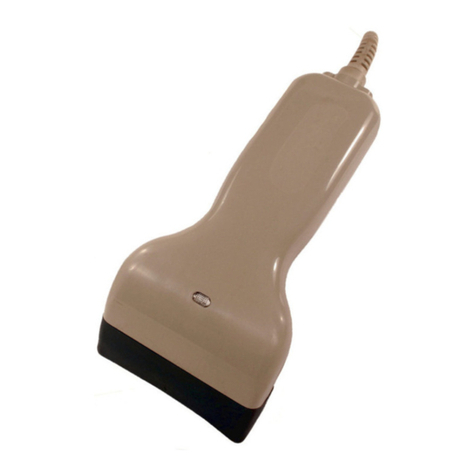
Attach female end of com port cable from the Bar code scanner to the selected
male com port on computer. Plug power cord into the back of the com port cable
and then plug transformer into a surge protected power supply.

The Fluid Life Corporation Revised March 28, 2008
WinRoast Bar Code System Setup and User Guide
4
Preparing Your Scanner for First Use
To get your scanner to work you must first:
Scan the following bar codes which are located in the Quick Start Guide that
comes with the scanner:
Under the Carriage Return/Line Feed section:
1) SCAN OPTIONS
2) <DATA><SUFFIX>
3) ENTER
After you complete this process you should be ready to scan.

The Fluid Life Corporation Revised March 28, 2008
WinRoast Bar Code System Setup and User Guide
5
To tell WinRoast which
COM port the bar code
scanner is attached to, an
option is available in the
Sampling Tab of the
Preferences Window.
Printer Setup
Connecting the Printer to Your PC
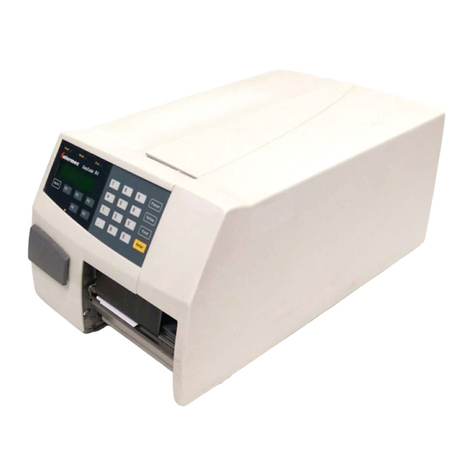
Dymo LabelWriter 400 Turbo (the label printer) hooks up via USB to the pc. You
must first install the printer driver that comes with it. (For Vista, you may have to
download the Software package from the website it should install a Vista printer
driver for you.
https://global.dymo.com/enUS/RNW/RNW.html?pg=std_adp.php&p_faqid=101
Carefully install the labels in your Dymo
LabelWriter 400 Turbo according to the
instruction manual provided.

The Fluid Life Corporation Revised March 28, 2008
WinRoast Bar Code System Setup and User Guide
6
Setting Default Label Size in Windows
The default label size of for the Dymo
LabelWriter must be setup. To do this,
go to Control Panel->Printers and right-
click the Dymo Label printer and select
Properties. From the
General Tab press Printing
Preferences->Advanced->Paper Size:
(30334 2-1/4in x 1-1/4in)

The Fluid Life Corporation Revised March 28, 2008
WinRoast Bar Code System Setup and User Guide
7
Using the Printer and Scanner With WinRoast
Preparing to Print from WinRoast
To ensure samples don’t get
transmitted to the lab system
upon communication, the Hold
All Setup Samples option can
be set in the Sampling Tab of
the Preferences Window. This
automatically puts any new
samples created on ‘hold’
which prevents them from
being sent.
The user can also choose to
turn on the Do Not Show Setup
Window on Sample Setup
option in the Sampling Tab so
creation of setup samples do
not automatically pop open a
Setup Sample Window.

The Fluid Life Corporation Revised March 28, 2008
WinRoast Bar Code System Setup and User Guide
8
Printing Labels for Sample Containers
Sample Label Batches Command (Utilities Menu)
Displays the sample label batches window. This window shows all setup and
sent samples currently in the database. Any setup or sent samples that haven’t
had their corresponding sample labels printed yet will be under the Batch named:
Unprinted Labels. A few or all these samples can be selected to print. Once
printed, a new batch is named to match the present date. This indicates the
samples are a batch and were printed on that date. Any samples that have
already been printed can be re-printed.
Go to Utilities->Sample Label
Batches and select the setup
samples that require printed
labels. After the selections are
made press “Print All” or “Print
Selected”.
This in turn pulls up Report
Writer with a print dialog and it
should default to the DYMO
LabelWriter printer driver. Print
the labels as needed. The
report definition for the layout of
the labels is in the file
“dymolabel.rpd” and can be
modified to suit any specific
needs.
Apply labels before taking
samples. Make sure adhesive
label is properly affixed to the
sample jar before sampling. Use
guides provided by Fluid Life to
take a good sample.

The Fluid Life Corporation Revised March 28, 2008
WinRoast Bar Code System Setup and User Guide
9
Scanning and Entering Sample Information
After the sample is taken, the
bar coded label on the jar can
be scanned using the bar code
scanner. The corresponding
Setup Sample Window will
automatically open.
With the corresponding Setup
Sample Window open,
complete any editing needed.
The sample is no longer put on
hold and is automatically
'released or unlocked'. The
sample data will then be sent to
Fluid Life on the next 'Call Lab'.
Setup samples that have been
scanned and saved can then
be transmitted to the lab
system upon communication
and the sample jars can be
sent to The Fluid Life
Laboratories for testing.
Table of contents
