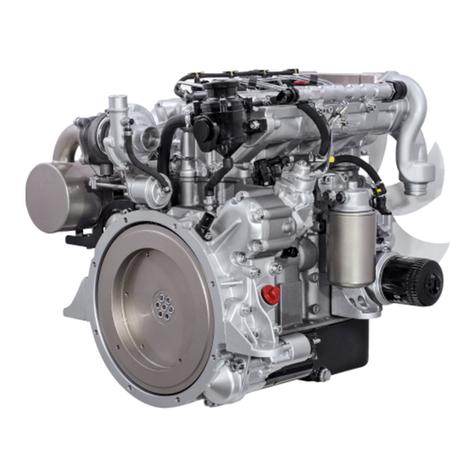
FNA CRX680 User manual

CRX680/CRX750If your engine is not working properly or if there are parts missing or broken, please DO NOT RETURN IT TO THE PLACE OF PURCHASE. Contact our Customer Service Department at 1-877-362-4271 or [email protected] 7118266 Rev B JULY 2022


1-ENG

This engine is equipped with a spark arresting muffler. If the engine will be used around flammable materials or on land covered with materials such as agricultural crops, forest, brush, grass or other similar items, then a USDA Forest Service spark arrester must be installed. 2-ENG

DO NOT touch hot surfaces while operating or just after stopping the engine. Avoid contact with hot exhaust gases.3-ENG

4-ENG

1458710112121315141Exhaust port / Spark Arrester23456Spark plugOil coolerOil filterAir filter coverChoke control7Control box / Key start / Choke control810111213Static screenOil fill capCylinder head coverDipstickStarting motor1415Muffler with heat shieldCrankshaft3625-ENG99Throttle lever(If equipped)

6-ENGAllow three feet of clearance on all sides of the engine while operating it outdoors.

Remove any excessive dirt or debris, especially around the muffler and static guard.7-ENG

Oil is a major factor affecting performance and service life. Use SAE 10W-30 API SG or newer automotive detergent oil as recommended in the MAINTENANCE section of this manual.Only run the engine on a level surface. The engine is equipped with a low oil level sensor. The unit will shut off in the situation where the oil falls below the proper crankcase sump level. To avoid unexpected shutdown, fill the oil to the upper limit and check the oil level before each usage.With the engine stopped, check the fuel level gauge. Refill the fuel tank (not supplied) if necessary.8-ENG

9-ENG

Turn the key past the “ON” position to the “START” position. After the engine has started release the key allowing it to return the “ON” position.If the starter does not start the engine, do not continue to crank the engine as damage to the starter may occur.Do not try to continuously crank the engine for more than five seconds at one time. If the engine fails to start, allow the starter to cool one minute before trying to restart the engine. Continuously trying to start the engine will damage the starter.The engine is equipped with a low oil sensor; a low oil level will prevent the engine from starting.Routinely inspect the oil level before each usage of the engine.If the engine fails to start after three attempts, verify that the engine is on a level surface and the oil level is maintained at the proper level. Check to verify the fuel valve is open, (if equipped).If the engine will not start, allow it to stop rotating before attempting to restart the engine. Should you try to start the engine while the flywheel is still rotating may cause damage to the starter pinion.10-ENGMove the throttle to the “FAST” position (if equipped). Turn the fuel valve to “ON” or “OPEN” (if equipped).The starting position of the choke will vary depending on the engine temperature. To start a cold engine, pull the choke fully to the “CLOSED” position. If starting a warm engine, move the choke to the midway position between “OPEN” and “CLOSED”.

If you have any questions about using this engine for a specific application, please review the product operators manual and/or contact your local authorized dealer for assistance.4Use the throttle lever (if equipped) to adjust the engine speed to the requirement of your application.11-ENGOnce the engine starts, push the choke to the “OPEN” position. If the engine does not run smoothly, pull the choke midway between the “OPEN” and “CLOSED” positions. As the engine warms, slowly push the choke to the fully “OPEN” position.On cold engines, pull the choke fully to the “CLOSED” position. If starting a warm engine, move the choke to the midway position between “OPEN” and “CLOSED”.

If you need to stop the engine in an emergency, simply turn the key to “OFF”. For a normal shutdown, first move the throttle to “SLOW” (if equipped). Allow the engine speed to slow then turn the key to “OFF”. If your fuel system is equipped with a valve, turn it to “OFF” or “CLOSED”.If the engine has any abnormal noise, severe vibrations, hunting, popping or any other abnormal condition while running, turn the key to “OFF” before troubleshooting.The engine starter requires the electrical system to be started or powered by a 12-volt (V) battery with a minimum capacity of 21 ampere-hours (Ah). The positive (+) lead from the battery connects to the positive terminal on the starter relay. Connect the negative (-) lead from the battery to an engine mounting bolt, the conductive frame supporting the engine or any other engine grounding point.DO NOT connect the negative (-) battery lead to the oil filter mounting base or any part of the fuel system.12-ENG

If the engine will not be used for a period of two months or more, drain the fuel system into an approved container. Store the engine in a cool, dry location.Accidental starts can cause severe injury or death. Before servicing, disconnect the negative (-) battery lead and disconnect both spark plug leads.Before servicing, disconnect the negative (-) battery lead and disconnect both spark plug leads. Allow the engine to cool if hot.13-ENG• Disconnect the black, negative (-) battery lead.• See Section VI, Storage and Transportation.

Note 2: Before each season, then follow the prescribed service interval.Note 3: Service more frequently when operating the engine under severe, dusty and/or dirty conditions.14-ENG

SAE 10W-30 API SG or newer automotive detergent oil is recommended for general, all-temperature use. Other viscosities shown in the chart may be used when the average temperature in your area is within the indicated range.2. Remove the oil fill cap. Fill using oil of the proper recommended type.Oil fill capTo change the oil, it is recommended to allow the engine to run for a few minutes to warm the oil. This will ensure the used oil will drain the engine completely.15-ENG

Oil fill cap2. Clean any waste oil or debris from the oil filter port. Using fresh oil, lubricate the seal on the new oil filter.4. Ensuring the engine is on a level surface, use the recommended grade of oil to fill the engine to the upper limit of the dipstick. Do not overfill.1. Using an oil filter removal wrench, loosen the filter and remove. Pour the oil contained in the filter into the pan of waste oil. 3. Tighten the filter by hand or as per the filter instructions. Replacing the oil filter 16-ENG4. Return and tighten the oil fill cap.3. Ensuring the engine is on a level surface, use the recommended grade of oil to fill the engine to the upper limit of the dipstick. Do not overfill.Promptly clean up any spilled oil on the engine or the surrounding area. Clean your hands with soap and warm water.Only dispose of the waste oil at a local waste oil recycler.1. Place an appropriate container below the oil drain bolt. Remove the oil filler cap. Next, using a wrench, loosen the drain bolt counterclockwise. Once loose, fully unthread the bolt with your fingers removing it and the bolt gasket.2. When the oil is completely drained, inspect the drain bolt gasket for damage; replace if required. Hand thread the drain bolt. Using a wrench, tighten until snug.
This manual suits for next models
1
Popular Engine manuals by other brands

Mercury
Mercury 350 Scorpion ECT MerCruiser Operation & maintenance manual

Mercedes-Benz
Mercedes-Benz OM 457 LA operating instructions
Omron
Omron MicroHAWK Integration guide
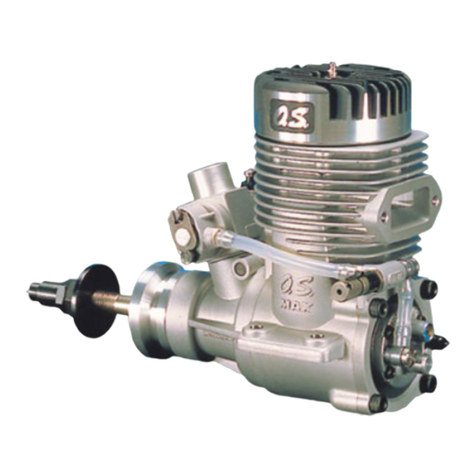
O.S. engine
O.S. engine max-140rx Owner's instruction manual
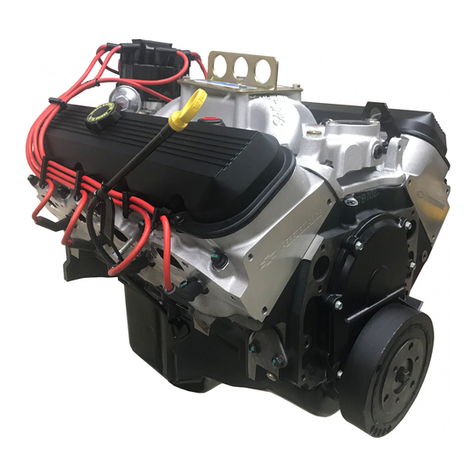
Performance
Performance ZZ454 Specifications
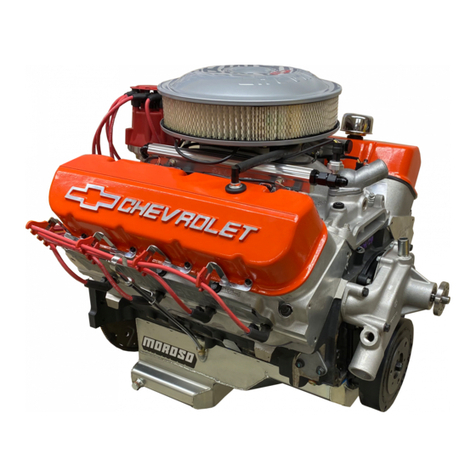
Performance
Performance ZZ502 Start-up
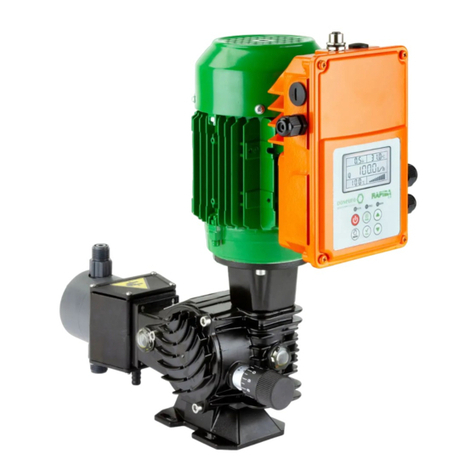
Doseuro
Doseuro Rapida 2.0 user manual
Waukesha
Waukesha VR Series Service manual

Mercedes-Benz
Mercedes-Benz OM 904-926 LA BlueTec operating instructions

BRP
BRP OM-912 Operator's manual

TEKCELEO
TEKCELEO WLG-20-R Getting started
Carburetion & Turbo Systems
Carburetion & Turbo Systems Vortec 5700 Operation and maintenance manual


