manuals.online logo
Brands
  1. Home
  2. •
  3. Brands
  4. •
  5. Fostex
  6. •
  7. Voice Recorder
  8. •
  9. Fostex MR-8HD/CD User manual

Fostex MR-8HD/CD User manual

1
SOFTWARE UPDATE PROCEDURES
1) Connect the AC power cable to the AC IN connector. The MR-
8HD/CD power switch starts flashing in red.
2) Press the MR-8HD/CD power switch. MR-8HD/CD starts booting
up and the power switch is lit solid in red. After a short while, the
normal display appears on the LCD.
3) Press the [MENU/ENTER] dial to enter the MENU mode.
4) Rotate the [MENU/ENTER] dial and select the “USB” menu.
5) Press the [MENU/ENTER] dial.
6) Rotate the [MENU/ENTER] dial and select the “Disk Protect”
menu.
7) Press the [MENU/ENTER] dial and set “Disk Protect” to “Off” by
rotating the [MENU/ENTER] dial. Then, press the [MENU/EN-
TER] dial. With this setting, the Disk Protect mode is turned off
indicating the condition that the software update file can be copied
to the MR-8HD/CD internal HDD.
8) Rotate the [MENU/ENTER] dial to select the “< < Back” menu
and press the [MENU/ENTER] dial.
9) Rotate the [MENU/ENTER] dial and select the “USB Device
Mode” menu.
10) Press the [MENU/ENTER] dial. If MR-8HD/CD is correctly put
into the USB mode, the display on the right will appear on the
LCD. Now MR-8HD/CD is ready to connect to PC or Macintosh.
11) Connect the USB cable from the MR-8HD/CD USB port to PC on
which Windows XP/2000 is running or Macintosh on which OS X
is running.
INPUT A SEL
USB USB HOSTAC-IN DIGITAL
OUT FOOT SWMIDI OUT
GTR CLEAN MIC/LINE
GTR DIST
USB port USB port
CAUTION: MR-8HD/CD can be connected to PC on which Windows XP/2000 is running or Macintosh
on which OS X is running for software update as well as audio data transfer. Of course PC/
Macintosh has to be equipped with a USB port.
2
12) PC or Macintosh recognizes MR-8HD/CD as an external removable disk.
(a) Windows XP/2000
By double-clicking the removable drive
(F) (MR-8HD/CD), the window on the
right will appear. You can see that the
software update file is placed in the top
directory tree of the Removable Disk (F).
Continue to the next page.
The example on the right indicates that
MR-8HD/CD is recognized as a remov-
able disk (F) in the My Computer on
Windows XP PC. Unzip the software
update file with “zip” extension (e.g.
MR8HDCD_V101.zip) normally sent
together with a technical bulletin. If
you do so, a software update file (e.g.
MR8CV101.MOT) will be created. Place
a newly created software update file with
“MOT” (motorola format) extension in
the root directory tree of the Removable
disk (F).
MR-8HD/CD software
update file
MR-8HD/CD
song folder
3
After transferring the software update file is com-
pleted, do not tun off the USB connection by
pressing the MR-8HD/CD STOP key. First,
you need to safely remove the MR-8HD/CD
from PC side by opening the “Safety Remov-
able Hardware” in the tool bar and pressing
the “Stop” button on Windows XP/2000 PC.
Then, you can turn off the USB connection from
the MR-8HD/CD side.
(b) Macintosh OS X
MR-8HD/CD is recog-
nized as “MR8HD/CD”
on the Macintosh OS
X desktop. By double-
clicking the MR-8HD/CD
icon, the window on the
right will appear. There
are three song folders and
one software update file
“MR8CV100.MOT”.
Unzip the software update file with “zip”
extension (e.g. MR8HDCD_V101.zip)
normally sent together with a technical
bulletin.
Copy and paste a newly created software
file with “MOT” (motorola format) ex-
tension (e.g. MR8CV101.MOT) onto
a root directory of MR-8HD/CD HDD
connected to Macintosh (OS X).
Press this STOP butten befor turning off
the MR-8HD/CD USB mode by pressing
the STOP key.
Press this OK butten befor turning off the
MR-8HD/CD USB mode by pressing the
OK key.
MR-8HD/CD
Song folder MR-8HD/CD Software
update file
MR-8HD/CD
Song folder
MR-8HD/CD
Software
update file
4
After transferring the software update
file is completed, do not tun off the
USB connection by pressing the MR-
8HD/CD STOP key. First, as shown on
the right, you need to press the EJECT
button on Macintosh. Then, you can turn
off the USB connection from the MR-
8HD/CD side.
CAUTION: There is a case that it takes time for PC or Macintosh to recognize MR-8HD/CD as an external
device. While the “ACC” (access) indication on the upper right of the MR-8HD/CD LCD is
flashing in the USB mode, do not disconnect the USB cable between MR-8HD/CD and PC/Ma-
cintosh.
13) Disconnect the USB cable between MR-8HD/CD and PC / Macintosh.
14) On MR-8HD/CD with normal display appears, press the [MENU/ENTER] dial while holding down the [STOP]
key to access the Service Mode menu.
MIN MAX
100
LR
100
LR
100
LRRL
MIN MAX LINE MIC LINE MIC LINE MIC LINE MIC
REC SELECT
010
12345/6 MASTER
MAX
MAX
MIN
MIN
7/8
LOCATE REC END
A-B PLAY
LOCATE ABS ZERO
PLAYSTOP
RECORD REWIND F FWD
GUIDE
RHYTHM CONTRAST
1-8 >
SONG
NEW
1-6 > 7/8
1-4 > 5/6 STEREO
WAV FILE
BOUNCE
POWERFUL
MASTERING
B / OUT
A / IN
LOCATE
STOREPLAY MODEAUTO PUNCH
NATURAL BRIGHT
TIME BASE
SELECT
UNDO/REDO
7/8 >
MENU / ENTER
SIMULATION
DYNAMIC CONDENSER TUBE
MIC
PAN
EFFECT
REVERB / DELAY TIME
HALL
ROOM
PLATE DELAY
PHONES VOL
L
STEREO OUT
R
2
PHONES
1
MAXMIN
BAL
BALBAL
TRIM
UNBAL
PEAK
TRIM
UNBAL
PEAK
TRIM
UNBAL
PEAK
PEAK
DISTORTION
GUITAR
/GUITAR
INPUT A SELECT
INSERT
BAL
UNBAL
TRIM
INPUT A INPUT B INPUT C INPUT D
ON/
OFF
POWER
ABC1 DEF2 GHI3
JKL4 MNO5
PQR6 STU7 VWX8 YZ9 +-_0 DELETE
TO STEREO BUSS
EFFECT SEND
ON/
OFF
ON/
OFF
ON/
OFF
60'S COMBO
US METAL
BRIT STACK
AMP SIMULATION
INPUT A
LO
A-B
LO
LOC
B P
OCA
H
old down [ST
O
P] ke
y
y
.
Press the [MENU/ENTER] key
ess the [MENU/ENTER] key
the [MENU/ENTER]
the [MENU/ENTER]
e [MENU/ENTE
e [MENU/ENTE
e [MENU/ENTE
.
15) Rotate the [MENU/ENTER] dial and select the “Service Mode”
menu.
16) Press the [MENU/ENTER] dial.
17) Rotate the [MENU/ENTER] dial and select the “Version Up” menu.
18) Press the [MENU/ENTER] dial.
19) Rotate the [MENU/ENTER] dial and select a software update file
with the version number you would like to update.
NOTE: As long as the file name is different, up to five software
update files can be placed in the root directory.
20) Press the [MENU/ENTER] dial.
Press this EJECT button
before turning off the
MR-8HD/CD USB mode by
pressing the STOP key.
5
21) The selected software file is displayed together with the software
version number. To go on, press the [MENU/ENTER] dial while
holding down the [REC] key.
22) The software updating procedures begin. “File loading...”, “Flash
ROM Erasing...” and “Flash ROM Writing...” will appear in order.
It will take about one minute to complete the procedures.
23) Upon completion, “Completed!” will appear on the LCD.
24) Turn off the power once and then back on to complete the software
update procedures. In the meantime, confirm the software version
number and the programming date displayed for a short instance in
the boot-up process.
The software version can be checked by the “Version” Service
Mode menu. In the condition with normal display appears, press the
[MENU/ENTER] dial while holding down the [STOP] key to access
the Service Mode menu. If you do so, the display on the right will
appear on the LCD. Rotate the [MENU/ENTER] dial to select the
“Service Mode” menu and press the [MENU/ENTER] dial.
Select the “Version” menu and press the [MENU/ENTER] dial.
6
The display on the right will appear on the LCD. It indicates that the
programming date is October 16th, 2006 and the version number is
V1.01. To get back to the normal display, press the [STOP] key.
25) Press the [STOP] key to return to the normal display mode. Then,
press the [MENU/ENTER] dial to enter the MENU mode.
26) Rotate the [MENU/ENTER] dial and select the “Init Memory”
menu.
27) Press the [MENU/ENTER] dial.
28) The display contents on the right appear on the LCD. Press the
[MENU/ENTER] dial while holding down the [RECORD] key. This
operation will initialize all the system settings to default.
CAUTION: The “Initialize Memory” operation sets all the system
settings to the default values. For example, the “Disk
Protect” setting in the USB menu is set to “ON” after
initializing the memory. If you would like to update the
software in future, please remember that it has to be set
to “OFF” again.

Other manuals for MR-8HD/CD

1

Other Fostex Voice Recorder manuals

Fostex XR-5 User manual

Fostex

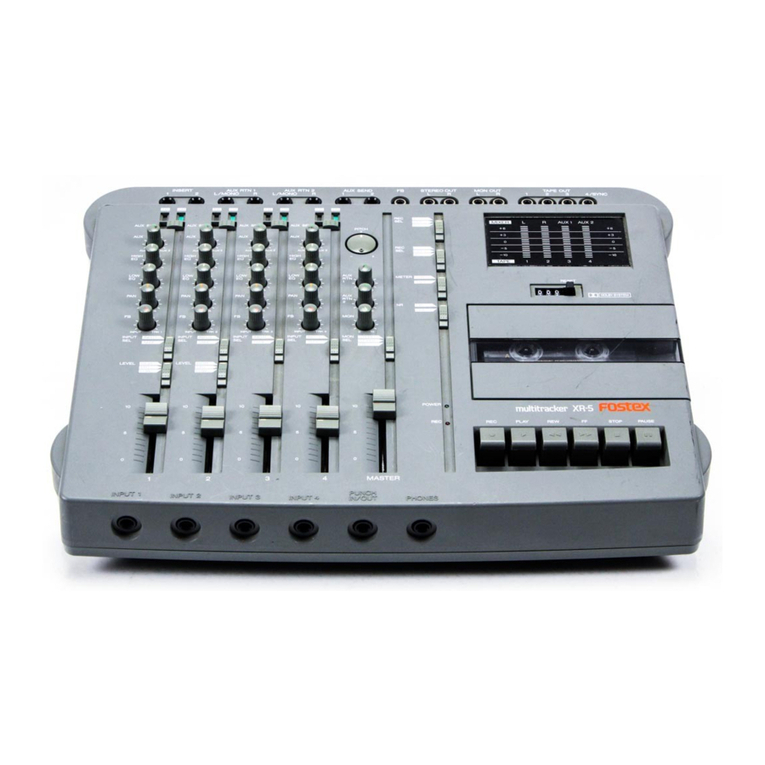
Fostex XR-5 User manual

Fostex D-108 User manual

Fostex

Fostex D-108 User manual

Fostex D-20B User manual

Fostex

Fostex D-20B User manual

Fostex D2424LV MKII User guide

Fostex

Fostex D2424LV MKII User guide

Fostex FR-2 User manual

Fostex

Fostex FR-2 User manual

Fostex MR-8 MKII User manual

Fostex

Fostex MR-8 MKII User manual

Fostex GT10 User manual

Fostex

Fostex GT10 User manual

Fostex D-160 User manual

Fostex

Fostex D-160 User manual

Fostex D-1624 User manual

Fostex

Fostex D-1624 User manual

Fostex VF-160 User manual

Fostex

Fostex VF-160 User manual

Fostex D-108 User guide

Fostex

Fostex D-108 User guide

Fostex 5042 User manual

Fostex

Fostex 5042 User manual

Fostex D-160 User manual

Fostex

Fostex D-160 User manual

Fostex D2424LVMKII User guide

Fostex

Fostex D2424LVMKII User guide

Fostex D-10 User manual

Fostex

Fostex D-10 User manual

Fostex D-15 User manual

Fostex

Fostex D-15 User manual

Fostex D2424LV MKII User guide

Fostex

Fostex D2424LV MKII User guide

Fostex D-25 User manual

Fostex

Fostex D-25 User manual

Fostex VF80 User manual

Fostex

Fostex VF80 User manual

Fostex VF80 User manual

Fostex

Fostex VF80 User manual

Fostex X-12 Owner's manual

Fostex

Fostex X-12 Owner's manual

Fostex DP-8 User manual

Fostex

Fostex DP-8 User manual

Fostex D-108 Owner's manual

Fostex

Fostex D-108 Owner's manual

Fostex PD-2 User manual

Fostex

Fostex PD-2 User manual

Popular Voice Recorder manuals by other brands

Sony ICD-MX20DR9 Operating Instructions... Service manual

Sony

Sony ICD-MX20DR9 Operating Instructions... Service manual

ABB SM1000 quick start guide

ABB

ABB SM1000 quick start guide

VoiceCollect VC-MDx How to replace

VoiceCollect

VoiceCollect VC-MDx How to replace

Komutel NP8-G2 Implementation guide

Komutel

Komutel NP8-G2 Implementation guide

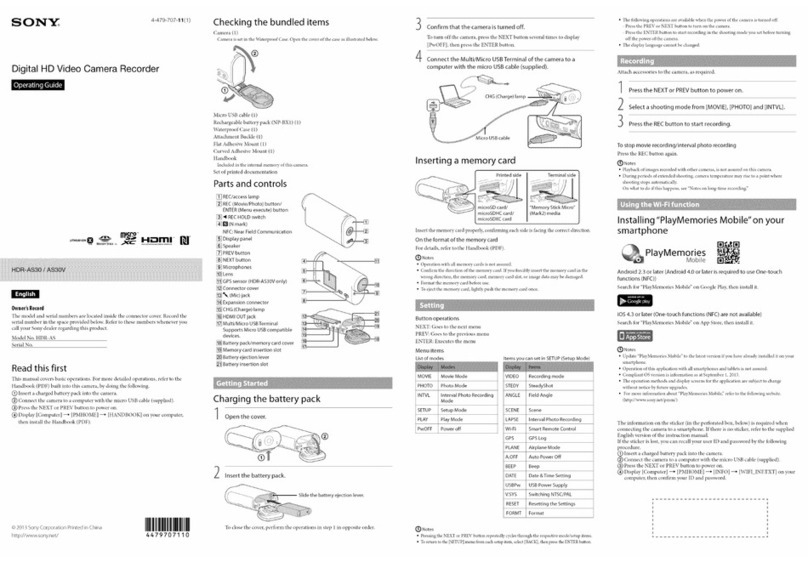
Sony HDR-AS30V operating guide

Sony

Sony HDR-AS30V operating guide

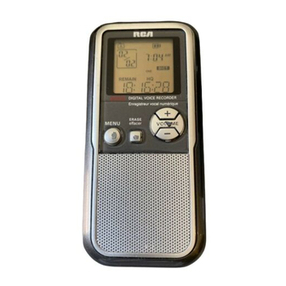
RCA RP5120 user manual

RCA

RCA RP5120 user manual

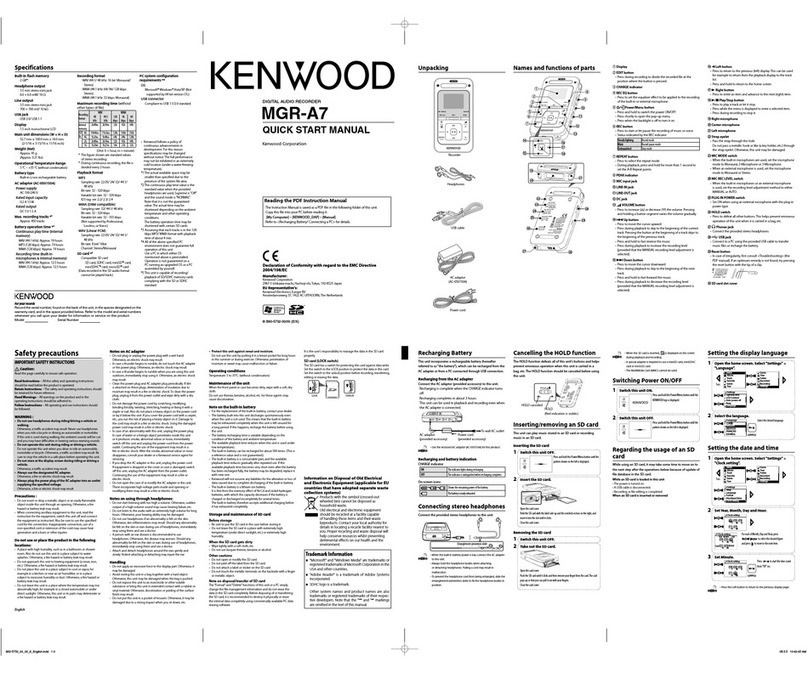
Kenwood MGR-A7 Quick start manual

Kenwood

Kenwood MGR-A7 Quick start manual

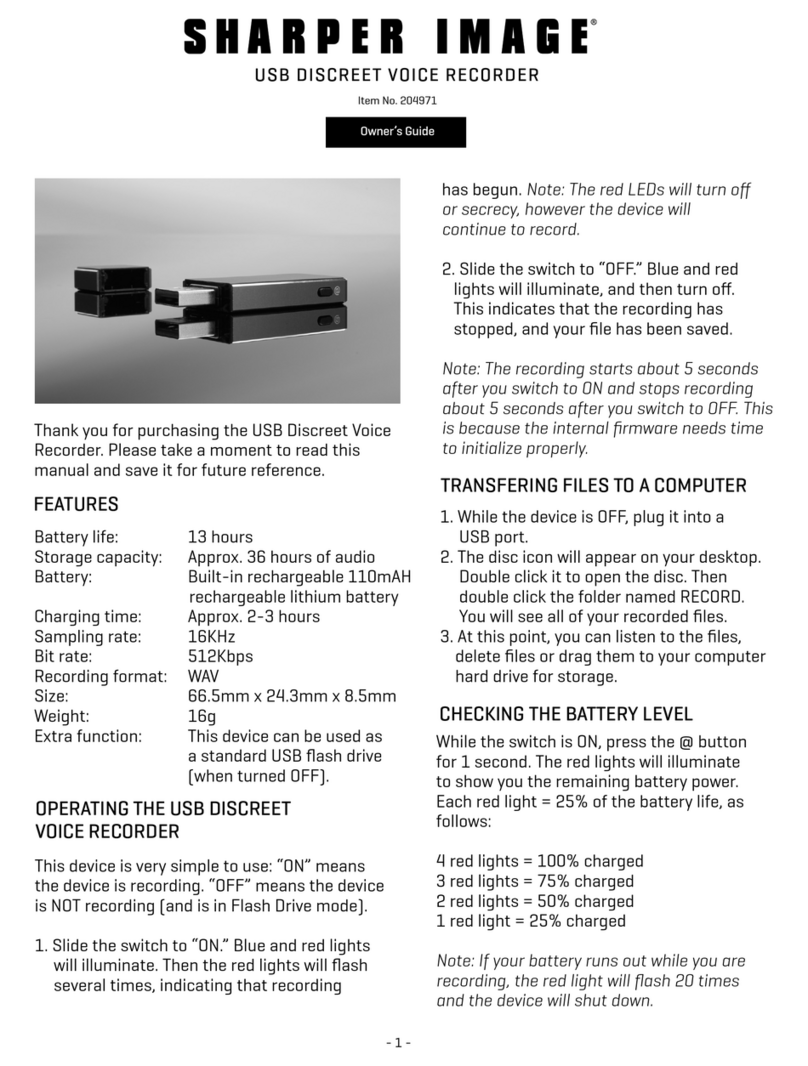
Sharper Image 204971 owner's guide

Sharper Image

Sharper Image 204971 owner's guide

Philips LFH0660/00 Specifications

Philips

Philips LFH0660/00 Specifications

Sony M-2000A Marketing Specifications

Sony

Sony M-2000A Marketing Specifications

Diasonic DDR-5300 user manual

Diasonic

Diasonic DDR-5300 user manual

Philips LFH0652/00 user manual

Philips

Philips LFH0652/00 user manual

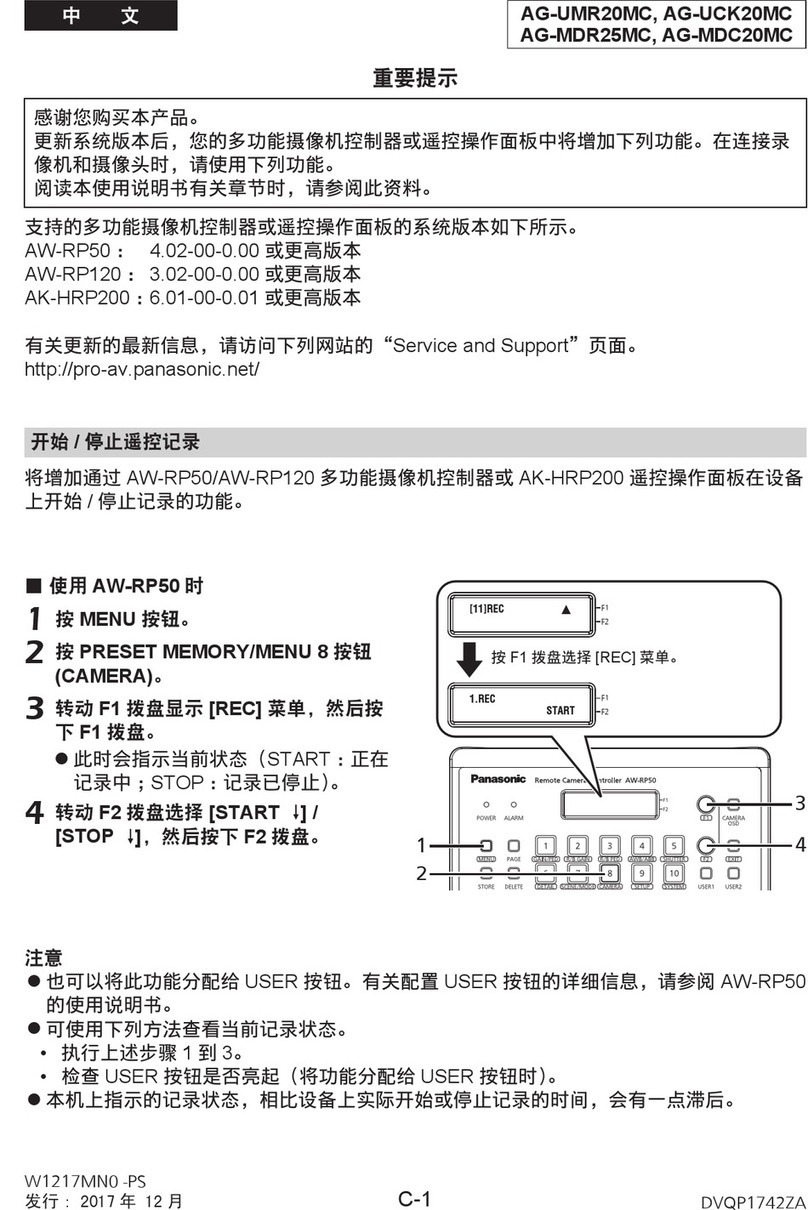
Panasonic AG-UMR20MC instruction manual

Panasonic

Panasonic AG-UMR20MC instruction manual

LogTag Recorders TRID30-7 quick start guide

LogTag Recorders

LogTag Recorders TRID30-7 quick start guide

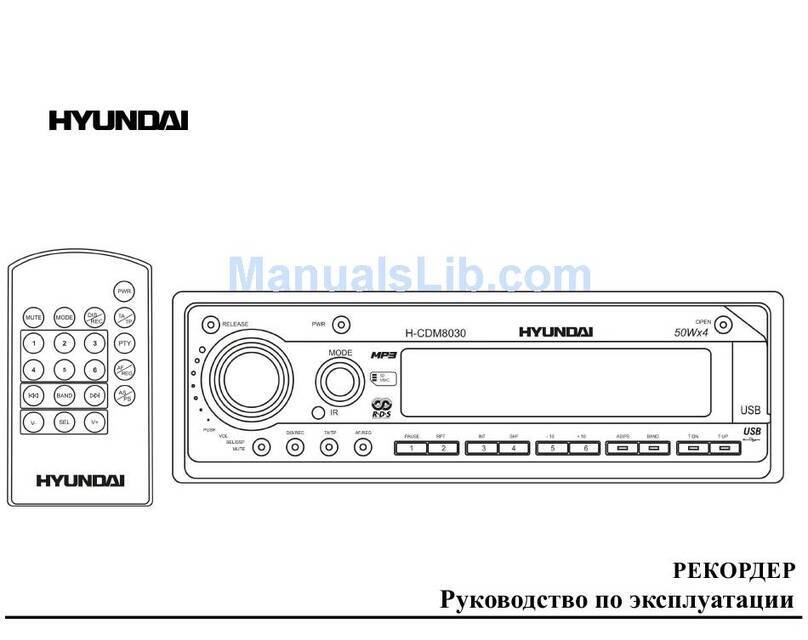
Hyundai EXCELLENCE H-CDM8030 instruction manual

Hyundai

Hyundai EXCELLENCE H-CDM8030 instruction manual

Yamaha POCKETRAK Pocketrak CX owner's manual

Yamaha

Yamaha POCKETRAK Pocketrak CX owner's manual

Olympus VN-7100 Mode d'emploi

Olympus

Olympus VN-7100 Mode d'emploi

nedis AHDS204CWT2 user manual

nedis

nedis AHDS204CWT2 user manual

manuals.online logo
manuals.online logoBrands
  • About & Mission
  • Contact us
  • Privacy Policy
  • Terms and Conditions

Copyright 2025 Manuals.Online. All Rights Reserved.