freecam C310 User manual

1 2
3
4 5
6
7
User Manual V2.4
C310 Solar Intelligent WiFi Camera
Shenzhen Leshi Video Technology Co., Ltd.
www.lsvt.com.cn
www.freecamglobal.com
C310 is a smart WiFi camera that can operate for a long time with only
solar power supply.
· C310 only works under PIR alarm triggered or APP remote to wake
up, usually it keeps online in deep sleep mode with low power
consumption;
· When an object enters the warning area of C310, it can automatically
wake up the camera, and push pictures to notify users;
· C310 can wake up quickly anywhere by mobile phone and view live
video;
· Automatic recording after wake up;
· Infrared LED can supply light at night;
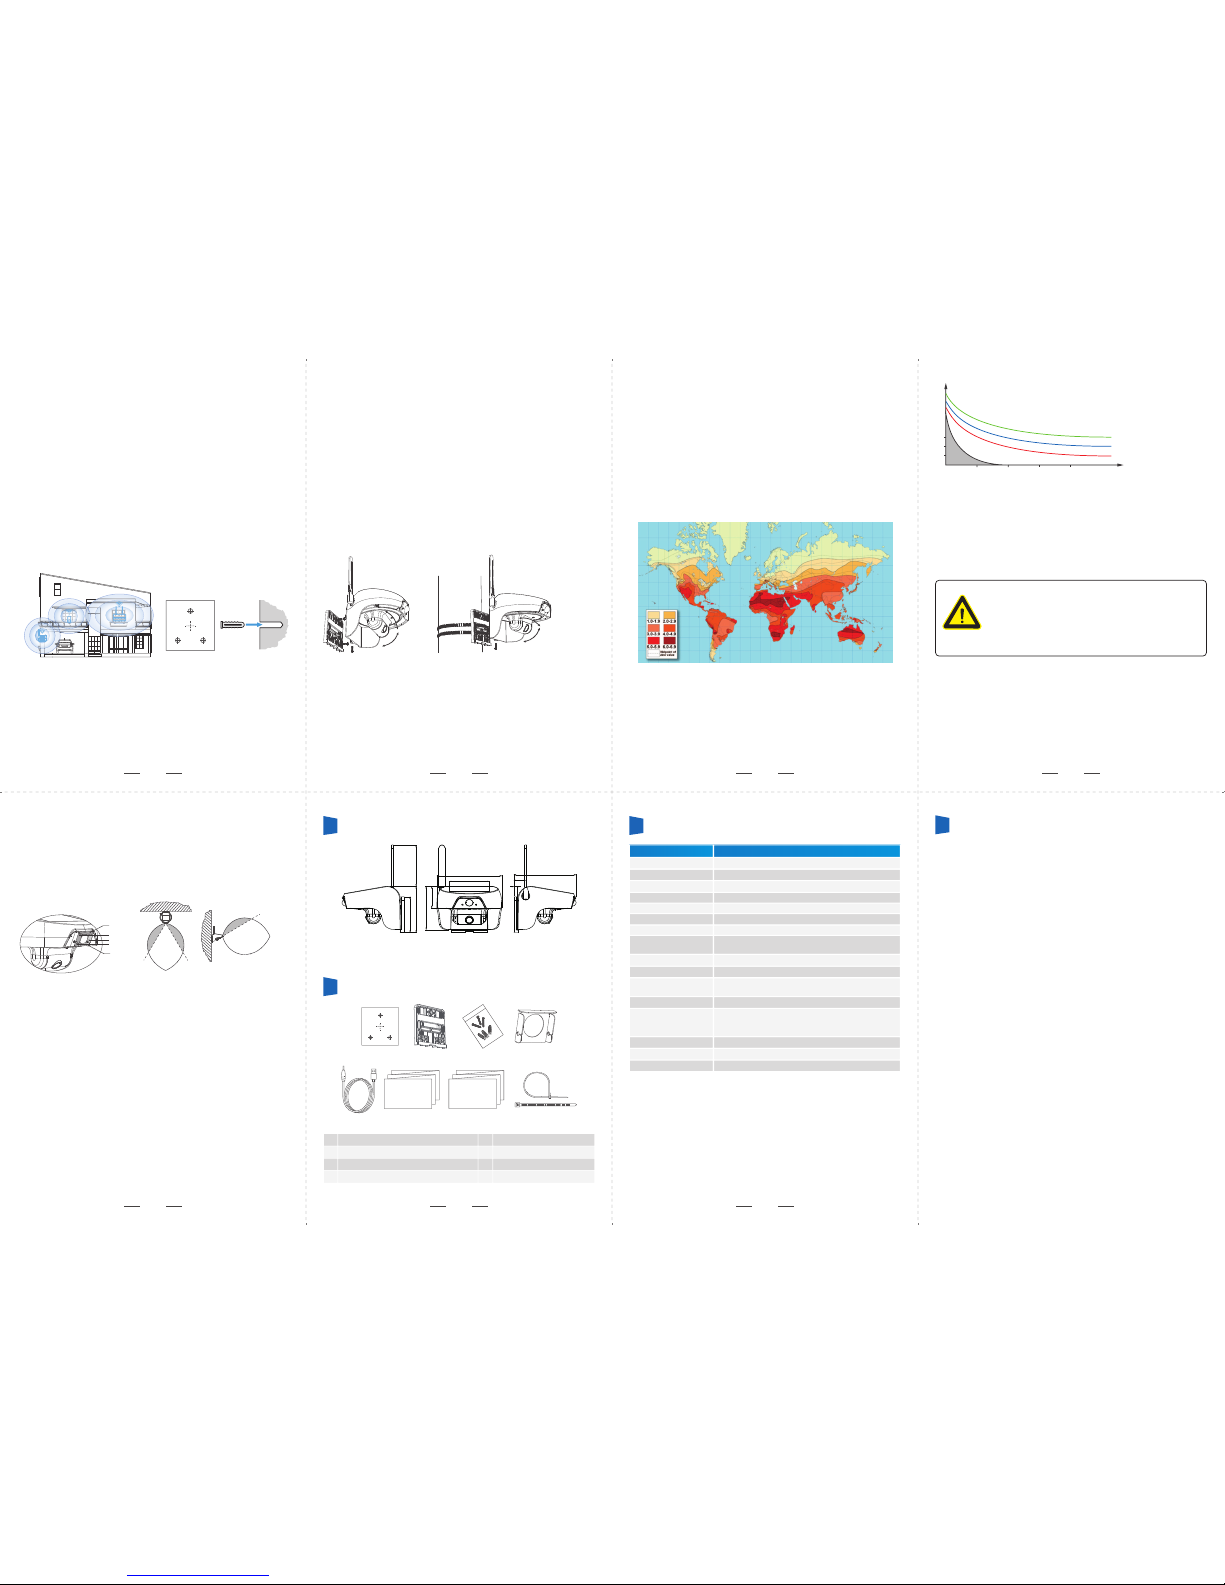
· In most area of the world, C310 can operate long time under normal
sunlight.
①
②
③
④
⑦
⑧
⑨
⑤
⑥
⑩
1Appearance Illustration
Prior to installation of this equipment, please carefully read all operation
and installation instructions, and operate according to these instructions.
① Infrared light ② Photosensitive device ③ PIR sensor
④ Lens ⑤ Antenna ⑥ Solar charge panel
⑦ WiFi reset button ⑧ Charging socket ⑨ Power supply switch
⑩ Mounting base bracket Power indicator WiFi status indicator
2Indicator Light Status
Yellow Power
indicator on
Yellonw Power
indicator on and go out
WiFi indicator
blinks blue
WiFi indicator
blinks red
WiFi indicator off
Charging
Charge complete
Waiting for connecting
Connecting to WiFi
Normal working or
power off
If it blinks over 1 minute
and still can't connect
success, please reset
device and check the
router's WiFi
Indicator light status Status Solution
1.3 Register and log in
Open the client software, click on [Sign Up], and register a new account
number, and operate according to the prompted steps: if you already have
an account, click on [Sign In] directly.
1.4 Add equipment
1.4.1 After registering and logging in successfully, enter [Home], click on
“ ” in the lower right corner, and select “Camera”:
1.4.2 Please place the camera where there is strong WiFi signal, then turn
on the camera's power switch (see the Page1) to check if the device WiFi
light is blinking blue. If blue light flashes, then click on “Yes” to enter the
WiFi configuration interface; if not, please keep press the WiFi button for
3-5 seconds, and wait until the WiFi indicator flashes blue, then click on
the "Yes" to enter WiFi configuration page;
1.5.2 Menu bar:
1.5.3 Setting(see Fig.1.5.3):
Camera: Capture the current live broadcasting screen and save it to
the equipment album.
Voice: Click on the horn button to hear the voice from camera;
This model doesn’t support such function;
Full screen: Click on it to display in landscape mode;
Protection: After enabling the “Motion Detection” function, when the
screen of the environment on the camera end changes, the changed
picture will be captured, and such information will be sent to mobile
phone client(see Fig. 1.5.2).
It includes motion detection (ON/OFF), sensitivity (namely, PIR
detection sensitivity, which can be adjusted to be low, medium and
high according to the requirements, this not supported in current
version), and alarm time period(set the alarm time period) and so on.
Historical video: View the historical video saved in SD card;
Intimate share: Share the video with your relatives and friends who
have registered account, and then your relatives and friends can
view your video images. (Such equipment doesn’t support viewing by
multiple persons at the same time. Only one user can view at any
moment).
• Equipment name: You can give the equipment a nice name.
• WiFi configuration: It's not currently supported.
• Equipment information: View the information status of the equipment.
• Video recording: Select “When error is detected” or “Never”.
• SD card: View the status of SD card of the equipment.
• Video direction: There are two options of “Default (forward direction)” and
“Invert (Rotate for 180°)”.
• Time zone of equipment: When the equipment is initially activated, it uses
local time zone,If needs to be changed, click to setup.
• Equipment indicator light: This model is not supported.
1.4.3 Android system – add equipment
1.4.3.1 For Android mobile phone, on [Nearby Equipment] page, Select the
adding device ID. (e.g. DOGXXX)
1.4.3.2 Enter [Setting WiFi] interface, select the wireless network to be
connected to, enter router’s password, and then click on “Next”.
1.4.3.3 Added successfully.
1.4.3.4 The WiFi status indicator blinks red over 1 minute, means it may be
a wrong password to enter a router, or bad WiFi notwork condition.
WiFi Reconfigure
When the password is wrong, or your network changes,
you can refigure WiFi as shown below:
Please turn on the camera and wait the WiFi status
indicator light on, then press the WiFi reset button for 3-5
seconds till the WiFi status indicator has blinks blue, and
add camera by APP again (see Fig.1.4.2).
Notice
1 Install mobile client software
1.1 Equipment power-on
Before use, please connect the charging cable to the matching DC5V / 1A
mobile phone charger to charge the equipment. For first time to charge the
device, it should be charged at least six hours. The equipment can be
powered off once it finishes charging.
1.2 Install mobile client software
APP name: Doby
Scan the following QR code, then download
and install it.
If you need PC client software, please download
at Download center from LSVT official website.
3Installation Instructions
1.4.4 IOS system – add equipment:
IPhone: open the system’s “Setting” -> “WLAN”, select “DOG-******” to
connect it, and the password is eight 1. Then go back to the client, and
click on “Next”.
1.5 Video view
1.5.1 Click on the equipment number in the list on the [Home] page, enter
“Camera Video View” page, and click on “ ” to enter the [Living
Broadcasting Page].
1.5.4 PIR detection
If moving objects are detected within 5 meters by device, motion detection
will be triggered and alarm notification pushed to mobile phone APP (refer
to Figure 1.5.4a). A screenshot will be sent with recorded video about 30
seconds once alerts occur (Whether WiFi is connected or not, video will be
recorded).
Notice: Please check if the phone’s lock screen notification for the
APP has been turned on. There have some different ways for different
phones to set up (refer to Figure 1.5.4b).
Fig. 1.5.3 Fig. 1.5.4a Fig. 1.5.4bFig. 1.5.2
home

8 9 10 11
12 13 14
2 Device Installation Instructions
This equipment usually can be installed on the wall or pole (ensure there is
sunlight as much as possible). The mounting wall should have certain
thickness and can afford at least three times of the weight of the equipment.
Please select the mounting position as required.
2.1 Prior to installation of the product, first confirm steady WiFi signals (at
least two grids of signals) in installation position with mobile phone. When
the installation place cannot be covered by WiFi signals, it’s allowed to add
WiFi repeater to realize extension. Please install the repeater in the place
between route and camera where there are at least two grids of signals
(Please refer to router and repeater installation and instructions).
2.2 Method of installation on the wall (see Fig. 2.2): tear down the
installation sticker, paste it in the selected position, dig a hole, knock the
expansion bolt into the blank space (please select a sunny place for
installation) .
Fig. 2.1 Fig. 2.2
Camera
Router
Repeater
Fig. 2.3 Fig. 2.4
Tighten the screw
90°Adjust
180°Adjust
Tighten the screw
Adjust 90° up and down
180°Adjust
2.3 Align the mounting bracket with the installation sticker, and fix the
installation bracket in the position of hole with screw. If you install the
equipment into the wooden wall, the equipment can be fixed by directly
pushing in the screw. Then install the equipment on the bracket, and fix it
with screw (see Fig. 2.3).
2.4 Ribbon type installation method: Such method applies to installation of
the equipment on the pole. First bind the installation bracket onto the pole
with ribbon, and tighten the ribbon as much as possible. Then install the
equipment onto the bracket, and fix it with screw (see Fig. 2.4).
2.5 In selecting installation place, please note:
2.5.1 Please try to select a place with plentiful sunshine for installation.
2.5.2 Avoid installing the equipment in the place where the equipment is
disturbed by the object which moves frequently as much as possible.
2.6 Sunlight distribution of the world (see Fig. 2.6). Please confirm whether
the installation is appropriate according to the sunlight distribution of the
country or region where you are located (you might need to charge the
camera with charger regularly for the country or region where the average
peak sunshine duration is within 1.0-2.9).
Note: Peak sunshine means the maximum solar irradiance which can be
obtained in most places of the earth surface on sunny days – 1000 w/m2.
2.7 The operating time of this camera is related to charging time of
sunlight and the number of times of triggering and waking up. Fig. 2.7
describes and expresses the relation among these three factors. Please
refer to it when using this product.
Fig. 2.6
Fig. 2.8.1 Fig. 2.8.2
PIR shield sheet Installation:
2.8.1 Paste the PIR shield sheet in the position of camera PIR device
according to Fig. 2.8.1.
2.8.2 Bend the shield sheet of five areas according to Fig. 2.8.2 so as to
shield the areas.
2.8.3 After an area is shielded, the moving objects in such area cannot
trigger and wake up the camera.
Note: The shaded area can change with an
appropriate amount according to the bending
angle of the shield sheet.
A
B
C
D
E
B
D
Horizontal angle Vertical angle
Detection
range
Camera
Camera
Detection range
C
E
A
Fig. 2.7
Note: The shaded area means
charging the equipment
artificially according to
practical situation.
Continuuous working time
of camera (day)
Average sunshine time (hour)
Black 0
Red 1
Blue 2
Green 3
The number of wake-up times
5
10
20
40
80
30 60 90 120
2.8 Notes:
PIR detection is a high-sensitivity detector which is used for infrared
detection of object motion. Therefore, motion detection can be triggered
by the change of sunshine when cloud layer moves fast outdoors, the
movement of automobile, and the floating of leaves caused by wind.
If user discovers false alarm frequently , please find
reasons and use “PIR shield sheet” to cover this
interference area. If the shield sheet still not work, you
can select "security" option in APP and turn off the
"motion detection" function in “Protection” option
until environment return to normal, you can open and
use this function again.
Notice
6Technical Parameters 7FreeCam’s common problems and solutions
Item Specification
Product model
Lens
Video
Audio
WiFi
Infrared fill light
PIR body induction
Cycle time
Network P2P traversal
Battery power indicator
Standard solar panel
Extensible storage space
Battery and standby
Dimension
Net weight
Waterproof level
C310 Solar Intelligent WiFi camera
3.6mm / M12/90 degrees
H.264 encoding
Support
Support IEE802.11b / g / n protocols(4GHz)
Support
Induction distance ≈ 5 meters
If there is no operation within 30 seconds after trigger is
started, enter the sleep state
Support
APP support
change according to solar intensity and incident angle
Extensible storage space: Built-in 16GB Micro SD card
6800mAh, charged with solar energy 20 hours per
month. Wake up or trigger startup for 10 to 20 times per
day, and can be used for a long time
161 × 155 × 108 mm
800 g
IP55
① ② ③
④
161
115 103
54
100
108
8
155
89
29.5
4Product Dimension
(Dimension:mm)
5Accessories
①Installation sticker × 1 ② Mounting base bracket × 1
③ Screw set × 1 ④ PIR shield sheet × 1
⑤ Charging cable × 1 ⑥ Quality certificate×1
⑦ Operation instruction of C310 product× 1 ⑧ Ribbon×2
⑤ ⑥ ⑦
Operation instruction of
C310 product
Quality certificate
⑧
1 Equipment adding failure.
Several causes leading to equipment adding failure:
①Pending time-out error at App equipment adding
Solution: If the WiFi status indicator blinks red over one minute, please
press the reset button for 3-5 seconds till the WiFi status indicator blinks
blue, then confirm if the router signal is favorable and input correct router
password to re-add the equipment.
②A prompt message "Please input the default password, 11111111" on
some Android mobile phone;
Solution: The failure is caused by connection abnormity between mobile
phone and camera hot point; first of all, please access to WiFi setup
interface of mobile phone to connect to the camera (hot point name is
DOG-***) manually, and then return to app; if the failure still exists, please
turn off the mobile phone WiFi and turn it on again. Repeat the
above-mentioned connection method manually to add the equipment
smoothly.
2 Whether C310 solar intelligent WiFi camera can work all the time?
How to deal with power outage while using the equipment?
The equipment can be used for long-term in case of 4-5 days of sun
irradiation charging every month and 10-20 times of triggering actions. If it
displays as low battery:
①Reduce awakening arising from false alarm as far as possible; use PIR
shilding case or turn off motion detecting function to save electric quantity.
②Charge for the camera with a common USB charger indoor or with a
charger.
3 Whether the contents stored at the TF card of the camera can be
reviewed on a PC?
The videos stored in the camera can be reviewed with a mobile phone
with WiFi available or remove TF card to insert to a PC card reader. Use
FreeCam PC client-side to review the record.
Other manuals for C310
2
Other freecam Security Camera manuals