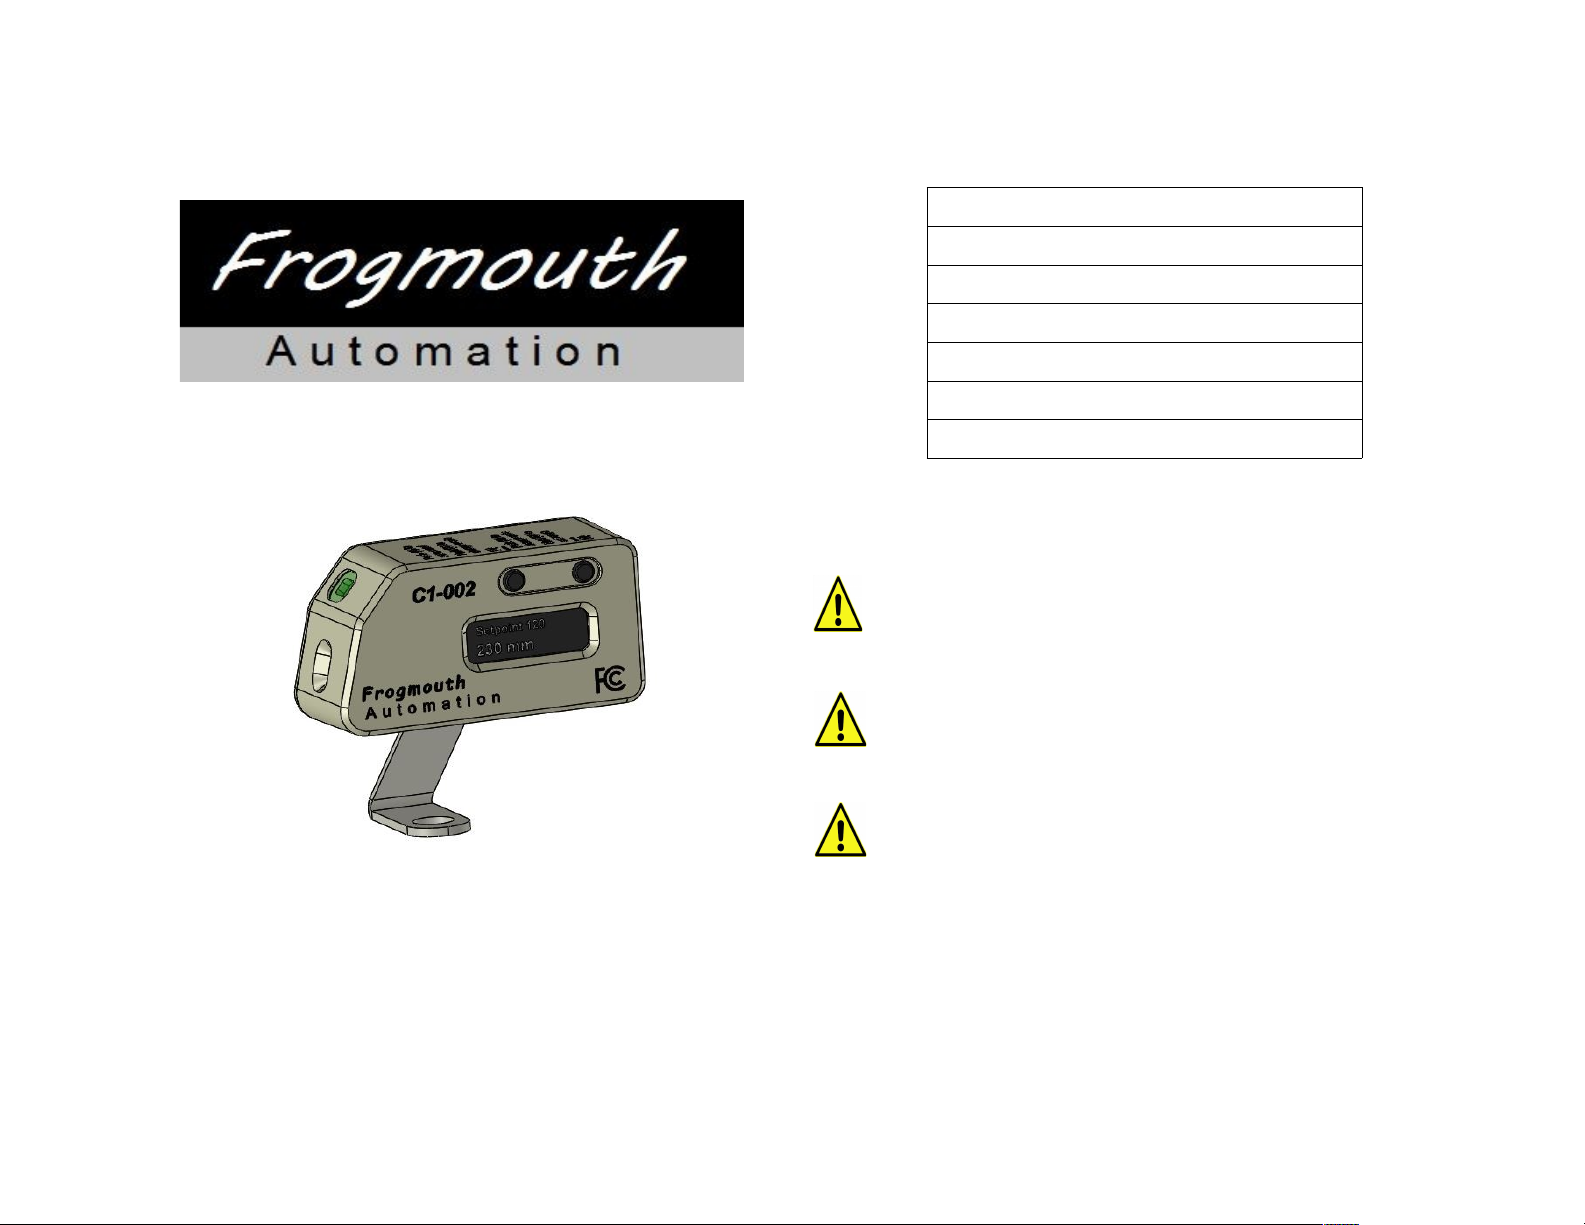
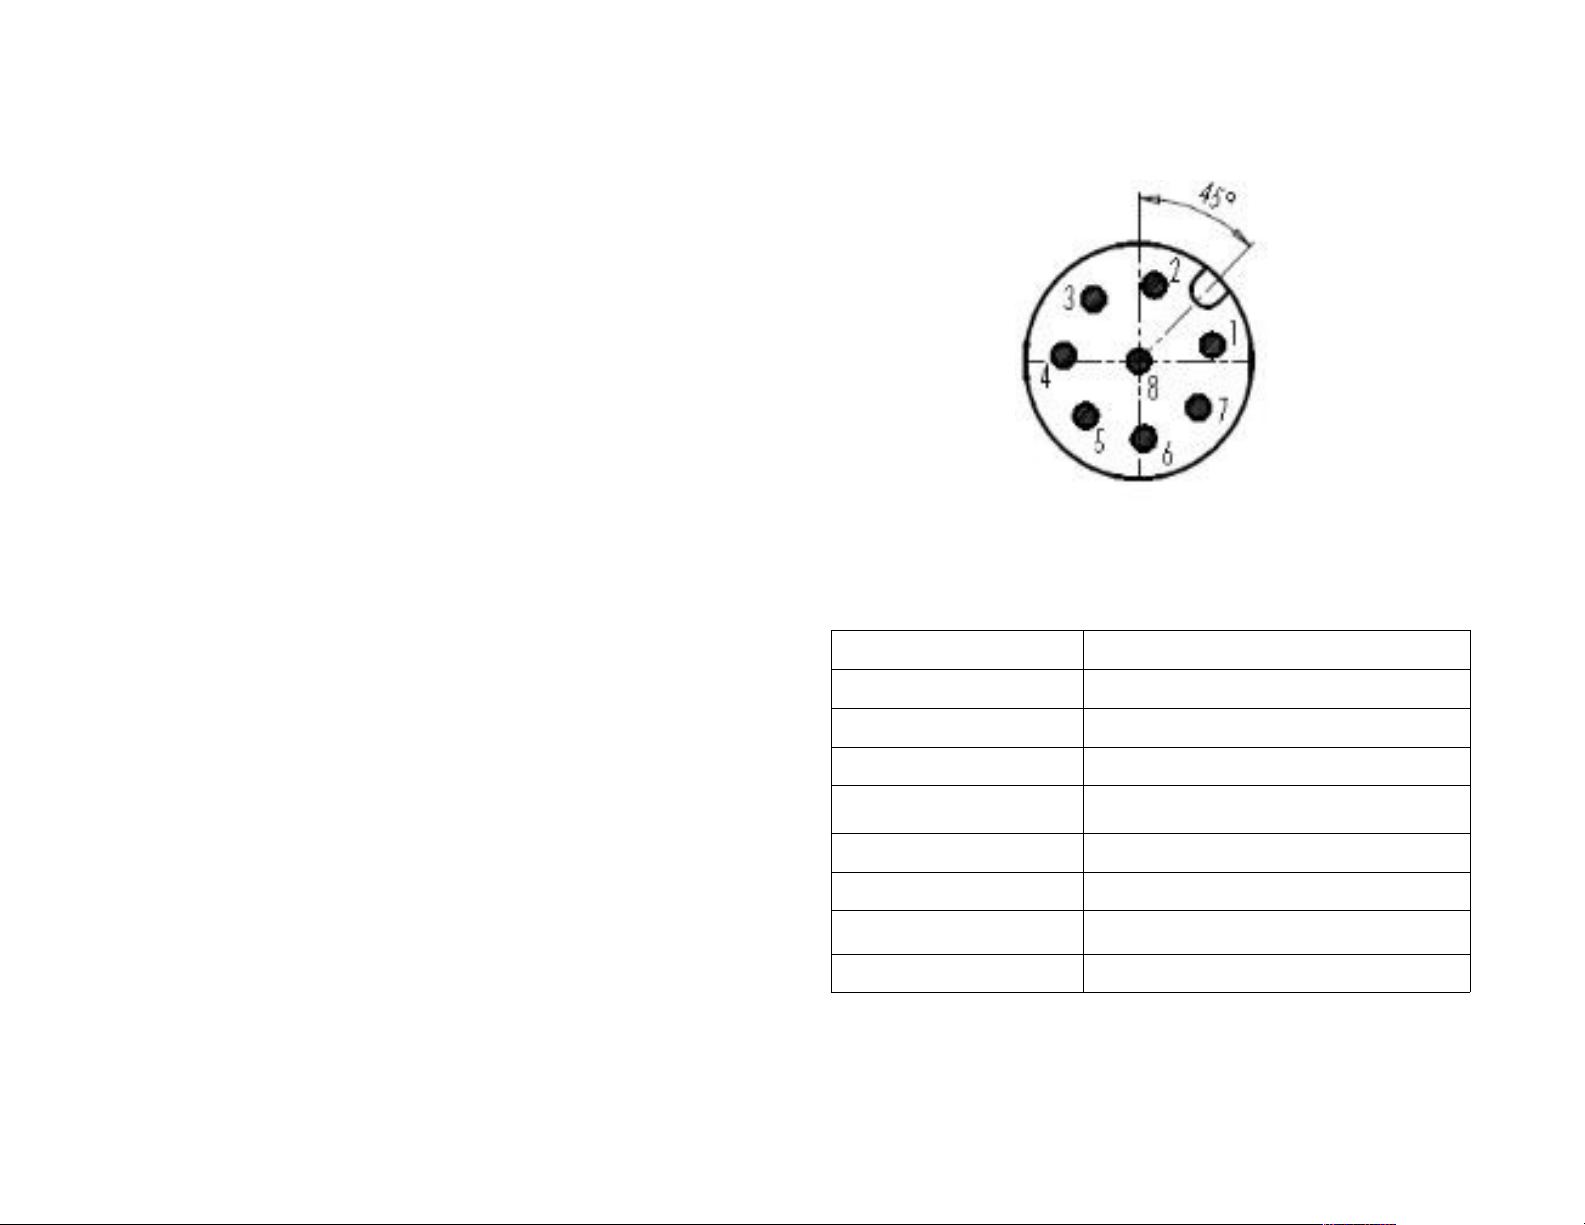
Frogmouth Automation C1-002 User manual

C1-002
LASER DISTANCE SENSOR
USER MANUAL
Contents
Page 1 Warnings
Page 2 Speci ications
pages 3 Overview
Pages 4-6 Functions
Page 7 Communications
Page 8 M12 Cable Pin-out
Page 9 Installation
August 2020 CALIFORNIA PROPOSITION 65 WARNINGS
WARNING: Cables, Cable Assemblies, and Printed Circuit Boards can expose you
to chemicals including lead and lead compounds which are known to the State o
Cali ornia to cause cancer and birth de ects or other reproductive harm. For more
in ormation, go to www.P65Warnings.ca.gov
WARNING: Electrical cords, cables, product cords and wire assemblies made with
PVC can expose you to chemicals including DEHP, which are known to the State o
Cali ornia to cause cancer and birth de ects or other reproductive harm. For more
in ormation, go to www.P65Warnings.ca.gov
WARNING: This Housing o this product is molded out o ABS plastic which can
expose you to chemicals including styrene which are known to the State o
Cali ornia to cause cancer, and birth de ects or other reproductive harm. For more
in ormation, go to www.P65Warnings.ca.gov
This device complies with part 15 o the FCC Rules. Operation is subject to
the ollowing two conditions: (1) This device may not cause harm ul
inter erence, and (2) this device must accept any inter erence received,
including inter erence that may cause undesired operation.
This device is not intended to be used or residential purposes or in residential
environments

Warning !
Read and understand all instructions before use of this product. Any use
other than the intended use of this product can be hazardous to people,
damage equipment and/or cause permanent injury or death.
Warning !
•This product was not designed as or intended to be used as a
safety device to protect people or equipment. sing this device
in any way other than its intended use or altering this device in
any way could be hazardous to people, damage equipment or
cause permanent injury or death!
•Installation is only to be done by a trained professional who
understands electronics and automation as well as safety
regulations and procedures that apply to this type of device.
•If this product gets wet, dropped, is damaged or functions incorrectly,
immediately remove from power and send it to the factory or
authorized repair center for repair or replacement.
•This product is to be used indoors in a temperature and humidity
controlled environment free of water, moisture, combustible or
hazardous objects, chemicals or gasses. Explosion, electric shock, fire
or death can result if used in an environment other than what is
instructed.
•Do not connect the cable under power as this could cause electric
shock and/or damage equipment.
•The C1-002 is only intended to be used as a tool in the functionality of
an automated system and not as a stand alone system. It is the end
user's sole responsibility to ensure that this product is the proper tool
for their system design. S Custom Billet assumes no responsibility
for damages or injury caused by a system that has incorporated the C1-
002 in their design. Furthermore, S Custom Billet only gives
direction and advise in the form of technical support and all
suggestions should be approved by the engineering team of the end
user's system.
Page 1
C1-002 Specifications
Range of measurement 50.8mm - 1220 mm (2 inch – 48 inches)
Resolution ratio 1mm (.039 inch)
Laser t pe
Class 1 laser device compliant with
latest standard IEC 60825-1:2014 - 3rd
edition
Laser color Invisible IR
Laser Indicator RGB LED
Connector M12 male 8 pin
Communication modes
Serial
Discrete NPN:
Analog
Communication protocol ASCII output in millimeters/count
Power suppl 5-36 Volts DC
Operating temperature
range
10 – 120 deg. Fahrenheit (-15 -
50 degrees Celsius)
Page 2

C1-002 Overview
The C1-002 is a multi unction adjustable laser distance
sensor/parts counter that utilizes an invisible IR laser and
TOF (time o light) technology to measure distance and
communicate in ormation to other devices such as micro-
controllers, computers or PLC's including devices such as
Arduino® development boards and Raspberry Pi®. Listed
below are the key eatures.
•Eye sa e Class I IR laser
•* Range 2-48 inches (50.8 mm– 1220 mm)
•** 27 degrees FOV ( ield o view)
•Input voltage range 5V-36V DC
•Lightweight ABS housing
•Discrete NPN output
•Serial output
•Analog output
•Precision .039 inch (1mm)
•* Accuracy +/- .078 inch (2mm) and +/- 2%
•OLED Display
•Adjustable/teachable range
•Dual units inch/mm
•Dual modes – distance sensor/parts counter
•Adjustable timing budget
* Range and accuracy will vary depending on lighting
conditions and target size.
** Measurement accuracy will decrease when the target is
outside o the center o the FOV.
Page 3
Functions
Teach and Function Buttons:
•Set Range (Hold button B for 5 seconds)
*see instructions for teaching range
•nits (Hold button B until units go blank)
•Modes (Hold button A until display changes)
•Zero Counter (Press button A)
•Timing budget speed (Press and hold both A and B)
Page 4

•
•Set range button and discrete output:
Pressing and holding the Set range button
(button B) or 5 seconds will set the range
limit at the laser termination point. To teach
this termination point, simply place an object
in ront o the sensor at the desired distance
be ore pressing and holding button (B). When
an object terminates the laser at this position
or closer to the unit, the indicator light will turn
green and the discrete output will become
high. The discrete output is NPN which
completes the ground in the circuit. The max
current through this output is 400 mA and the
maximum voltage is 36V. The receiving
device must share a common ground with the
C1-002.
•Units:
Pressing the Unit button (button B) until the
distance on the display goes blank and then
releasing will toggle the units displayed on the
screen between inches and millimeters.
**NOTE** Changing the units will only change the
units displayed on the screen, the units output
through serial will remain in millimeters to maintain
consistency in PLC or PC programming.
Page 5
•Modes:
Pressing and holding the mode button (button A)
until the screen displays the next mode will toggle
between distance sensor and part counter modes.
•Zero Counter:
Pressing and releasing the zero counter button
(button A) while in counter mode will reset the
counter to zero.
•Timing budget speed:
The C1-002 has three speed modes that can be
toggled by pressing and holding the (A) and (B)
buttons simultaneously. The unit is programmed
by default to fast mode.
** NOTE Speed mode only applies to the distance sensor
mode. Parts counter mode is always in fast mode.
•Slow mode will take longer to display and output
the distance but has the most accurate
measurement and the highest tolerance to
undesirable lighting situations.
•Medium mode reacts reasonably fast and is
somewhat tolerant to undesirable lighting.
•Fast mode has the fastest reaction time but is the
least tolerant of undesirable lighting.
Page 6

Serial port settings
Baud - 115200
Parity – none
Data bits - 8
Stop bits – 1
Flow control – none
Communication voltage is 5V DC
•Serial output to PLC or micro controller:
Serial output is ASCII. When connecting to a PLC
or micro controller, connect the TX pin to the RX
pin on the receiving device and the RX pin to the
TX pin on the receiving device. Make sure that the
two devices share common ground, that the
receiving device is rated for 5V DC
communication and that transmitting voltage to
the distance sensor does not exceed 5 volts.
•Serial output to a computer:
When connecting to a computer use a TTL to SB
converter and connect TX on the C1-002 to RX on
the converter, + Volts on the C1-002 to + Volt on
the converter, RX on the C1-002 to the TX on the
converter and 0 Volts on the C1-002 to 0 Volts on
the converter.
•Analog output :
Analog output operates in a range rom 0 to 5 volts
where O volts = 0 mm and 5 volts = 2048 mm
Page 7
CABLE PINO T
M12 MALE CONNECTOR O T OF
SENSOR
Pin Number Connection
1 Input 5-36 Volts
2 RX
3 0V
4 NPN Discrete Output
5 Not Connected
6 Analog Output
7 TX
8 Not Connected
Page 8

Installation
Installation is only to be done by a trained pro essional who
understands electronics and automation as well as sa ety
regulations and procedures that apply to this type o device.
Mount the C1-002 by installing a ¼ inch bolt, nut and locking
washer through the hole in the supplied bracket.
Mounting this device as close to the target as possible while
staying inside o the operating range will yield the best results
Small angular adjustments may be made by loosening the two
sel threading screws that asten the bracket to the C1-002
housing and then rotating the unit clockwise or counter
clockwise. Make sure that all bolts and screws are tight a ter
mounting and adjusting.
When wiring this device to a receiving device, only use a
compliant emale M12-8 pin cable that is shielded and 20 cm or
less in length.
A compliant cable with a emale M12 8 pin connector on one
end and open leads on the opposite end can be purchased
through the Frogmouth Automation store on Amazon by
ordering part# FMA-M12-8P-20CM-F
All open leads must be connected to a terminal block.
Page 9
Table of contents
Popular Accessories manuals by other brands

Snom
Snom M200 SC Administrator and provisioning manual

SOMFY
SOMFY Sunis RTS Operating and installation guide

hillvert
hillvert HT-IRI-02 user manual

Wilfa
Wilfa WHBD-1 instruction manual

Observator
Observator OMC-116 installation manual

Safety Technology International
Safety Technology International STI-3610 quick start guide