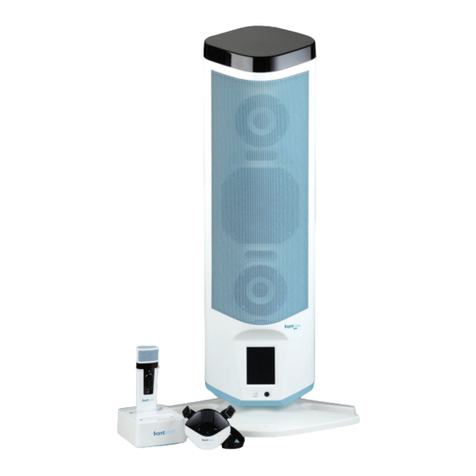
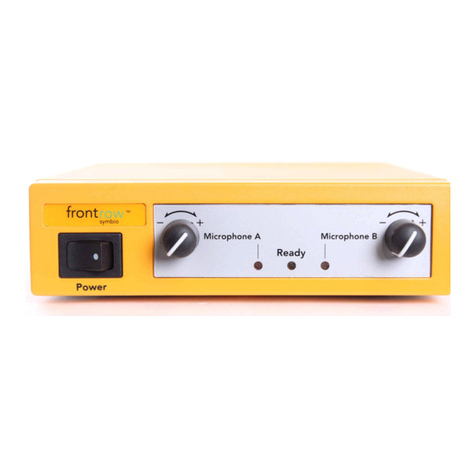
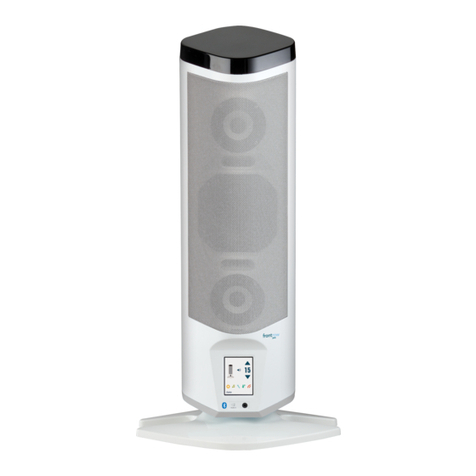
FrontRow symbio User manual

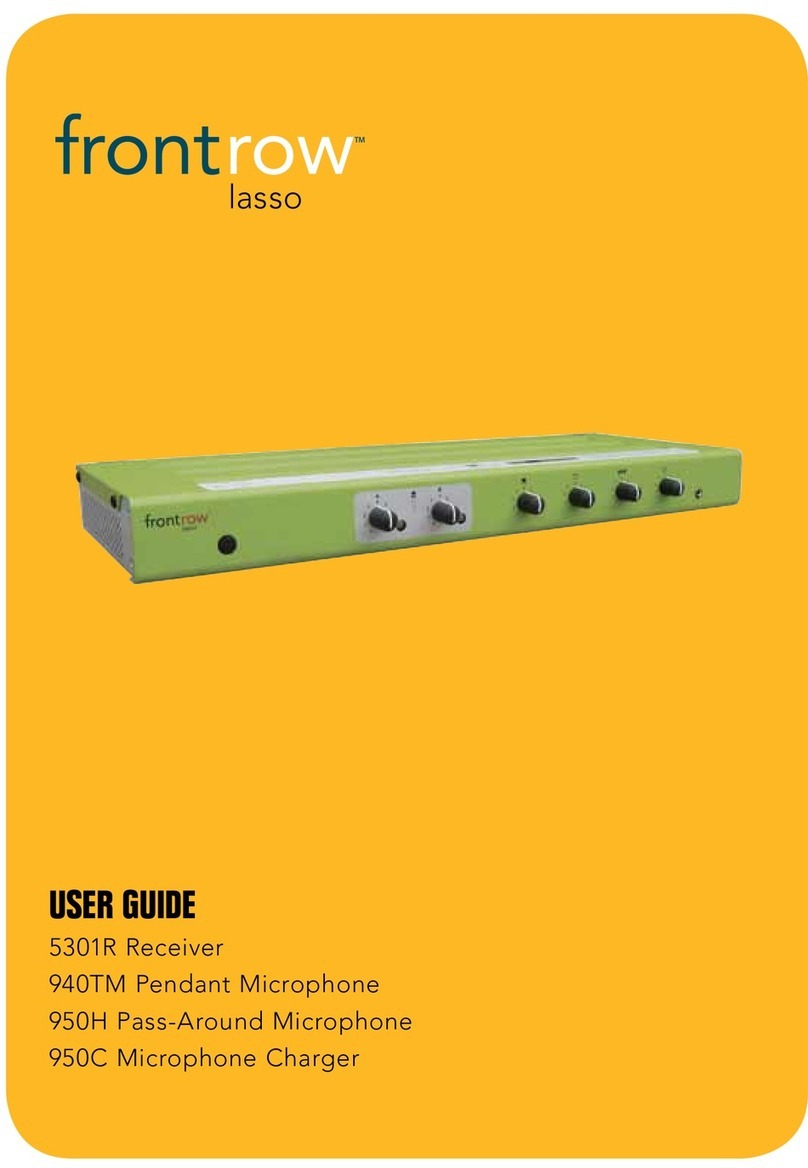
user guide
5201R Receiver
940TM Pendant Transmitter
950H Pass-Around Microphone
symbio

Contents
ImportantSafetyInstructions ...............................................1
ElectricalWarnings........................................................2
Introduction..............................................................3
BasicSystemGuidelines....................................................4
Chapter 1 Receiver Components...........................................5
Chapter 2 Microphone Components........................................6
940TM Pendant Microphone
Chapter 3 Features.......................................................7
Chapter 4 Installing Batteries and Charging .............................8-10
Chapter 5 Using ........................................................11
950H Pass-Around Microphone
Chapter 6 Features......................................................12
Chapter 7 Setting gain, channel, installing battery, and charging . . . . . . . . . . 13 - 14
Chapter 8 Using ....................................................15-16
Chapter 9 Using a Second Microphone ....................................17
950C Microphone Charger
Chapter 10 Features......................................................18
Chapter 11 950C Charger Setup ...........................................19
5201R Symbio Receiver
Chapter 12 Features......................................................... 20
Chapter 13 Activate Receiver and Transmitter .................................. 21
Chapter 14 Product Specifications..........................................22
Chapter 15 Troubleshooting ...............................................23
Chapter 16 Regulatory ....................................................24

IMPORTANT SAFETY
INSTRUCTIONS
1. The apparatus shall not be exposed to
dripping or splashing and no objects
filled with liquids, such as vases, shall be
placed on the apparatus.
2. Read these instructions.
3. Keep these instructions.
4. Heed all warnings.
5. Follow all instructions.
6. Do not use this apparatus near water.
7. Clean only with dry cloth.
8. Do not block any ventilation openings.
Install in accordance with the manufac-
turer’s instructions.
9. Do not install near any heat sources
such as radiators, heat registers,
stoves, or other apparatus (including
amplifiers) that produce heat.
10. Do not defeat the safety purpose of
the polarized or grounding-type plug.
A polarized plug has two blades with
one wider than the other. A grounding
type plug has two blades and a third
grounding prong. The wide blade or
the third prong are provided for your
safety. If the provided plug does not fit
into your outlet, consult an electrician
for replacement of the obsolete outlet.
11. Protect the power cord from being
walked on or pinched particularly at
plugs, convenience receptacles, and the
point where they exit from the apparatus.
12. Only use attachments/accessories
specified by the manufacturer.
13. Use only with the cart, stand, tripod,
bracket, or table specified by the manu-
facturer, or sold with the
apparatus. When a cart is
used, use caution when
moving the cart/apparatus
combination to avoid
injury from tip-over.
14. Unplug this apparatus during lightning
storms or when unused for long periods
of time.
15. Refer all servicing to qualified service
personnel. Servicing is required when
the apparatus has been damaged in
any way, such as power-supply cord
or plug is damaged, liquid has been
spilled or objects have fallen into the
apparatus, the apparatus has been
exposed to rain or moisture, does
not operate normally, or has been
dropped.
WARNING
To reduce the risk of fire or electric shock,
do not expose this apparatus to rain or
moisture.
WARNING
To prevent injury, this apparatus must be
securely attached to the floor/wall in
accordance with the installation instructions.
WARNING
Batteries (battery pack or batteries
installed) shall not be exposed to excessive
heat such as sunshine, fire or the like. Do
not use noticeably damaged batteries.
CAUTION
To reduce the risk of fire or electric shock,
do not perform any servicing other than
that contained in the operating instructions
unless you are qualified to do so.
1
1. Avoid Abuse to the Power Supply
To reduce risk of electric shock, unplug
the power supply from outlet before
attempting any maintenance or cleaning.
Turn off controls will not reduce this risk.
To reduce the risk of fire or electric
shock, do not expose this apparatus to
rain or moisture.
DO NOT disassemble the power sup-
ply. Return the apparatus to Phonic
Ear FrontRow for qualified service and
repair if service or repair is required.
Incorrect reassembly may result in a risk
of electric shock or fire.
DO NOT expose the power supply to
rain, snow, water, gas, oil, etc.
DO NOT operate the power supply
if it has received a sharp blow, been
dropped, or otherwise damaged in any
way; return the apparatus to Phonic Ear
FrontRow for qualified service and repair.
DO NOT block or cover the apparatus
and impede ventilation.
DO NOT expose batteries (battery
pack or batteries installed) to excessive
heat such as sunshine, fire, or the like.
2. Proper Use of the Power Supply
and Wiring
An extension cord should not be used
unless absolutely necessary. Use of
improper extension cord could result
in a risk of fire and electric shock. The
cord MUST be plugged into a grounded
outlet. Make sure it is properly wired, in
good electrical condition, and wire size
is large enough for AC ampere rating of
the power supply or charger as specified
below. AWG = American Wire Gauge.
To reduce risk of damage to plug and
cord when disconnecting the power
supply or charger, ALWAYS pull on plug
- NEVER on cord.
Locate cord so that it will not be
stepped on, tripped over, or otherwise
subject to damage or stress. DO NOT
lay extension cord on charger.
DO NOT operate the power supply
with damaged cord or plug - replace
them immediately.
ELECTRICAL WARNINGS
!
ELECTRICAL SAFETY
INFORMATION:
PRECAUTIONS & SAFETY
RECOMMENDATIONS
Follow Manufacturers' Recommendations
Before using the receiver and power supply,
read all instructions for, and caution mark-
ings on the receiver and power supply and in
this user guide.
2

3
Introduction
Congratuations on the purchase of your new FrontRow system!
FrontRow systems engage students, improve attentiveness to the teacher, build learning success,
reduce the achievement gap, foster control and orderliness, improve test scores, and reduce
vocal strain and fatigue for teachers. Numerous studies show that classrooms using teacher voice
amplification enjoy better student comprehension, increased student participation, better grades
and fewer behavioral referrals.
Read this manual carefully to become familiar with your system and to get the most out of its
many features and options.
Understanding Voice Amplification and its Benefits
without voice amplification with voice amplification
Installation Notice
Your FrontRow Symbio system is a precision wireless audio instrument designed to improve
students' ability to perceive the teacher's voice.
We strongly recommend having your system set up by a professional installer who is familar
with FrontRow systems (contact your representative for referrals to installers in your area).
If you choose to install your FrontRow Symbio system yourself, take great care to follow
the instructions in the Symbio Installation Guide found at www.gofrontrow.com/support/
product-guides. Achieving the best performance from your system is only possible
by properly selecting and positioning sensors. Improper installation can result in
poor performance.
• reduced comprehension
• reduced attention
• teacher fatigue
• improved comprehension
• improved attention
• greater teacher energy
?
cough!
?

4
Basic System Guidelines
To help ensure that you get the most from this system, follow these basic guidelines:
Microphones:
Proper pendant microphone placement will allow you to comfortably wear your microphone
all day and ensure the best sound quality.
Speak at a normal level when using your pendant microphone; the system is projecting your
voice for you.
Use a student microphone (sold separately) to create a more dynamic learning environment
by amplifying a student's voice when they are reading or presenting.
Do not use two microphones on the same channel. Your FrontRow Symbio receiver is designed to
accept audio from two microphones simultaneously, but they must be on separate channels.
Batteries:
Install batteries in your equipment now, then charge overnight before initial use.
Charge microphone batteries every night. Our Nickel Metal Hydride (NiMH) batteries last the
entire school day between charges, but should be charged every night so they are ready to go in
the morning.
Replace microphone rechargeable batteries after 12 months of use to avoid poor performance
and possible equipment damage. Only use special "silver sleeve", auto-sensing batteries supplied
by FrontRow.
Avoid battery corrosion. Charge then remove batteries if your transmitter will not be used for
several weeks.
Alkaline batteries may be used if you forgot to charge your transmitter the night before. NEVER
attempt to recharge alkaline batteries. To ensure proper charging, always be sure that only "silver
sleeve", auto-sensing batteries are installed.
For installation instructions go to: http://www.gofrontrow.com/support/product-guides

5
1Receiver Components
Receiver
1. Receiver
2. Infrared ceiling sensor*
3. Receiver power supply
4. Receiver mounting tray (optional)
1
4
2
3
*Not necessary if FrontRow IR speakers are already installed

6
2Microphone Components
Transmitter
1. 940TM pendant microphone
2. Adjustable neck strap
3. (1) AA (LR6) NiMH rechargeable battery
("silver sleeve", auto-sensing)
4. Aux-in audio adaptor cord
(3.5mm to 3.5mm)
5. Two unit charger
6. 950C charger
(optional)
7. Pass-around microphone
(optional)
1
2
3
4
6
7
(optional items)
5

7
1. Neck strap
2. Infrared emitter diodes
(Do not block)
3. Indicator light
4. Mute button
(Push to mute)
5. Channel selector
(Select Channel A or Channel B. Do not
have two microphones on the same
channel in the same room)
6. Dual microphone ports
(Do not block)
7. Aux-in audio jack
(Use aux-in audio adaptor cord to send
audio from a secondary audio source
such as an MP3 player, portable radio/
CD/tape player to the receiver)
8. External microphone jack (optional)
(to connect a boom microphone)
9. Charge jack
10. On/off switch
11. Battery compartment
Accepts 1 AA (LR6) battery
NiMH rechargeable recommended
("silver sleeve", auto-sensing)
3940TM Pendant Microphone
Features
front
1
2
3
4
back
66
11
bottom
65 768 910

8
Your microphone is equipped
with SmartCharge technology to
protect against charging incom-
patible batteries. The microphone
will only charge the "silver-sleeve",
auto-sensing battery that comes with your
microphone. If an incompatible battery is
detected, the microphone will not let you
charge the battery.
Install Battery
1. Push down on tab to open battery com-
partment
2. Insert battery into compartment. Note
polarity indicators
3. Replace battery door
4. Charge battery overnight before initial use
IMPORTANT! To ensure best performance,
and avoid equipment damage, FrontRow
recommends replacing rechargeable batteries
at the beginning of each school year.
2
4940TM Pendant Microphone
Installing Batteries and Charging
1

9
Charge Battery Nightly
1. Microphone indicator light will blink red
when battery is low
2. Plug the two-microphone charge cord
into the wall
3. Turn microphone off
4. Insert any one of the two charge cord
plugs into the charge jack
5. The microphone indicator light should
be red when charging. If it is OFF, check
microphone battery and ensure charge
cord is properly connected to microphone
and plugged in
1
NOTE: If you forget to charge your
microphone at night, you may use a
standard AA (LR6) alkaline battery instead.
Remember to remove the alkaline battery
and replace it with a "silver-sleeve", auto-
sensing battery before charging the unit.
IMPORTANT! In order to prevent damage
to your microphone, the SmartCharge feature
is intended to prevent charging of any
battery other than the "silver sleeve" auto-
sensing battery supplied by FrontRow. Do
not attempt to charge alkaline batteries.
To ensure proper charging, always be sure
that only "silver sleeve" auto-sensing batteries
are installed.
940TM Pendant Microphone
Installing Batteries and Charging (cont.)
4
3
5
spare

10
1. Turn microphone off
2. Place microphone face up into the
charge pocket. Ensure it is fully seated.
3. The charger indicator light should be
solid red when charging. If it is blinking
red, you are attempting to charge an
alkaline battery or the battery is damaged
or worn out. Replace this battery with a
FrontRow "silver sleeve" NiMH cell. If the
light is off, ensure charger is properly con-
nected to power supply and that you are
charging a 940TM microphone (930TM
microphones cannot be charged in this
charger). Re-check the seating.
4. The charger indicator light will turn green
when charging is complete.
NOTE: If the charger is blinking red and the
cell is the proper type, make sure the charger
contacts are free of contaminants. If they
appear dirty, then clean with rubbing alcohol,
using a cotton swab.
Charging with the 950C charger (optional)
1
2
3/4
940TM Pendant Microphone

11
The 940TM Pendant Microphone can be
used to transmit audio from a secondary
audio source (MP3 player, computer, portable
radio/CD/tape player) to the receiver.
7. Plug one end of the audio adaptor cord
(included) in the Audio Out/headphone
jack of the secondary audio source. Plug
the other end of the adaptor cord to
the Aux-In jack on the 940TM Pendant
Microphone
8. Turn the secondary audio source on
9. Turn the 940TM Pendant Microphone on
10. Turn the volume on the secondary audio
source all the way up and adjust the micro-
phone volume on the receiver to obtain
the optimal volume
11. You can "talk over" the secondary audio
by speaking into the microphone or mute
the microphone to ensure the best audio
sound quality
1. Place microphone around neck and
connect clasp
2. Adjust neck straps to position micro-
phone as close to mouth as possible
(approximately 5in/13cm)
3. Set channel to A or B (whichever is not
already in use)
4. Turn microphone on. Indicator light
should be green
5. Press mute switch as needed for private
conversations. Indicator light will blink green
6. Optional: if desired, plug in external
boom microphone
940TM (bottom)
54
5940TM Pendant Microphone
Using
63
Light Legend
Green ............ On
Blinking Green . . . . . . Muted
Blinking Red . . . . . . . . Low Battery
When Charging:
Off . . . . . . . . . . . . . . Alkaline Battery
Detected, or
microphone power
is still on
Red . . . . . . . . . . . . . . Charging
7
9
8
10
11
5in/13cm
2
6
1

12
1. Emitter diodes
(Do not block)
2. 2-way indicator light
Green = On and transmitting
Blinking red = Low battery
Red = Charging via 3.5mm charge
input jack only
No light = Charging via 950C charger
3. On/off switch
4. Battery compartment
(On back)
5. Gain switch
(Inside battery compartment)
6. Channel switch
(Inside battery compartment)
7. Name plate
8. Charge input jack
(Use with 2-unit charge cord only)
9. Aux input jack, stereo summing
10. Lavaliere clip
11. 950C charger contacts
6950H Pass-Around Microphone (optional)
Features
1
2
3
4
5
7
89
10
6
11
11
8
9
Back
Front
Bottom

13
Set gain and channel, and install battery
1. Unscrew battery door to open
battery compartment
2. Set gain as follows:
High: If majority of users will hold the
microphone far from the mouth
Mid (recommended): For most uses
Low: If majority of users will hold the
microphone close to the mouth
3. Set channel to A or B
(Whichever is not in use)
4. Insert battery into compartment.
Note polarity indicators
5. Replace battery door
6. Charge battery overnight before
initial use
IMPORTANT! To ensure top performance
and avoid equipment damage, FrontRow
recommends replacing rechargeable batteries
at the beginning of each school year.
Charge Battery Nightly
Indicator light will blink red when battery is low
NOTE: If you forget to charge your micro-
phone at night, you may use a standard AA
(LR6) alkaline battery instead. Remember to
remove the alkaline battery and replace it with
a FrontRow "silver-sleeve", auto-sensing battery
before charging the unit.
IMPORTANT! In order to prevent damage
to your microphone, the SmartCharge
feature is intended to prevent charging of
any battery other than the "silver sleeve"
auto-sensing battery supplied by FrontRow.
Do not attempt to charge alkaline batteries
separately. To ensure proper charging,
always be sure that only FrontRow "silver
sleeve" auto-sensing batteries are installed.
7950H Pass-Around Microphone (optional)
Setting gain, channel, installing battery, and charging
1
4
2
3

14
1. Plug the two-microphone charge cord into
the wall
2. Turn microphone off
3. Insert one of the charge cord plugs into
the charge jack
4. The microphone indicator light should be
red when charging. If it is OFF, ensure that
you are not attempting to change an alkaline
battery, and that charge cord is properly
connected to microphone and wall and
950H is OFF.
950H Pass-Around Microphone (optional)
Charging with the 2-unit charge cord
1
1. Turn microphone off
2. Place microphone into the charge pocket.
Ensure it is fully seated.
3. The charger indicator light should be
solid red when charging. If the light is off,
ensure charger is properly connected
to power supply and that you are not
attempting to charge an alkaline battery.
4. The charger indicator light will turn green
when charging is complete and unit will
enter maintenance mode.
Charging with the 950C charger
1
3/4
2
4
2
3

15
1. Turn microphone on
2. Note indicator light
Green = On and transmitting
Blinking red = Low battery
3. To allow hands-free use (for example,
when reading aloud and turning pages),
attach the lavaliere clip. Adjust neck strap
to position microphone approximately
4 - 5in (10 - 13cm) from mouth.
4. Keep top of microphone approximately
3 - 4in. (7.5 – 10cm) from mouth
5. Do not block emitter diodes
6. Turn off microphone and place microphone
in charger at the end of the day
NOTE: The 950H is factory set on Channel B.
If you are using two microphones, they
must be on different channels.
CAUTION: The lavaliere clip should easily
slide on and snap into place. Do NOT
snap the clip around the body or install the
microphone backward or damage may result.
8950H Pass-Around Microphone (optional)
Using
12
5
6
3
4
3in. (7cm)
5in. (13cm)

16
The 950H Pass-Around Microphone can be
used to transmit audio from a secondary
audio source (MP3 player, computer, portable
radio/CD/tape player) to the receiver.
7. Plug one end of the audio adaptor cord
(included) in the Audio Out/headphone
jack of the secondary audio source.
Plug the other end of the adaptor cord to
the Aux-In jack on the 950H Pass-Around
Microphone
8. Turn the secondary audio source on
9. Turn the 950H Pass-Around Microphone on
10. Turn the volume on the secondary audio
source all the way up and adjust the micro-
phone volume on the receiver to obtain
the optimal volume
11. When using this feature the microphone
audio is disabled
950H Pass-Around Microphone
Using (cont.)
7
9
8
10
11

17
9Using a Second Microphone
Your receiver is designed to receive two
microphone signals at once. For example,
two teachers (or a teacher and an aide)
may each use a microphone. Or, one
teacher can use a microphone and stu-
dents can use a pass-around microphone.
Microphones must be on different channels
or interference will occur. Do not have
both microphones on the same channel.
teacher
(channel A)
student
(channel B)
teacher 1
(channel A)
teacher 2
(channel B)
Classroom 1
Classroom 2

18
1. Charge pocket for 950H
Pass-Around microphone
2. 2-way indicator light for 950H
Pass-Around microphone
No light = Pocket empty or
improper battery
Red = Charging
Blinking red = Charge error
Green = Charging complete
3. Charge pocket for 940TM Pendant
microphone (will not charge 930TM
pendant microphone)
4. 2-way indicator light for 940TM
Pendant microphone
No light = Pocket empty
Red = Charging
Blinking red = Charge error or
improper battery
Green = Charging complete
5. Power supply input
10 950C Charger (optional)
Features
top
1
back
2
3
4
5
This manual suits for next models
3
Table of contents
Other FrontRow Microphone System manuals

FrontRow
FrontRow symbio 5201R Assembly instructions

FrontRow
FrontRow 925RS User manual

FrontRow
FrontRow 5301R User manual

FrontRow
FrontRow symbio 940TM User manual

FrontRow
FrontRow 5301R User manual

FrontRow
FrontRow ITR-02 User manual

FrontRow
FrontRow ToGo User manual

FrontRow
FrontRow JUNO ITR-01 User manual