manuals.online logo
Brands
  1. Home
  2. •
  3. Brands
  4. •
  5. Furuno
  6. •
  7. GPS
  8. •
  9. Furuno GP-1670F Quick start guide

Furuno GP-1670F Quick start guide

24
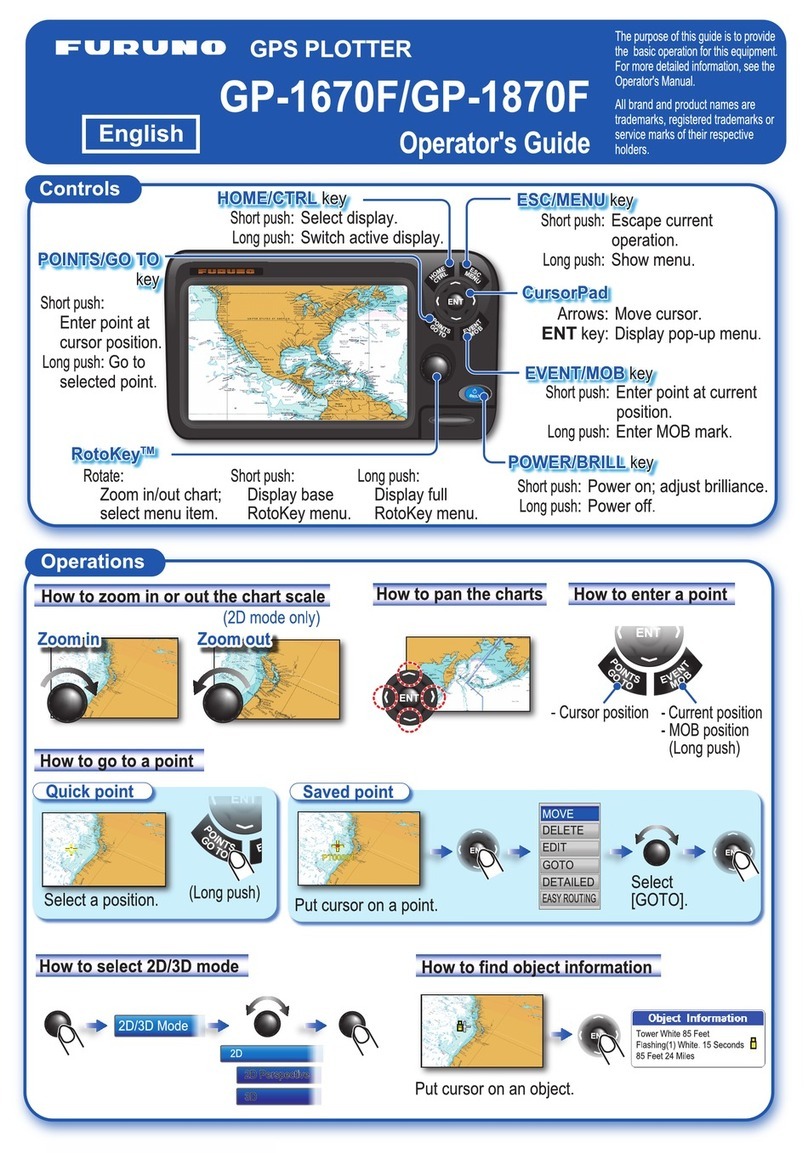
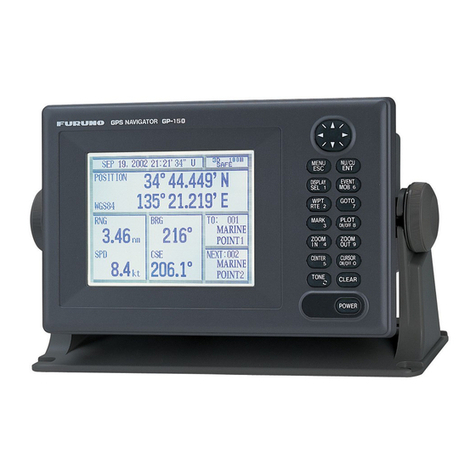
FURUNO GP-1670F OPERATIONAL PROCEDURE*
1) Turn the Power On, FURUNO GP-1670F
Press to turn the power ON.
※This figure is quoted from “FURUNO GPS PLOTTER/SOUNDER GP1670F, GP1870F OPERTOR’S
MANUAL” of product GP-1670F of Furuno Electric Co., Ltd.
2) Menu Operation
This section shows how to operate the menu. There are eight menus, [General], [Map], [Plotter],
[Alarms], [System], [Fish Finder], [Instruments] and [Interface].
Long-push of the ESC/MENU key will show the main menu. Select “FISH FINDER”
3) Select “BOTTOM RANGE SHIFT AREA”for RANGE selection
25
[RANGES]: The default range settings are suitable for most applications. However, the ranges
can be customized to suit one’s needs, i.e. [RANGE 1] - [RANGE 8]. Set the ranges in
descending order. Make sure that each range is lower than its preceding range.
Select a display range
Range can be selected automatically or manually. Open the RotoKey menu then
select [Auto Range] and [Auto] or [Manual].
Select manual operation, the [RANGE] window, which appears on the right. Turn
the key clockwise to increase the range and counterclockwise to decrease the range.
Select the Range at 20 m.
4) Adjust the Gain
The gain controls how echoes of different strengths are displayed. Gain is automatically adjusted;
however, the gain can be fine tuned accordingly to meet local characteristics, etc. Set the gain to show a
slight amount of noise on the screen. Increase the gain for greater depths and lower the gain for shallow
waters.
To adjust the gain, open the RotoKey menu then select [Gain 50k] or [Gain 200k] followed by the soft
control labeled with the frequency that is desired to be adjusted, then the corresponding adjustment
window appears. Rotate the key clockwise to increase the gain, counterclockwise to decrease it.
26
How to adjust the gain
Since the gain controls how echoes of different strengths are displayed, set the gain to show a slight
amount of noise on the screen. Increase the gain for greater depths and lower the gain for shallow waters.
Gain too high Gain proper Gain too low
5) Home Screen (Display Selection)
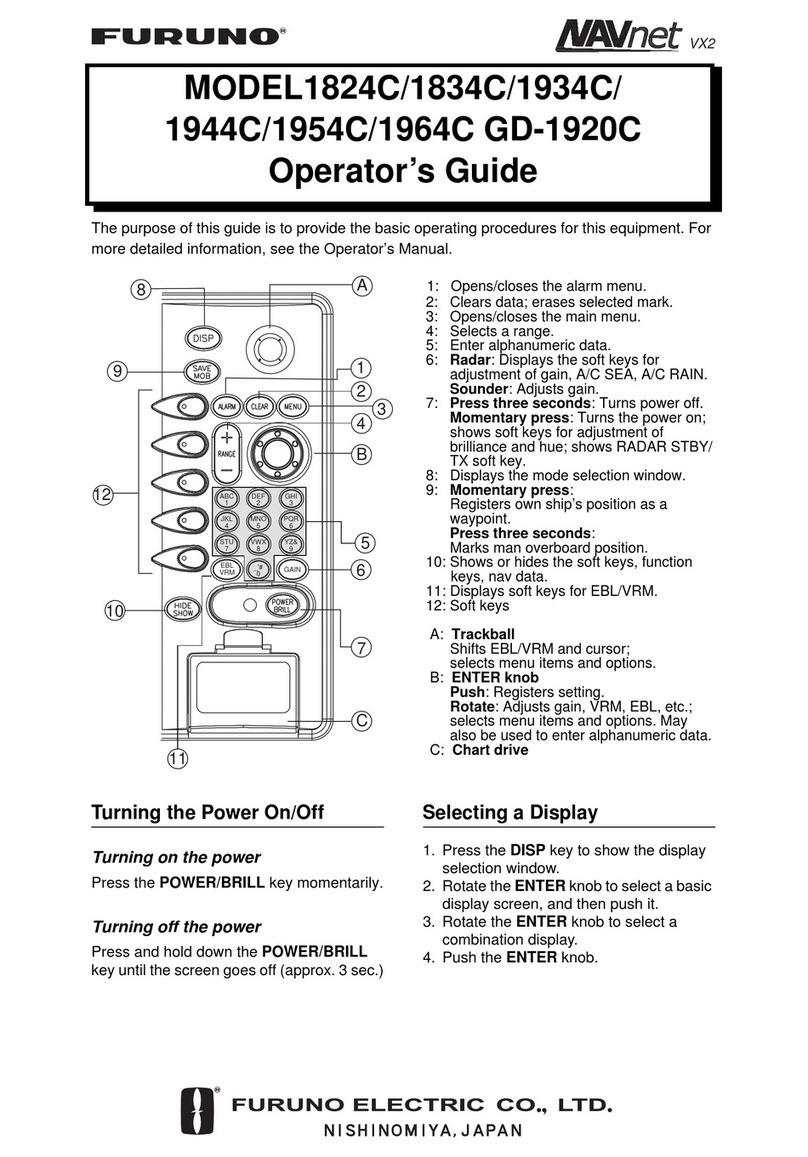
Select a display from the home screen which has eight displays. Press the HOME/CTRL key to show
the home screen. Operate the CursorPad or rotate the RotoKeyTM to select a display. The current
selection is circumscribed by a red rectangle. Press the RotoKeyTM or ENT key to confirm your
selection.
Select a display for the right half then push RotoKeyTM. For example, select the fish finder
display. Control returns to the home screen. The result of your selection appears on the home
screen.
Plotter, fish finder display
CAUTION
Adjust the gain correctly. Incorrect
adjustment can lead to a dangerous situation
especially if the boat is steered according to the
depth indication.
27
DATA COLLECTION OPERATION PROCEDURE
1) Turn on FURUNO GP-1670F
-Select the Range at 20 m.
2) Turn on Computer with Windows 7
3) Start PicoScope 6
4) Start FishFinder V.3.6
When FishFinder program is running, a window on monitor screen will display an echogram
which is indicated by water depth range and echo color scale.
28
5) Start Hyper Terminal: (GPS – Hyper Terminal)
When Hyper Terminal program is running, a window on monitor screen will display echo
sounder information in various format of terminal information.
29
6) Echo sounder data collection
-Move mouse cursor into the echogram window and use right bottom mouse click for
data collection drop down menu.
-Select “Collecting Start” button, left bottom mouse click. The echo sounder data will
automatically create new data recorded file using current date and time as file name on
Desktop folder. The format of file name will start with “FishFinder” followed by Date
such as “FishFinder_yyyymmdd_hhmmss.csv”.
-To stop data recording, select “Collecting Stop” button, and use left bottom mouse
click.
7) Ship position data collection
-In Hyper Terminal window, select drop down menu of “Transfer”, Capture Text” and
enter Capture Text folder and file name.
-Select “Start” button. The echo sounder information text will automatically be recorded
into defined data file name.
30
-To stop data recording, select “Transfer”, Capture Text” and “Stop”
ECHO SOUNDER DATA ANALYSIS PROCEDURE
The Echo Sounder Data Collection System (AQFI-1301) was designed to display echogram
(Figure 17) and data recorded digital echo signal (50 kHz) into PC screen and hard disc. The
Echo Sounder Data Collection System was set up at fixed sampling rate of 0.0512 msec with
total 800 sampling echo data of digital value echo-signal recorded into the PC hard disc for
each transmitting ping.
Figure 17. Echogram and A-scope display pattern shown on PC screen.

Other manuals for GP-1670F

4

Other Furuno GPS manuals

Furuno FAP-50 User manual

Furuno

Furuno FAP-50 User manual

Furuno GP-80 Manual

Furuno

Furuno GP-80 Manual

Furuno GP-320B User manual

Furuno

Furuno GP-320B User manual

Furuno GP-39 Manual

Furuno

Furuno GP-39 Manual

Furuno GP-1610C User manual

Furuno

Furuno GP-1610C User manual

Furuno GP-150-Dual User manual

Furuno

Furuno GP-150-Dual User manual

Furuno GP-1650D Manual

Furuno

Furuno GP-1650D Manual

Furuno GP-90 User manual

Furuno

Furuno GP-90 User manual

Furuno GP-37 Manual

Furuno

Furuno GP-37 Manual

Furuno GP-3700 User manual

Furuno

Furuno GP-3700 User manual

Furuno GP-150 User manual

Furuno

Furuno GP-150 User manual

Furuno GP-320B User manual

Furuno

Furuno GP-320B User manual

Furuno GP-150 User manual

Furuno

Furuno GP-150 User manual

Furuno 1954C Manual

Furuno

Furuno 1954C Manual

Furuno Felcom 82 Manual

Furuno

Furuno Felcom 82 Manual

Furuno NAVNET 3D MFD8/12/BB User manual

Furuno

Furuno NAVNET 3D MFD8/12/BB User manual

Furuno GP-7000 User manual

Furuno

Furuno GP-7000 User manual

Furuno GPS Navigator GP-50 MARK-2 User manual

Furuno

Furuno GPS Navigator GP-50 MARK-2 User manual

Furuno Felcom 82 User manual

Furuno

Furuno Felcom 82 User manual

Furuno GP-1640 User manual

Furuno

Furuno GP-1640 User manual

Furuno GP-330B User manual

Furuno

Furuno GP-330B User manual
Furuno GP-31 User manual

Furuno

Furuno GP-31 User manual

Furuno GP-330B User manual

Furuno

Furuno GP-330B User manual

Furuno GN-86F User manual

Furuno

Furuno GN-86F User manual

Popular GPS manuals by other brands

Radio Biscuits ibiscuit manual

Radio Biscuits

Radio Biscuits ibiscuit manual

Mio DigiWalker C210 user manual

Mio

Mio DigiWalker C210 user manual

MTM SVR502 installation guide

MTM

MTM SVR502 installation guide

PAJ ALLROUND Finder operating instructions

PAJ

PAJ ALLROUND Finder operating instructions

CarbonTrack CT100i user manual

CarbonTrack

CarbonTrack CT100i user manual

Rand McNally TND 765 user manual

Rand McNally

Rand McNally TND 765 user manual

Garmin StreetPilot GPS Owner's manual and reference guide

Garmin

Garmin StreetPilot GPS Owner's manual and reference guide

Magellan Magellan GPS 310 user manual

Magellan

Magellan Magellan GPS 310 user manual

Kenwood DNX9210BT quick start guide

Kenwood

Kenwood DNX9210BT quick start guide

NOVOGO A Series user manual

NOVOGO

NOVOGO A Series user manual

Neomatica ADM500 Operation manual

Neomatica

Neomatica ADM500 Operation manual

ACR Electronics NAUTICAST SOLAS AIS - user manual

ACR Electronics

ACR Electronics NAUTICAST SOLAS AIS - user manual

Asus PATHFINDER quick start guide

Asus

Asus PATHFINDER quick start guide

Carscop CCTR-800+ user manual

Carscop

Carscop CCTR-800+ user manual

Garmin eTrex 10 quick start guide

Garmin

Garmin eTrex 10 quick start guide

Belkin F8T051 user manual

Belkin

Belkin F8T051 user manual

PORTWORLD GT06A user manual

PORTWORLD

PORTWORLD GT06A user manual

Classic tracker OBD-II installation guide

Classic tracker

Classic tracker OBD-II installation guide

manuals.online logo
manuals.online logoBrands
  • About & Mission
  • Contact us
  • Privacy Policy
  • Terms and Conditions

Copyright 2025 Manuals.Online. All Rights Reserved.