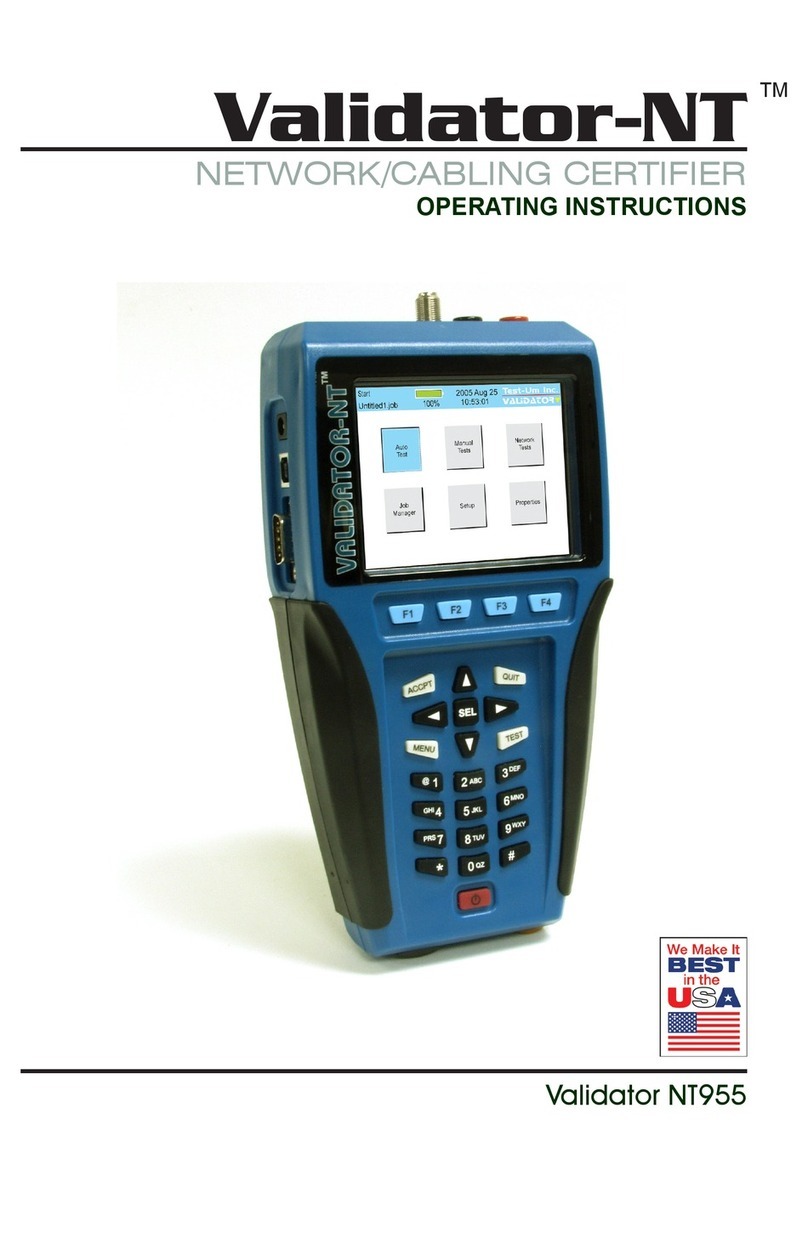
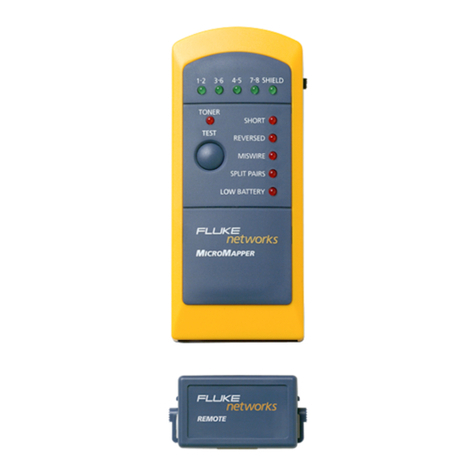
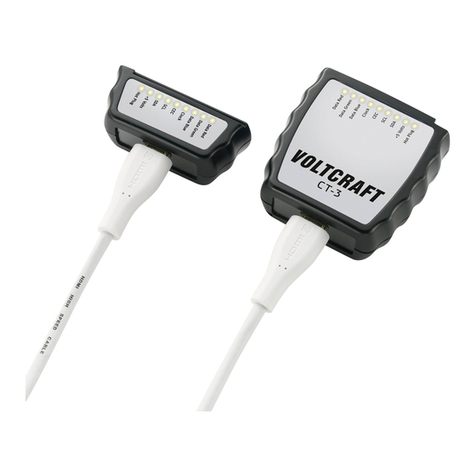
Futech SIGNALTESTER RJ-F User manual

The Signaltester RJ-F wire tester analyzes wiring on phone, computer network and
coax cables in one easy step. The large backlit LCD display maps out connections
and describes wiring faults.
The built-in tone generator and the included Video and Data remote identiers
can be used to quickly locate cables in waring closets and patch panels.
WARNINGS
Do not connect the Signaltester RJ-F to a live circuit. Exposure to voltage can
damage the tester.
Do not modify or try to repair the tester. No serviceable parts are inside.
Do not use the tester in a wet or damp environment or during electrical storms.
Visually inspect an RJ plug before inserting it into the tester. Poorly terminated
plugs may damage the jacks on the tester.
Plugging an RJ11 of RJ12 connector into the RJ45 jack of the Signaltester RJ-F
may damage the RJ45 jack.
Please read the complete safety instructions in the booklet delivered with this
device.
SIGNALTESTER RJ-F

1
4
5
6
7
11
14
8
9
10
12
13
2 3
A
?
D
?
G
?
P
Q
M
?
B
?
E
?
H
?
K
?
N
?
C
?
F
?
I
?
J
?
L
?
O
?
DESCRIPTION
TESTER
1. Video - F-connector
2. Voice - RJ11/RJ12 Jack
3. Data - RJ45 Jack
4. LCD Display
5. Data button
6. Voice button
7. Cycle button
8. Video botton
9. Tone button
10. On/Off button
11. Voice - RJ11/RJ12 Jack
12. Data - RJ45 jack
13. RJ45 Remote ID (5pcs. - permit mapping 5 remote locations)
14. F-connector Remote ID (5pcs. - permit mapping 5 remote locations)
A. VOICE Appears when testing or toning a phone cable.
B. DATA Appears when testing or toning a network cable.
C. VIDEO Appears when testing or toning a coax cable.
D. Pass Indicates proper wiring on cable being tested.
E. Fail Indicates wiring error on cable being tested.
F. Tone Appears when the tone generator is activated.
G. Rev Indicated the connections on one or more pairs.
is reversed at one of the cables.
H. Short Indicates that two or more wires are shorted to each other
I. Volt! Flashes when the tester is connected to a cable with voltage on
it. Exposure to voltage can damage the tester. If this warning
appears, immediately disconnect the cable from the tester.
J. X-over Appears when the tester detects a properly wired cross over
cable.
K. Open Appears when one or more pairs are open.
L. Battery Indicates low battery. When this symbol appears, results from
the tester may not be reliable and the battery should be
replaced immediately.
M. Shield Appears when the cable being tested has a shield that is
connected at both ends. The shield indicator will ash if there is
a short between the shield and any wire within the cable.
N. Split Appears when the tester detects the signal is split between two
or more pairs.
O. ID Appears when the tester detecs a Remote ID. Then number that
appears correspondsto the number on the Remote ID.
P. Wire map (near end) - The top row of numbers display the connector pins
on the tester end of the cable in numerical order. These pins are
mapped to the pins shown derectly below on the bottom row of
numbers.
Q. Wire map (remote end) - The bottom row of numbers displays the
corresponding pin numbers on the remote end of the cable.
Dash lines indicate shorted pins. No pin numbers indicate an
open pair.

Remote
VOLUME/
SENSITIVITY
OFF
0 9
Signalprobe RJ-F
TEST MODE
TONE MODE
LO LOW PITCH TONE
ALTERNATING HIGH/LOW
PITCH TONE
WARBLING TONE
TONE MODE
HI 1
TONE MODE
HI 2
1 2
1 6
3 4 5 6
123456
2 5 3 4
Tone will be sent through selected pins
Tone will be sent through selected pairs
Tone will be sent through all 8 pins
OPERATION
VOICE
Warning: Exposure to voltage can damage the Signaltester RJ-F. Immediately dis-
connect the cable under test is Voltage warning appears on the display. Make sure
the vable is not connected to any device that can supply voltage before retesting.
Do not connect two different cables into the Voice (RJ11/RJ12) and Data (RJ45)
test ports at the same time. The cables will interact with each other and alter test
results.
1. Press ON/OFF button to turn on the Signaltester RJ-F. Press the Voice button
to select the voice wire test function.
2. Connect one end of the cable under test to the RJ11/RJ12 port on the tester.
3. Connect the other end of the cable under test to the RJ11/RJ12 port on the
remote.
4. Interpret the results using the Wiring and Display Examples for Voice further
in this manual.
·Note: Split may appear oN the diSplay wheN teStiNg cableS that have No twiSt-
iNg oN the pairS.
It is necessary to use the Signalprobe RJ-F.
1. Connect the cable under test to the RJ11/RJ12 port on the tester.
2. Press the ON/OFF button to turn on the Signaltester RJ-F, than press Voice
button to select the voice wire test function.
3. Press the Tone button to activate the Tone Generator.
4. Repeatedly press the Tone button to select the desired tone.
Refer to sequence chart for explanation of the tone selection.
5. The connector pins the tone is being sent through will be shown on the bot-
tom of the display. Repeatedly press the Cycle button to select the desired
pins.
Refer to sequence chart for explanation of the pin selection.
· When tracing a cable run from the tone generator to the end of the cable,
applying the tone on a single pin will allow the tone to be detected at a greater
distance from the cable.
· When trying to locate a cable in a equipment room or patch panel, sending the
tone through all pins or a single pair will limit the tone signal from spreaking to
other nearby cables.
· The tone will be loudest when the probe tip is placed directly on the wires the
tone is being sent through at the end of the cable.
· When sending a tone through a single pair, verication can be made by short-
ing the suspected pair. The tone will be very faint when the pair the tone is
being sent through is shorted.

Remote
Patch Panel
Patch Cable
6
1
TESTER
REMOTE
2
3
4
5
6
1
2
3
4
5
6
1
TESTER
REMOTE
2
3
4
5
6
1
2
3
4
5
6
1
TESTER
REMOTE
2
3
4
5
6
1
2
3
4
5
Short
Open
· USOC Phone Cable Properly Wired
Pass appears on the display indicating a properly wired cable.
The pin numbers on the top row and bottom row are the same indicating proper
continuity.
· USOC Cross Wired Phone Cable Properly Wired
A cross wired cable reverses the connection at one end of the cable. Pins 1-6
cross over to pins 6-1, pins 2-5 cross over to pins 5-2 and pins 3-4 cross over to
pins 4-3. Cross wired cables are often used between the wall port nd phone.
Pass and Rev appear on the display indicating a properly wired cross wired cable.
The pin numbers on the bottom row indicate the corresponding reversal to the
pin members on the top row.
· USOC Phone Cable with Shorted and Open Pair
The pair on pins 3-4 is shorted and the pair on pins 1-6 is open. Fail, Short and
Open appear on the display indicating a defective cable. The pins with wiring
errors will ash. The dash lines below pins 3-4 indicate a shorted pair. The blank
space under pins 1-6 ndicate an open pair.
DATA
Warning: Exposure to voltage can damage the Signaltester RJ-F. Immediately dis-
connect the cable under test is Voltage warning appears on the display. Make sure
the vable is not connected to any device that can supply voltage before retesting.
Do not connect two different cables into the Voice (RJ11/RJ12) and Data (RJ45)
test ports at the same time. The cables will interact with each other and alter test
results.
1. Press ON/OFF button to turn on the tester. Press the Data button to select
the data wire set function.
2. Connect one end of the cable under test to the RJ45 port of the tester.
3. Connect the onter end of the cable under test to the RJ45 port of the remote.
4. Interpret the results using the Wiring and Display examples for Data further
in this manual.
1. Connect a known good patch cable to the wall port or patch panel of the
cable being tested.
2. Connect the other end of the patch cable to the RJ45 port on the tester.
3. Connect another known good patch cable to the RJ45 port on the remote.
4. Connect the other end of the patch cable to the wall port or patch panel at
the other end of the cable being tested.

VOLUME/
SENSITIVITY
OFF
0 9
Signalprobe RJ-F
TEST MODE
TONE MODE
LO LOW PITCH TONE
ALTERNATING HIGH/LOW
PITCH TONE
WARBLING TONE
TONE MODE
HI 1
TONE MODE
HI 2
1 2
1 2
3 4 5 6
123456
3 6 4 5
7 8
7 8
7 8
Tone will be sent through selected pins
Tone will be sent through selected pairs
Tone will be sent through all 8 pins
RJ45
Remote ID:
5 remotes
(numbered 1-5)
Remote ID
Wall Plate
Patch Panel
Tester
5. Press ON/OFF button to turn on the tester. Press the Data button to select the
wire test function.
6. Interpret the results using the Wiring and Display examples for Data further
in this manual.
· Testing Shielded Cables
When testing a shielded cable, the Shield indicato will appear on the display
if the shield is connected at both ends of the cable. If the shield is shorted to a
wire within the cable, the Shield indicator and the corresponding shorted pin
will ash. A dash mark under the ashing pin will appear indicating a short.
It is necessary to use the Signalprobe RJ-F.
1. Connect the cable under test to the RJ45 port on the tester.
2. Press the ON/OFF button to turn on the Signaltester RJ-F, than press the Data
button to select the data wire test function.
3. Press the Tone button to activate the Tone Generator.
4. Repeatedly press the Tone button to select the desired tone.
Refer to sequence chart for explanation of the tone selection.
5. The connector pins the tone is being sent through will be shown on the bot-
tom of the display. Repeatedly press the Cycle button to select the desired
pins.
Refer to sequence chart for explanation of the pin selection.
· When tracing a cable run from the tone generator to the end of the cable,
applying the tone on a single pin will allow the tone to be detected at a greater
distance from the cable.
· When trying to locate a cable in a equipment room or patch panel, sending the
tone through all pins or a single pair will limit the tone signal from spreaking to
other nearby cables.
· The tone will be loudest when the probe tip is placed directly on the wires the
tone is being sent through at the end of the cable.
· When sending a tone through a single pair, verication can be made by short-
ing the suspected pair. The tone will be very faint when the pair the tone is
being sent through is shorted.
The Remote IDs can be used to identify cable runs from the patch panel to a wall
port. Each identier has a labeled ID number. When the tester is connected to a
cable that has an identier attached at the other end, the tester will display the ID
number that is marked on the identier.
1. Connect the numbered remote IDs to the port for each cable that needs to
be identied.
2. At the wiring closet or patch panel, connect the unknown cable to the RJ45
port on the Signaltester RJ-F.
3. Press the ON/OFF button to turn on the tester. Press the Data button to select
the data wire test function.
4. If the cable being tested is connected to one of the remote IDs, the display
will indicate the number that corresponds to the remote.
·the rJ45 remote idS do Not teSt the wiriNg oN the cable.oNly the remote caN
ideNtify wiriNg faultS. the remote may Not ideNtify the cable if the cable iS
6
1
TESTER
REMOTE
2
3
4
5
6
1
2
3
4
5
8
7
8
7
6
1
TESTER
REMOTE
2
3
4
5
6
1
2
3
4
5
8
7
8
7
6
1
TESTER
REMOTE
2
3
4
5
6
1
2
3
4
5
8
7
8
7
6
1
TESTER
REMOTE
2
3
4
5
6
1
2
3
4
5
8
7
8
7
Short
Open
6
1
TESTER
REMOTE
2
3
4
5
6
1
2
3
4
5
8
7
8
7
miSS-wired.
· T568B Data Cable Properly Wired
Pass appears on the display indicating a properly wired cable. The pin numbers
on the top row agree with the bottom row indicating proper continuity.
Both the T568A and T568B wiring standards will test the same as long as the same
standard is used on both ends of the cable
· T568B Cross Wired Data Cable Properly Wired
The pairs cross over (transmit to receive and receive to transmit). Pass and X-over
appear on the display and the pin numbers on the bottom row indicate the corre-
sponding cross over to the pin numbers on the top row.
· T568B Data Cable with Split Pairs
There is a split between the pairs on pins 3-6 and 4-5. Fail and Split appear on the
display and the pin numbers with the split will ash.
· T568B Data Cable with a Shorted and Open Pair
Pins 1-2 are shorted and the pair on pins 7-8 is open. Short and open appear on
the display and the pins with wiring errors will ash.
Dash lines will appear below the shorted pins.
Blank space will appear below the open pairs.
· T568B Data Cable with Reversed Pair and Crossed Connection
The pair on pins 1-2 is revered and the wires on pins 5-6 are crossed at one end
of the cable. Fail will appear on the display indicating a defective cable. The pins
with wiring errors will ash.
Pins 1-2 on the top row show below pins 2-1 indicate a reversal on the orange
pair.
Pins 5-6 on the top row show below pins 6-5 indocate a crossed connection.

COAX Cable
F-Connector F-Connector
Remote
Identifier
COAX Cable
F-Connector
F-Connector
Remote
Identifier
Signalprobe RJ-F
COAX Cable COAX Cable
F-Connector
F-Connector
Remote
Identifier
5 remotes
(numbered 1-5)
1
1
2
3
4
5
TEST MODE
TONE MODE
LO LOW PITCH TONE
ALTERNATING HIGH/LOW
PITCH TONE
WARBLING TONE
TONE MODE
HI 1
TONE MODE
HI 2
S Shield
C Center Conductor
CS Center Conductor
Shield
VIDEO
Testing wiring on COAX patch cables terminated with F-connectors.
Test signals in the Video mode may not pass through a splitter. Only one remote ID
can be connected at a time when testing cables connected to a common splitter.
1. Connect a known good patch cable to the F-connector on the tester
2. Connect the other end of the patch cable to the wall port or patch panel
connected to the cable under test.
3. Connect a numbered COAX-remote to the wall port at the other end of the
cable under test.
4. Press the ON/OFF button to turn on the Signaltester RJ-F and press the Vid-
eo button to select the video cable test function
5. Interpret the results using the Wiring and Display examples for Video further
in this manual.
It is necessary to use the Signalprobe RJ-F.
Certain splitters used on coax cables will prevent the tone from passing.
1. Connect the cable under test to the F-connector on the tester.
2. Press the ON/OFF button to turn on the Signaltester RJ-F, than press the
Video button to select the video cable test function.
3. Press the Tone button to activate the Tone Generator.
4. Repeatedly press the Tone button to select the desired tone.
Refer to sequence chart for explanation of the tone selection.
5. The tone can be sent through the center conductor, the shield or both.
Repeatedly press the CYCLE button to select the desired conductors. The
selection will be shown on the bottom of the display.
Refer to the sequence chart for explanation.
Applying the tone on the center conductor and the shield or just the shield will
allow the tone to be deteced at a greater distance from the cable. When trying to
identify a cable in the presence of multiple cables, sending the tone through just
the center conductor will limit the signal spreading to other cables. The cable that
is being toned can be identied by touching the probe tip to the center conductor
at the end of the cable.
The remote IDs can be used to identify cable runs from the patch panel to a wall
port. Each identier has a labeled ID number. When the tester is connected to a
cable that has an identier attached at the other end, the tester will display the ID
number that is marked on the identier.

Short
Open
1. Connect the numbered remote IDs to the F-connector port for each location
needs to be identied.
2. At the patch panel, connect the unknown cable to the F-port on the
Signaltester RJ-F.
3. Press the ON/OFF button to turn on the tester and press Video to select the
video cable test fucntion.
4. If the cable being tested is connected to one of the remote IDs, the display
will indicate the number of the corresponding remote ID.
The Open or Short indicator will appear if the cable is defective.
· COAX cable with Proper Continuity
The cable is good and passes the test.
ID3 signies that Remote Identier number 3 is being used to terminate the cable.
The ashing “o”s on the bottom of the display indicate the tester is running a
continious test.
· COAX cable with Short
The center conductor is shorted to the shield.
The cable fails the test and the remote Identier cannot be detected.
· COAX Cable with an Open Circuit
There is a break in the cable causing an open circuit. A broken connection in
the senter conductor or shield will trigger a fault. The cable fails the test and the
Remote Identier cannot be detected.
Pull down locking tab and open the battery door.
Replace the 2x AA battery
Re-assemble the tester.
Do not use the Signaltester with the battery door removed!

SPECIFICATIONS
Operating temperature 0°C to 50°C
Storage temperature -20°C to 60°C
Humidity 10% to 90%, non condensing
Maximum voltage between any two
pins without damage
60V DC of 55V AC
Batteries 2x AA
Cable types Shielded or Unshielded
Cat 7, Cat 7a, Cat 6a, Cat 6, Cat 5e, Cat 5,
Cat 4, Cat 3, Coax
Max. Coax cable length 305m
Min. Cable length for split pair de-
tection
0.5m
Max. Coax cable Resistance 100Ω max. DC
Dimensions 152x61x34
Weight 230g
Futech is a registered brand of Laseto NV, Belgium.
Futech declares that the Signaltester RJ-F
is in conformity with the following standards:
· EN 61326-1:2013
· EN 61326-2-2:2013
following the provisions of Directive:
· Electromagnetic Compatibility Directive 2014/30/EU
Tested by Bureau Veritas Shenzhen Co., Ltd - Guangdong 523942, China
Certicate number 1888AB0607N059001 - CE180607N059
This manual suits for next models
1
Table of contents