Fysic FX-5700 User manual

FX-5700
FX-5720
USER’S MANUAL

2
1. OVERVIEWS
1.1 TELEPHONE:
call indicators, illuminate
when receiving a call; ash
when you’ve missed a call
while you were away (this
requires a subscription to
the Caller-ID service);
built-in speaker
display (see next page)
keypad
(see paragraph 1.3)
built-in microphone
charger contacts for the
rechargeable batteries
C / R

3
power adaptor input
(rear of phone)
telephone line input (rear of phone)
PAGE button,
briey press
to search for
the handset(s),
press and hold
to register new
handsets
call indicators, illuminate
when receiving a call;
1.2 DISPLAY:
illuminates when the name or number is too long to
be shown on the display
indicates that the microphone is turned off
illuminates when the extra (boost) amplier is acti-
vated
ashes when receiving a call and remains lit during
a call

4
illuminates when the speaker function is activated
voicemail indication (only when supported by your
telephone service provider, see also chapter 7)
ashes when you’ve missed a call while away (this
requires a subscription to the Caller-ID service)
illuminates while programming or selecting memo-
ries
indicates that the ringtone is turned off
no function
alarm (wake-up) function is turned on
reception indicator (see also paragraph 11.4)
illuminates when the keypad is locked
battery indicator ( = full, = 2/3 full, = 1/3 full,
= nearly empty)
1.3 KEY PAD:
direct memory buttons to directly dial frequently
used numbers

5
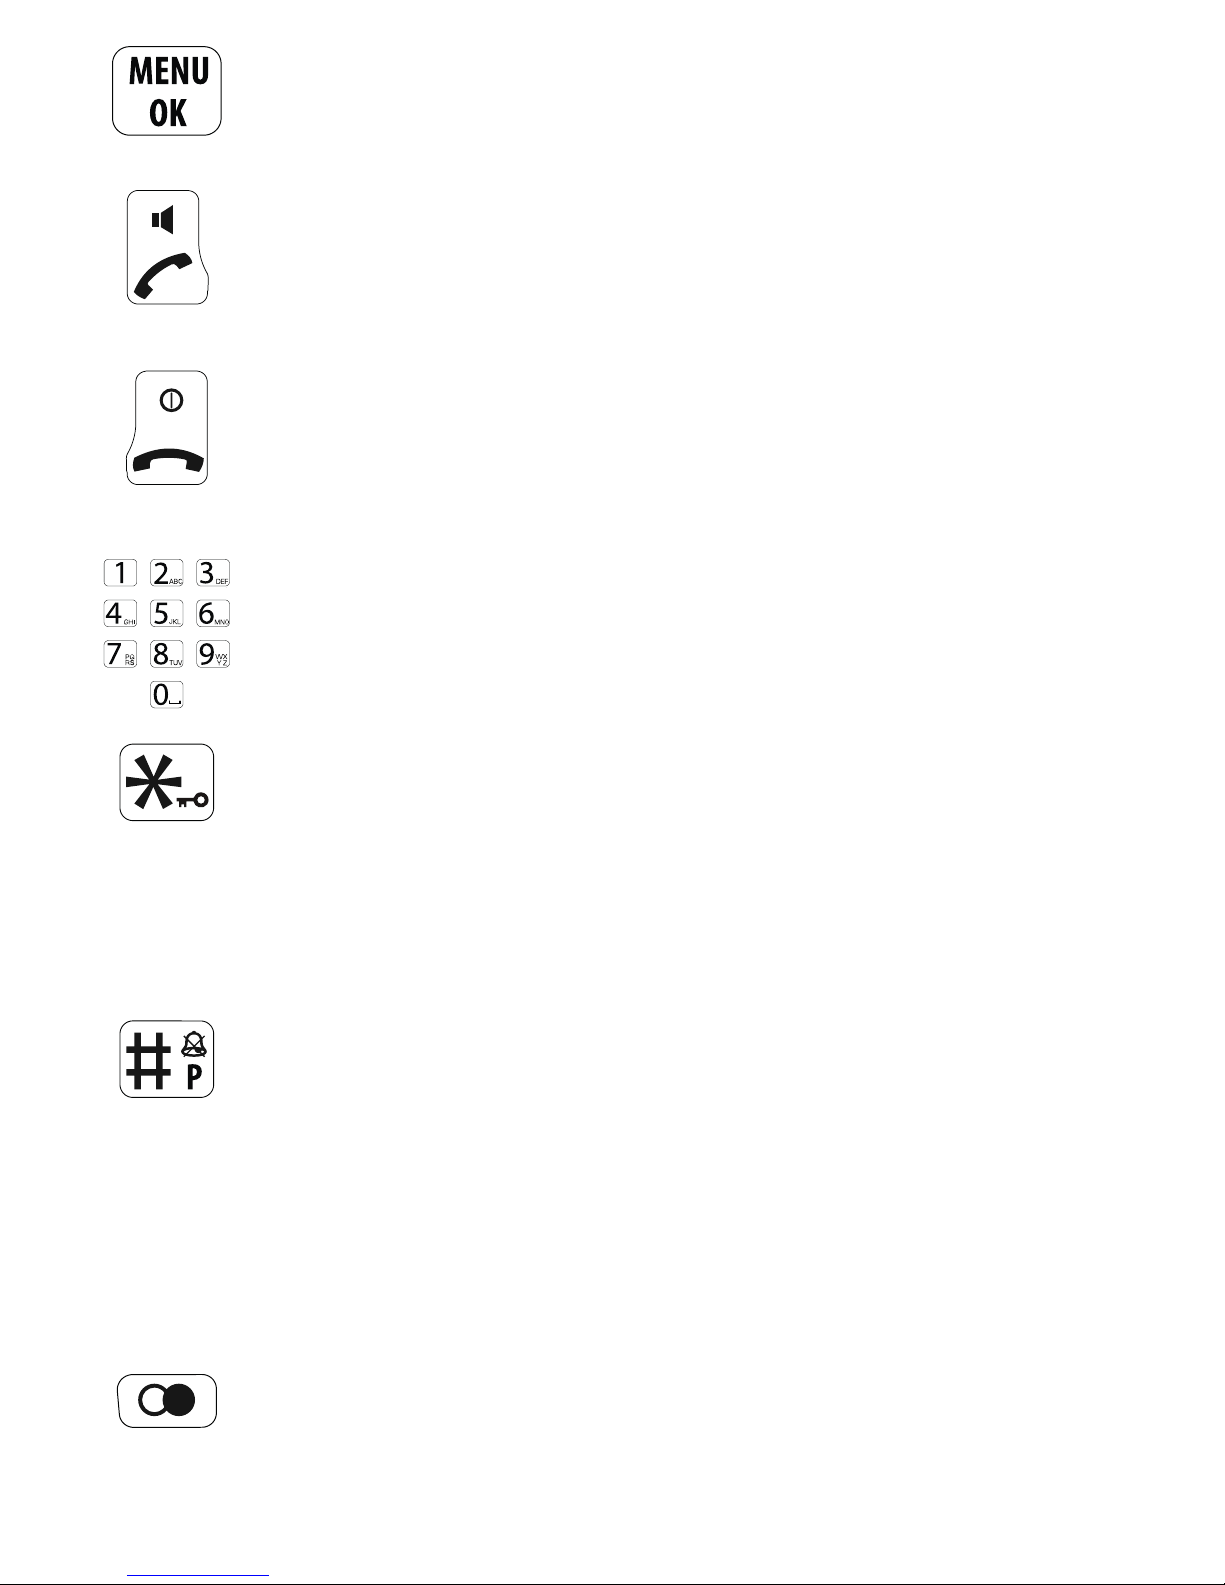
to open the menu and to conrm settings
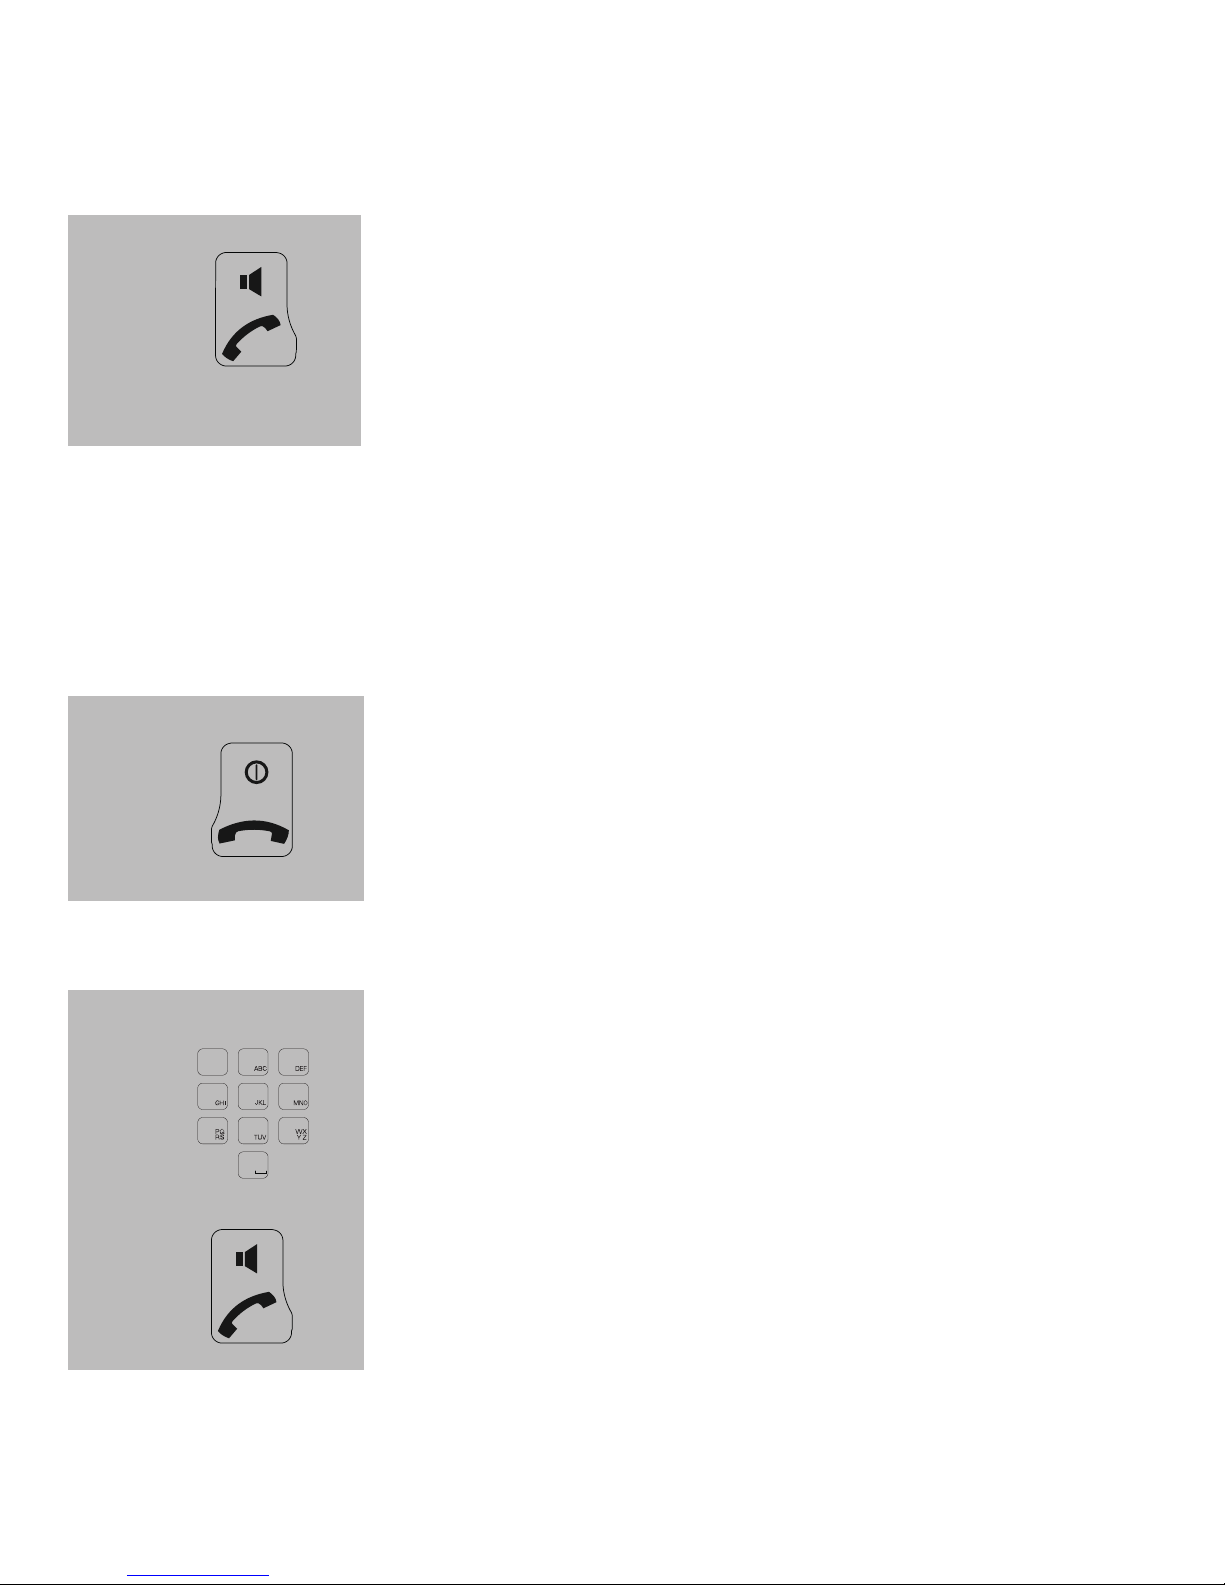
call button: to start a call, also used as speaker but-
ton (press again during a call)
end button: to end a call, also used to turn the
handset off (in standby mode, press and hold for at
least 3 seconds, press and hold again for 3 sec-
onds to turn the handset back on)
keypad for entering names and numbers
‘asterisk’ button, used for tele-services such as
‘tele-banking’; also used keylock (in standby mode,
press and hold for at least 3 seconds, press and
hold again for 3 seconds to unlock the keypad bids)
‘pound’ button, used for tele-services such as
‘tele-banking’; also used as ‘ringtone off’ button (in
standby mode, press and hold for at least 3 sec-
onds, press and hold again for 3 seconds to turn
the call back); also used as pause button when
entering phone numbers (briey press and hold this
button while entering the number)
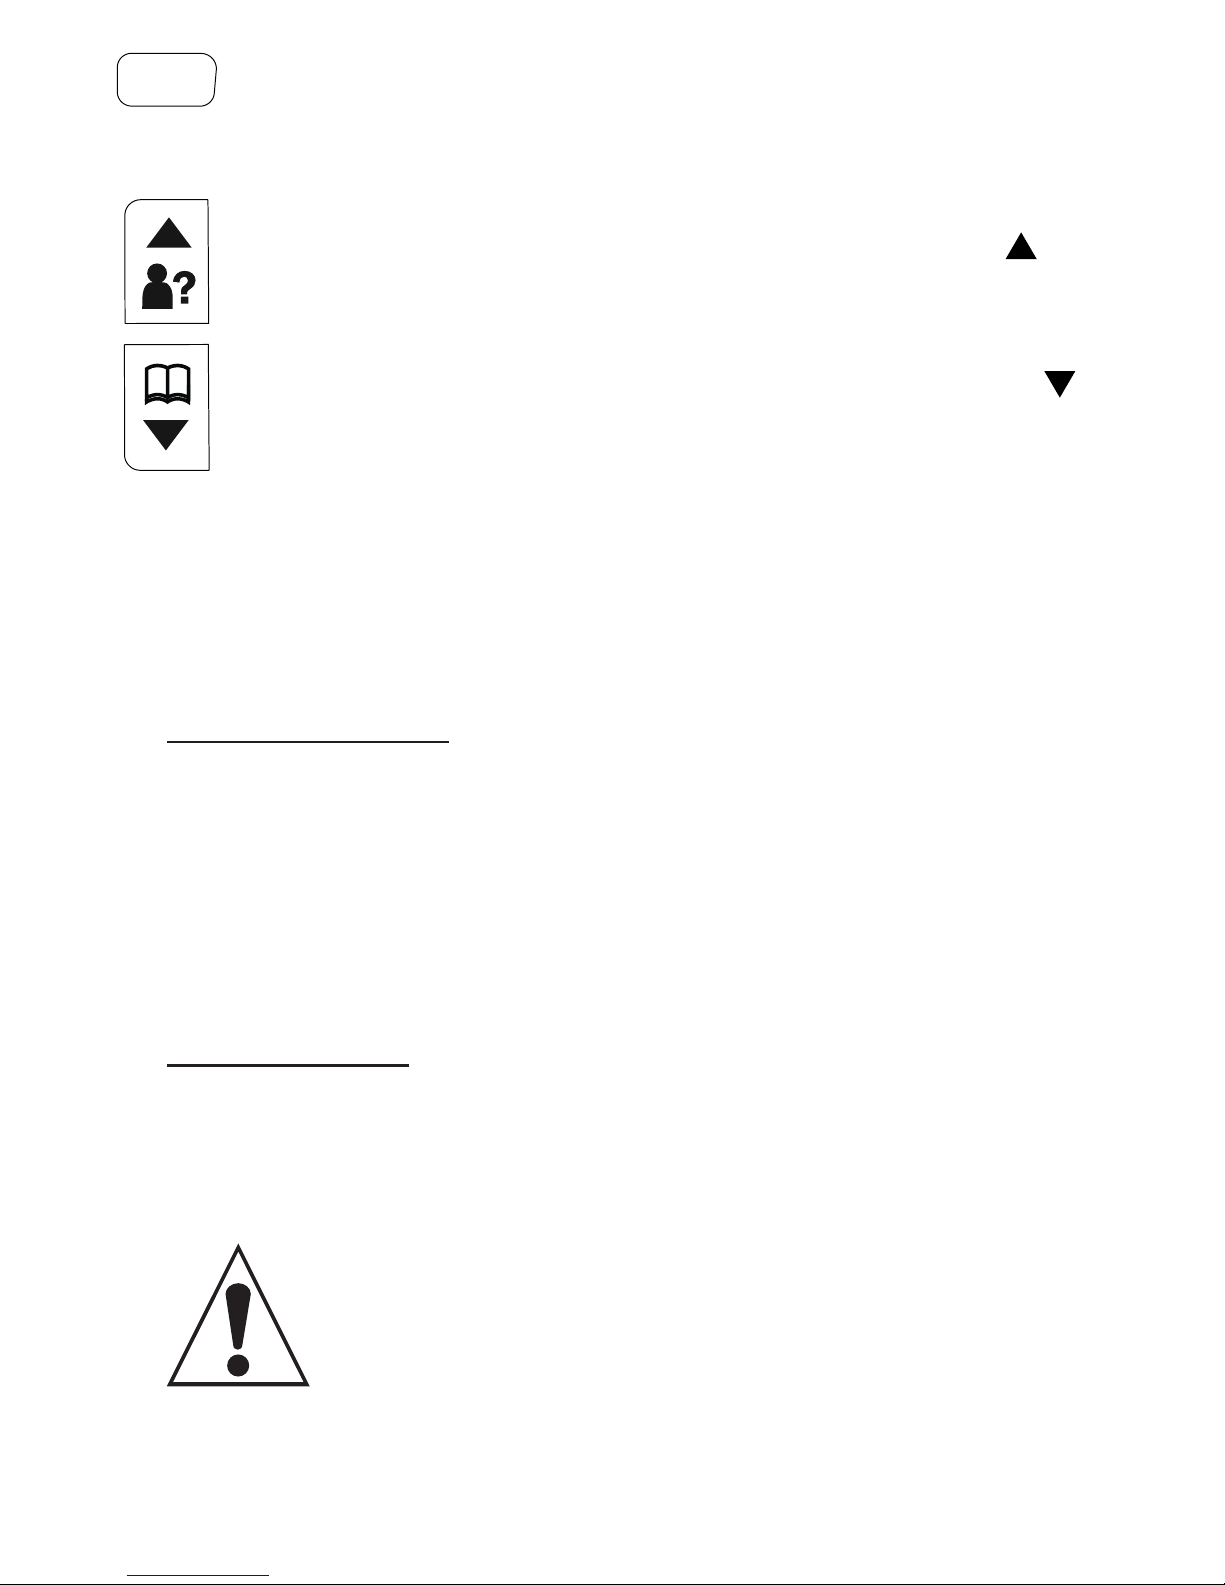
to open the last number memory

6
correction button, to correct wrong inputs, also used
as a function button for ‘call waiting’
opens the Caller-ID memory; also used as button
when scrolling memories and settings
opens the phonebook memory; also used as but-
ton when scrolling memories and settings
2. INSTALLATION
2.1 BASE:
Telephone input:
1. insert the smaller plug of the telephone line into the
bottom of the phone (depress the plug until you hear a
click)
2. connect the telephone plug to the wall telephone
socket
Power supply:
1. connect the supplied power adaptor to the DC 6V
input at the bottom of the phone
2. insert the adaptor into a 230V wall socket
ONLY USE THE SUPPLIED ADAPTOR, CON-
NECTING A DIFFERENT ADAPTOR CAN LEAD
TO DANGEROUS SITUATIONS OR CAUSE
DAMAGE TO THE ELECTRONICS OF THE PHONE
C / R

7
2.2 HANDSET:
Batteries:
1. open the battery compartment of the handset by slid-
ing the battery cover downward
2. install the supplied batteries into the battery compart-
ment, paying attention to the correct polarity (+ and -)
3. slide the battery cover back onto the handset and
place the handset onto the cradle/charger
4. leave the handset on the cradle/charger uninterrupted
for 15 hours to properly charge the battery pack
INSERT ONLY RECHARGEABLE NiMH (NICK-
EL METAL HYDRIDE) BATTERIES SIZE AAA
(PENCIL FORMAT). THE USE OF NOT RE-
CHARGEABLE BATTERIES ANOTHER TYPE
OF FORMAT MAY CAUSE DANGEROUS SITUATIONS
OR EXPLOSION HAZARD.
2.3 CHARGER FOR THE EXTRA HANDSET:
(ONLY FX-5720)
1. insert the adaptor of the cradle/charger into a 230V
AC wall socket

8
3 USING THE TELEPHONE
3.1 SPEAKER FUNCTION:
You can make calls using the speaker function, allowing
other house members to listen in or to keep your hands
free for e.g. making notes.
rst press the call button to make a con-
nection, press the call button again to
turn on the speaker function
by pressing the call button again, the
speaker function is turned off again
and you can have your conversation by
holding the handset to your ear
3.2 VOLUME:
during a call, use the and buttons
to adjust the reception volume; for both
the wired phone and the wireless hand-
set, you can set separate volume levels
for normal calls or hands-free calls
See paragraph 9.1 for the BOOST function (extra amplication) and
tone control (equalizer)
2x

9
3.3 ANSWERING CALLS:
When receiving a call, a ringtone will sound and the call
indicators will illuminate.
pick up the receiver or press the speak-
er button to answer the call with the
wired phone and pick up the handset
from the cradle/charger and press the
call button to answer the call with the
wireless handset
See paragraph 9.1 for answering calls by only picking up the handset
from the base or cradle.
3.4 ENDING CALLS:
press the end button or replace the
handset onto the cradle/charger to dis-
connect
3.5 DIAL NUMBERS:
press the call button to dial the number,
• press and hold the # button for at least 2 sec-
onds to insert a dial pause
• you can delete an incorrect input with key
C/R.
press the call button to dial the number
123
4
56
7
89
0

10
3.6 DIALLING FROM THE PHONEBOOK:
open the phonebook memory by press-
ing the button
use the and buttons to look for the
desired contact
press the call button to dial the number
When 2 numbers are programmed for this contact, you’ll need to rst
use the and buttons to select the desired number, then press the
call button again to dial the number.
Refer to chapter 4 for programming, correcting and deleting the
phonebook memories.
3.7 DIALLING DIRECT MEMORIES:
press the desired M button (M1 or M2),
the phone will turn on immediately and
dial the number
Refer to paragraph 4.4 for programming and deleting the DIRECT
memories.

11
3.8 DIALLING FROM THE LAST NUMBER MEMORY:
Open the last number memory by
pressing the button
use the and buttons to select the
desired call
press the call button to dial the number.
Refer to chapter 5 for programming, correcting and deleting the
phonebook memories.
3.9 DIALLING FROM THE CALLER-ID MEMORY:
open the number dialler memory by
pressing the button.
use the and buttons to select the
desired call
press the call button to dial the number.
Refer to chapter 6 for copying, correcting and deleting the phonebook
memories.

12
3.10 R/FLASH FUNCTION:
R/FLASH means you can briey interrupt the telephone
connection. This function is used by certain home or ofce
switchboards to forward calls or for activating certain tele-
phone services such as ‘Call Waiting’.
during a call, press the C/R button for a
FLASH pulse
Some telephone providers require you to press a numeric button
after the FLASH pulse to use e.g. ‘Call Waiting’, for more information
please contact your service provider.
See paragraph 9.2 for adjusting the interruption duration of this ash
pulse.
3.11 INTERCOM: (Only for FX-5720)
Follow the steps below to make internal calls between dif-
ferent handsets.
press the MENU/OK button
use the and buttons to select the
[ INTERCOM ] option
press 2x the MENU/OK (*) button
the wireless handset is turned on and you can
start your conversation as soon as the wired
phone answers
C / R
2x

13
*: when you have registered multiple wireless handsets, you can use
the and buttons to select the handset you want to call; this is not
necessary when using a single wireless handset
3.12 CALL FORWARDING: (Only for FX-5720)
Follow the steps below to forward calls between the differ-
ent wireless handsets.
during a call, press the MENU/OK button
use the and buttons to select the
[ INTERCOM ] option
press 2x the MENU/OK (*) button
the wireless handset is turned on and answers,
you can announce the outside line and press
the end button
*: when you have registered multiple wireless handsets,, you can
then also use the and buttons to select the handset you want to
forward the outside line to; this is not necessary when using a single
wireless handset
2x

14
3.13 CONFERENCE: (Only for FX-5720)
For a conference call (a call between the outside line, the
wired phone and also the wireless handset), you follow
the same instructions as for ‘call forwarding’ but instead of
replacing the receiver (wired phone) or pressing the end
button (wireless handset), you press and hold the 0 button
for at least 2 seconds.
3.14 BUSY INDICATION: (Only for FX-5720)
When the wireless handset is currently on a call with the out-
side line, the other unit cannot make a call simultaneously.
during the call, [ Line busy ]
will appear in the display of the
other unit
3.15 MUTE FUNCTION: (private function)
During a call, you can turn off the microphone allowing you
to talk with other house members in private without having
the person you’re calling listening in.
during a call, press the MENU/OK but-
ton
use the and buttons to select the
[ Mute ] option

15
press the MENU/OK button to mute the
microphone
the symbol will illuminate in the display
Repeat these instructions, but now select thee [ MIC ON ] option to turn
the microphone back on.
3.16 KEY LOCK:
To prevent you from accidentally pressing buttons, you
can lock the keypad of the wireless handset.
press and hold the * (asterisk) button
for at least 2 seconds
a key symbol will appear in the display
Press and hold the * button for at least 2 seconds to cancel the key
lock function.
Incoming calls can still be answered in the usual way, also with the
key lock activated.
See ‘Key lock’ in paragraph 9.1 to have this key lock activated auto-
matically.
2sec.

16
3.17 CALL DURATION:
during a call, the call duration
will be shown in the display;
the call duration will disappear
from the display as soon as you
disconnect
3.18 SWITCHING OFF THE HANDSET:
To save battery power or to not be disturbed by the hand-
set, you can turn it off completely
press and hold the end button for at
least 2 seconds to completely switch off
the handset
Place the handset back onto the cradle/charger or press and hold the
end button again for at least 2 seconds to switch the handset back on.
Keep in mind that you cannot answer calls with the handset switched
off, neither can you make calls yourself.
2sec.

17
4 MEMORIES
The/each handset has a capacity for 50 contacts, for each
contact you can program a home phone number and a
mobile phone number. In addition, for each contact you
can program a VIP ringtone allowing you to recognize your
caller from the ringtone. (*)
*: this function requires ‘Caller-ID’, please contact your telephone
service provider for details
4.1 PROGRAMMING:
press the MENU/OK button
Use the and buttons to select the
[ Phonebook ] option
press 3x the MENU/OK (*) button
use the keypad to enter the contact
name
• use the ABC on the buttons
• use the C/R button do delete any incorrect
input
• press 1x the 0 button to insert a space or
repeatedly press the 0button for various
special characters; by pressing the 1button
you’ll also nd various special characters
• the name may contain up to 12 letters
3x
123
4
56
7
89
0

18
press the MENU/OK button
use the keypad to enter the mobile
phone number
• use the C/R button to delete any incorrect
input
• press and hold the # button for 2 seconds for
a dial pause
• the number may contain up to 24 digits
• you may skip this step when your contact has
no mobile phone number
press the MENU/OK button
use the keypad to enter the mobile
phone number
• use the C/R button to delete any incorrect
input
• press and hold the # button for 2 seconds for
a dial pause
• the number may contain up to 24 digits
• you may skip this step when your contact has
no mobile phone number
press the MENU/OK button
use the and buttons to determine
the desired VIP ringtone for this contact
123
456
789
0
123
4
56
789
0

19
press the MENU/OK button to save the
contact
press 2x the MENU/OK button to enter
the next contact or press the end button
to exit the programming mode
4.2 DIALLING:
press the button to open the phone-
book memory
use the and buttons to select the
desired contact
press the call button to dial the number
when 2 numbers are programmed for this contact, you’ll rst have to
use the and buttons to select the desired number, then press the
call button again to dial the number
4.3 CORRECTING:
press the button to open the phone-
book memory
2x
or

20
use the and buttons to select the
contact you want to correct
press the MENU/OK button
use the and buttons to select the
[ Edit ] option
press the MENU/OK button
you can now use the C/R button to de-
lete the old data in order and enter new
information (according to the instruc-
tions for ‘Programming’)
4.4 COPYING TO DIRECT MEMORY BUTTONS:
You can assign two contacts to direct memory buttons M1
and M2.
press the button to open the phone-
book memory
use the and buttons to select the
contact you want to assign
C / R
This manual suits for next models
1
Table of contents
Other Fysic Cordless Telephone manuals