Installation
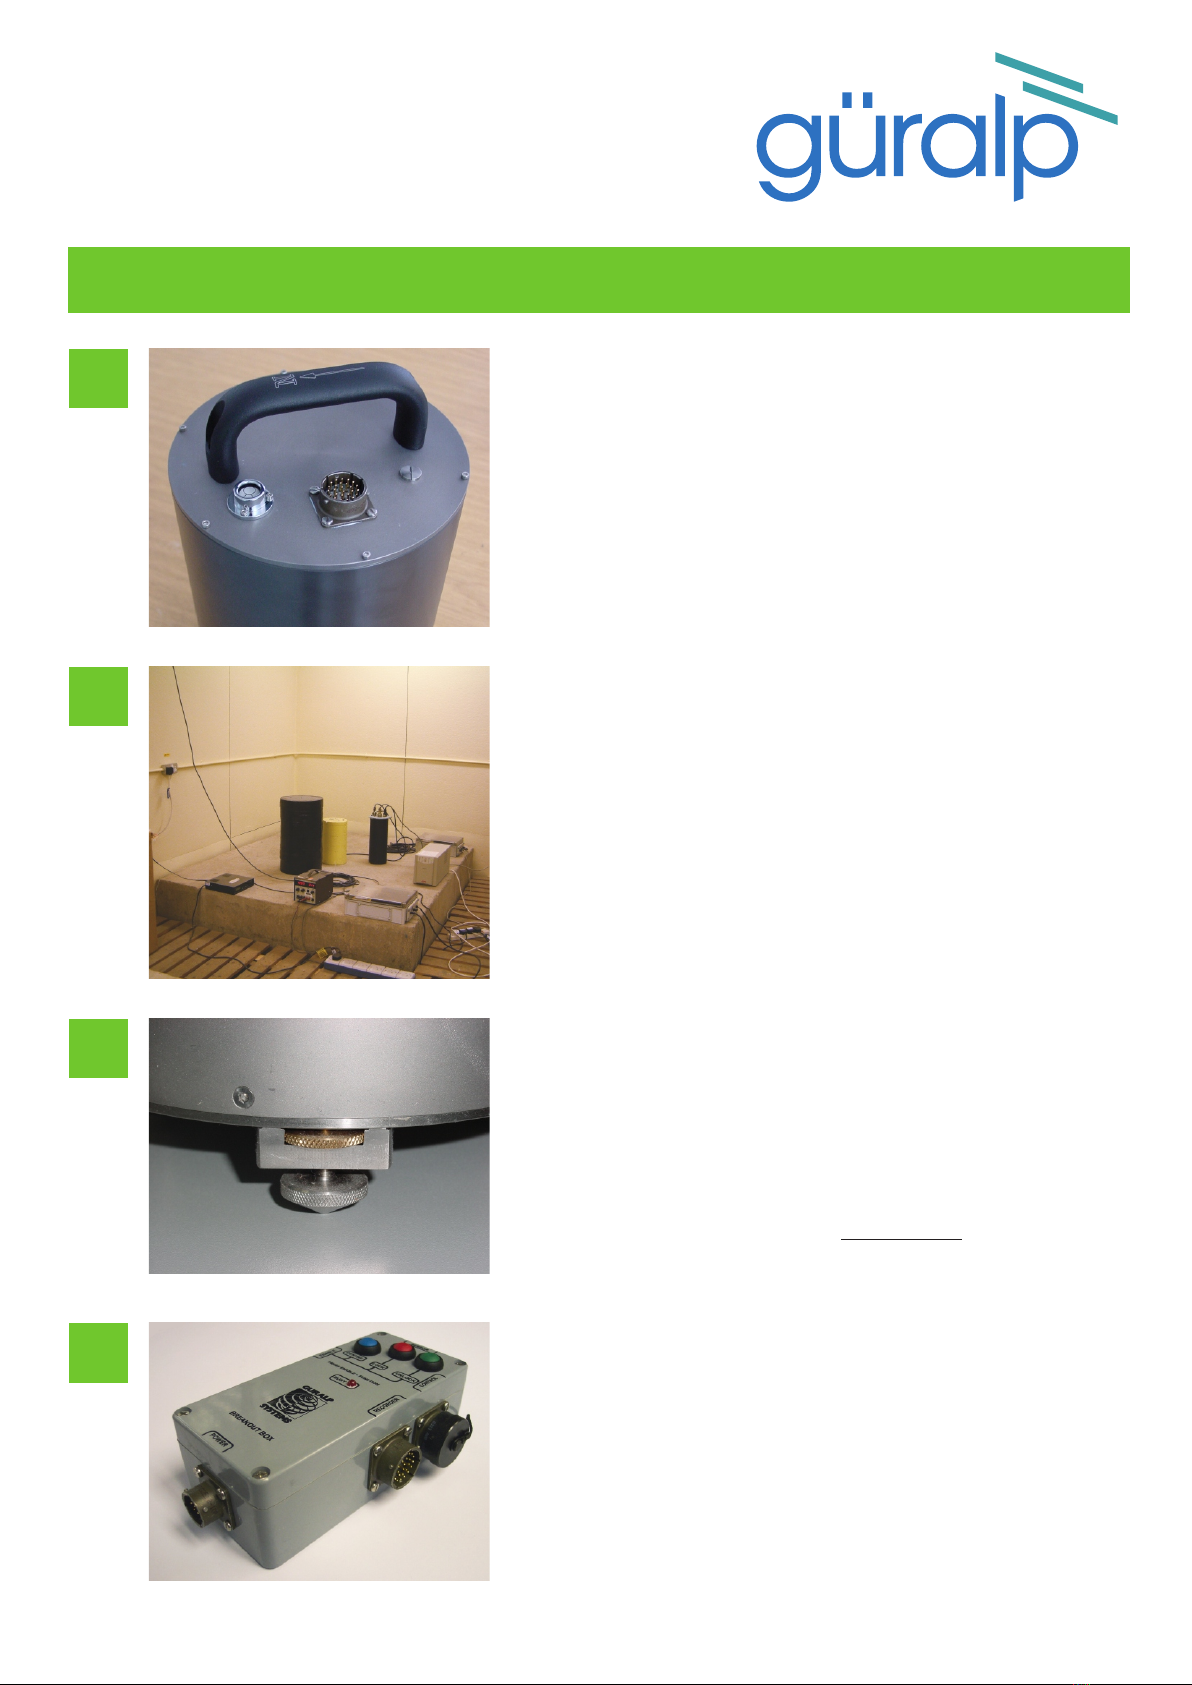
Loosen the brass locking nut on one of the adjustable feet,
then turn the foot, screwing it in or out to level the sensor.
Check using the spirit level on the sensor lid.
Repeat with the other adjustable foot, until the bubble in
the spirit level lies entirely within the inner circle.
Tighten the brass locking nuts downwards to secure the
feet.
Choose a suitable site to install the sensor.
The sensor should be mounted:
• at, or ideally below, ground level;
• away from sources of natural noise (e.g. wind, surf);
• away from sources of cultural noise (e.g. traffic);
• in contact with bedrock or, if that is not possible, on a
hard granite or concrete pier;
• in an environment with constant temperature;
• shielded from air currents (e.g. in a polystyrene box)
• away from electrical cables and appliances.
If you are using a breakout box, connect the signal cable
between the sensor and the SENSOR connector of the
breakout box, and connect the POWER connector to your
power supply.
Hold down the ENABLE button on the side of the box, and
press the UNLOCK button for seven seconds. The “BUSY”
LED will light, and you should be able to hear the internal
motors unlocking the masses. CENTRE the masses (in a
similar way) if necessary.
See the full manual for detailed usage instructions.
Check you have all components and cables:
• 3T weak-motion broadband seismometer;
• Thick grey signal cable;
• Sensor calibration document.
You will need a suitable digitizer or recording equipment,
and a 10–36 Volt DC power supply.
For pit or posthole installations, follow the steps overleaf.
3T
Installation
4
3
2
1


