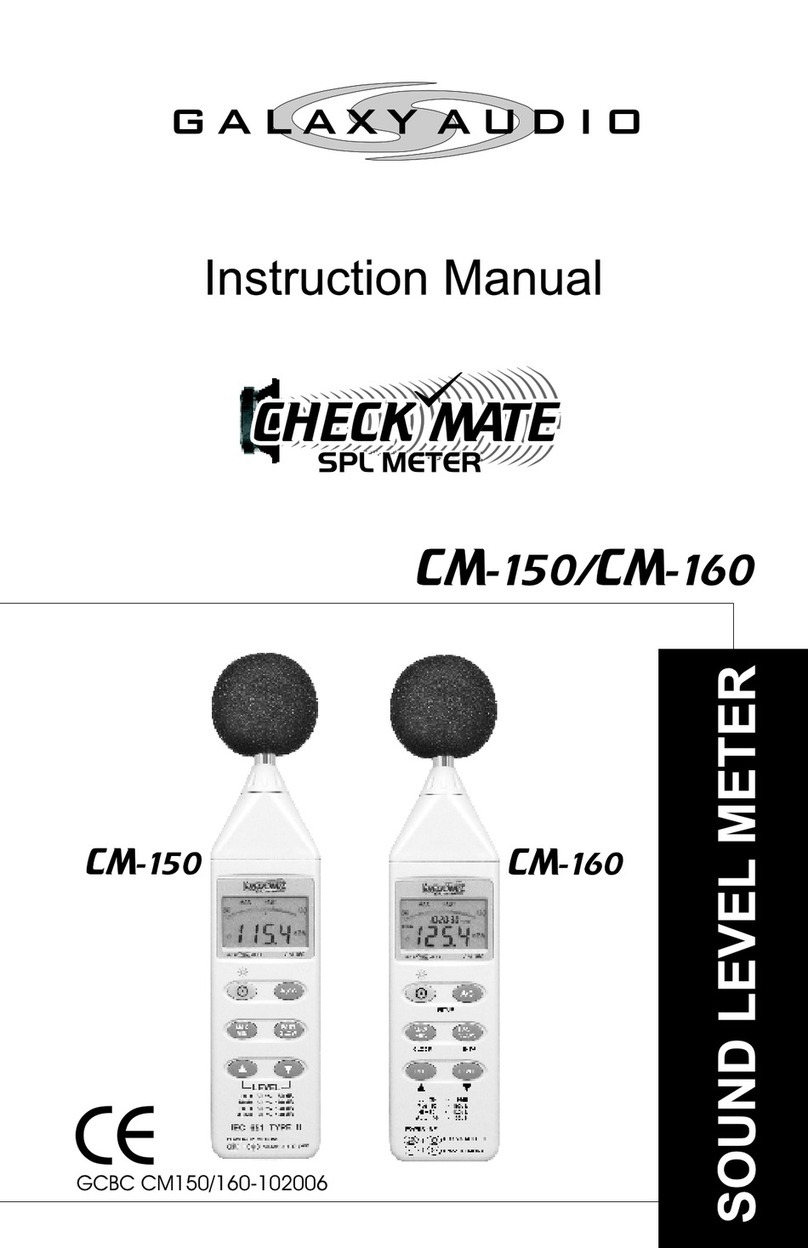
Galaxy Audio Check-Mate CM-140 User manual

CM-140
Instruction
Manual
SOUND LEVEL METER
CE
GCBC CM140-12000
GALAXY AUDIO
GALAXY AUDIO

TITLE PAGE
I. Safety Information…………………………..1
II. General Description.…………………...…1-2
III. Specifications……………..………………2-3
IV. Name and Functions……………………..4-5
V. Calibration Procedures………..………...6-7
VI. Measurement Preparation……..……….…7
VII. Operating Precautions………..………….7-8
VIII. Measurement………………………………...8
CONTENTS

I. Safety Information
Read the following safety information carefully before
attempting to operate or service the meter.
Use the meter only as specified in this manual; otherwise,
theprotectionprovidedbythemetermaybeimpaired.
ØEnvironment Conditions
ŒAltitude up to 2000 meters
Relative humidity 90% max.
ŽOperation Ambient 0 to 40
ØMaintenance & Clearing
ŒQualified personnel should only perform repairs or
servicingnotcoveredinthismanual.
Periodically wipe the case with a dry cloth. Do not use
abrasivesorsolventsonthisinstrument.
ØSafety symbols
Comply with EMC
When servicing, use only specified replacement
parts.
II. General Description
Thank you for using our Sound Level Meter. To ensure that
you can get the most from it, we recommend that you read
and follow the manual carefully before use.
This unit conforms to the IEC651 type2, ANSI S1.4 Type2
for Sound Level Meters.
This Sound Level Meter has been designed to meet the
measurement requirements of safety engineers, health,
industrial safety offices and sound quality control in
various environments.
qRange from 32dB to 130dB at frequencies between
31.5Hzand8KHz.
CM-140 SPL METER
1

III. Specifications
Standard Applied: IEC651 Type2, ANSI S1.4 Type2.
Frequency Range: 31.5Hz to 8KHz
Measuring Level Range: 32dB to 130dB
Frequency Weighting: A / C
Microphone: 1/2-inch electret condenser microphone
Display: LCD
Digital Display: 4 digit
Resolution: 0.1dB
Display Update: 0.5 sec.
Time Weighting: FAST (125mS), SLOW (1 sec.)
Level Ranges: Lo: 32 dB to 80 dB
Med: 50 dB to 100 dB
Hi: 80 dB to 130 dB
Accuracy:
±1.5dB ( under reference conditions, 94dB@1kHz )
Dynamic Range: 50 dB
Alarm Function: “OVER” is when input is more than
upper limit of range.
“UNDER” is when input is less than lower
limit of range.
MAX / MIN Hold:
Hold readings the Maximum and Minimum Value.
qDisplaywith0.1dBstepsona4-digitLCD.
qTwo equivalent weighted sound pressure levels, A and
C.
qAC signal output is available from standard 3.5mm
coaxial socket suitable for a frequency analyzer, level
recorder, FFT analyzer, graphic recorder, etc.
2
CM-140 SPL METER

ACOutput:1VrmsatFS(fullscale).
Outputimpedance:Approx.100Ohms
FS:meanstheupperlimitofeachlevelrange.
ElectromagneticCompatibility:
RFfield=3V/m
Totalaccuracy=specifiedaccuracy+0.5dB
PowerSupply:
One9Vbattery,006PorIEC6F22orNEDA1604.
PowerLife:Approximately70hours(AlkalineBattery)
OperationTemperature:0to40 (32to104)
OperationHumidity:10to90%RH
StorageTemperature:-10to60 (14to140)
StorageHumidity:10to75%RH
Dimensions:9.1”L×2.1”W×1.3”H
23.1cm×5.3cm×3.3cm
Weight:170kg(0.37lbs)(includingbattery)
Accessories: 9V battery, instruction manual, and
windscreen.
CM-140 SPL METER
3

Low battery indication
Minmum indication
Maximum indication
Over range
Fast response
Sound Level readout
Range Indicate
C-Weighting
A-Weighting
Slow response
Under range
Windscreen
If you operate at wind speed over 10m/sec,
please put protective accessories in front of the
microphone.
‚Display
IV.NameAndFunctions
CM-140 SPL METER
4
130

ƒPower Button
The ¡key turns the sound level meter ON or OFF.
„MAX / MIN Hold button
Press button to enter the maximum and minimum
recording mode. Select the proper level range before
using MAX/MIN to ensure that reading value will not
exceed the measurement range. Press once to select
MAX value. Press again to select MIN value, and press
again to select current value with “MAX MIN” “
enunciator blinking.
Press and hold down button for 2 seconds to exit the
MAX/MINmode.
Note: If change sound level range or change A-C
weight,theMAX.MINmodewillclear.
…FrequencyWeightingSelectButton
A:A-Weighting.Forgeneralsoundlevelmeasurements.
C:C - Weighting. For checking the low-frequency content
ofnoise.
(IftheC-WeightedlevelismuchhigherthantheA-
weightedlevel,thereisalargeamountoflow-frequency
noise)
†TimeWeightingSelectButton.
FAST:fornormalmeasurements
SLOW:forcheckingaverageleveloffluctuatingnoise.
‡LevelRangeControlButton
Each time the level button is pressed, the level range will
change between “Lo” level, “Med” level and “Hi” level in
thecircularmanner.
ˆMicrophone
1/2inchElectretcondensermicrophone
CM-140 SPL METER
5
MAX
MIN
MAX
MIN

Signal Ground
ŠCAL Potentiometer
Calibration control, for level calibration adjustment.
Battery Cover
V. Calibration Procedures
Using a standard Acoustic Calibrator
(94dB,1KHzSinewave)
CM-140 SPL METER
6
‰ACOutputTerminal
1VrmsCorrespondingtoeachrangestep.
Outputimpedance:100ohms
Output signal by standard 3.5mm coaxial socket signal
on pin.
130

(1) Make the following switch settings.
Display: dBA
Time Weighting: FAST
Measurement Mode: MAX/MIN Mode function disable.
Level Range: 50 to 100dB
(2) Insert the microphone housing carefully into the
insertion hole of the calibrator.
(3) Turn on the switch of calibrator and adjust the CAL
potentiometer of the unit. The level display will indicate
the desired level.
All our products are well calibrated before shipment.
Recommended Recalibration cycle: 1 year.
VI.MeasurementPreparation
(1) BatteryLoading
Remove the battery cover on the back and put in one 9V
Battery.
(2) BatteryReplacement
When the battery voltage drops below the operating
voltage,thissymbol willappear.
Replace9Voltbattery.
VII. Operating Precautions
(1)Wind blowing across the microphone will bring additional
extraneousnoise.
Whenusingtheinstrumentinthepresenceofwind,itisa
must to mount the windscreen to not pick up undesired
signals.
(2)Calibratetheinstrumentbeforeoperationiftheinstrument
was not in use for a long time or operated in bad
environment.
humidityenvironmentwhennotinuse.
CM-140 SPL METER
7

(3) Do not store or operate the instrument at a high
temperature or in a high humidity environment.
(4) Keep microphone dry and avoid severe vibration.
(5) Take out the battery and keep the instrument in a low
VIII. Measurement
(1) Open battery cover and install a 9V battery in the
battery compartment.
(2) Turn power ON and select the desired response time
and weighting. If the sound source consists of short
bursts or only catching sound peak, set response to
FAST. To measure average sound level, use the
SLOW setting.
Select A- weighting for general noise sound level and
C-weighting for measuring sound level of acoustic
material.
(3) Select desired level.
(4) Hold the instrument comfortably in hand and point the
microphone at the suspected noise source. The sound
pressure level will be displayed.
(5) When MAX/MIN (maximum, minimum hold) mode is
chosen, the instrument captures and holds the
maximum and minimum noise level for a long period
using any of the time weightings and ranges.
Press the MAX/MIN button 2 seconds to clear the
MAX/MIN reading. “ MAX/MIN ” symbol disappears.
(6) Turn OFF the instrument.
CM-140 SPL METER
8

CM-140 SPL METER
9

601 E. Pawnee
Wichita, KS 67211
316.263.2852 FAX 316.263.0642
www.galaxyaudio.com
GALAXY AUDIO
GALAXY AUDIO
Table of contents
Other Galaxy Audio Measuring Instrument manuals
Popular Measuring Instrument manuals by other brands

Leuze electronic
Leuze electronic MSI-SR-LC21M Series Original operating instructions

AMTAST
AMTAST GM006 user manual

Megger
Megger MOM690 user manual

Dwyer Instruments
Dwyer Instruments DPMP-5 Series Installation and operating instructions

GeoMax
GeoMax Zoom40 Series installation guide

Eagle Eye
Eagle Eye SG-Ultra Max instruction manual

Velleman
Velleman AVM2050 user manual

Armada Technologies
Armada Technologies Pro400 operating instructions

HDL
HDL MAIR-Q/H.10 user manual

Endress+Hauser
Endress+Hauser Proline Promass 80 operating instructions

Dr. A. Kuntze
Dr. A. Kuntze Neon GAS manual

RKC INSTRUMENT
RKC INSTRUMENT AE500 INITIAL SETTING MANUAL