manuals.online logo
Brands
  1. Home
  2. •
  3. Brands
  4. •
  5. GAMA Electronics
  6. •
  7. Receiver
  8. •
  9. GAMA Electronics RF12V-2PR-ASL User manual

GAMA Electronics RF12V-2PR-ASL User manual

RF12V-2PR-ASL
Instruction Manual
WWW.GAMAINC.COM
Included in this Kit:
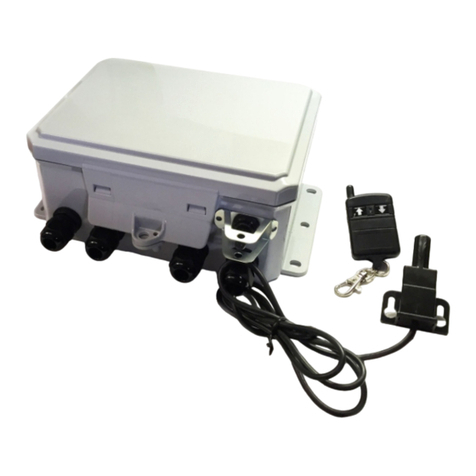
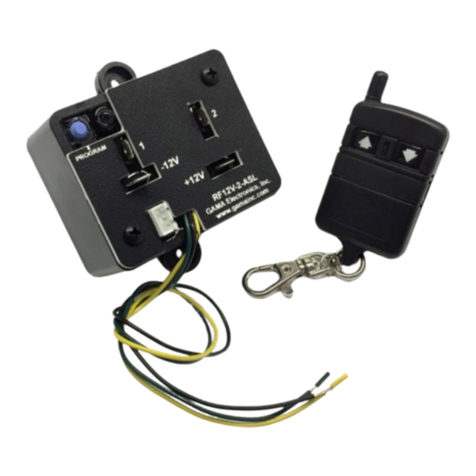
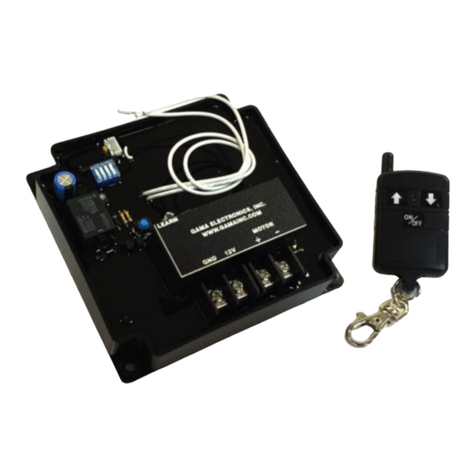
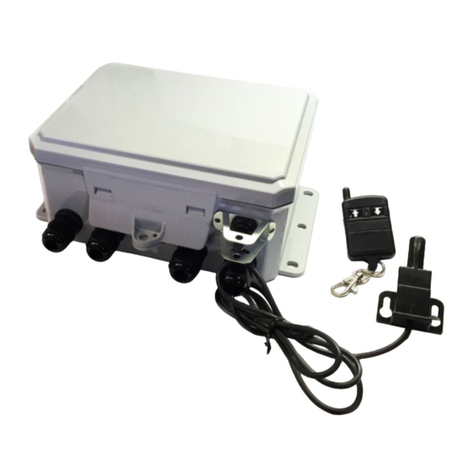
(1) RF340-4PR-ASL Receiver
(1) 4-Button Transmitter
Available accessories:
- Additional Transmitter KF340-4A-WP
- Package of 6 A23 12V Alkaline Batteries A23-6
- Clear Protective Transmitter Pouch ZLB-67
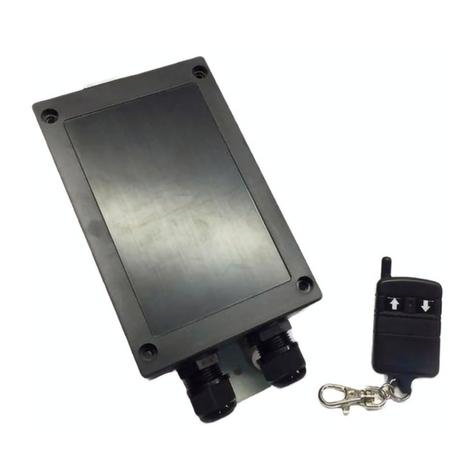
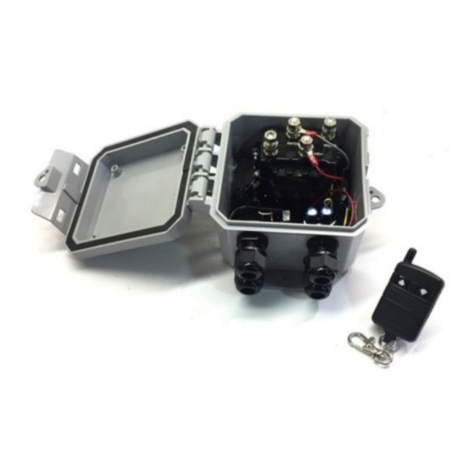
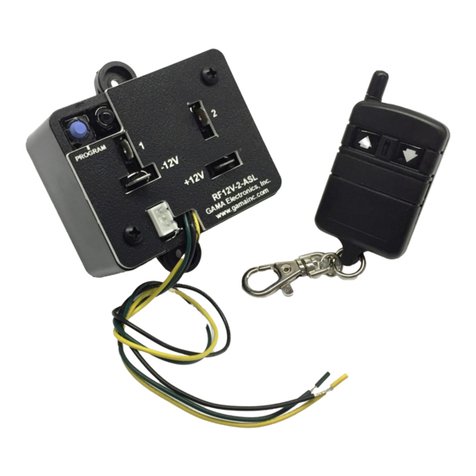
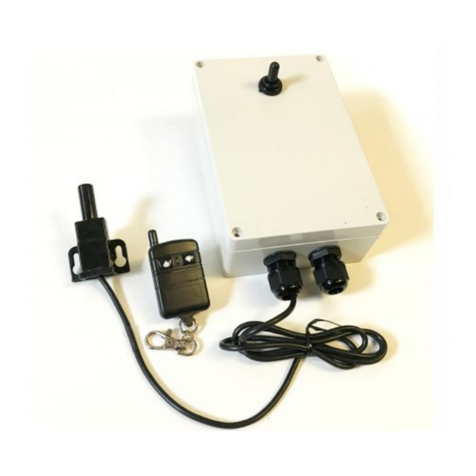
The RF12V-2PR-ASL remote control operates at a fixed frequency of 340MHz. The input voltage is 12VDC and the control provides
two polarity reversing outputs. Up to 30, four-button keyfob transmitters (Model KF340-4A-WP) can be used to activate the
receiver’s relays. Input power and the two polarity reversing output connections are provided by wire leads; a 30A ATC type fuse
holder is supplied on the +12VDC input power wire.
Each transmitter has a unique address that is transmitted when a button is pressed. A “program” switch with LED is provided on the
receiver to program the transmitter(s) address into the receiver’s memory. The program switch/LED indicates the receiver’s
programming status and illuminates when either relay is energized. The receiver is encased in a small, waterproof enclosure. The
operating range is at least 100 ft.
Maximum ratings: Power for the receiver can be in the range of 10VDC to 15VDC. The receiver is reverse polarity protected. The
relay contacts are rated at 30A @ 13.8VDC. The control can provide 30A maximum between the two outputs.
Power Consumption: 10mA when the relays are de-energized, 45mA when each relay is energized.
Momentary and Latching Output: The remote control has two modes of operation, momentary or latching. The momentary output
of the receiver will be active for as long as the transmitter switch is depressed and will return off when the switch is released. For
latching output, the output will turn on and stay when the transmitter switch is pressed, pressing the same transmitter switch again
will turn off the output. Each output can be programmed for momentary or latching. For details on how to configure the unit for
momentary or latching output, please see the programming instructions on page 2.
Page 1 REV A 06/30/20
Programming Instructions
Each transmitter has its own unique internal address that is transmitted whenever a switch is pressed. The receiver needs to be
programmed to respond only to transmitters it is intended to operate with. The following steps configure the receiver to operate
with a particular transmitter(s). Up to thirty transmitters can be programmed to one receiver. Please read the entire programming
procedure before starting. Prior to programming the receiver, verify that the receiver is connected to the input power. When the
receiver enters program mode, all previous transmitter addresses that were programmed will be erased from the receiver's
memory.
1. Locate the pushbutton switch labeled “PROGRAM” on the receiver. Press and hold this switch until the red LED on the center of
the switch button illuminates (approximately 3 seconds). The receiver is now in the transmitter program mode, release the switch.
At this point, all the previously programmed transmitter addresses are erased from the receiver’s memory.
2. Two Momentary Outputs: The transmitter up-arrow switch is used to select both outputs for momentary operation. Press and
release the up-arrow switch and the program LED will blink once to indicate both outputs are set for momentary operation.
3. Two Latching Outputs: The transmitter down-arrow switch is used to select both outputs for latching operation. Press and
release the down-arrow switch and the program LED will blink once to indicate both outputs have been set to latching operations.
4. M1 Output Momentary, M2 Output Latching: The transmitters left-arrow switch is used to select M1 output momentary and
M2 output latching. Press and release the left-arrow switch to configure the outputs, the program LED will blink once to indicate
M1 is momentary and M2 is latching.
5. M1 Output Latching, M2 Output Momentary: The transmitter right-arrow switch is used to select M1 output latching and M2
output momentary. Press and release the right-arrow switch to configure the outputs, the program LED will blink once to indicate
M1 is latching and M2 is momentary.
6. For additional transmitters to be programmed, follow steps 2 through 5. The last transmitter programmed will determine how the
outputs are configured.
7. The receiver will return to normal mode if no transmitter switches are pressed for 5-seconds. The red LED on the receiver will
flash and then turn off. The receiver is now in the normal mode of operation. This completes the programming instructions. The
receiver will retain the programming of the transmitter even when power is removed.
WWW.GAMAINC.COM
Page 2 REV A 06/30/20
RF12V-2PR-ASL
Instruction Manual
12VDC Power
Motor 1 Motor 2
Fused for 30 Amps
**Warning: Do NOT connect input
power to motor wires. This will cause
permanent damage to control.**
1 2
**Switch 1 controls
Motor 1, Switch 2
controls Motor 2**
Wiring:
Red: 12V IN
Black: Ground In
Blue/Brown: Motor 1 Out
Yellow/Green: Motor 2 Out
Black
Red
Blue
Brown
Green
Yellow
WWW.GAMAINC.COM
Page 3 REV A 06/30/20
RF12V-2PR-ASL
Instruction Manual
Wiring Diagram
WWW.GAMAINC.COM
Page 4 REV A 06/30/20
Troubleshooting
All remote-control systems shipped by GAMA Electronics are 100% functionally tested just prior to shipment.
If your RF remote control system does not work out of the box, stops working or functions intermittently please take the
following steps to resolve common issues. Please note that you must be 2-3 feet away from the receiver when operating
the remote control. Operating within 2-3 feet may result in no operation or intermittent operation.
1. Replace the A23 12V Battery in the transmitter
· The remote control can activate during shipping and drain the battery that is installed in the control. We
send a replacement battery with the system if this occurs.
2. Check the voltage supply at the receiver
· The receiver is designed to function at 10-15VDC. Voltage on the (+) and (-) terminals on the control
should be within this range.
3. Reprogram the remote control
· If the system is non-functional try to reprogram the remote control. The program may not have taken
during the programming process or the program button may have been pressed. If the program button is
pressed the memory of the remote controls programed to the receiver are erased.
4. Listen and look for functionality on the receiver.
· The LED that is used for programming the system will illuminate when the receiver is activated. You will
also hear a “click” when the internal relays engage. If you can see the LED illuminate and you hear the
relay “click” the issue is most likely in the wiring or device being controlled.
RF12V-2PR-ASL
Instruction Manual
Other GAMA Electronics Receiver manuals

GAMA Electronics RF240V-2WP User manual

GAMA Electronics

GAMA Electronics RF240V-2WP User manual

GAMA Electronics RFR24VPRWP User manual

GAMA Electronics

GAMA Electronics RFR24VPRWP User manual

GAMA Electronics LRF12V1C-WPTX User manual

GAMA Electronics

GAMA Electronics LRF12V1C-WPTX User manual

GAMA Electronics LRF12VPRWP-WPE-WPTX User manual

GAMA Electronics

GAMA Electronics LRF12VPRWP-WPE-WPTX User manual

GAMA Electronics RF120VPRDC User manual

GAMA Electronics

GAMA Electronics RF120VPRDC User manual

GAMA Electronics RF340-4PR-ASL-NIS User manual

GAMA Electronics

GAMA Electronics RF340-4PR-ASL-NIS User manual

GAMA Electronics LRF24V1PR-LS User manual

GAMA Electronics

GAMA Electronics LRF24V1PR-LS User manual

GAMA Electronics RF340-4PR-ASL User manual

GAMA Electronics

GAMA Electronics RF340-4PR-ASL User manual

GAMA Electronics RF240V-2WP-NIS User manual

GAMA Electronics

GAMA Electronics RF240V-2WP-NIS User manual

GAMA Electronics RF340-100APR User manual

GAMA Electronics

GAMA Electronics RF340-100APR User manual

GAMA Electronics RF24V1PR-ASL-NIS User manual

GAMA Electronics

GAMA Electronics RF24V1PR-ASL-NIS User manual

GAMA Electronics RF12V-1PR-ASL User manual

GAMA Electronics

GAMA Electronics RF12V-1PR-ASL User manual

GAMA Electronics RF120VPRDC User manual

GAMA Electronics

GAMA Electronics RF120VPRDC User manual

GAMA Electronics RF24V-2-ASL User manual

GAMA Electronics

GAMA Electronics RF24V-2-ASL User manual

GAMA Electronics RF340-400APR User manual

GAMA Electronics

GAMA Electronics RF340-400APR User manual

GAMA Electronics LRF240VPR1L User manual

GAMA Electronics

GAMA Electronics LRF240VPR1L User manual

GAMA Electronics LRF240V-2WP User manual

GAMA Electronics

GAMA Electronics LRF240V-2WP User manual

GAMA Electronics RF24V-1PR-ASL User manual

GAMA Electronics

GAMA Electronics RF24V-1PR-ASL User manual

GAMA Electronics T-SC-12V-NIS User manual

GAMA Electronics

GAMA Electronics T-SC-12V-NIS User manual

GAMA Electronics RF12V-2-ASL-NIS User manual

GAMA Electronics

GAMA Electronics RF12V-2-ASL-NIS User manual

GAMA Electronics RF12V1PR-LS-NIS User manual

GAMA Electronics

GAMA Electronics RF12V1PR-LS-NIS User manual

GAMA Electronics RF12V-2-ASL User manual

GAMA Electronics

GAMA Electronics RF12V-2-ASL User manual

GAMA Electronics RF120V-2WP User manual

GAMA Electronics

GAMA Electronics RF120V-2WP User manual

GAMA Electronics RFR12VPRWP User manual

GAMA Electronics

GAMA Electronics RFR12VPRWP User manual

Popular Receiver manuals by other brands

ECX ECX13002 Addendum

ECX

ECX ECX13002 Addendum

JVC RX-5030VBK instructions

JVC

JVC RX-5030VBK instructions

Panasonic KX-R60 operating instructions

Panasonic

Panasonic KX-R60 operating instructions

Sony STR-DH500 Quick setup guide

Sony

Sony STR-DH500 Quick setup guide

WisyCom MPR50-IEM user manual

WisyCom

WisyCom MPR50-IEM user manual

Sennheiser EK 2014 TV manual

Sennheiser

Sennheiser EK 2014 TV manual

Lectronics R400A quick start guide

Lectronics

Lectronics R400A quick start guide

Sencore AG 2600 user manual

Sencore

Sencore AG 2600 user manual

Cervis Warrior MU-X15 System manual

Cervis

Cervis Warrior MU-X15 System manual

Shure GLXD4 manual

Shure

Shure GLXD4 manual

Yamaha HTR5930B owner's manual

Yamaha

Yamaha HTR5930B owner's manual

Lectronics R400A quick start guide

Lectronics

Lectronics R400A quick start guide

Ocean Matrix OMX-01HMBT0003-R INSTALLATION & SPECIFICATIONS

Ocean Matrix

Ocean Matrix OMX-01HMBT0003-R INSTALLATION & SPECIFICATIONS

Kenwood VR-4700 Connection guide

Kenwood

Kenwood VR-4700 Connection guide

AOR AR-Mini Specifications

AOR

AOR AR-Mini Specifications

Pioneer VSX-423-K Service manual

Pioneer

Pioneer VSX-423-K Service manual

Radio Shack DX-402 owner's manual

Radio Shack

Radio Shack DX-402 owner's manual

RCA RW2110 owner's manual

RCA

RCA RW2110 owner's manual

manuals.online logo
manuals.online logoBrands
  • About & Mission
  • Contact us
  • Privacy Policy
  • Terms and Conditions

Copyright 2025 Manuals.Online. All Rights Reserved.