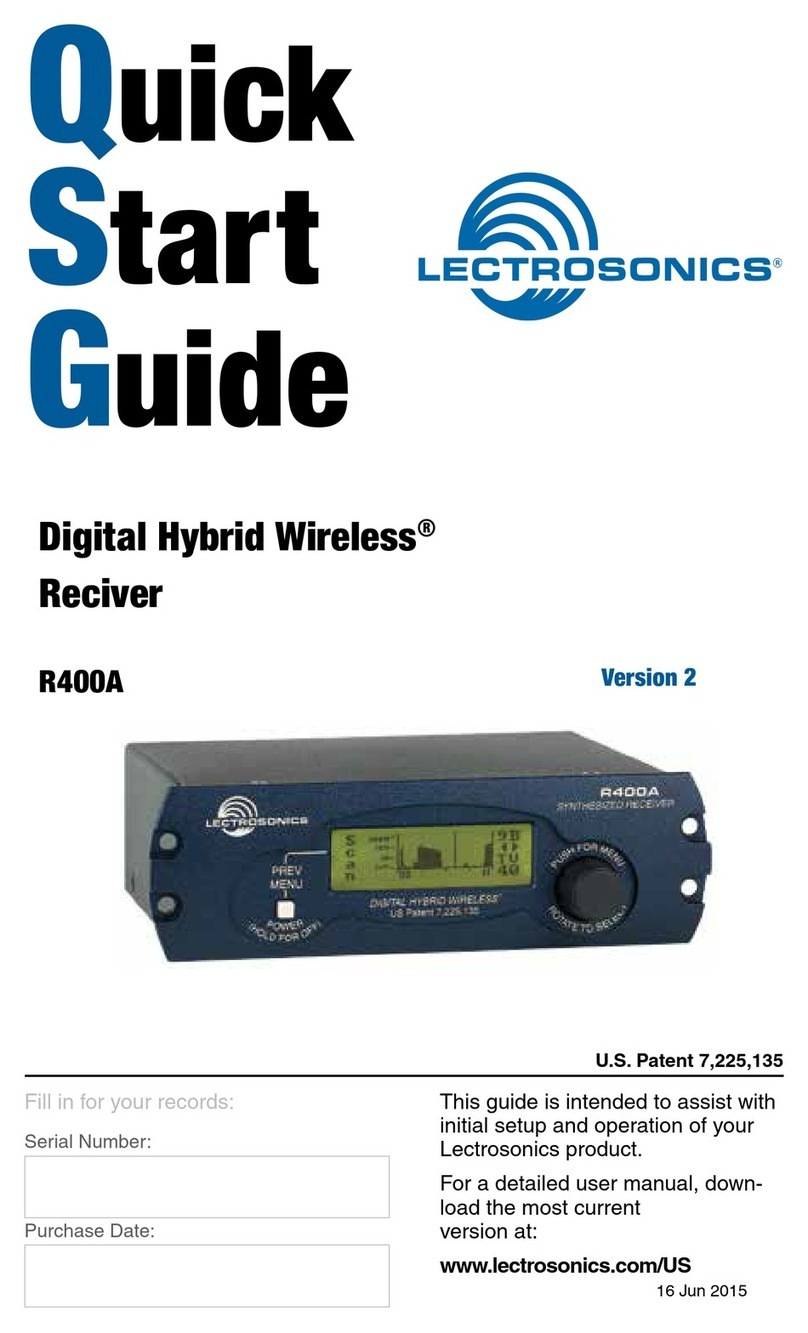
Lectronics R400A User manual

Quick
Start
Guide
Fill in for your records:
Serial Number:
Purchase Date:
This guide is intended to assist with
initial setup and operation of your
Lectrosonics product.
For a detailed user manual, down-
load the most current
version at:
www.lectrosonics.com/manuals
Digital Hybrid Wireless®
Reciver
R400A
15 March 2017
U.S. Patent 7,225,135

LECTROSONICS, INC.2
1. Connect the power cord from the power supply to the Power Input Jack.
2. Attach the antennas or antenna cables to the MAIN ANT and DIV ANT
BNC connectors.
3. Press the POWER/PREV MENU button to turn on the unit. Check to see
that the LCD displays the three-screen Power Up Sequence:
Lectrosonics
R400A VXX where XX is the current firmware version installed
Block XX where XX is the frequency tuning range block number
After the Power Up Sequence is displayed, the Main Window appears and
the R400A is ready for operation.
4. Ensure the receiver and transmitter are set to the same Compatibility
Mode, then locate a clear operating frequency (see Frequency Coordina-
tion.) Then set the Transmitter Frequency Select Switches to match the
receiver’s operating frequency. (See R400A Menu Options.)
5. Turn the transmitter on and verify that an RF signal is indicated on the LCD.
6. Connect an audio cable to the appropriate audio output jack. Because
the audio outputs operate independently, external equipment can be
connected to either, or both output jacks.
7. Locate a clear operating frequency. The easiest method is to use Smart-
Tune™ and then set the transmitter frequency indicated on the display.
Note: For more detailed instructions, see “Using SmartTune™and the
Scan Function” on page 7.
8. Refer to the associated transmitter operating instructions and adjust the
transmitter gain.
Warning: This is perhaps the most important step in the setup
procedure.
In general, adjust the transmitter gain so that the voice peaks will cause the
audio modulation level indicators on both the receiver and transmitter
to show full modulation on the loudest peak audio levels. Normal levels
should cause the R400A’s audio level bar to fluctuate fully resulting in
the best possible signal to noise ratio for the system.
Note: A common mistake is to use the transmitter audio gain control
to set the overall audio level of the entire system. The transmitter gain
control is not a volume control and must be set independently of the
overall system audio level. The transmitter gain control is only used
to set the proper modulation of the transmitter. It is used to match the
transmitter to the type of microphone and the sound levels that will be
present at that microphone. We encourage users to either disconnect
the rest of the sound system or turn the sound system gain to minimum
to prevent either feedback or overload as the transmitter gain is set.
Only after the transmitter gain control is set should the gain of the rest
of the audio system be adjusted to achieve the desired sound or signal
levels.
Initial Setup

www.lectrosonics.com 3
9. Use the Level or Tone menus to adjust the audio output levels to match
the required input level of any connected devices (camera, mixer, re-
corder, etc.). The adjustment range is from -50 dBu to +5 dBu in 1 dBu
steps for the balanced output and -55 dBu to +0 dBu in 1 dBu steps for
the unbalanced output.
Note: The test tone output is especially useful for an exact level match.
With the test tone running, adjust for the maximum desired peak level
using the metering on the connected device.
10. If desired, access the LockSet menu to lock the R400A front panel
controls to prevent inadvertently modifying the receiver settings during
operation.
Main
Antenna Input
Diversity
Antenna Input
Balanced
Audio OutputPower Input Jack
Unbalanced
Audio Output
POWER/
PREV MENU
Button MENU ControlLCD Screen

LECTROSONICS, INC.4
R400A Menu Options
The R400A Menu functions can be divided into four main areas: setting up the
receiver, automatic clear channel selection, locking the receiver and scanning
for clear frequencies.
SetUpRx
The SetUpRx menu accesses the screens used to set up the receiver. These
screens include: Freq, Level, Tuning, Compat, Tone, PilotBP, Phase, TxBatt
and SmartNR.
Freq
The Freq setup screen displays the TV channel, the associated transmitter
Frequency Select Switch settings and the selected operating frequency for
the R400A. To change the operating frequency, rotate the MENU control. Exit
this setup screen by pressing the PREV MENU button. The receiver will retain
its tuning even when the power is off.
Note: If the operating frequency is changed, ensure that the Frequency
Select Switch settings of the associated transmitter match the settings
shown in the upper right hand corner of this screen.
Level-B
The Level-B setup screen displays the audio output level of the receiver in
dBu at the balanced XLR jack.
Level-U
The Level-U setup screen displays the audio output level of the receiver in
dBu at the unbalanced 1/4-inch jack.
Tuning
The R400A offers 7 tuning modes: Normal mode (default), 4 factory set
frequency groups (Fact Grp A thru D), and 2 user programmable frequency
groups (User Grp U and V). For more information on tuning groups, see
owner’s manual. In normal tuning mode, all 256 channels are available.
Compat
The Compat setup screen is used to select the compatibility mode, allowing
the R400A to operate with a variety of transmitters. The available compatibility
modes are:
400 - This is the factory default setting and works with all Lectrosonics
400 Series Digital Hybrid Wireless™ transmitters. This mode
offers the best audio quality.
IFB - This mode works with all Lectrosonics IFB compatible transmitters.
100 - This mode works with Lectrosonics 100 Series compatible transmitters.
200 - This mode works with Lectrosonics 200 Series compatible transmitters.

www.lectrosonics.com 5
MODE 3 and MODE 6* - These modes work with a number of non-Lec-
trosonics analog transmitters. Contact the company for a list of compat-
ible transmitters for each mode.
*Mode 6 available on units with Serial Number 236 and up.
Tone-B
The Tone-B setup screen switches from received audio at the balanced XLR
audio output jack to an internally generated 1kHz audio test tone for precise
level matching with other externally connected equipment without actually go-
ing “on the air.” Pressing the PREV MENU button exits the setup screen.
Tone-U
The Tone-U setup screen switches from received audio at the unbalanced
1/4-inch audio output jack to an internally generated 1kHz audio test tone for
precise level matching with other externally connected equipment without actu-
ally going “on the air.” Pressing the PREV MENU button exits the setup screen.
Warning: There is only one audio output level setting for both
received audio and the setup tone. The level set here will be
retained in the receive mode (superseding settings made in the
Level-U setup screen).
PilotBP
The R400A always powers up with the pilot tone enabled (a pilot tone is
required from the transmitter to unsquelch the receiver). To enable pilot tone
bypass mode, in the PilotBP window, rotate the MENU control to select BY-
PASS, then press the PREV MENU button.
To return to normal operating mode (pilot tone enabled), rotate the MENU
control to select NORMAL, then press the PREV MENU button Exit this setup
screen by pressing the PREV MENU button.
Note: No pilot tone is used in 100 Series or Mode 3 Compatibility
Modes, so therefore this function is not offered for those modes.
Phase-B, Phase-U
By default, the audio outputs are driven IN PHASE in regard to the audio
signal from the transmitter. To invert the polarity of the receiver’s balanced
audio output, enter the Phase-B or -U setup screen, rotate the MENU control
to select INVERT. The phase of the audio signal is inverted at the balanced
XLR jack. To restore the receiver’s balanced audio output to “In Phase,” select
NORMAL. Exit this setup screen by pressing the PREV MENU button.
TxBatt
The TxBatt setup screen allows the selection of the exact battery type being
used in the transmitter to provide more accurate battery level monitoring.
Four different types of batteries are commonly used in Lectrosonics transmit-
ters: 9 Volt alkaline, 9 Volt lithium, AA alkaline, and AA lithium. Recharge-
able NiMH batteries can also be used in the transmitters (see TIMER below).
Correctly set, this feature will ensure that adequate warning will be provided in
advance of battery failure.

LECTROSONICS, INC.6
TIMER - Transmitter using any battery. Displays the cumulative time that
the communications link is active. The time is displayed in two loca-
tions: the lower left corner of the TxBatt setup screen and the upper
left corner of the Main Window display. No battery icon is displayed in
TIMER mode.
The colon blinks when the TIMER is running, and also indicates that the
communications link is active. When either the transmitter or the R400A
receiver is powered OFF, the timer will retain the accumulated time and
resume counting only when a signal is detected from the transmitter.
To reset the timer, navigate to the TIMER setup screen and quickly press
and release the PREV MENU button and the MENU control simultane-
ously. The TIMER mode is most useful for NiMH batteries as they do not
exhibit reliably identifiable voltage drops as they discharge.
For compatibility modes other than 400 Series and 200 Series, no bat-
tery telemetry information is available so the TxBatt setup screen offers
TIMER as the only choice.
Exit this setup screen by pressing the PREV MENU button.
SmartNR
Available in 400 Series Compatibility Mode only, the SmartNR setup screen is
used to select one of three noise reduction modes:
OFF - No noise reduction is performed and complete transparency is pre-
served. All signals presented to the transmitter’s analog front end, includ-
ing any faint microphone hiss, will be faithfully reproduced at the receiver.
NORMAL (factory default) - Enough noise reduction is applied to remove
most of the hiss from the mic preamp and some of the hiss from lavaliere
microphones. The noise reduction benefit is dramatic in this position, yet
the degree of transparency maintained is exceptional.
FULL - Enough noise reduction is applied to remove most of the hiss from
nearly any signal source of reasonable quality, assuming levels are set
properly at the transmitter.
Rotate the MENU control to select the noise reduction mode. Exit this setup
screen by pressing the PREV MENU button.
Back
Rotate the MENU control to select BACK, then push the MENU control to
return to the TopMenu window.
LockSet
LockSet is used to lock the R400A settings. When locked, the use of the
MENU functions is limited to “view only” and attempts to change selections
will result in a screen displaying the word “LOCKED! (To Unlock, Use LockSet
Menu)” The Scan and SmartTune™ functions are disabled when the unit is in
the LOCKED state.
To LOCK the R400A - Press the MENU control to enter the TopMenu, then ro-
tate the MENU control to select LockSet. Press the MENU control to open the
LockSet window, rotate the MENU control to select LOCK, then push either
the MENU control or the PREV MENU button to exit to TopMenu.
To UNLOCK - Repeat the steps above and select NOT LOCKED.
www.lectrosonics.com 7
SmartTune™
SmartTune™ automates the discovery of a clear operating frequency. It does
this by scanning all the available operating frequencies within the system’s fre-
quency block range (in 100 kHz increments) and then selecting the frequency
with the least amount of RF interference. When SmartTune is complete, it
returns to the Main Window displaying the operating frequency and transmit-
ter switch settings for the clear channel discovered during scanning.
Scan
Navigate to the SCAN option from the menu, then press the MENU control
to activate the scan function. The receiver begins scanning the receiver’s
frequency block. The receiver will continue to scan, accumulating the highest
peaks with each subsequent scan, until stopped by the user. Data gathered
during the scanning process is retained until Scan mode is exited.
To stop scanning (but not exit Scan mode), press the MENU control once.
The display switches to the Coarse View window. Rotate the MENU control
to scroll the cursor across the tuning range. As the cursor scrolls across the
frequency band, Frequency Select Switch settings for the associated transmit-
ter are shown in the upper right corner of the screen.
Double pressing the MENU control switches the display to Fine View which
displays an expanded portion of the spectrum around a fixed, vertical cursor.
As with the Coarse View, cursor movement across the frequency band results
in the displaying of the associated transmitter Frequency Select Switch set-
tings in the upper right corner of the screen.
Scroll through the screen and find a frequency where no RF signals are pres-
ent (or in the worst case, only very weak RF signals). With the cursor on this
frequency, press the PREV MENU button to exit from scan mode.
When exiting the scan mode, you are given the option to select either the fre-
quency the unit was on before entering the scan mode, or the frequency just
selected in the scan mode. Select NO to return to the frequency that was set
before entering the scan mode. Select SCAN to resume scanning.
Note: Ensure
the transmitter’s
Frequency Select
Switch settings
are the same
settings as shown
on the display
and your system
will be ready for
operation.

Table of contents
Other Lectronics Receiver manuals

Lectronics
Lectronics R400A User manual

Lectronics
Lectronics Venue 2 User manual

Lectronics
Lectronics UCR411A User manual

Lectronics
Lectronics FREEDOMIKE CR170 User manual

Lectronics
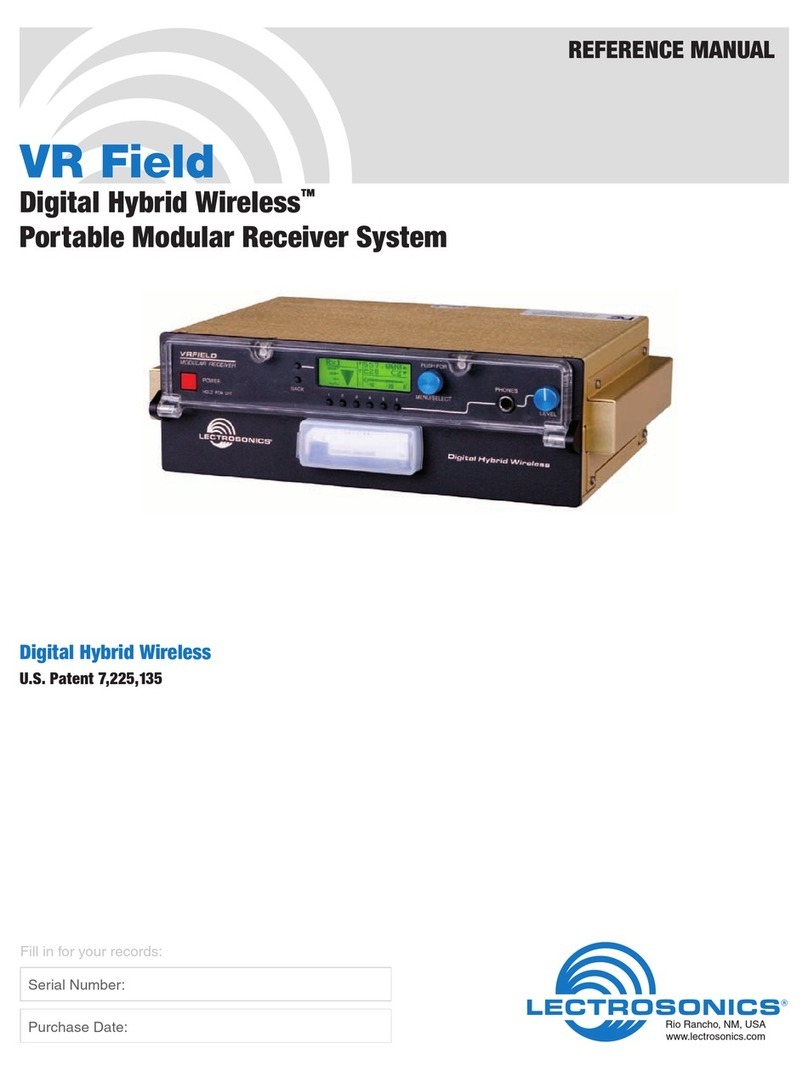
Lectronics VR Field User manual

Lectronics
Lectronics DCR822 User manual

Lectronics
Lectronics DSR-A1B1 User manual

Lectronics
Lectronics Venue 2-941 User manual

Lectronics
Lectronics Venue 2 VRM2WBL User manual

Lectronics
Lectronics Wideband User manual