4
•Before starting the tiller make sure that the tines are not touching any
object and are free to move.
•Keep the tiller in good clean condition.
•Do not use the tiller if you are tired or under the influence of drugs or
alcohol.
•The tiller may bounce upwards, forwards or backwards if the tines strike
extremely hard packed soil, frozen ground or buried obstacles such as
stones, roots or stumps.
•Watch what you are doing, use common sense.
•Do not operate the tiller near underground electrical cables,
telephone lines, pipes or hoses.
•If the tiller strikes a foreign object, turn it off immediately, wait for the
tines to stop and check for damage.
•If the tiller starts to vibrate abnormally, turn it off immediately and
check for the cause.
•Wear gloves and use caution when cleaning or performing
maintenance on the tiller.
•Tines do not stop immediately after the tiller is turned off.
•Do not put hands, feet any body part or clothing near the rotating
tines.
•The product is not intended for use by persons (including children) with
reduced physical, sensory or mental capabilities, or lack of experience
and knowledge, unless they have been given supervision or instruction
concerning use of the product by a person responsible for their safety.
•This appliance is approved solely for use in accordance with the
description and safety instructions specified in this user manual.
•Please note that our equipment has not been designed for
commercial, trade or industrial use.
•Do not attempt to modify the product or use accessories. Any such
modification or misuse could result in a hazardous condition leading to
serious injury.
•If any parts are damaged or missing do not operate until the parts are
replaced.
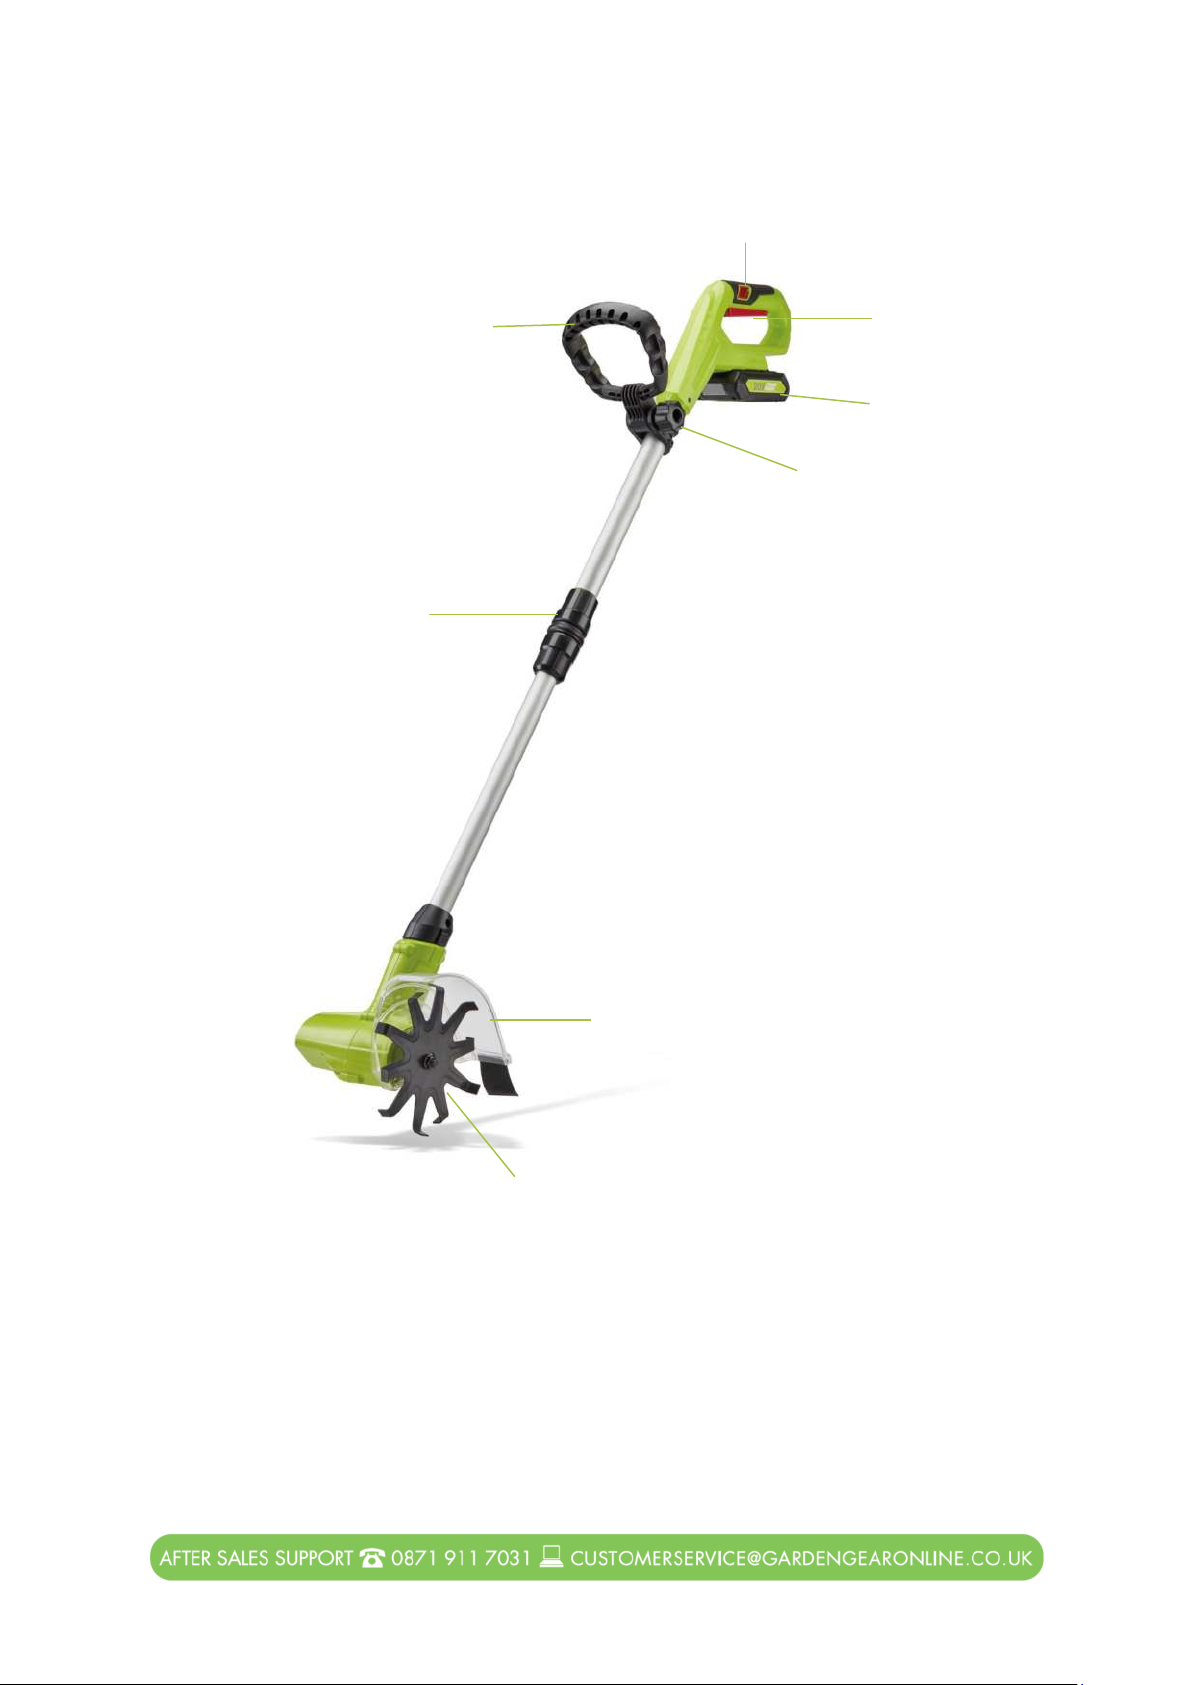
Technical specifications
20V
No load speed: 200 min-1
1.5Ah Battery