manuals.online logo
Brands
  1. Home
  2. •
  3. Brands
  4. •
  5. Garmin
  6. •
  7. GPS
  8. •
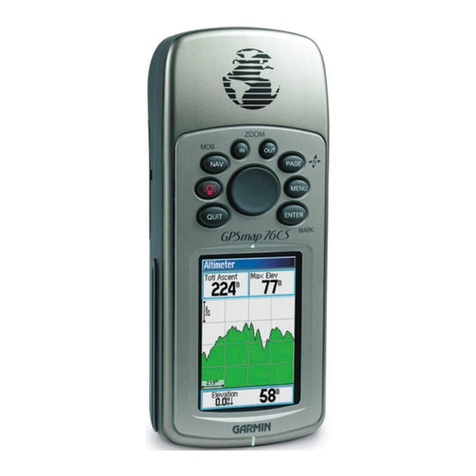
  9. Garmin 76CS Plus User manual

Garmin 76CS Plus User manual

Other manuals for 76CS Plus

1

Other Garmin GPS manuals

Garmin Etrex User manual

Garmin

Garmin Etrex User manual

Garmin BMW Motorcycles Navigator User manual

Garmin

Garmin BMW Motorcycles Navigator User manual

Garmin StreetPilot III User manual

Garmin

Garmin StreetPilot III User manual

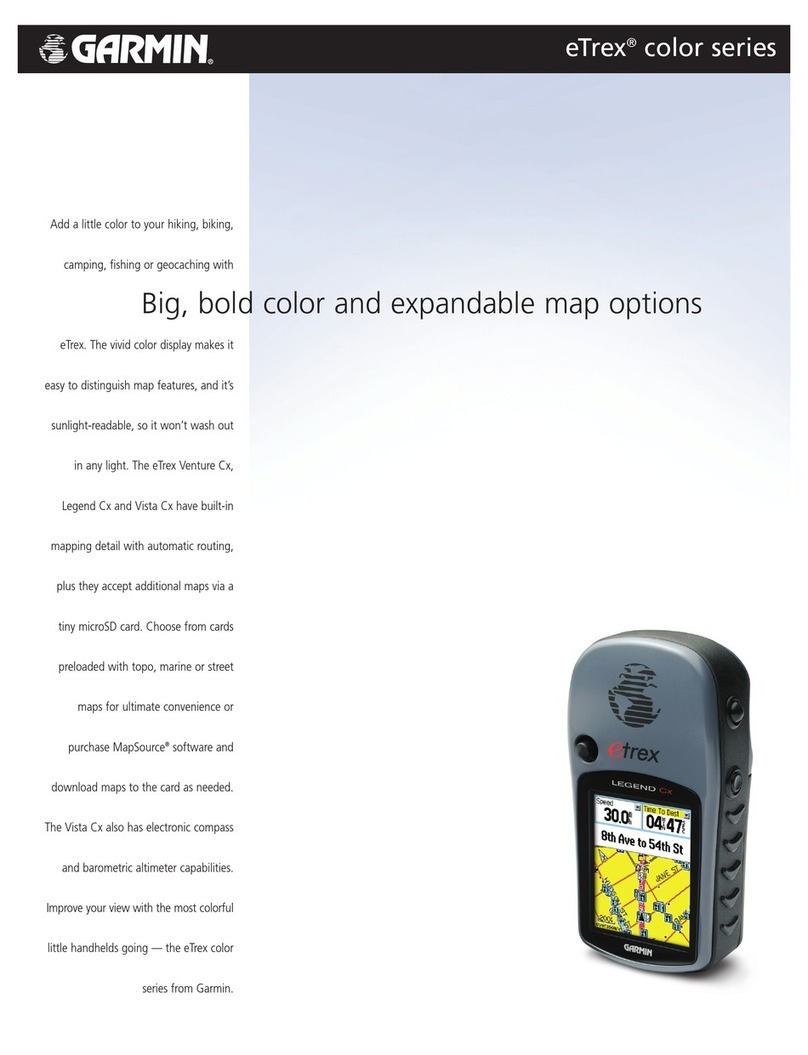
Garmin eTrex Venture Cx, Legend Cx User manual

Garmin

Garmin eTrex Venture Cx, Legend Cx User manual

Garmin GMX 200 User manual

Garmin

Garmin GMX 200 User manual

Garmin GPS 500 User manual

Garmin

Garmin GPS 500 User manual

Garmin GTN 625 User manual

Garmin

Garmin GTN 625 User manual

Garmin GNC 300 Manual

Garmin

Garmin GNC 300 Manual

Garmin nüvi 2709 Series User manual

Garmin

Garmin nüvi 2709 Series User manual

Garmin DEZL OTR700 User manual

Garmin

Garmin DEZL OTR700 User manual

Garmin GPSMAP 67 Instruction manual

Garmin

Garmin GPSMAP 67 Instruction manual

Garmin GPSMAP 378 - Marine GPS Receiver User manual

Garmin

Garmin GPSMAP 378 - Marine GPS Receiver User manual

Garmin GPS II+ User manual

Garmin

Garmin GPS II+ User manual

Garmin GPSMAP 3005C User manual

Garmin

Garmin GPSMAP 3005C User manual

Garmin nüvi 760 Instruction manual

Garmin

Garmin nüvi 760 Instruction manual

Garmin GPS 17HVS - Receiver Module Reference guide

Garmin

Garmin GPS 17HVS - Receiver Module Reference guide

Garmin GNS 400W User manual

Garmin

Garmin GNS 400W User manual

Garmin TREAD User manual

Garmin

Garmin TREAD User manual

Garmin GTU 10 User manual

Garmin

Garmin GTU 10 User manual

Garmin G1000:Beechcraft Baron 58/G58 User manual

Garmin

Garmin G1000:Beechcraft Baron 58/G58 User manual

Garmin NVI 1300 Instruction manual

Garmin

Garmin NVI 1300 Instruction manual

Garmin GPSMAP 800 Series User manual

Garmin

Garmin GPSMAP 800 Series User manual

Garmin DEZL 580 User manual

Garmin

Garmin DEZL 580 User manual

Garmin G3X Touch User manual

Garmin

Garmin G3X Touch User manual

Popular GPS manuals by other brands

Polar Electro RCX3 Getting started guide

Polar Electro

Polar Electro RCX3 Getting started guide

Tobii Pro Spectrum user manual

Tobii Pro

Tobii Pro Spectrum user manual

Gosafe G91I user manual

Gosafe

Gosafe G91I user manual

Fisher TW-8800 operating manual

Fisher

Fisher TW-8800 operating manual

LG LN740 Series Specifications

LG

LG LN740 Series Specifications

Prestigio GeoVision 430 user manual

Prestigio

Prestigio GeoVision 430 user manual

JVC KW-NT3HDT instructions

JVC

JVC KW-NT3HDT instructions

Yoctopuce Yocto-GPS user guide

Yoctopuce

Yoctopuce Yocto-GPS user guide

RightWay GPS Navigator RW 200 user manual

RightWay

RightWay GPS Navigator RW 200 user manual

TomTom VIA user guide

TomTom

TomTom VIA user guide

Telit Wireless Solutions GM862GPS Series Hardware user's guide

Telit Wireless Solutions

Telit Wireless Solutions GM862GPS Series Hardware user's guide

Hama 53118 Operating	 instruction

Hama

Hama 53118 Operating instruction

Jigabot EX quick start guide

Jigabot

Jigabot EX quick start guide

Pointer Cellocator CelloTrack XT LTE overview

Pointer

Pointer Cellocator CelloTrack XT LTE overview

Queclink GV55LITE user manual

Queclink

Queclink GV55LITE user manual

Starcom Systems Kylos Compact user guide

Starcom Systems

Starcom Systems Kylos Compact user guide

Cobra Marine MC 600Ci owner's manual

Cobra

Cobra Marine MC 600Ci owner's manual

QRP Labs QLG2 manual

QRP Labs

QRP Labs QLG2 manual

manuals.online logo
manuals.online logoBrands
  • About & Mission
  • Contact us
  • Privacy Policy
  • Terms and Conditions

Copyright 2025 Manuals.Online. All Rights Reserved.

76CS Plus
Quick Reference Guide
76CS Plus Keys
Zooms in.
Zooms out.
Cycles through the main pages in sequence and exits pages. Press
and hold to switch usage modes.
Displays the options menu for the current page. Press twice to
display the Main Menu or three times to display the Setup Menu.
Selects a highlighted option, initiates entry, and then accepts the
selected value(s). Press and hold to mark a waypoint.
Cycles through the main pages in reverse sequence, reverts to the
previous value in a data fi eld, or cancels an unintended function.
Press and hold to turn on and off the compass.
(Power key) Press and hold to turn the unit on and off. Briefl y
press and release to adjust the backlighting.
Displays the Navigation Menu window. In Powerboat and Sailboat
mode, press and hold to activate the Man OverBoard (MOB)
function.
(Rocker key) Selects menu options, enters data, and pans
the arrow on the Map page.
Land and Sea Modes
Your 76CS Plus provides four usage modes. You can use the mode that best
suits your need at the time.
Powerboat Mode
Use Powerboat mode when you are operating a boat with a motor.
Powerboat mode focuses on route navigation: you can create a route and
then navigate it later. Powerboat mode is very similar to Sailboat mode.
Sailboat Mode
Use Sailboat mode when you are operating a sailboat. It focuses on Go To
operation, meaning you can fi nd an item and go to it.
Automotive Mode
Use Automotive mode when you are driving an automobile on streets or
highways. In Automotive mode, the 76CS Plus automatically generates turn-
by-turn routes to a specifi ed location.
Off Road Mode
Use Off Road mode when you are driving an off-road vehicle, such as an
ATV or snowmobile. The 76CS Plus automatically generates a route to your
selected destination, but the route will not follow roads.
How Do I Switch Modes?
Press and hold the PAGE/MODE button. A window appears displaying the
four modes. Use the Rocker key to highlight the mode you want to use and
press ENTER.
Going to a Destination
To go to a highlighted map item:
1. Use the Rocker key to highlight the item
you would like to navigate to on the Map
page.
2. Press NAV. Go To <point name>
appears in the list of options and is
automatically highlighted. If you have
selected an area of the map that is
not a map feature, Go To MAP Point
appears. Select Go To <point name> or
Go To MAP Point and press ENTER.
3. Follow the magenta route created on the
Map page.
To go to a point using the Find Menu:
1. Press NAV to open the Navigate Menu.
2. Highlight Go To Point and press ENTER. The
Find Menu opens.
3. Use the Rocker key to highlight the category
you want to search and press ENTER.
4. From the results list, highlight the point you want
to go to and press ENTER.
5. Highlight Go To on the information page and
press ENTER to create a route to that point.
© Copyright 2005 Garmin Ltd. or its subsidiaries
190-00507-01 Rev. A Printed in Taiwan
Navigate Menu
with Map Feature highlighted
Find Menu
Power/Data
Cable Connector
Lanyard Attachment Slot
USB Connector
Battery
Compartment
with D-Ring
Auxiliary GPS Antenna
Connector (MCX)
Antenna
Keys
256-Color TFT display
with backlighting
190-00507-01_0A.indd 1 2/9/2005 1:48:37 PM
Using the Man OverBoard Feature
The Man OverBoard function (MOB) lets you simultaneously mark your
present position and create a direct route back to that position for quick
response in emergency situations.
To activate the MOB function:
1. Press and hold the NAV/MOB key, or
press the NAV/MOB key twice.
2. Press ENTER to confirm and begin
navigating to the MOB position.
Once an MOB has been activated, an MOB
waypoint with an international MOB symbol is
created, and the unit begins actively navigating
to that point. The MOB waypoint is stored in the
waypoint list and may be deleted like any other
waypoint.
Using the Navigate Menu
Press the NAV key to open the Navigate Menu:
Go To Point—generates a route to the point you select.
Navigate Route—begins navigation of the route you select.
Navigate Track (TracBack)—begins navigation of the track you select.
Finding Items
To search for an item and route to it:
1. Use one of the following methods to open the Find Menu:
• Press NAV, highlight Go To Point, and press ENTER.
• Press MENU twice, highlight Find, and press ENTER.
2. Highlight the desired category you want to search, such as Cities,
and press ENTER.
3. Press ENTER and use the Rocker key to enter the letters contained
in the item name. The list begins to sort by the items that contain the
letters you are entering. Press ENTER when finished.
4. Highlight the desired item from the list and press ENTER.
5. Highlight Go To and press ENTER.
Finding an Item Near Another Location
You can find an item near a location other than your present location. This
can be very helpful when you are planning a long trip.
You can find an item near another item using one of several methods:
• Highlight a point on the Map page and then press the NAV key. The
Find Menu opens displaying results centered around the location you
selected.
• Open the Find Menu and press MENU. Highlight Change Reference
and press ENTER to select a new reference point on the map.
• With an item’s information page open, press MENU, highlight Find
Near Here, and press ENTER.
Creating a Route
To create a route using the Routes page:
1. Press MENU twice to display the Main Menu.
2. Highlight Routes and press ENTER to open the Routes page.
3. Highlight New and press ENTER.
4. The Route Review page automatically opens,
displaying a blank route. Press ENTER to
find items to add to the route.
5. The Find Menu opens. When you find an
item, highlight Use and press ENTER to add
the point to the route. Repeat until you are
finished adding points to the route.
6. Press QUIT to close the Route Review page.
To create a route graphically:
1. Press MENU twice to display the Main Menu.
Highlight Routes and press ENTER.
2. Highlight New and press ENTER.
3. Highlight the first blank slot in the Route page and press MENU.
Highlight Edit on Map and press ENTER.
4. Use the Rocker key to highlight the location on the map you want to
add and press ENTER.
5. Repeat until you are finished adding points to the route. Press QUIT
to return to the Route Review page.
When you are navigating a route, you can edit the route from the Navigate
menu. Press the NAV key and select Edit Navigation.
Marking a Waypoint
To mark your present position:
1. Press and hold the ENTER/MARK key until
the Mark Waypoint page appears. A default
three-digit name and symbol are assigned
for the new waypoint.
2. To accept the waypoint with the default
information, press ENTER.
3. To change any information, highlight the
appropriate field and press ENTER. After
entering your changes, highlight OK and
press ENTER.
To create a new waypoint using the Map Page:
1. Press PAGE or QUIT until the Map page is displayed.
2. Move the arrow to the place on the map where you want to create
the waypoint.
3. Press and quickly release the ENTER/MARK key to capture the
arrow’s position.
4. To change any information on the New Map Waypoint page, highlight
the appropriate field and press ENTER/MARK.
5. After entering your changes, highlight OK and press ENTER/MARK.
Route Review Page
Mark Waypoint Page
Man OverBoard
Confirmation Window
190-00507-01_0A.indd 2 2/9/2005 1:48:38 PM